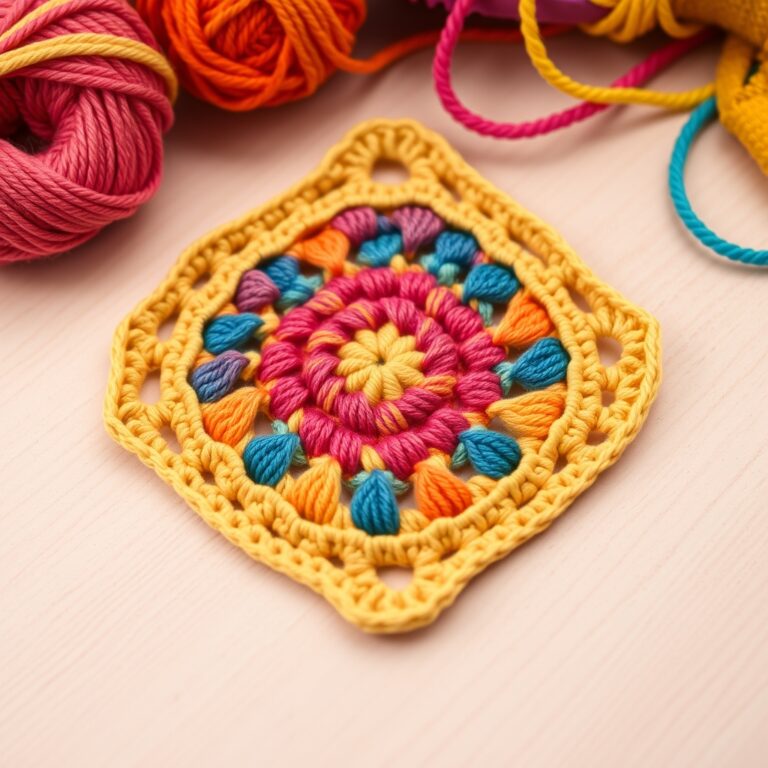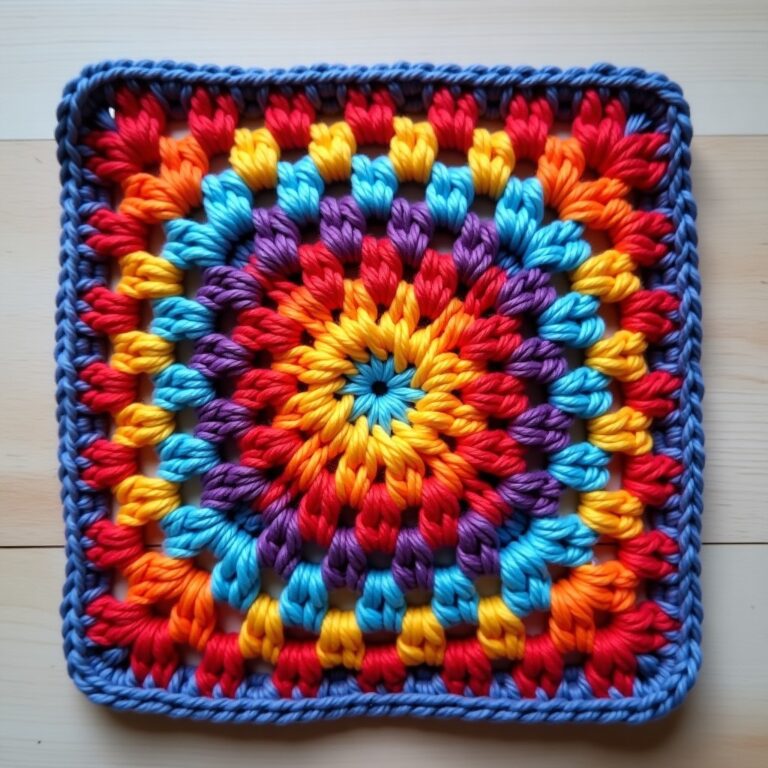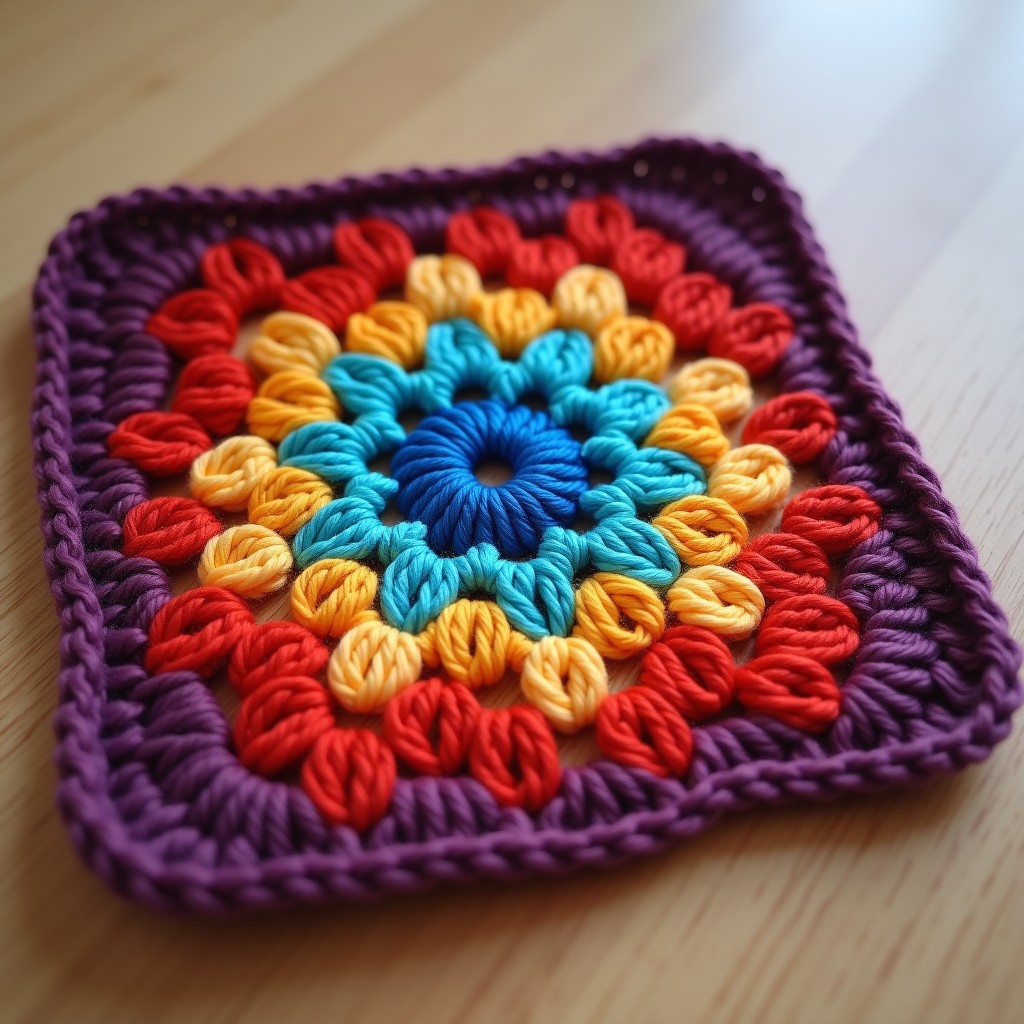
3D Granny Squares: 7 Textured Ideas + a Free Puff Flower Pattern
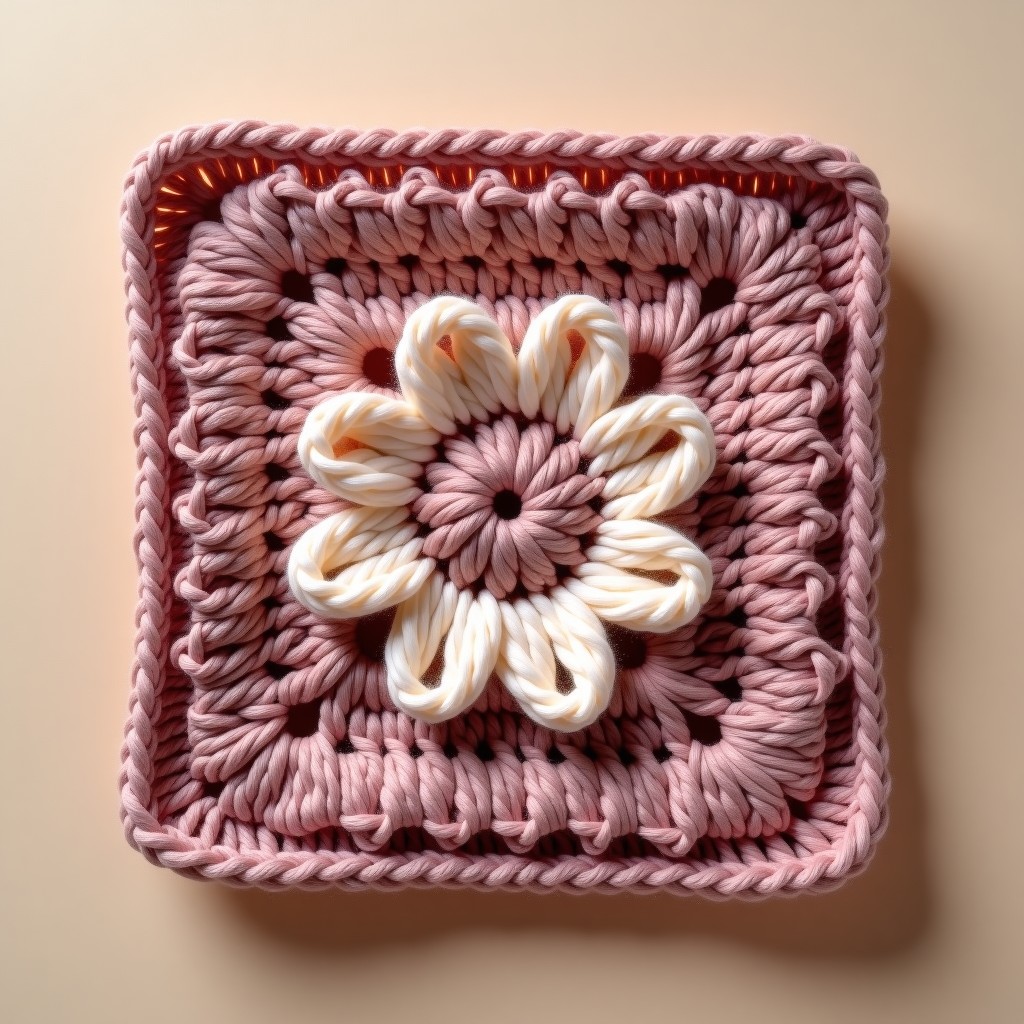
Featured Free Pattern: Puff Flower 3D Granny Square
This is KnotToYarn’s own original pattern, free to use, and you’re welcome to sell what you make from it.
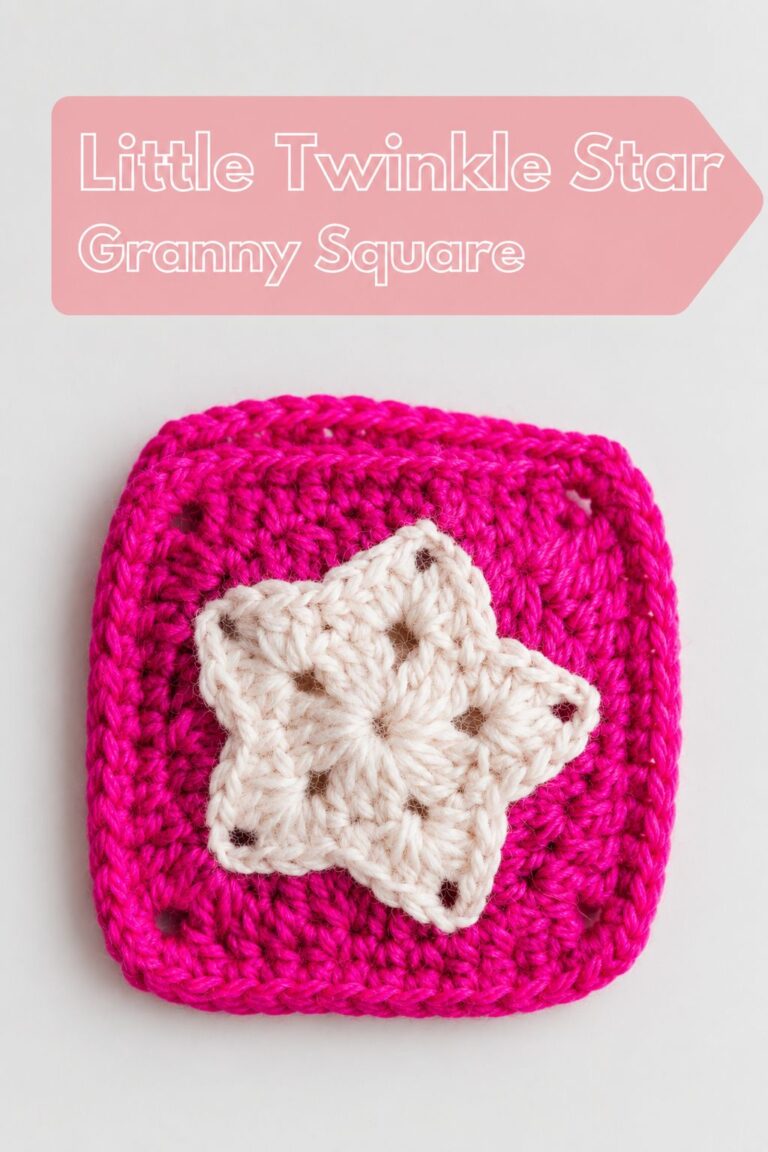
The puff flower square is the gateway to 3D crochet: a fat, touchable flower raised off a classic granny frame. Complete pattern below, the other textured ideas build from this exact construction.
Materials
- Worsted weight yarn: flower color (10 g), background color (15 g)
- 4.5 mm (US 7) crochet hook
- Yarn needle
Finished size: About 12 cm (4.75 in) square
Skill level: Confident beginner
Abbreviations (US terms): ch (chain), sc (single crochet), dc (double crochet), sl st (slip stitch), sp (space), puff (yarn over, insert hook and pull up a loop, 4 times in the same place, yarn over, pull through all 9 loops, ch 1 to lock)
Instructions
The Puff Flower
Round 1: With the flower color, make a magic ring. Ch 1, 8 sc in the ring, sl st to join: 8 sts.
Round 2: Ch 1, then work (puff in the next st, ch 1) in every stitch around, 8 puffs with ch-1 gaps. Sl st to the top of the first puff to join.
The puffs dome forward on their own, that is the 3D.
Framing It Into a Square (background color)
Round 3: Join the background color in any ch-1 gap BEHIND the puffs. Ch 1, sc in the same gap, ch 3, *sc in the next ch-1 gap, ch 3;* around, join: 8 sc and 8 ch-3 loops sitting behind the flower.
Round 4 (squaring): Sl st into a ch-3 loop. *(3 dc, ch 2, 3 dc) in this loop [corner], ch 1, 3 dc in the next loop, ch 1;* repeat 4 times total, join, alternating loops become corners and sides.
Round 5: Classic granny, (3 dc, ch 2, 3 dc) in each corner sp, 3 dc in each ch-1 side sp, join.
Round 6: Same again; sides now have two 3-dc groups each.
Finishing
Weave ends, flower ends hide perfectly under the puffs. Block ONLY the square frame: pin the granny edges flat and mist around the flower, never pressing the puffs (a flattened puff flower is just a sad circle). Joined into cushions and blankets, offset the flower squares with solid grannies so the texture pops.
Made this? We’d love to show off your work, send a photo through our contact page and we’ll feature it here with credit to you.
Tip: Puff loops must be pulled up to a consistent height, all four pulls to the same 1.5 cm. Uneven pulls make lumpy petals, and at nine loops per stitch there is nowhere to hide.
Quick Answer
3D granny squares add depth and tactile interest with raised stitches, bobbles, puffs, layered petals, that literally pop off the fabric. They turn flat squares into sculptural building blocks, great for statement blankets, decorative pillows, and eye-catching bags.
Tip: work your 3D stitches a little looser than your flat ones, it keeps the fabric from puckering and lets the raised elements stand out.
At a Glance
- Skill level: Intermediate
- Time needed: 30-90 minutes per square depending on complexity
- Best yarn: Medium worsted weight (size 4) cotton or acrylic blend
- Hook size: 5.0 mm (H/8) or 5.5 mm (I/9)
Common Mistakes to Quick Fixes
- Puckered fabric: Switch to a larger hook or loosen your tension on bobble and puff stitches.
- Inconsistent bobble size: Count your yarn overs carefully, each bobble should have the same number of loops.
- Layered petals curling inward: Block your finished squares by pinning and steaming to flatten petals outward.
Mini Glossary
Bobble stitch, a group of partially completed double crochets worked into the same stitch; puff stitch, multiple yarn-overs pulled through a single stitch for a rounded bump; front loop only (FLO), working through only the front loop of a stitch for raised texture; back loop only (BLO), the counterpart technique creating a ridge on the opposite side; popcorn stitch, fully completed stitches gathered at the top to form a kernel shape.
If you’ve been making granny squares for a while and want to level up, 3D squares are a fun next step. Special stitches create raised elements and sculptural texture that make each square a little piece of art, for a blanket, a pillow cover, or a tote.
This guide covers seven ways to add texture, each building on classic granny foundations with stitches that bring real depth. Let’s get into it.
Why Choose 3D Granny Square Patterns?
Flat granny squares are lovely, but adding a third dimension opens up a lot. A few reasons to try it:
First, the tactile quality is unmatched. When you run your fingers over a blanket made with dimensional squares, you can feel every bobble, puff, and layered petal. This makes 3D squares especially wonderful for baby blankets, sensory projects, and cozy home decor items that invite touch.
Second, the visual depth creates stunning color play. Because raised stitches catch light differently than flat ones, even simple two-color combinations look incredibly rich and complex. Shadows form naturally in the valleys between dimensional elements, giving your work a professional, handcrafted quality.
Third, they’re versatile. Mix textured squares with flat ones for contrast, use them as accents, or go all dimensional for maximum impact. For the basics first, see our granny square guide.
Essential Stitches for Dimensional Crochet
Before the specific techniques, here are the key stitches that create dimension. Get comfortable with these and you can make almost any textured square.
The Bobble Stitch
The bobble stitch is perhaps the most popular dimensional technique in crochet. To create a bobble, you work multiple partially completed double crochets into a single stitch, then pull through all the loops at once. The result is a rounded bump that stands proud of the fabric surface.
For consistent bobbles, count your loops carefully. Most patterns call for 4- or 5-double-crochet bobbles. The key is keeping your tension even, too tight and the bobble will be flat and hard; too loose and it will look floppy and undefined. Practice on a swatch before incorporating bobbles into your squares.
The Puff Stitch
Similar to bobbles but with a softer, more rounded appearance, puff stitches are created by yarn-overing multiple times and pulling through all loops at once. They create gentle, pillow-like bumps well suited to floral motifs and organic shapes.
Puff stitches are generally easier for beginners to master than bobbles because the technique feels more intuitive. If you are just starting with reading crochet patterns, puff stitch designs are a great entry point into dimensional work.
Front and Back Loop Techniques
Working through only the front loop (FLO) or back loop (BLO) of a stitch creates natural ridges and texture. When you alternate rows of FLO and BLO stitches, you get a beautiful ribbed effect. This technique is subtle but incredibly effective for adding dimension without complex stitches.
The beauty of loop-specific stitching is that it uses the same basic stitches you already know, single crochet, half double crochet, and double crochet all work beautifully. The magic happens entirely in which loop you choose to work through. This is a technique covered in depth in our easiest crochet stitch for beginners guide.
7 Stunning Approaches to 3D Granny Square Patterns
Now let us explore seven different ways to incorporate three-dimensional elements into your granny squares. Each approach creates a distinct look and feel.
1. Bobble-Center Granny Square
This design places a ring of bobbles right in the center of a traditional granny square, creating a flower-like medallion effect. The bobbles sit proud of the background fabric, catching light and adding beautiful shadow detail. Work a ring of 8 bobbles in a contrasting color, then surround them with two or three rounds of standard granny clusters for a clean, framed look.
For the bobble ring, use a 4-double-crochet bobble (5-loop bobble) for a nice plump shape. Space them evenly around the center ring, with two chain stitches between each bobble. The contrast between the smooth granny clusters and the textured bobbles is what makes this design so visually striking.
2. Layered Flower Square
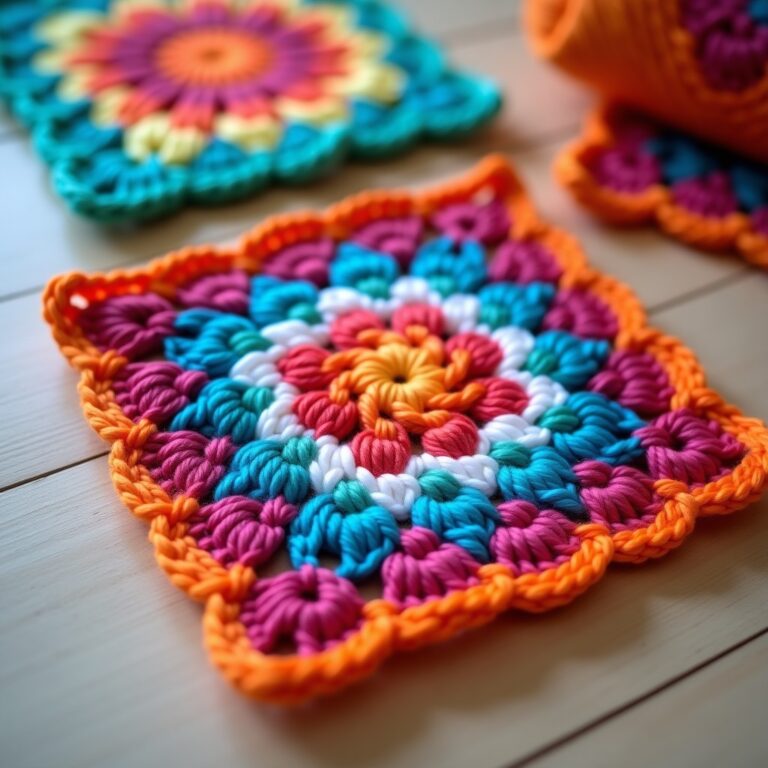
Layered flower squares use multiple rounds of petals stacked on top of each other to create a cascading, almost origami-like dimensional effect. The innermost layer is worked first, then subsequent layers are attached slightly behind the previous one, pushing each layer outward like opening flower petals.
This technique works beautifully with gradients, start with a deep shade in the center and progressively lighten each petal layer for a stunning ombre effect. Each layer should use a slightly different stitch height to encourage the natural curling that creates the 3D effect.
3. Puff Stitch Motif Square
Replace the standard double crochet clusters in your granny square with puff stitches for an entirely different textural experience. A granny square made entirely of puff stitches has a soft, cloud-like quality that is incredibly inviting to touch. This is one of the most beginner-friendly 3D granny square patterns because the puff stitch is relatively simple to master.
Use three-yarn-over puff stitches for a medium texture, or five-yarn-over puffs for maximum drama. Keep your chain spaces between puffs consistent, typically two chains, to maintain the classic granny square structure while completely transforming the texture.
4. Popcorn Stitch Diamond
Popcorn stitches create the most pronounced dimensional effect of all the raised stitches. In this pattern, popcorn stitches are arranged in a diamond formation within the granny square, creating a bold geometric texture that looks incredible in single-color projects. The deep shadows between popcorn kernels give the square an almost quilted appearance.
To make a popcorn stitch, work five complete double crochets in the same stitch, remove your hook, insert it into the first double crochet of the group, and pull the last loop through. This gathers all five stitches together at the top, creating a neat, rounded kernel. You can see more creative applications of dimensional stitches in our crochet granny square patterns collection.
5. Raised Ridge Square
This elegant design uses alternating front-loop and back-loop rows to create raised ridges that form concentric diamond patterns within the square. The effect is subtle but sophisticated, well suited to projects where you want texture without overwhelming color or pattern.
The raised ridge technique is ideal for mens accessories, modern home decor, and any project where you want a more understated dimensional effect. It also uses less yarn than bobble or popcorn designs, making it a practical choice for larger projects.
6. Spiral Flower Center Square
Create a mesmerizing spiral flower in the center of your granny square using a continuous spiral technique rather than traditional joined rounds. This eliminates the visible seam and creates a smooth, organic-looking dimensional flower. The spiral naturally creates a gentle dome shape as each round builds upon the last, giving the flower a natural cupping effect.
Use a stitch marker to track your rounds since there is no chain-and-join to mark the beginning. The spiral center pairs beautifully with two or three rounds of standard granny clusters to frame the dimensional element.
7. Combined Texture Square
For the ultimate textural experience, combine multiple dimensional techniques in a single square. Imagine a square with a bobble center, puff stitch ring, and popcorn stitch corners, each technique creating a different type of dimensional element. This approach works best when you use a cohesive color palette and plan your stitch placement carefully.
The key to successful combination squares is balance. Do not crowd too many dimensional elements into a small space, let each technique breathe and show off its unique texture. The spaces between dimensional elements are just as important as the raised stitches themselves.
Tips for Working with 3D Granny Square Patterns
Dimensional stitches need a slightly different approach than flat crochet. A few tips to get clean results every time:
Choose the right yarn. Smooth, tightly spun yarns show dimensional stitches at their best. Avoid fuzzy or novelty yarns for your first 3D projects, as they can obscure the stitch definition. Medium worsted weight is ideal because it provides enough body for dimensional elements to hold their shape. According to the Craft Yarn Council, worsted weight (category 4) is the most versatile choice for textured crochet work.
Block your finished squares. Blocking is absolutely essential for 3D squares because dimensional stitches can cause the fabric to pucker or distort. Gently pin your finished squares to the correct dimensions and steam them to set the shape. This relaxes the stitches, evens out tension, and allows dimensional elements to stand up properly rather than lying flat or curling.
Count your stitches religiously. Dimensional stitches are easy to lose in the count. After each row or round, take a moment to verify your stitch count. It is much easier to fix a missed stitch immediately than to discover the error several rounds later when the square is noticeably uneven.
Use stitch markers. Place a stitch marker at the beginning of each round to help you track your progress, especially when working continuous spirals or long rounds of repetitive bobble stitches. This simple habit will save you countless hours of frogging.
Project Ideas for 3D Granny Squares
Once you have a collection of dimensional granny squares, the project possibilities are endless. Here are some of the most popular and impactful ways to use your textured creations.
Textured throw blankets are the most obvious choice, and for good reason. A blanket made entirely from dimensional squares becomes a conversation piece and a sensory experience. Alternate different types of 3D squares for visual variety, or repeat the same dimensional pattern for a cohesive, rhythmic texture. If you need guidance on joining your squares, our how to join granny squares tutorial covers multiple methods that work well with textured pieces.
Decorative pillow covers are another excellent application. A single large dimensional square or a 2×2 arrangement of smaller squares makes a stunning cushion cover that adds instant texture to any room. Use colors that complement your existing decor for a custom look.
Market tote bags benefit enormously from dimensional squares because the texture adds visual interest and structural rigidity. Line your bag with fabric for durability, and use a sturdy cotton yarn for the squares themselves.
Wearable accessories like cowls, headbands, and hat bands can incorporate individual dimensional squares or bands of dimensional stitch patterns. The added texture creates visual interest in smaller projects where every stitch counts. Browse more inspiration in our granny square ideas for beginners article, which includes ideas you can adapt with dimensional techniques.
Yarn and Hook Recommendations
Yarn choice matters even more here than for flat squares. The Yarnspirations site has good worsted options that hold texture well. Look for good stitch definition, smooth cotton blends, quality acrylics, and merino blends all work.
For your hook, go up one size from what you would normally use for the yarn weight. This gives dimensional stitches room to expand and helps prevent the puckering that is common with textured work. A 5.0 mm or 5.5 mm hook works well with most worsted weight yarns for 3D projects.
Conclusion
Texture opens up a lot that flat designs can’t match. Once you’ve got bobbles, puffs, popcorns, and front/back-loop work down, you can add depth and shadow to anything. Start with a simple bobble-center square and build up to combination designs, before long you’ll have a stack of squares that are as fun to touch as to look at.
Frequently Asked Questions
Is this granny square pattern suitable for beginners?
It suits anyone comfortable with chain, slip stitch, and double crochet. If you’ve made one traditional granny square, you’ll recognize the structure, and the instructions go round by round so an advanced beginner can follow along. Practice in scrap yarn first if a combo is new.
What should I do if my granny square is curling?
Curling usually means tight tension or a miscounted round. Count your stitches against the pattern first; if the count’s right, try a larger hook to loosen up. Blocking often flattens minor curling, and check you’re not skipping the chain spaces between clusters.
What is the difference between a traditional and a solid granny square?
A traditional granny square has chain-space corners and open sides from the chain gaps between clusters. A solid one fills those gaps for a dense, fabric-like square with no holes, better for garments and bags, while the open version suits lightweight blankets and decorative work.
Can I sell finished items made from this pattern?
Most free patterns let you sell finished items, just not the written pattern itself. Credit the original source when you sell, and price to cover materials plus a fair hourly rate for your time.
How do you start crocheting this granny square pattern?
Start with a magic ring (or chain 4 and join with a slip stitch) in your main color. Work the center ring, then follow the round-by-round instructions above, most start with a cluster of double crochet in the center, then build outward with chain spaces that form the corners and sides.