Crochet Abbreviations: 7 Terms You Actually Need
Learning crochet abbreviations is the single skill that turns a confusing block of letters into a pattern you can actually follow. Every written pattern uses this shorthand, so once you know the handful of terms below, you can pick up almost any beginner project and read it with confidence.
For the authoritative list, the Craft Yarn Council maintains the standard abbreviations used by designers worldwide. This guide focuses on the seven you will meet first, learn these and the rest fall into place.
The 7 Crochet Abbreviations You Actually Need
These seven cover the vast majority of beginner patterns. Learn them in order, because each builds on the one before it.
1. CH: Chain
The chain is the foundation of almost everything in crochet. “CH 15” means make 15 chain stitches. Chains start your first row and are also used to make turning chains and spaces inside stitch patterns. If you can make a neat, even chain, you are ready for every stitch that follows.
2. SC: Single Crochet
The single crochet is the shortest, sturdiest basic stitch and the one most beginner projects start with. “SC in next st” means work one single crochet into the next stitch: insert your hook, yarn over, pull up a loop, yarn over, and pull through both loops. It makes a tight, dense fabric well suited to dishcloths, amigurumi, and bags.
3. HDC: Half Double Crochet
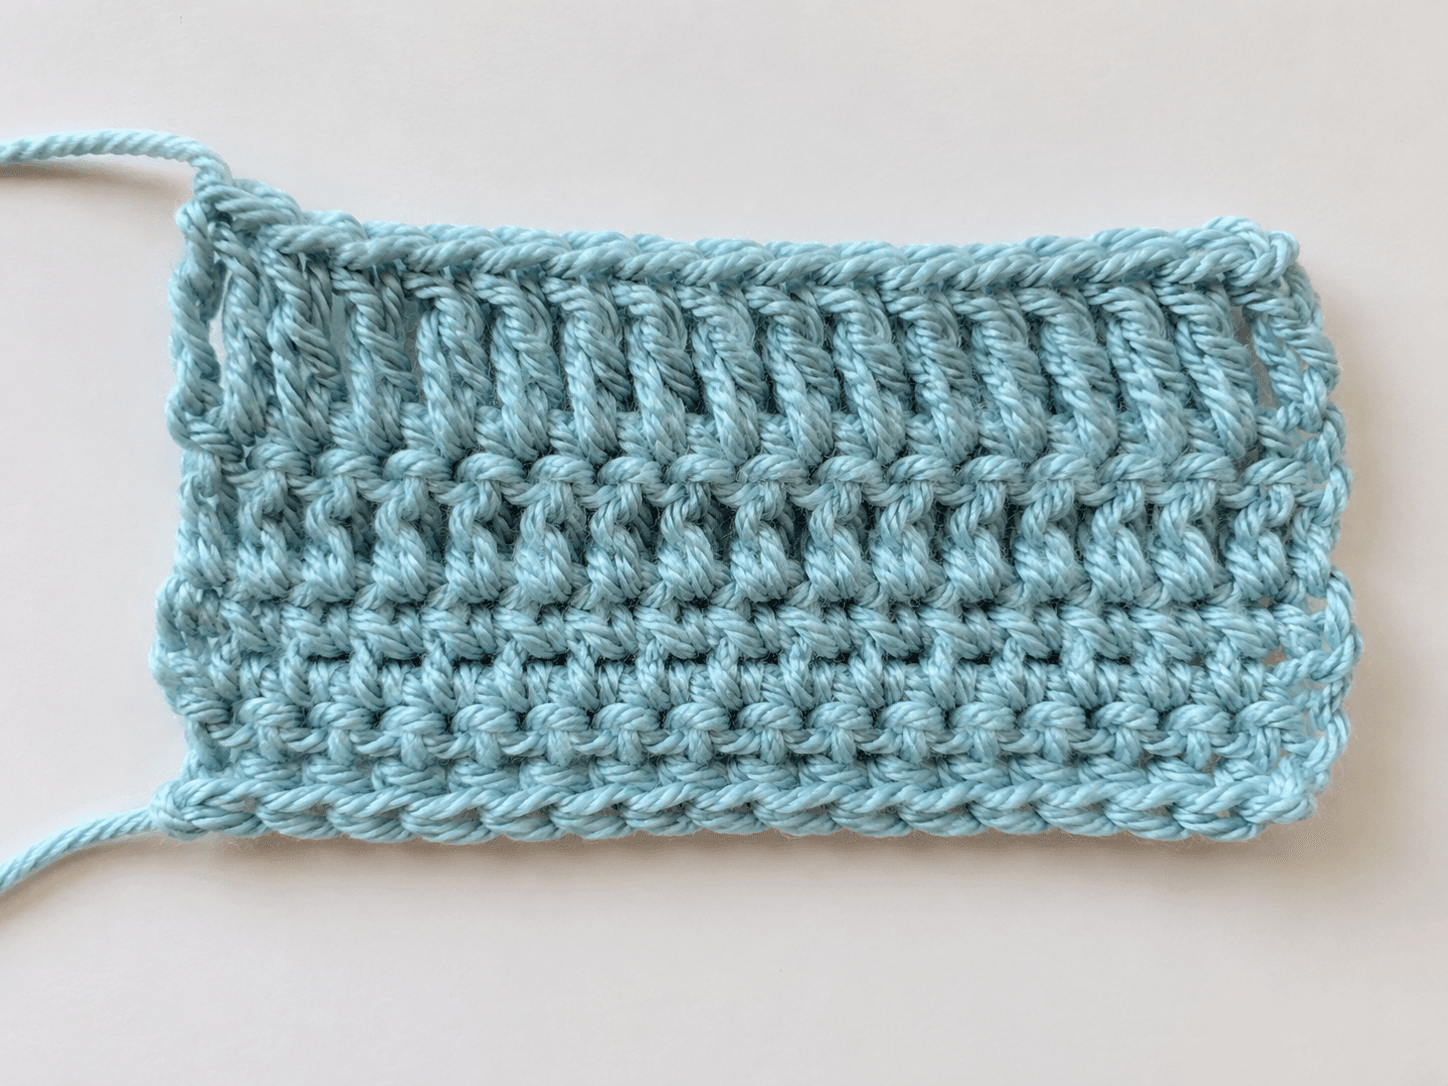
The half double crochet is one step taller than single crochet and works up a little faster. You yarn over first, then insert your hook, pull up a loop (three loops on the hook), yarn over, and pull through all three at once. It creates a soft, slightly textured fabric that is popular for blankets and beanies.
4. DC: Double Crochet
The double crochet is a tall, airy stitch that covers ground quickly, which is why it is the backbone of granny squares and many blankets. Yarn over, insert your hook, pull up a loop (three loops on the hook), yarn over and pull through two, then yarn over and pull through the last two. Because it is tall, patterns usually begin a DC row with a turning chain of three.
5. TR: Treble (Triple) Crochet
The treble crochet is taller still, you yarn over twice before inserting the hook, then work off the loops two at a time. It makes a very open, lacy fabric and shows up in shawls, wraps, and decorative edgings. You will not need it for your first few projects, but it is good to recognize.
6. SL ST: Slip Stitch
The slip stitch is the flattest stitch of all and is used for joining rather than building height. To join a round, you insert your hook, yarn over, and pull through both the stitch and the loop on your hook in one motion. Patterns use it to join granny-square rounds, move across stitches without adding height, and finish edges neatly.
7. YO: Yarn Over
A yarn over is not a stitch on its own but a movement used inside almost every stitch: you wrap the yarn over your hook from back to front. Patterns abbreviate it as YO, and counting your yarn overs correctly is what keeps double and treble crochet from coming out the wrong height. Once YO feels automatic, every taller stitch becomes easy.
A Few More Abbreviations You Will See
Once the core seven feel natural, these show up constantly and are worth recognizing:
- ST / STS: stitch / stitches
- RND / R: round / row
- REP: repeat
- SK: skip
- SP: space
- INC / DEC: increase / decrease
- BLO / FLO: back loop only / front loop only
- TOG: together (used for decreases, as in dc2tog)
How to Memorize Crochet Abbreviations
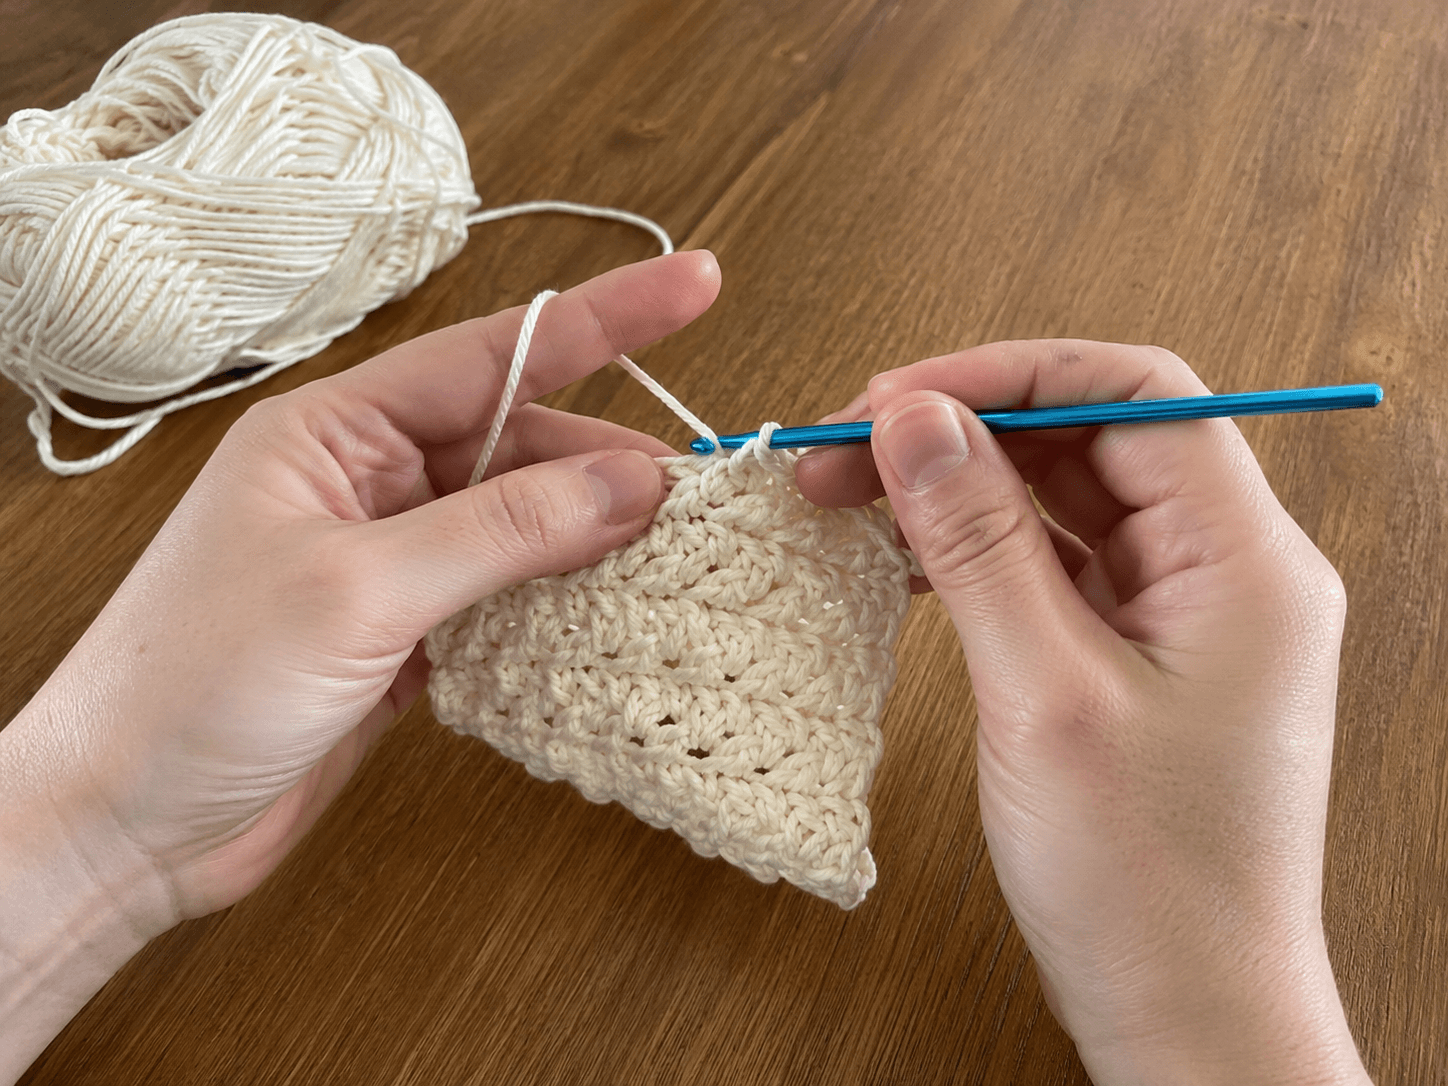
You do not have to memorize everything at once. The fastest approach is to learn the seven core terms first, then add new ones as you meet them in patterns:
- Print a one-page cheat sheet and keep it beside you while you crochet.
- Make flashcards for the pairs people mix up most, SC vs. SL ST, HDC vs. DC.
- Write each new abbreviation in a small notebook with its full name the first time you see it.
- Practice the stitch as you learn its abbreviation, so the word and the motion connect.
Reading Abbreviations in a Real Pattern
Once you know the terms, a line of pattern shorthand decodes easily. For example, “Row 2: ch 1, sc in first st, 2 dc in next st, sk 1 st, sc in next st, rep across” simply means: chain one to turn, single crochet in the first stitch, work two double crochets into the next stitch, skip one stitch, single crochet in the next, and repeat that sequence to the end of the row. Reading slowly and ticking off each abbreviation is all it takes.
Related Beginner Guides
- How to Read a Crochet Pattern
- Single Crochet Stitch
- Half Double Crochet
- Double Crochet Stitch
- Best Yarn for Beginner Crochet
Helpful External Reference
For the complete standardized list of terms and symbols, see the Craft Yarn Council abbreviation chart.