How to Make a Granny Square: 7 Beginner-Friendly Steps
Watch: Step-by-Step Video Tutorial
Quick Answer
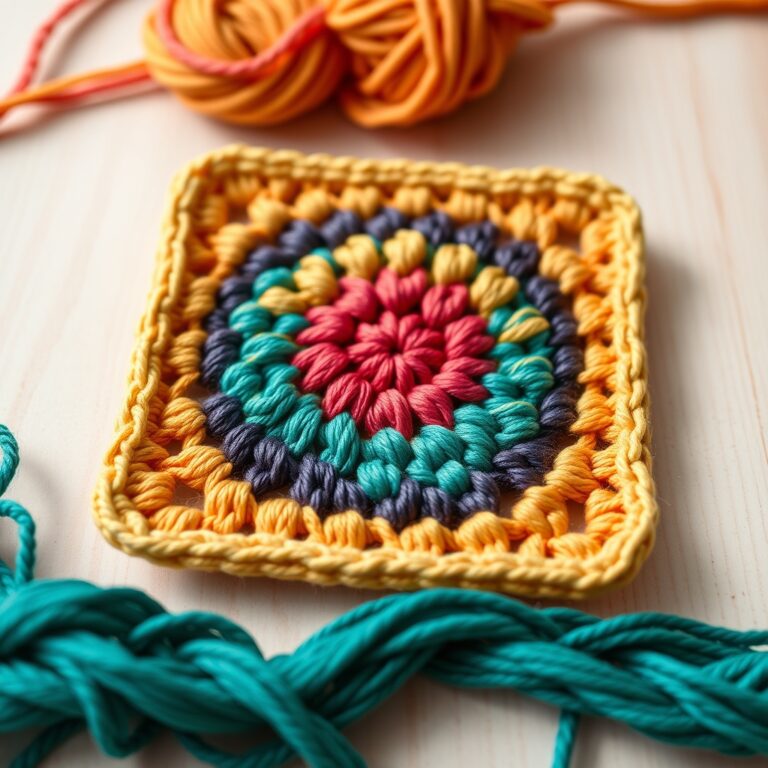
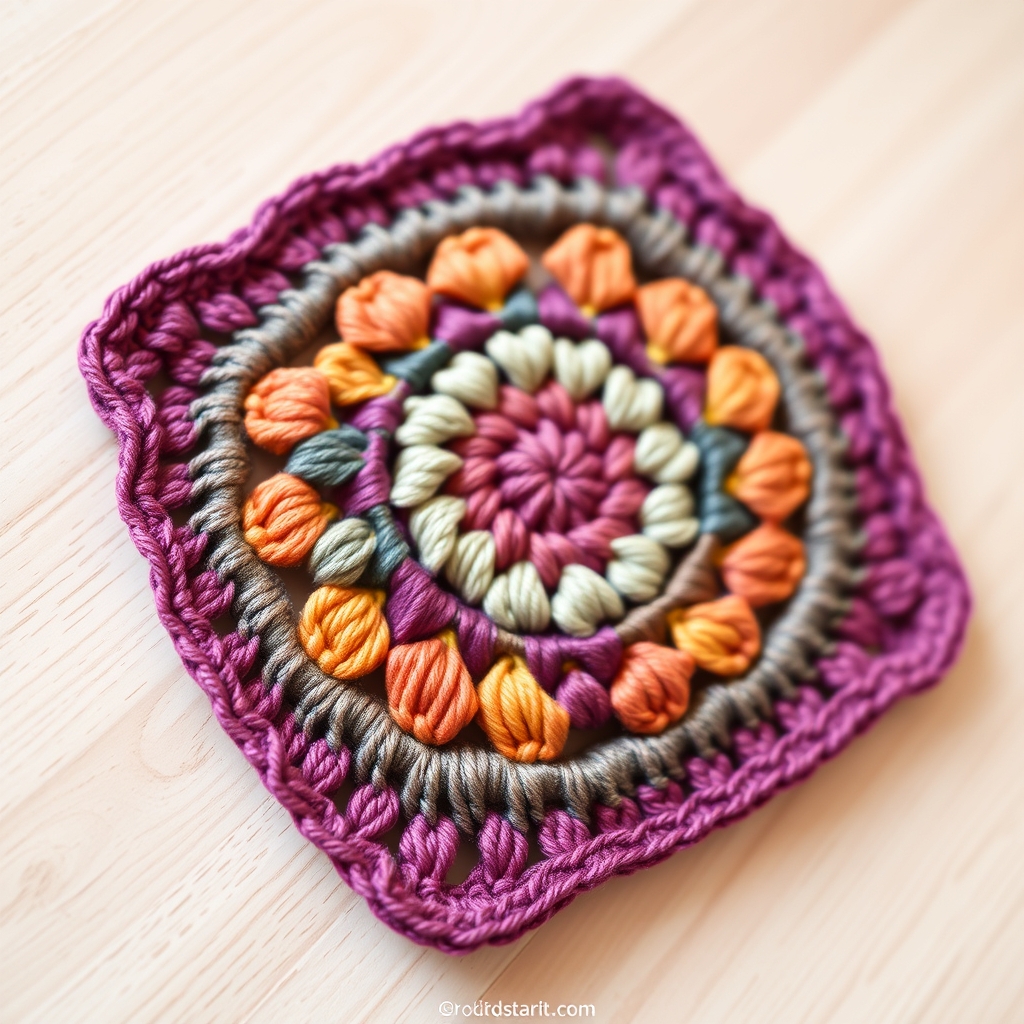
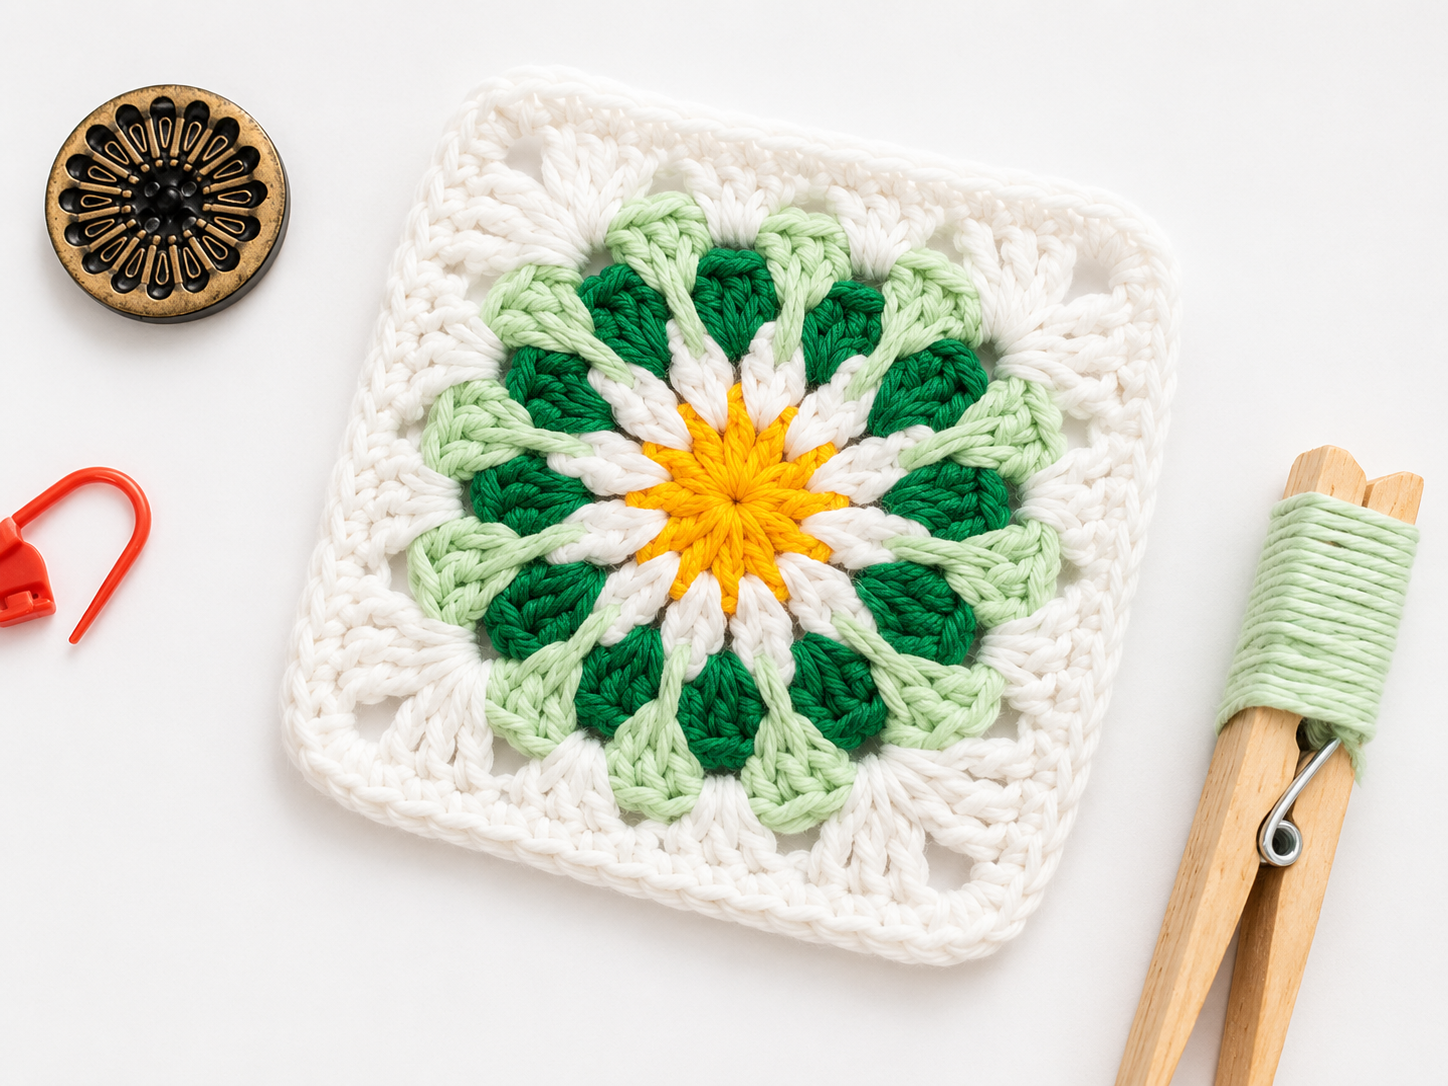
How to make a granny square is one of the most fundamental skills in crochet. A granny square is a small, square-shaped motif made from crochet stitches worked in the round, typically featuring clusters of double crochet stitches separated by chain spaces. Tip: Start with a magic ring instead of a chain-4 loop for a tighter, neater center.
At a Glance
- Skill level: Beginner
- Time needed: 20-30 minutes per square
- Best yarn: Worsted weight (#4) cotton or acrylic
- Hook size: 5.0 mm (H-8)
Common Mistakes → Quick Fixes
- Tension too tight on the center ring: Use a magic ring or chain-5 instead of chain-4 for the starting loop
- Rounds curling or cupping: Check your stitch count, missing a corner space-2-chain will cause the square to bowl
Mini Glossary
dc (double crochet), ch (chain), sl st (slip stitch), sp (space), rnd (round), sk (skip)
More Granny Squares to Try
Looking for more ideas? Ravelry is a fantastic resource for discovering new patterns.
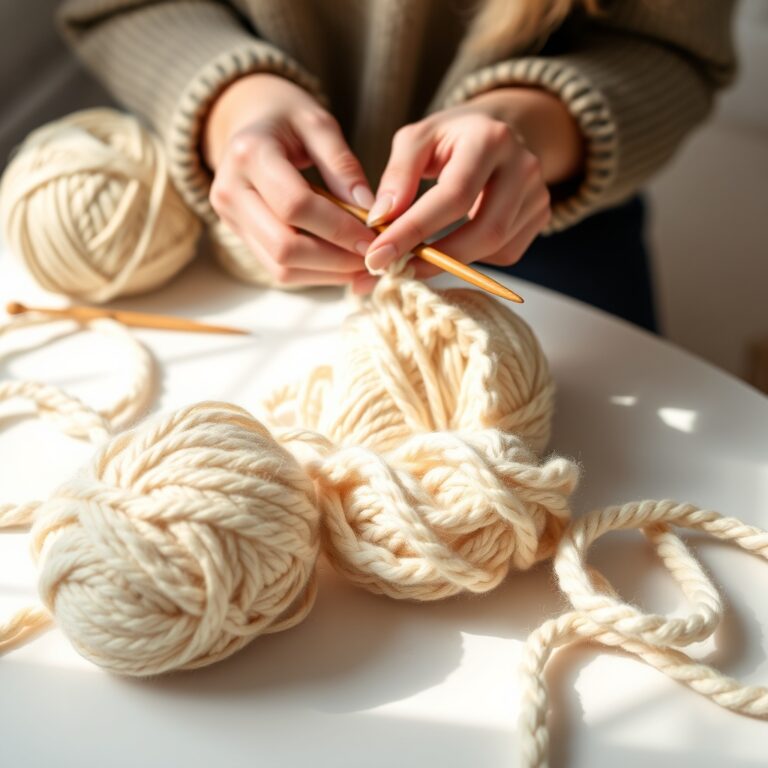
Materials You Need Before You Start
Having the right supplies ready makes learning how to crochet a granny square much more enjoyable. Before you start, gather these basic supplies. Having everything ready makes the process much smoother and more enjoyable:
- Worsted weight yarn (Weight 4): This is the most beginner-friendly yarn weight. Choose 2-3 colors that look good together. Acrylic yarn is affordable and easy to work with. For tips on picking yarn, see our guide to the best yarn for beginner crochet.
- Crochet hook size 5.0 mm (US H-8): This pairs perfectly with worsted weight yarn. If your stitches feel too tight, go up to a 5.5 mm hook.
- Scissors: For trimming your yarn ends.
- Yarn needle (tapestry needle): For weaving in loose ends when you finish.
- Stitch markers (optional): Helpful for marking the first stitch of each round so you do not lose your place.
Step-by-Step Granny Square Instructions
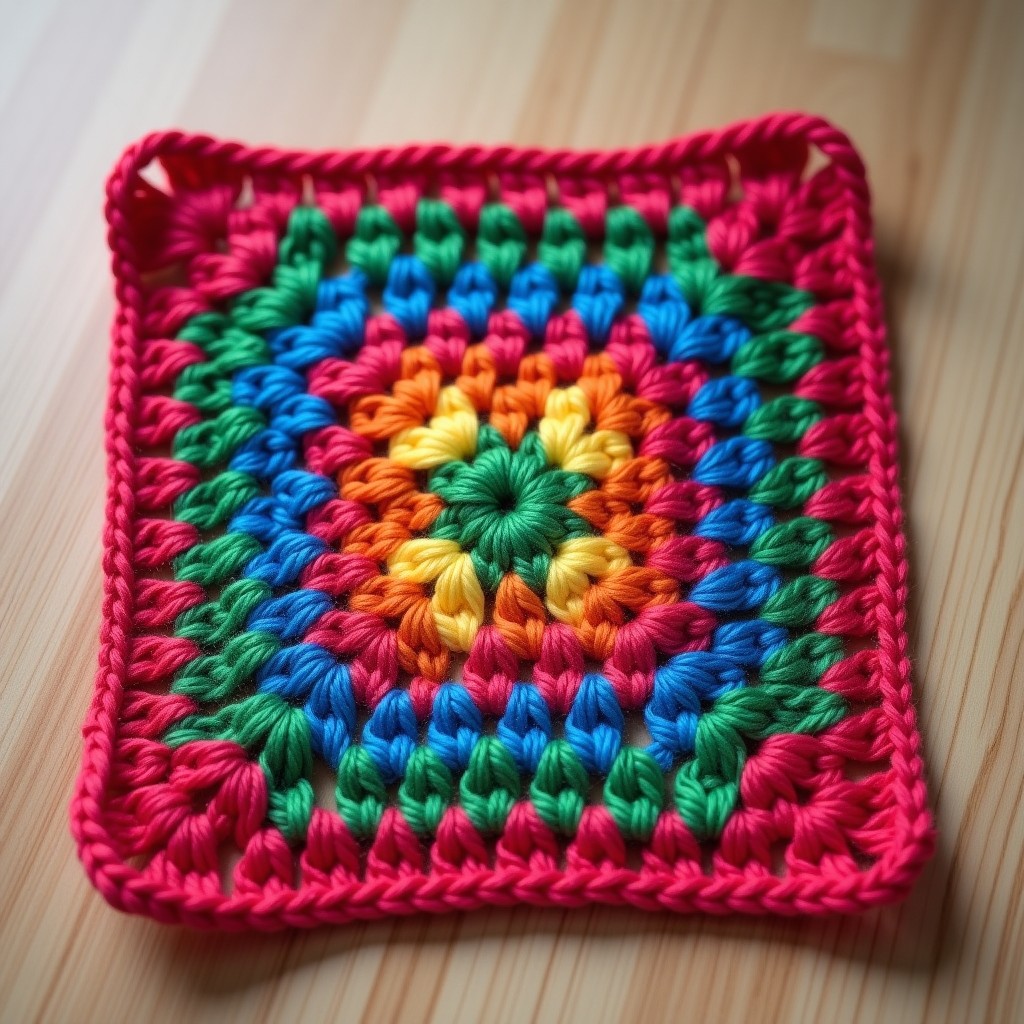
Now let us walk through exactly how to make a granny square, round by round. We will build a classic four-round granny square that you can repeat or expand for larger projects.
Round 1: The Center Ring
Start by making a magic ring (also called a magic loop). If you are not comfortable with the magic ring yet, you can chain 4 and join with a slip stitch to form a ring instead.
- Chain 3 (this counts as your first double crochet).
- Work 2 double crochet stitches into the ring.
- Chain 2 to create a corner space.
- Work 3 double crochet into the ring.
- Chain 2 for the second corner.
- Repeat: 3 double crochet, chain 2 (third corner), then 3 double crochet, chain 2 (fourth corner).
- Join with a slip stitch to the top of the beginning chain 3.
You should now have four clusters of 3 double crochet each, separated by chain-2 corner spaces. This is the center of your granny square.
Round 2: Building Out
Round 2 adds a side cluster between each corner, which is what gives the granny square its classic look.
- Slip stitch into the first chain-2 corner space.
- Chain 3 (first double crochet of the corner), then work 2 more double crochet in the same corner space.
- Chain 1 (this creates the side space).
- In the next chain-2 space, work 3 double crochet, chain 2, then 3 more double crochet. This is a full corner.
- Chain 1 for the side.
- Repeat around: corner (3 dc, ch 2, 3 dc), chain 1, corner, chain 1, corner, chain 1.
- Join with a slip stitch to the top of the beginning chain 3.
Round 3: Adding More Sides
Each new round adds one more side cluster between corners, making your square grow larger.
- Slip stitch into the first chain-2 corner space.
- Chain 3, work 2 double crochet in the same corner space, chain 2, work 3 double crochet (completing the corner).
- Chain 1. In the next chain-1 side space, work 3 double crochet. Chain 1.
- In the next corner space: 3 double crochet, chain 2, 3 double crochet. Chain 1.
- Repeat the pattern around the entire round.
- Join with a slip stitch to the top of the beginning chain 3.
Round 4: Continuing the Pattern
Round 4 follows the same logic but now has two side clusters between each corner. This is the round where the this technique pattern really starts to click for most beginners, as the square shape becomes clearly defined.
- Start in the first corner: chain 3, 2 double crochet, chain 2, 3 double crochet, chain 1.
- In each side space: 3 double crochet, chain 1.
- In each corner: 3 double crochet, chain 2, 3 double crochet, chain 1.
- Continue around and join with a slip stitch.
The pattern from here is simple: every new round has one more side cluster per side than the previous round. Round 5 will have three side clusters between corners, and so on. You can keep going until your square reaches the size you want.
What Are the Best Tips for Changing Colors?

One of the best things about learning how to make a granny square is that color changes are easy and look fantastic. Here is a simple method for changing colors at the start of a new round:
More Granny Squares to Try
- Complete the final slip stitch of the previous round using the old color.
- Before making the chain 3 for the new round, drop the old color and pick up the new color.
- Chain 3 with the new color and continue the round as normal.
- When you finish the round and join with a slip stitch, leave a tail of about 4-5 inches. You will weave this in later with your yarn needle.
A common approach is to use a different color for every round or every two rounds. This creates the colorful, scrappy look that granny squares are famous for. To keep your work tidy, try to change colors at the same corner each time you switch.
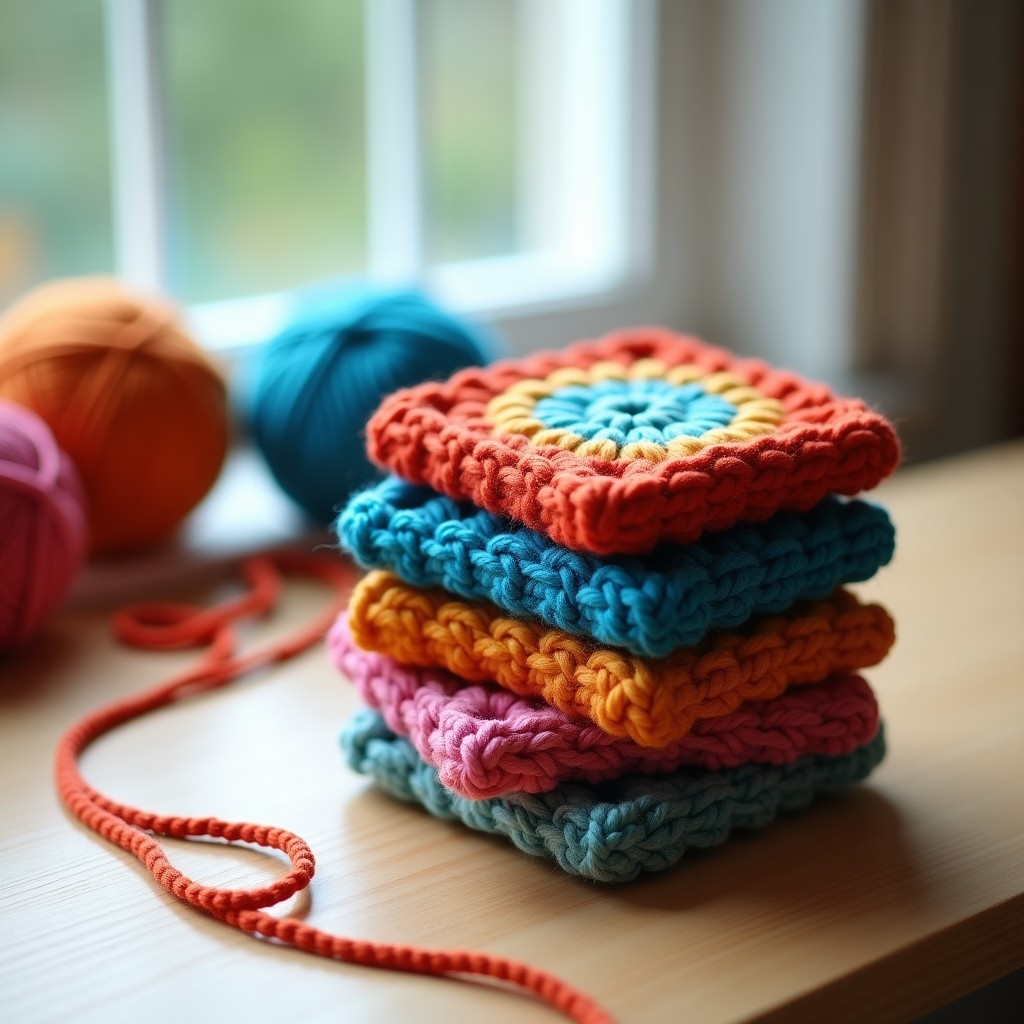
How to Join Granny Squares Together?
Once you have made several squares, you will want to join them into a larger piece like a blanket, bag, or pillow cover. Knowing how to crochet a granny square is the first step; joining them together is the next. Here are two beginner-friendly joining methods for your granny square projects:
Slip Stitch Join
Place two squares right sides together. Insert your hook through both layers at the corner, yarn over, and pull through both layers. Continue across the edge, working through both loops of each stitch. This creates a visible seam with a subtle ridge, which can actually add a nice decorative detail to your project.
Single Crochet Join
This method is similar to the slip stitch join but uses single crochet instead. It creates a slightly thicker, more pronounced seam. Simply work single crochet stitches through both layers across the edge. This is a great choice when you want the seams to stand out as part of the design.
What Are the Most Common Mistakes to Avoid?
Here are the mistakes that most commonly trip up beginners who are learning how to make a granny square, organized by where they usually happen:
- Round 1 mistakes: Forgetting to chain 2 between corner clusters is the most common error. Without the chain-2 spaces, your square will not have distinct corners and will look more like a circle. Count your chains every time.
- Round 2 mistakes: Skipping the chain-1 side spaces. The chain 1 between corners is what creates the side of the square. If you forget it, the corners will pull together and the square will curl.
- Round 3 and beyond: Losing track of how many side clusters belong in each round. Remember: round 2 has one side cluster per side, round 3 has two, round 4 has three, and so on. Use a stitch marker at the start of each round if you lose your place.
- General mistakes: Accidentally increasing or decreasing the number of corner chain-2 spaces. You should always have exactly four chain-2 corners per round, no matter how large the square gets.
A Simple Granny Square Practice Plan
If you are new to this technique, here is a straightforward practice schedule to help you master this technique in about two weeks:
- Days 1-2: Practice the magic ring and Round 1 until your center ring looks even. Make 4-5 centers and pull them out to reuse the yarn.
- Days 3-5: Practice Rounds 1 and 2 together. Focus on keeping your tension consistent and remembering the chain-1 side spaces.
- Days 6-8: Work through Rounds 1-3. Start paying attention to whether your square lies flat or starts to curl.
- Days 9-10: Complete a full four-round granny square in a single color. Weave in your ends and admire your work.
- Days 11-14: Make a second granny square with two or three color changes. Then practice joining your two squares together using the slip stitch or single crochet method.
By the end of two weeks, you will have a solid understanding of how to make a granny square from start to finish. The technique is incredibly versatile, which is why it has remained one of the most popular crochet patterns for generations. Once you are comfortable with the basics, the possibilities are endless. Granny squares can be turned into blankets, bags, pillows, clothing, and so much more.
For more crochet techniques and beginner patterns, explore the Craft Yarn Council’s beginner resources for additional guidance and tutorials.
Helpful Next Crochet Tutorials
- How to Crochet for Beginners
- How to Read a Crochet Pattern
- Crochet Hook Sizes
- Best Yarn for Beginner Crochet
- Easiest Crochet Projects for Beginners
More Granny Squares to Try
Frequently Asked Questions
What is the easiest way to make a granny square?
Learning how to make a granny square means mastering a classic crochet motif built in concentric rounds using clusters of double crochet stitches and chain spaces. It is the foundation for countless projects like blankets, bags, and garments.
Are granny squares suitable for beginners?
Yes! How to make a granny square is one of the best projects for absolute beginners. Once you know the chain stitch and double crochet, you can complete your first square in under 30 minutes.
What materials do I need to make a granny square?
To learn how to make a granny square, you only need a skein of worsted-weight yarn, a 5.0 mm crochet hook, scissors, and a yarn needle for weaving in ends.
For contemporary designs, see our guide on modern granny square patterns with 7 stunning free designs.
If you hate seaming squares together, try our granny square join as you go tutorial for seamless results.
Want something different? Our granny square hexagon patterns create stunning honeycomb layouts.
If your squares are coming out uneven, read our guide on why are my granny squares different sizes for 7 proven fixes.
How many rounds does a typical granny square have?
Most standard granny square patterns have 3 to 5 rounds, but you can keep going until the square reaches your desired size.
If you enjoyed this guide, you might also love our tutorials on How To Stop Crochet From Twisting Beginner, Granny Square Mosaic Crochet Guide, and Granny Square Ideas For Beginners. Each one comes with free patterns and step-by-step instructions perfect for crocheters of all skill levels.
Frequently Asked Questions
How many rounds is a basic granny square?
A classic small granny square is 3 to 4 rounds, but you can keep adding rounds of double-crochet clusters to make it any size you like.
What yarn and hook should beginners use for a granny square?
A medium worsted-weight (size 4) cotton or acrylic with a 4.5 to 5.5 mm hook is ideal because the stitches are easy to see and the square holds its shape.
Why is my granny square not lying flat?
Uneven tension or too few chains in the corner spaces are the usual causes. Keep your corner chain spaces consistent and block the finished square to even it out.