Crochet Magic Ring: 7 Beginner Steps & Fixes
Practice your magic ring with free patterns available on Ravelry.
Quick Answer
Crochet magic ring (MR) is a beginner crochet stitch used for amigurumi, hats, coasters, granny-style circles, and any project that starts in the round. It creates an adjustable center for working in the round, wrap yarn to form a loop, crochet the first round into the loop, then pull the tail to tighten the center. The most common beginner mistake is pulling the tail before the first round is secure, hold the ring firmly, crochet the required stitches first, then tighten slowly.
Tip: if your edges look messy, mark the last stitch of each row with a stitch marker until your stitch count stays consistent. Practice the crochet magic ring a few times until it feels natural and automatic.
At a Glance
- Skill level: Beginner
- Abbreviations: ch, MR, YO
- Turning chain: No turning chain concept; you work Round 1 into the ring, then join/continue as the pattern instructs.
- Best practice yarn: medium weight (#4), light color
Common Mistakes → Quick Fixes
- Tight stitches: loosen grip; size up 0.5 mm if needed.
- Crooked edges: count stitches; mark the last stitch.
- Wrong height: repeat the rhythm slowly and pull through the right number of loops.
Mini Glossary
ch (chain), MR (Crochet magic ring), YO (yarn over), turning chain, stitch marker, tension, loops, stitch count.
The magic ring (also called a magic circle or adjustable ring) is one of those techniques that looks intimidating until it clicks, and then you’ll use it constantly. It’s the cleanest way to start crocheting in the round because you can tighten the center almost completely closed.
If you’ve ever started a hat, coaster, granny square, or amigurumi toy and ended up with a hole in the middle, this tutorial is for you. I’ll show you a beginner-friendly method for making the ring, how to crochet your first stitches into it, how to tighten it properly, and how to secure the tail so it doesn’t loosen over time.
If you’re brand new to crochet and want a guided path, start at Start Here and visit the Beginner Crochet hub.
What is a crochet magic ring?
A crochet magic ring is a starting method used for patterns that begin in the round. Instead of chaining and joining into a fixed circle, you form a loop of yarn and crochet your first round of stitches into that loop. When the first round is complete, you pull the yarn tail to tighten the loop, closing the center hole.
In other words: it’s an adjustable start. That adjustability is what makes it so useful.
When should you use a crochet magic ring?
You can use a magic ring any time a pattern starts with “work X stitches into a ring.” It’s especially helpful when you want a tight center.
- Amigurumi: a tight center prevents stuffing from showing.
- Top-down hats: the crown looks neat with no hole.
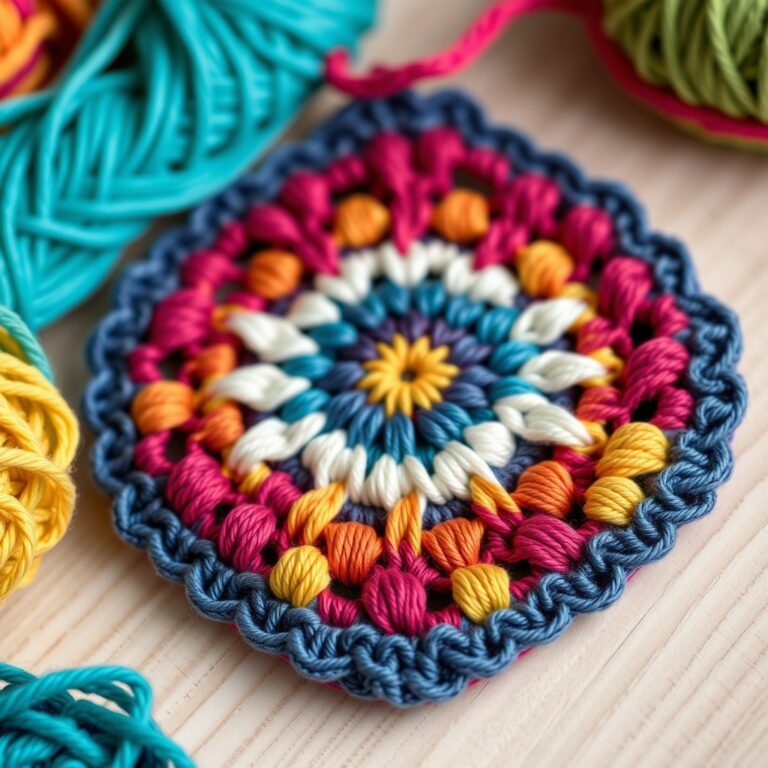
- Granny squares: a snug center gives a more polished look.
- Coasters and motifs: a clean, closed start looks finished.
If you want to practice this in a fun, motivating way, pair it with a simple motif like How to Make a Granny Square, then explore more projects in Granny Squares and Free Patterns.
What You Need
- Yarn (any weight)
- Crochet hook that suits your yarn
- Scissors
- Optional: stitch marker (very helpful for counting in rounds)
Stitches and Abbreviations You’ll See
Magic ring tutorials usually mention a few common abbreviations. Here are the most typical:
- ch = chain
- sc = single crochet
- dc = double crochet
- sl st = slip stitch
For a standard list of crochet abbreviations, see Craft Yarn Council crochet abbreviations.
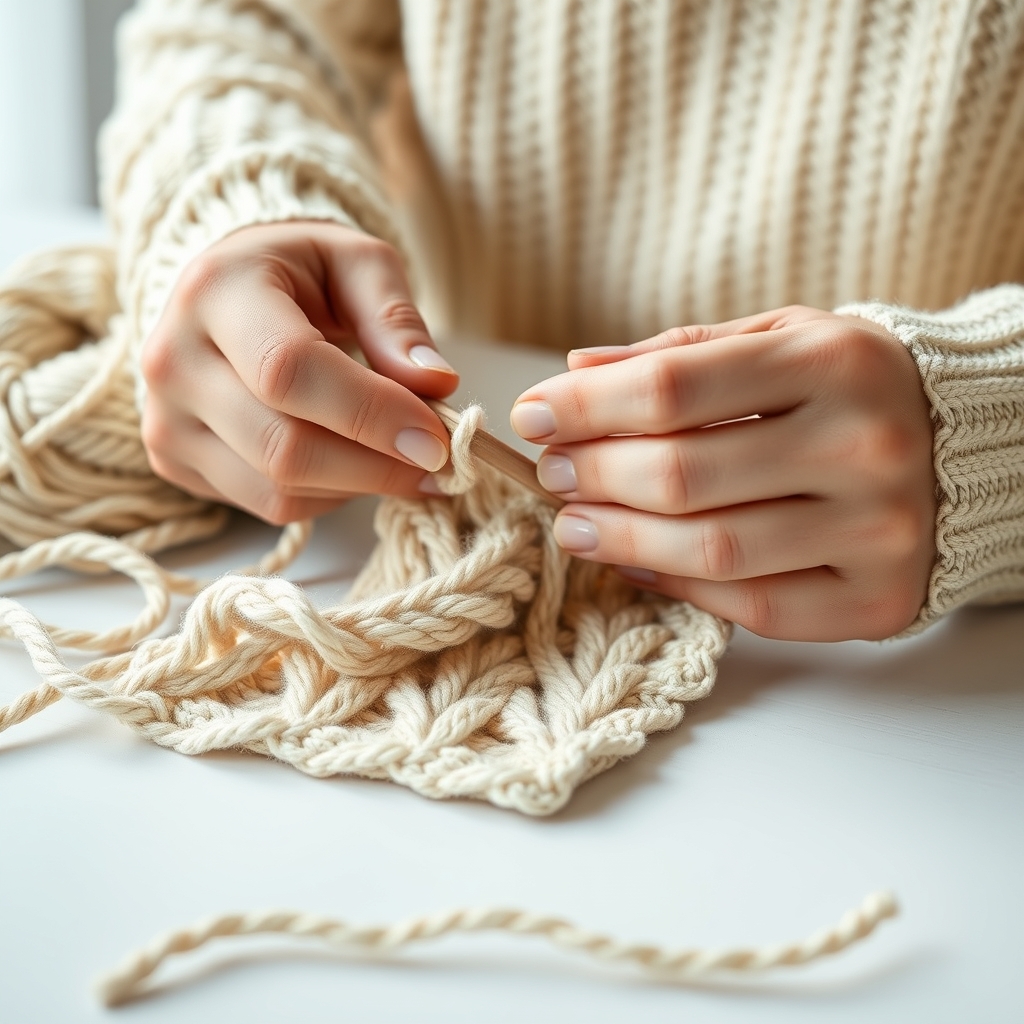
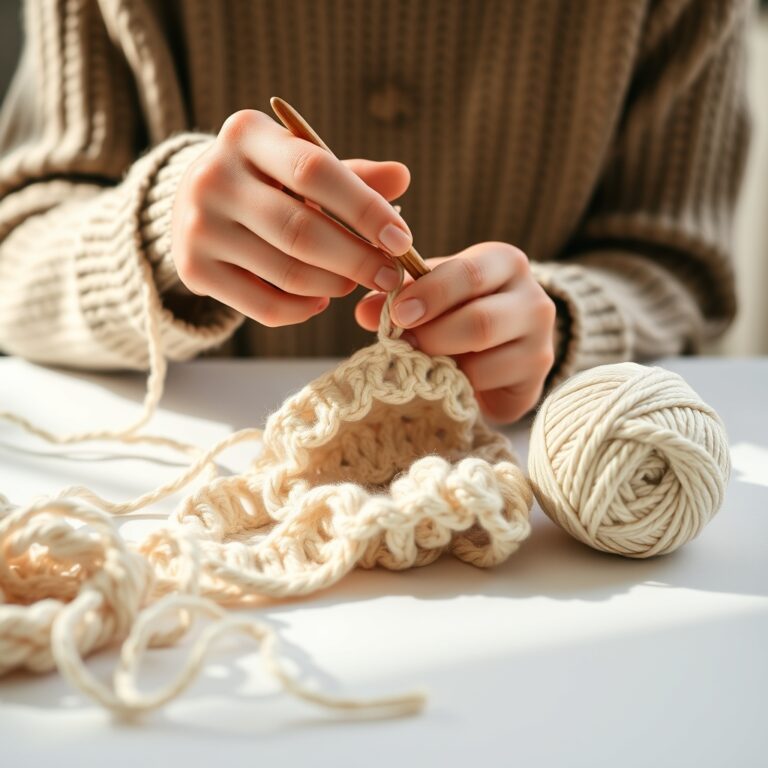
Crochet magic ring: step-by-step (beginner-friendly method)
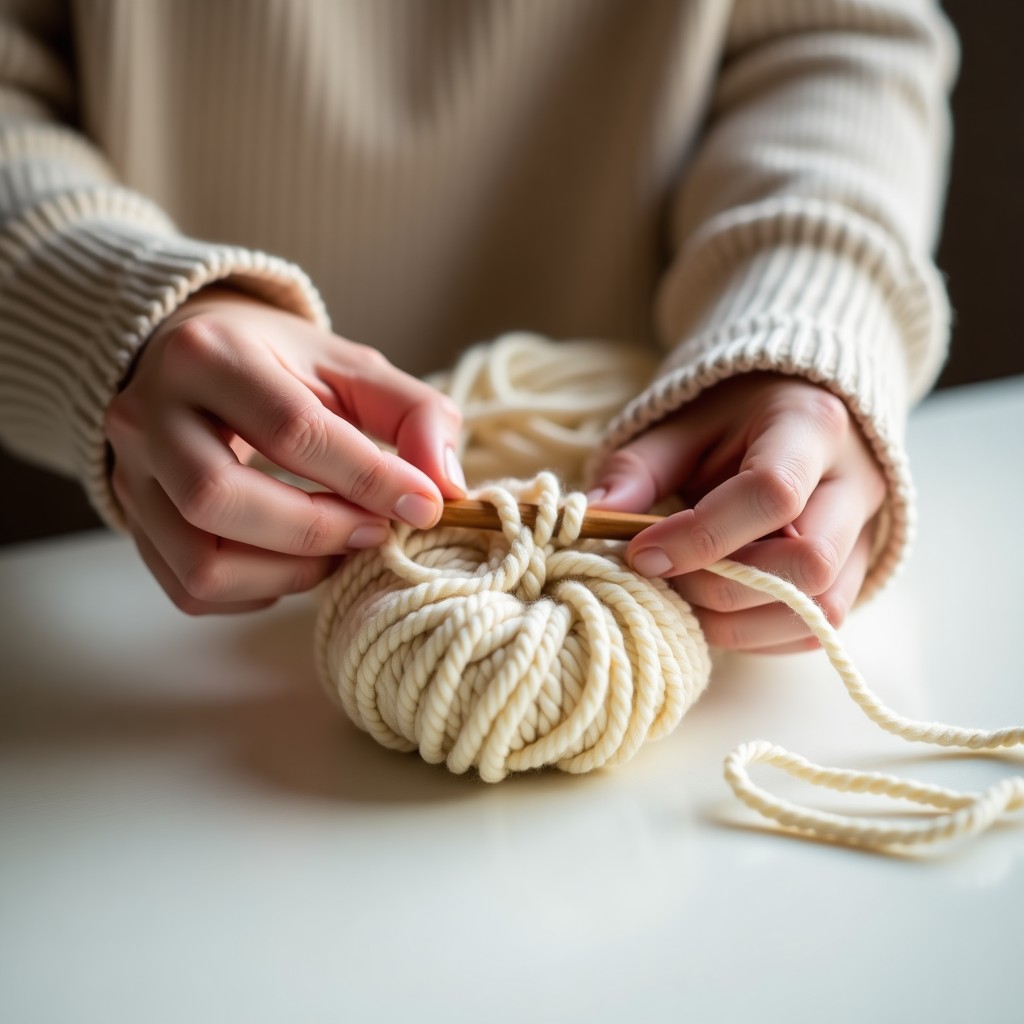
There are a few ways to form the ring. The method below is simple, stable, and easy to repeat. Read through once, then try it with a smooth, light-colored yarn so you can clearly see the strands.
Step 1: Leave a tail
Pull out a yarn tail about 6-8 inches (15-20 cm) long. This tail is what you’ll pull to close the ring, and you also need enough length to weave it in securely later.
Step 2: Form a loop
Hold the tail in your non-dominant hand. Lay the working yarn (the strand connected to the yarn ball) over it to form a loop. You want the working yarn crossing over the tail so you have a clear “X” shape.
The exact direction you wrap doesn’t matter as much as being consistent, what matters is that you can identify which strand is the tail and which is the working yarn.
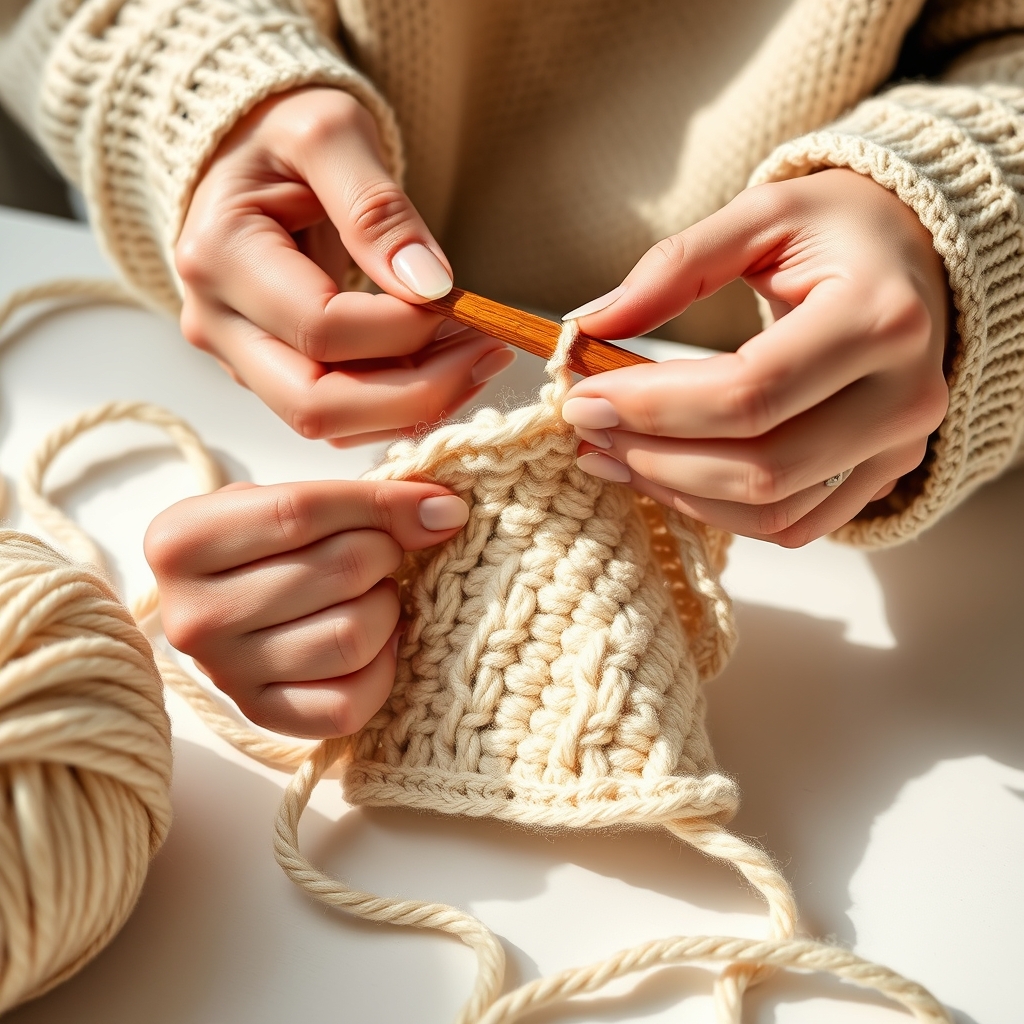
Step 3: Insert the hook and pull up a loop
Insert your hook under the front strand of the loop. Yarn over with the working yarn and pull up a loop onto your hook.
Beginner tip: Keep the loop big enough that your hook fits easily. If the loop is tiny, the first stitches will feel cramped and frustrating.
Step 4: Chain to secure the ring
Chain 1 to secure the ring.
Important: whether this chain counts as a stitch depends on your pattern. Many patterns treat it as “just a securing chain.” Others count it as the first stitch. Always follow the pattern instructions.
Step 5: Crochet stitches into the ring
Now crochet the required number of stitches into the center of the ring (around the loop). You’ll insert your hook into the center opening, yarn over, and complete the stitch as usual.
Common examples:
- Amigurumi: often 6 sc into the ring
- Flat circle in dc: often 10-12 dc into the ring (pattern-specific)
- Granny square start: often a sequence of dc clusters into the ring
Counting tip: Place a stitch marker in stitch #1 right away. Beginners often lose track of where the round starts, and a marker makes it much easier to count and join correctly.
Step 6: Tighten the magic ring
Once you’ve made the required stitches, hold the stitches with one hand and gently pull the tail with the other. The loop will tighten and the center hole will close.
If it doesn’t tighten, don’t force it. See the troubleshooting section below, usually it means the tail strand got caught in a way that prevents sliding.
Step 7: Join or continue (depending on your pattern)
Patterns handle the next step in one of two ways:
- Joined rounds: you join to the first stitch (often with sl st) and start the next round.
- Continuous rounds: you do not join; you keep crocheting in a spiral and use a marker to track rounds.
This matters because using the wrong method can change the look of the round and affect stitch counts. If the pattern says “join,” join. If it says “work in continuous rounds,” keep going with your marker.
How to secure the tail so the ring doesn’t loosen later?
A magic ring looks neat, but it needs proper securing, especially on items that get handled a lot (amigurumi) or stretched (hats). The center can loosen if the tail isn’t woven in well.
A secure method:
- After you crochet 2-3 rounds, thread the tail onto a yarn needle.
- Weave the tail through the backs of several stitches on the wrong side.
- Change direction and weave back through different stitches.
- Repeat once more if your yarn is slippery.
Changing direction is the key. It “locks” the yarn in place.
Tension tips for a neat crochet magic ring
The magic ring feels awkward because you’re controlling multiple strands. The most common beginner mistake is tightening the ring too early. If you tighten before you’ve finished the first round, the stitches become cramped and difficult to work into.
Instead:
- Keep the ring loop open and roomy while you crochet the first stitches.
- Focus on consistent loop height so the first round looks even.
- Only tighten the ring after the first round stitches are complete.
After you tighten, gently slide the stitches around the ring with your fingers so they distribute evenly. This helps the round sit flat and look smooth.
Common crochet magic ring mistakes (and easy fixes)
My ring won’t close
Usually cause: you’re pulling the working yarn instead of the tail, or the tail strand got trapped by your stitches.
Fix: identify the tail (the short end) and pull that. If it still won’t slide, gently loosen the first stitch or two with your hook tip, then pull the tail again. If it’s fully locked, restart and keep the tail strand free, crochet around the ring loop, not through the tail itself.
I tightened it, but I still see a tiny hole
Cause: some yarns are springy or the first stitches aren’t snug.
Fix: thread the tail through the first-round stitches like a drawstring, pull again to cinch, then weave in securely. Many crocheters do this extra cinch step for amigurumi to get the tightest center.
My first round looks messy
This is normal. Round one is often the messiest part of any project. The best fixes are:
- Use a smooth, light yarn for practice.
- Use a stitch marker in stitch #1.
- Slow down and count carefully.
After round two, everything typically looks much cleaner.
The ring loosened after a few days/weeks
Cause: the tail wasn’t woven in securely, or it was cut too short.
Fix: always leave a long tail and weave in back and forth, changing direction. If the ring has already loosened, you may be able to re-tighten the tail from the wrong side and then re-weave it, depending on the project.
Magic ring alternatives (if you hate it right now)
If the magic ring feels too fiddly, that’s okay. You can still make beautiful projects using a chain start. The trade-off is that the center won’t tighten fully closed (you’ll have a small hole). For many motifs, that hole is totally fine.
Alternative 1: Chain 2 method
Chain 2, then crochet the required stitches into the second chain from the hook. This can be easier than crocheting into a ring for some beginners.
Alternative 2: Chain 4 + slip stitch ring
Chain 4, slip stitch into the first chain to form a ring, then crochet the first round into that ring.
These alternatives are also useful if you’re working with very slippery yarn that doesn’t hold a magic ring well.
Practice ideas (so the magic ring clicks faster)
Practice goes faster when the practice has a purpose. Instead of making random circles, try one of these:
- Make 3-5 tiny circles that start with 6 sc, then increase once. (Great for amigurumi basics.)
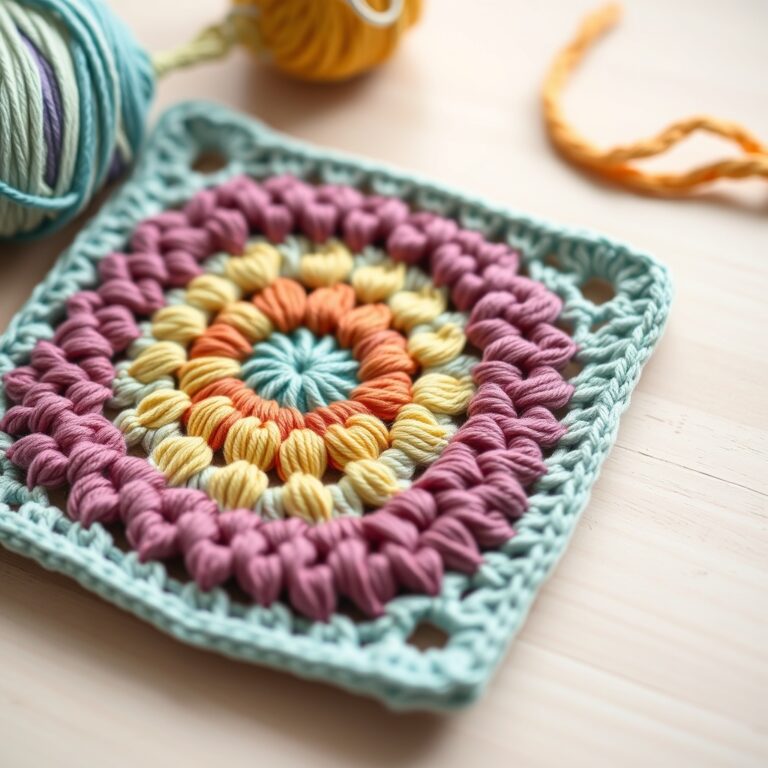
- Start a granny square using a magic ring, then complete 2 rounds. (Motivating because it looks “real.”)
- Start a simple beanie top and do the first 3 rounds. (Great round-counting practice.)
If you want a beginner-friendly project list that builds skills in order, see Crochet Patterns for Beginners.
Magic ring anatomy: what you’re actually crocheting around
Understanding what’s happening under your fingers makes the magic ring much less mysterious. When you form the loop, you essentially have two strands in front of you:
- The ring loop strand (the strand that will slide closed)
- The tail strand (the free end you’ll pull and later weave in)
In most beginner-friendly magic ring methods, your first-round stitches are worked around the ring loop strand. That’s what allows the loop to slide smaller when you pull the tail. If your stitches accidentally trap the tail strand in a tight way, the loop can’t slide, and the ring won’t close.
Worked example: 6 single crochet into a magic ring (amigurumi start)
Many amigurumi patterns start with 6 sc in a magic ring because it creates a small, tight base that increases smoothly into a ball shape.
Here’s what that looks like in plain language:
- Make the ring and ch 1 to secure (do not count this as a stitch unless the pattern says so).
- Work 6 sc into the center of the ring.
- Pull the tail to close the center.
After that, patterns usually continue with increases such as “Round 2: inc in each stitch (12).” That means you work 2 sc in each stitch from the previous round, doubling your stitch count from 6 to 12.
Counting tip: Because continuous rounds are common in amigurumi, place a marker in the first stitch of the round and move it up each round. This prevents losing your place and accidentally adding an extra increase.
Joined rounds vs continuous rounds (why your circle sometimes looks “stepped”)
Beginners often notice a little “step” or jog when crocheting in the round. This can happen for two reasons:
- Joined rounds create a seam where you join and start again.
- Continuous rounds spiral upward, which can shift color changes and stitch placement slightly.
Neither is wrong. They’re just different systems. If you’re making a granny square, you’ll usually use joined rounds. If you’re making amigurumi, you’ll often use continuous rounds. Following the pattern’s system is what creates the intended look.
How to get an extra-tight center (pro trick for slippery yarns)?
Some yarns are smooth or springy and want to “re-open” a tiny hole even after you tighten. If you need the center fully closed (common for amigurumi), try this:
- After tightening, thread the tail onto a yarn needle.
- Pass the needle through the loops of the first-round stitches, circling the center like a drawstring.
- Pull the tail again to cinch.
- Then weave the tail back and forth to lock it in place.
This extra drawstring pass often closes the last tiny gap and keeps it closed long-term.
Left-handed note (and why direction doesn’t really matter)
If you crochet left-handed, the loop formation might look mirrored compared to some tutorials. That’s okay. The main idea is the same: you need a loop that can slide, a tail you can pull, and stitches worked around the loop. If a tutorial’s direction feels backwards, mirror it, what matters is that you can identify the tail and successfully tighten the center.
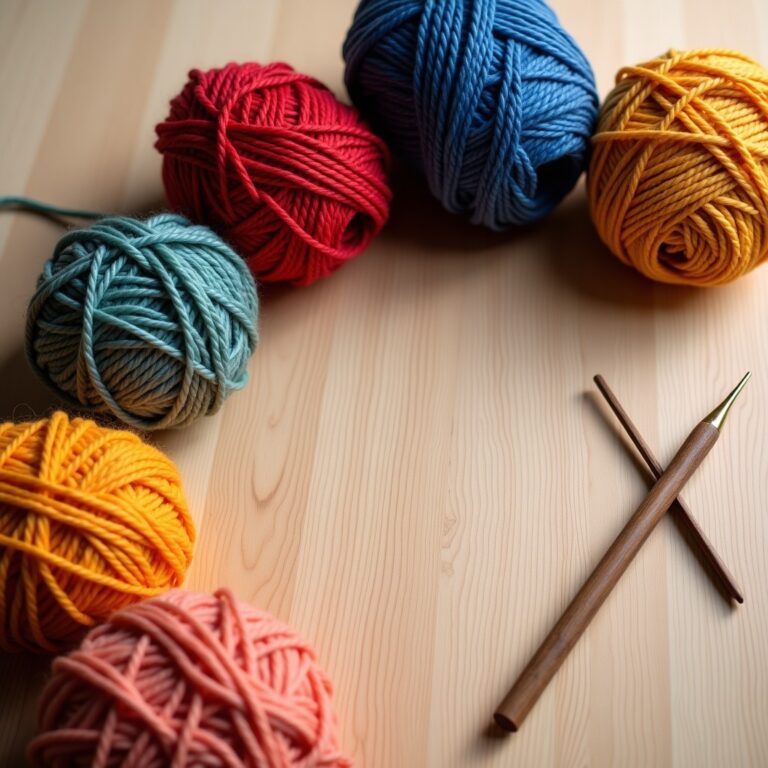
Best yarn and hook for practicing the magic ring
If you’re learning, your materials matter. Pick a smooth, light-colored yarn (so you can see the strands) and a hook that isn’t too small for the yarn. If the hook is tiny, the first stitches will feel tight and you’ll struggle to insert the hook into the ring. A medium yarn (worsted) with a 5.0 mm hook is a comfortable practice combo for many beginners.
Once the motion feels natural, you can use the technique with any yarn weight.
Quick Recap (60 Seconds)
If you want the magic ring steps in the simplest form, here’s the whole flow: make a loop with a tail, pull up a loop with your hook, chain to secure, work your first stitches around both strands, then pull the tail to close the center. After that, secure the tail by weaving it in with direction changes so it can’t loosen during washing or wear.
When your ring won’t tighten, it’s almost always because you crocheted only around one strand instead of around the full ring (both the loop and the tail). If that happens, loosen the stitches gently, re-form the ring, and try again with a larger loop so you can clearly see the strands.
Related Guides on KnotToYarn
More tutorials and patterns to keep going:
Next Steps
- New here? Visit Start Here.
- Build skills at Beginner Crochet.
- Use your magic ring in a classic motif: How to Make a Granny Square.
- Browse patterns you can start in the round: Free Patterns.
Frequently Asked Questions
What is a crochet magic ring?
A crochet magic ring (also called a magic circle or adjustable loop) is a technique for starting projects worked in the round. It creates a completely closed center with no visible hole, unlike the traditional chain-loop start.
Is the crochet magic ring suitable for beginners?
Yes! The crochet magic ring is an excellent technique for beginners to learn early on. It only takes a few minutes of practice and makes amigurumi, hats, and motifs look much more professional.
What materials do I need for a crochet magic ring?
You only need your project yarn and a crochet hook. The crochet magic ring itself uses no special tools, just the yarn wrapped around your fingers and worked with your hook.
Why does my crochet magic ring keep coming undone?
This usually happens if you don’t tighten the tail firmly enough or if you forget to weave in the tail after closing. Pull the starting tail snug, then weave it in with a yarn needle to secure it.
You Might Also Like
- Crochet Mothers Day Gifts: 7 Easy Free Patterns (2026)
- Crochet Amigurumi: 7 Easy and Stunning Patterns for Beginners
Frequently Asked Questions
What is a crochet magic ring?
A magic ring is an adjustable starting loop you cinch tight after the first round, giving amigurumi and in-the-round projects a closed, hole-free centre.
Why does my magic ring keep coming undone?
Secure the tail by weaving it through the first few stitches and give the working yarn a firm tug before continuing. A double magic ring holds tighter for slippery yarns.
When should I use a magic ring instead of a chain?
Use a magic ring whenever you need a tight, closed centre such as amigurumi, hats, or granny circles. A chain-ring leaves a small visible hole that a magic ring avoids.
3 Comments