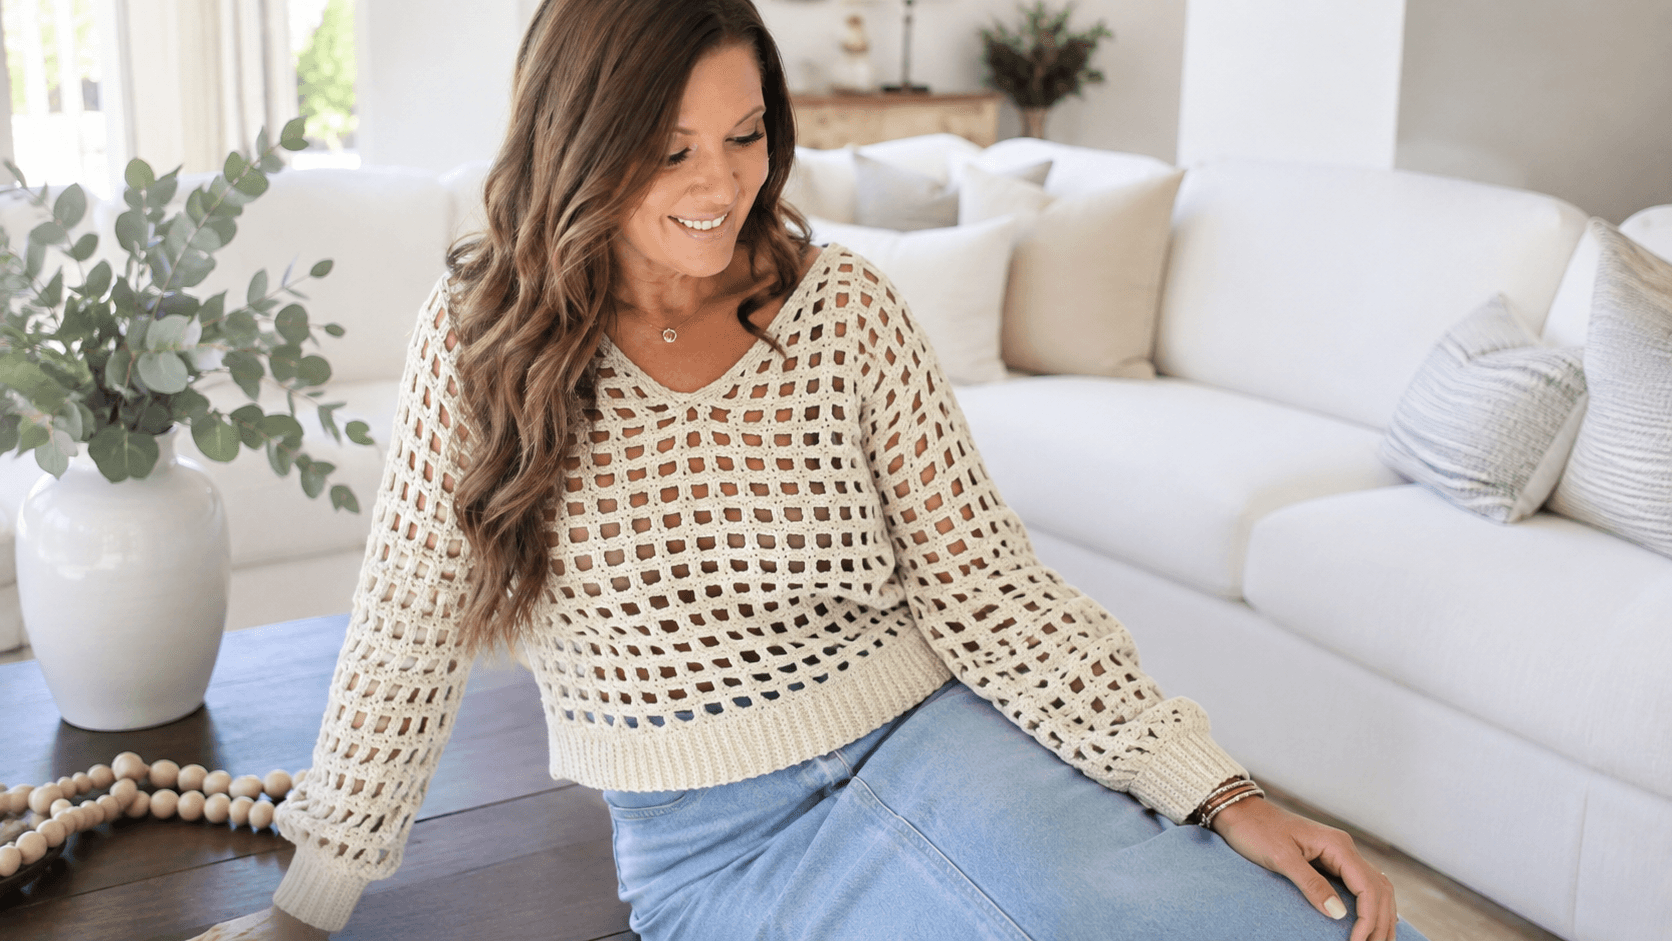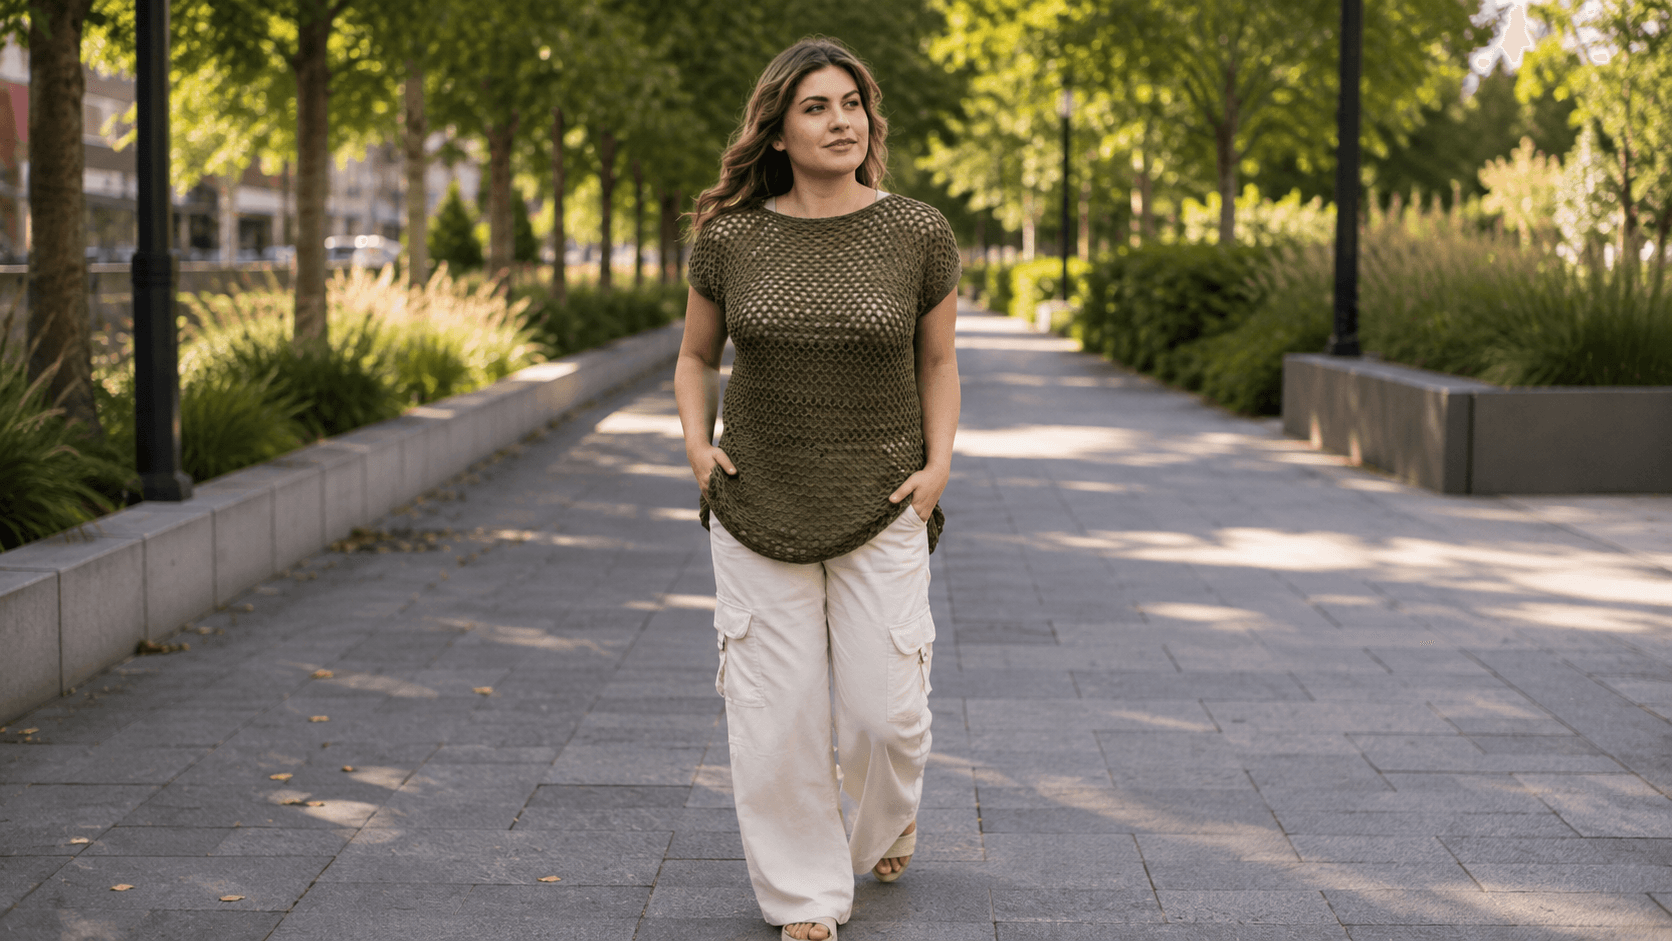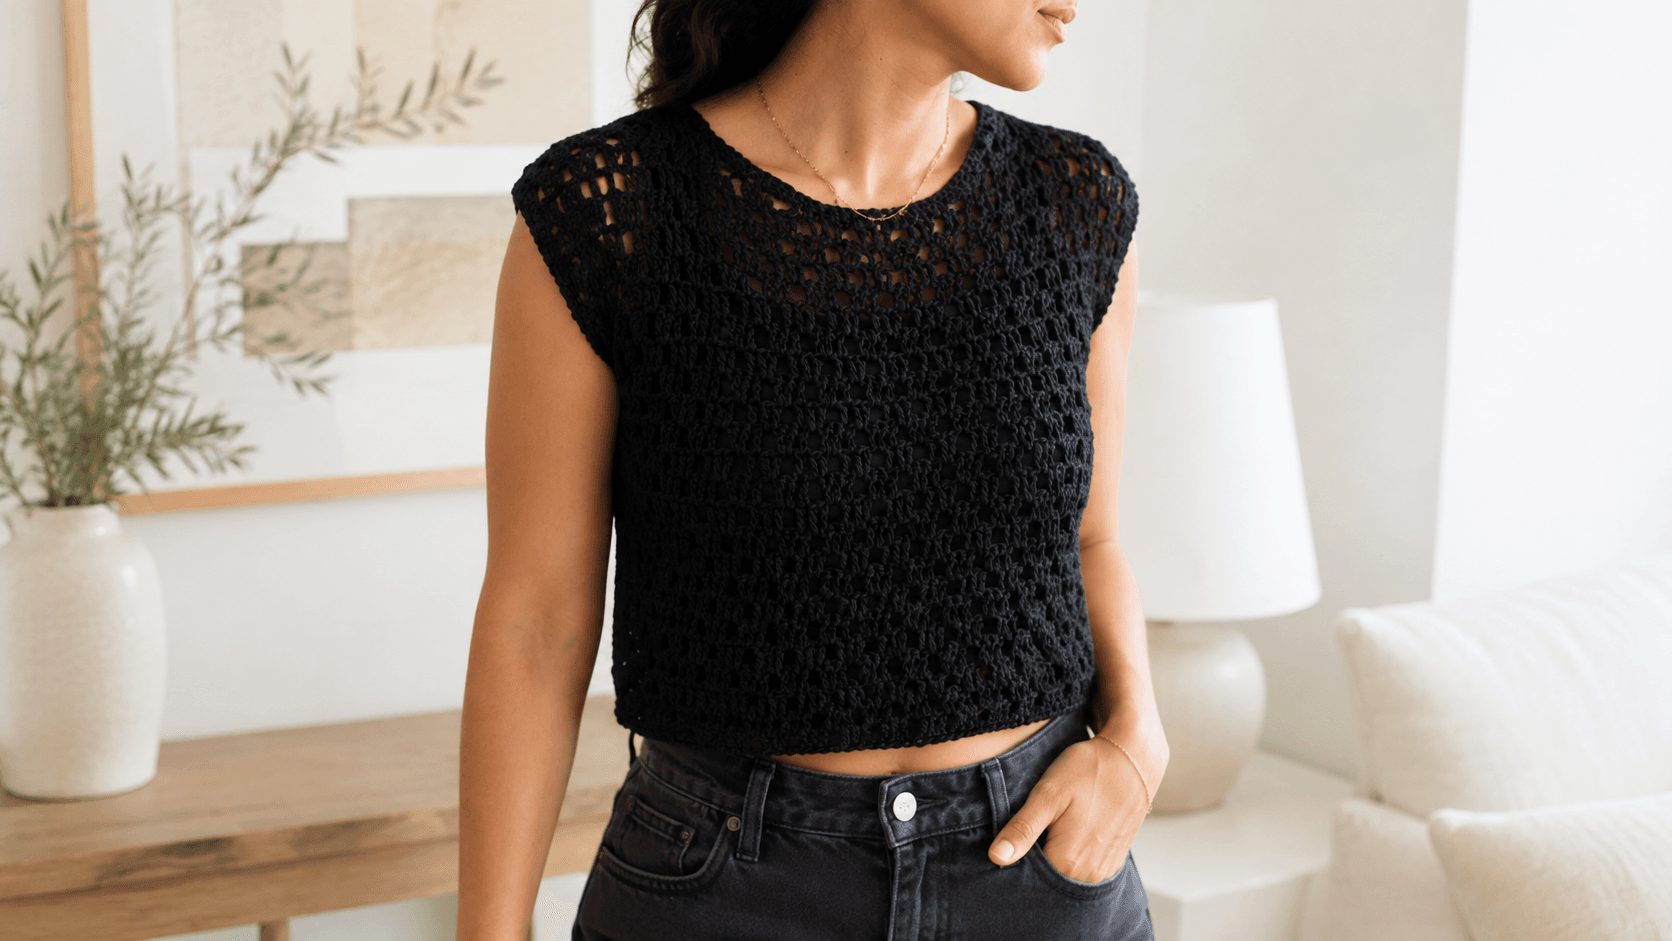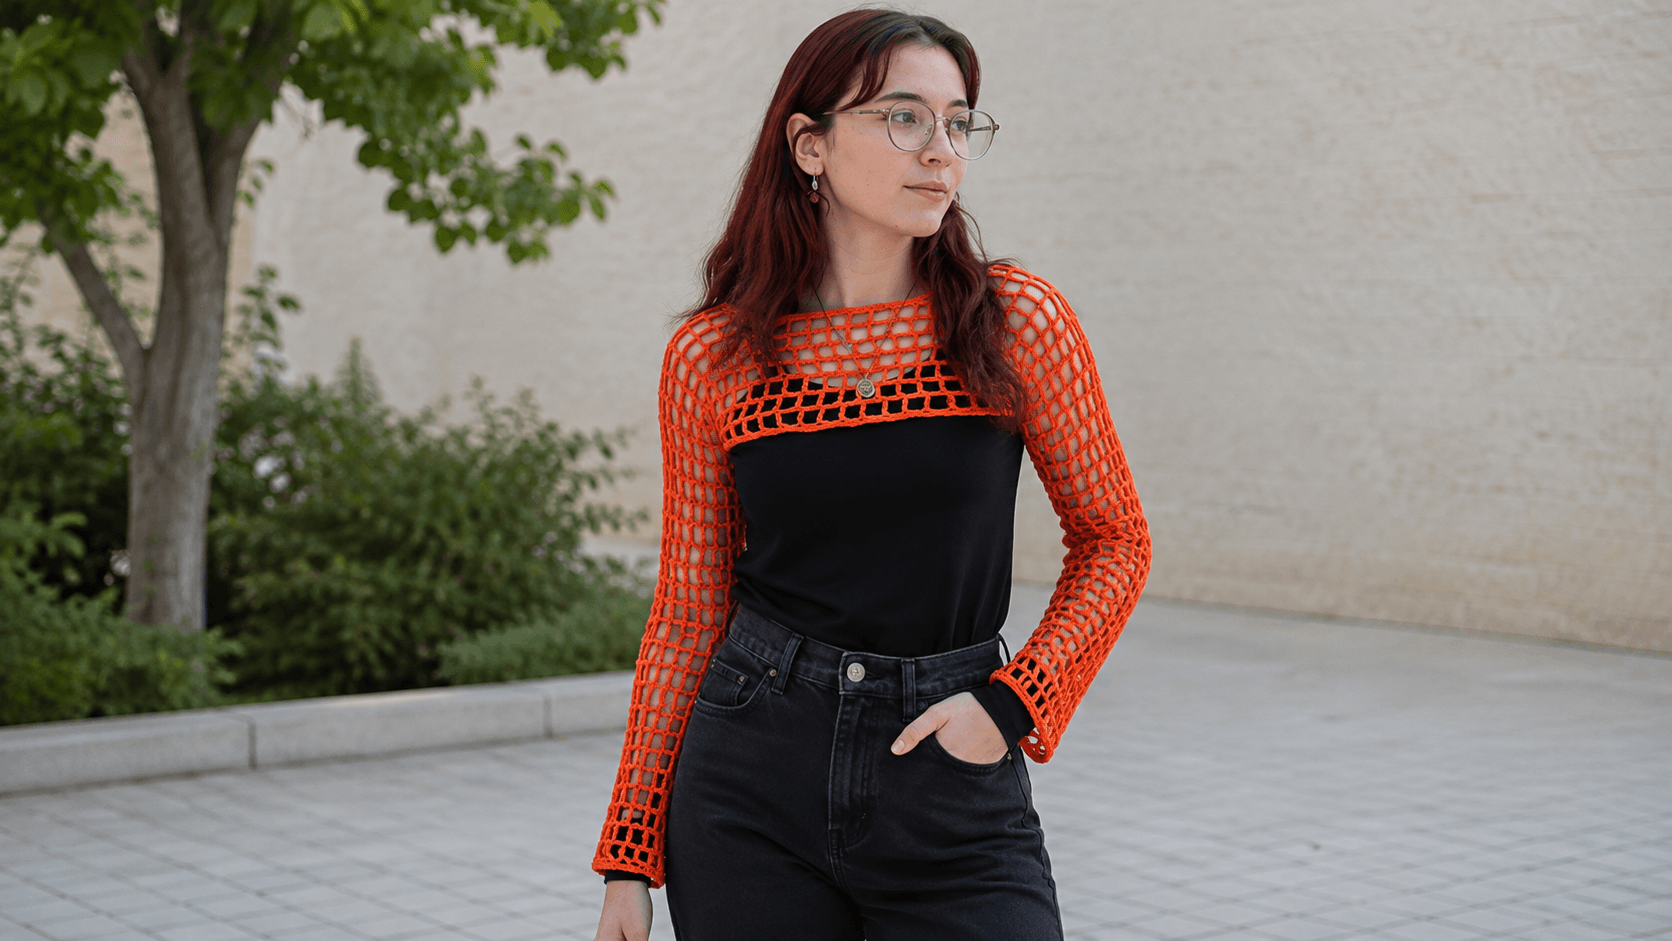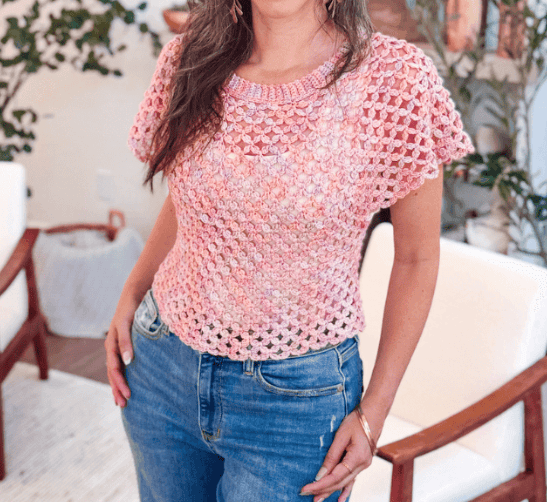
Oversized Openwork Shirt: Free Crochet Pattern (Simple Mesh Formula)

Quick Answer
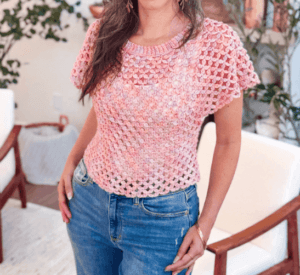
An oversized openwork shirt crochet pattern is an intermediate-level wearable pattern that uses a simple chain-2 skip-2 mesh stitch alternating with solid double crochet rows to create a breathable, lightweight fabric with a beautiful grid-like texture. The garment is built from two identical flat panels seamed at the center back and sides, then finished with a polo collar, short sleeves worked in the round, and a clean hem border. Most crocheters with basic double crochet experience can complete this pattern in one to two weekends.
Tip: Always make a gauge swatch first: even a half-stitch difference per inch will change your finished shirt size by several inches across the full panel width.
At a Glance
- Skill level: Intermediate
- Time needed: 10-20 hours depending on size and experience
- Best yarn: Sport weight (Size 2 / DK), 100% microfiber acrylic
- Hook size: 3 mm
Common Mistakes → Quick Fixes
- Skipping wrong stitch count in mesh rows: always skip exactly 2 stitches (not 1 or 3) so the chain-2 windows stack vertically. If your grid looks offset, you skipped the wrong number.
- Foundation chain too short or too long: chain twice your desired shirt length, fold in half, and measure against your body before starting row 1. Adjust before committing.
- Neckline halves different heights: count your rows carefully on each side of the neckline split. Both halves must have identical row counts for a symmetrical opening.
Mini Glossary
chain (ch), double crochet (DC), single crochet (SC), slip stitch (sl st), stitch marker, mesh row, chain-2 space (sp), foundation chain, gauge swatch, blocking, seaming, darning needle, turning chain.
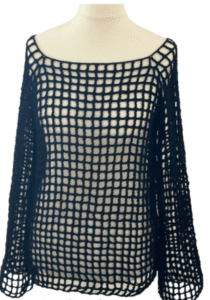
Featured Free Pattern: Openwork Mesh Beach Shirt
This is KnotToYarn’s own original pattern, free to use, and you’re welcome to sell what you make from it.
This breezy over-shirt is honest about what it is: rectangles of fast double-crochet mesh, seamed like a sweater. The openwork forgives every tension wobble, which makes it an ideal first garment. Complete formula below.
Materials
- Sport or DK cotton/linen yarn, about 350-450 g
- 5.0 mm (US H) hook, deliberately oversized for the yarn, which creates the open drape
- Measuring tape, yarn needle
Finished size: Custom formula; oversized fit is the design intent, when in doubt, go bigger
Skill level: Beginner
Abbreviations (US terms): ch (chain), dc (double crochet), sc (single crochet), ch-sp (chain space), st(s) (stitch/es)
Instructions
The Mesh
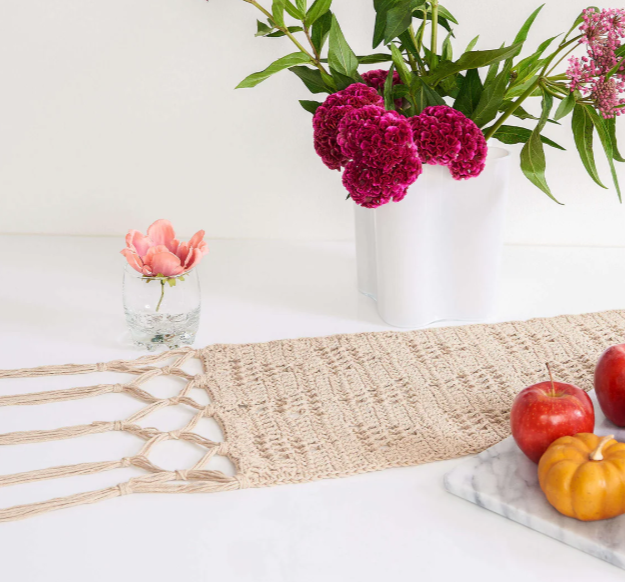
The whole shirt is one stitch pattern: Row: *dc, ch 1, skip 1;* repeat. Every following row works dc into dc and ch-1 over ch-1. It grows twice as fast as solid dc and drapes like fabric.
The Body (2 rectangles)
WIDTH = (chest ÷ 2) + 12-15 cm, oversized is the look. HEIGHT = shoulder to mid-hip or longer.
Foundation: ch an even number reaching your width. Row 1: dc in the 4th ch from the hook, *ch 1, skip 1 ch, dc in the next ch;* repeat across. Ch 4 to turn (counts as dc + ch 1).
Row 2 onward: *dc in the next dc, ch 1;* across, dc in the turning chain. Repeat to height.
Sleeves (2 rectangles)
WIDTH = upper arm + 10 cm; HEIGHT = desired sleeve length. Same mesh. For elbow sleeves, the best length for a beach shirt, that is usually 30 cm.
Assembly
Shoulder seams: leave a 26-28 cm neck gap (mesh stretches; smaller gaps still fit over heads). Set in the folded sleeves drop-shoulder style, then seam sleeve and side in one run from cuff to hem. Seam through the dc posts, not the ch spaces, and the seams disappear into the mesh.
Finishing
Work 2 rounds of sc around hem, cuffs, and neckline to stabilize the edges, mesh without an sc border grows sideways forever. Optional front placket: a vertical line of sc up the center front with three ch-3 button loops, plus shell buttons. Wet-block once; linen and cotton mesh relax beautifully.
Made this? We’d love to show off your work, send a photo through our contact page and we’ll feature it here with credit to you.
Tip: Mesh is see-through by design, that is why it works over swimwear. If you want it less sheer, do NOT tighten the mesh (it kills the drape); change to a heavier yarn instead.
The oversized openwork shirt crochet pattern is one of the most rewarding intermediate projects you can tackle. It combines simple stitches into a stunning wearable garment that looks far more complicated than it actually is. The breathable mesh fabric is well suited to warm weather layering, and the oversized fit flatters every body type. Whether you are looking to expand your garment-making skills or want a standout piece for your handmade wardrobe, this oversized openwork shirt crochet pattern delivers both style and satisfaction.
In this guide, we will walk through everything you need to know before starting the oversized openwork shirt crochet pattern, including materials, sizing, the openwork stitch technique, panel construction, and finishing steps. You can also download the complete PDF pattern with row-by-row instructions, images, and a custom sizing guide for all body sizes from XS/S through XXXL.
What You Need?
Before starting the this pattern, gather all your materials. Having everything ready before you begin prevents interruptions and keeps your momentum going. Here is the complete supply list:
- Yarn: Sport weight (Size 2 / DK) yarn, approximately 4 skeins (400g / 1064m). The designer used Durable Comfy in 100% microfiber acrylic, which creates a beautiful drape. For yarn recommendations, check our guide on the best yarn for crochet projects.
- Crochet Hook: 3 mm hook. The designer used 3 mm even though the yarn label recommends 3-4 mm. Review our crochet hook size chart for reference.
- Stitch Markers: Multiple colors for marking the neckline split, armhole boundaries, and collar attachment points.
- Darning Needle: For seaming the two panels together at the center back and sides.
- Measuring Tape: Essential for checking panel width, shirt length, and custom sizing adjustments.
- Scissors: Sharp craft scissors for clean yarn cuts.
How the Openwork Mesh Stitch Works?
The openwork mesh stitch is the heart of this shirt. It is created by alternating just two simple rows: a mesh row with chain-2 gaps and a solid double crochet row. The mesh row chains 2 and skips 2 stitches between double crochets, creating evenly spaced rectangular windows. The solid row fills those chain-2 spaces with 2 double crochets each, anchoring the mesh and creating horizontal bars. When these two rows alternate back and forth, the chain-2 windows stack vertically to form a clean, regular grid pattern.
This stitch is easy to memorize once you understand the rhythm: chain 2, skip 2, double crochet in the 3rd stitch, repeat. The key is always skipping exactly 2 stitches per window. Skipping 1 or 3 will offset the grid and break the visual pattern. If you already know the basic double crochet stitch, you have all the skills needed for this mesh technique.
According to the Craft Yarn Council, mesh and lace stitches are among the most popular intermediate techniques because they create striking visual impact with minimal stitch complexity. The openwork shirt is an excellent introduction to garment-making with mesh stitches.
Panel Construction Method
The pattern uses a clever two-panel construction method that is ideal for intermediate crocheters. Instead of working in the round or shaping as you go, you create two identical flat rectangular panels and seam them together. Each panel is worked bottom-up from a long foundation chain whose length equals twice your desired shirt height. For the designer size (23-inch shirt), the foundation chain is approximately 122 chains or about 46 inches long.
You work the openwork mesh stitch across the chain width, building row by row until the panel reaches your desired body width. The designer panel is approximately 10 inches wide. Once both panels reach the target width, they are each split at the center for the neckline opening (4 rows on each half), then joined at the center back using a whip-stitch seam. Side seams are closed from the hem up to the marked armhole depth.
This flat-panel method is extremely beginner-friendly because you can try on a single panel over your shoulder to check the fit before committing to the second panel. If the width feels too narrow or too wide, you can adjust before making panel two. This approach is far less risky than top-down or bottom-up seamless garment construction, where sizing mistakes are harder to fix once you are dozens of rounds in.
Custom Sizing for Any Body
One of the best features of the mesh shirt is that it adapts to any body size. The pattern includes a complete custom sizing guide covering XS/S through XXXL. Here is how the sizing system works:
Step 1: Measure your bust or chest circumference at the fullest point and your desired shirt length from shoulder to hem. Write both measurements down.
Step 2: Multiply your shirt length by 2 to get the foundation chain length in inches. Make a small gauge swatch with your chosen yarn and hook, count how many chains fit in one inch, then multiply to get the total chain count. Round to the nearest multiple of 3 and add 1.
Step 3: Divide your bust measurement by 2 to get the flat panel width, then add 2 to 4 inches for oversized ease. Convert this width to a row count using your gauge, and work each panel until it reaches that measurement.
The sleeve lengths also scale by size: XS/S is 7 inches, M is 8 inches, L is 8.5 inches, XL is 9 inches, XXL is 10 inches, and XXXL is 11 inches. The neckline and armhole measurements scale proportionally as well, so the finished garment maintains its proportions across every size. For more tips on achieving consistent sizing, the Spruce Crafts gauge guide is an excellent reference.
Download the Oversized Openwork Shirt Crochet
The complete this pattern PDF includes everything you need to finish the garment with confidence. Here is what is inside the downloadable pattern:
- Full row-by-row instructions for both panels, from foundation chain through final stitch
- Openwork mesh stitch pattern tutorial with detailed explanations
- Two-panel construction guide with neckline split instructions
- Center back joining, side seam, and armhole marking guide
- Bottom border instructions with double crochet edging
- Polo collar construction with 8 increase rows and optional SC edge clean-up
- Short sleeve instructions worked in the round (4 rounds per sleeve)
- Complete custom sizing chart for XS/S through XXXL
- Quick reference checklist to track your progress
- Finishing instructions: weaving in ends, blocking, and care tips
Download Oversized Openwork Shirt Crochet Pattern (PDF)
What Are the Best Tips for Best Results?
These tips will help you get the most out of the shirt and achieve a professional-looking finished garment.
Count your chain-2 spaces on every mesh row. The most common mistake crocheters make with this pattern is accidentally skipping 1 or 3 stitches instead of exactly 2. This shifts the entire grid and creates an uneven, wavy appearance. Count your chain-2 spaces out loud as you work each mesh row. It takes an extra few seconds per row but saves hours of frustration from having to rip back and fix the pattern alignment.
Use different colored stitch markers for different purposes. This pattern requires markers for the neckline split, armhole boundaries, and collar attachment points. Using one color for each purpose prevents confusion when you have multiple markers in your work at the same time. For example, use pink for the neckline center, blue for armholes, and green for the collar start and end points.
Block your finished garment before wearing. Blocking transforms the oversized openwork shirt from a slightly lumpy handmade piece into a smooth, professional garment. Soak the shirt in cool water with gentle wool wash for 15 to 20 minutes, gently squeeze out excess water without wringing, then lay it flat on a blocking mat and pin it to the correct measurements. Let it air dry completely. Blocking opens up the mesh windows, straightens the edges, and helps the collar lay flat. For more finishing techniques, check our guide on tips to make crochet projects look expensive.
Frequently Asked Questions
What is an openwork shirt?
An pattern is an intermediate wearable pattern that creates a loose-fitting, short-sleeved crochet top using a mesh stitch technique with chain-2 spaces forming a breathable grid fabric.
Is the oversized openwork shirt suitable for beginners?
While the pattern is rated intermediate, adventurous beginners who are comfortable with the double crochet stitch can absolutely tackle it. The two-panel construction method is very forgiving and easy to adjust.
How long does it take to complete the oversized openwork shirt?
Most crocheters complete the oversized openwork shirt in 10 to 20 hours, depending on their size, speed, and experience level. The mesh stitch works up quickly once you establish a rhythm.
Can I use a different yarn weight?
Yes, you can substitute any yarn weight with an appropriate hook size. Simply make a gauge swatch with your chosen yarn and recalculate your foundation chain and panel width using the custom sizing guide.
What is the difference between this and a crochet cardigan?
A crochet cardigan typically has a buttoned or tied front opening, while this oversized openwork shirt is designed as a pull-on garment with a polo collar. Both use similar construction techniques. Check out our other free crochet patterns for cardigan options.
If you enjoyed this guide, you might also love our tutorial on Free Crochet Dog Harness Pattern. For each design below you’ll find an overview of the construction, the stitches it uses, and tips to make your own version.