Crochet Doily: 5 Easy Round & Star Motifs
Quick Answer
Crochet Doily Pattern For Beginners — A doily is a small, decorative mat typically made from fine cotton thread, and it is one of the most rewarding first projects you can tackle. A good crochet doily pattern for beginners uses basic stitches like chains, single crochet, and double crochet worked in the round to create beautiful, lacy designs. At KnotToYarn.com, we have gathered five easy designs that will help you build confidence while producing stunning results. Each doily design below is described with its construction style, difficulty level, and the stitches involved.
Tip: Start with size 10 crochet cotton and a 2.5 mm hook — this combination gives you the best stitch definition for your first doily.
At a Glance
- Skill level: beginner
- Time needed: 2–4 hours per doily (depending on size)
- Best yarn: size 10 crochet cotton thread (mercerized)
- Hook size: 2.0–2.5 mm steel hook
Common Mistakes → Quick Fixes
- Doily curling or ruffling: your stitch count per round is off — double-check each round’s stitch count before moving on.
- Using the wrong yarn: avoid chunky or fuzzy yarns; stick with smooth cotton thread for crisp stitch definition.
- Tension too loose or too tight: practice a small swatch first, and if needed, switch to a different hook size — our tension guide can help.
Mini Glossary
mc — magic circle | ch — chain | sc — single crochet | dc — double crochet | sl st — slip stitch | sp — space | rep — repeat
If you’re after a beginner-friendly doily, you’re in the perfect place. Doilies are timeless pieces that add elegance to any home — they look intricate but really only need a handful of basic stitches. This guide shares five easy designs with detailed instructions, material tips, and pro tips. Dressing up a side table or making a handmade gift, each one below will get you there.
What You Need Before You Start?
Before you start, gather the right supplies — the materials you choose make a big difference in the finished result. Here’s what we recommend for your first doily:
- Crochet thread: Size 10 mercerized cotton is the gold standard for doilies. It is smooth, durable, and creates beautiful stitch definition. Check out our best yarn guide for brand suggestions.
- Steel crochet hooks: A set of steel hooks in sizes 1.5 mm to 2.5 mm will cover most doily patterns. See our crochet hook sizes chart to find your ideal match.
- Stitch markers: Essential for keeping track of rounds, especially when working with thin thread.
- Tapestry needle: For weaving in ends neatly.
If you have never crocheted before, start with our how to crochet for beginners guide. It covers everything from holding the hook to reading patterns.
Design 1: The Simple Ring Doily
This one is the perfect starting point. It uses only chains and double crochet to make a classic round doily with a delicate open center. If you’re new to doilies, start here.
- Start with a magic circle (mc). Chain 3 (counts as your first dc).
- Work 11 dc into the magic circle. Join with a sl st to the top of the ch-3. (12 dc total)
- Chain 3, dc in the same stitch. *Ch 1, skip 1 stitch, 2 dc in the next stitch.* Repeat from * to * around. Join with a sl st.
- Chain 1, sc in each stitch and chain space around. Join with a sl st. Fasten off.
Block your doily by pinning it flat on a towel and steaming lightly. Blocking is the secret to a perfect, flat circle. Need a refresher on stitches? Visit our single crochet stitch tutorial.
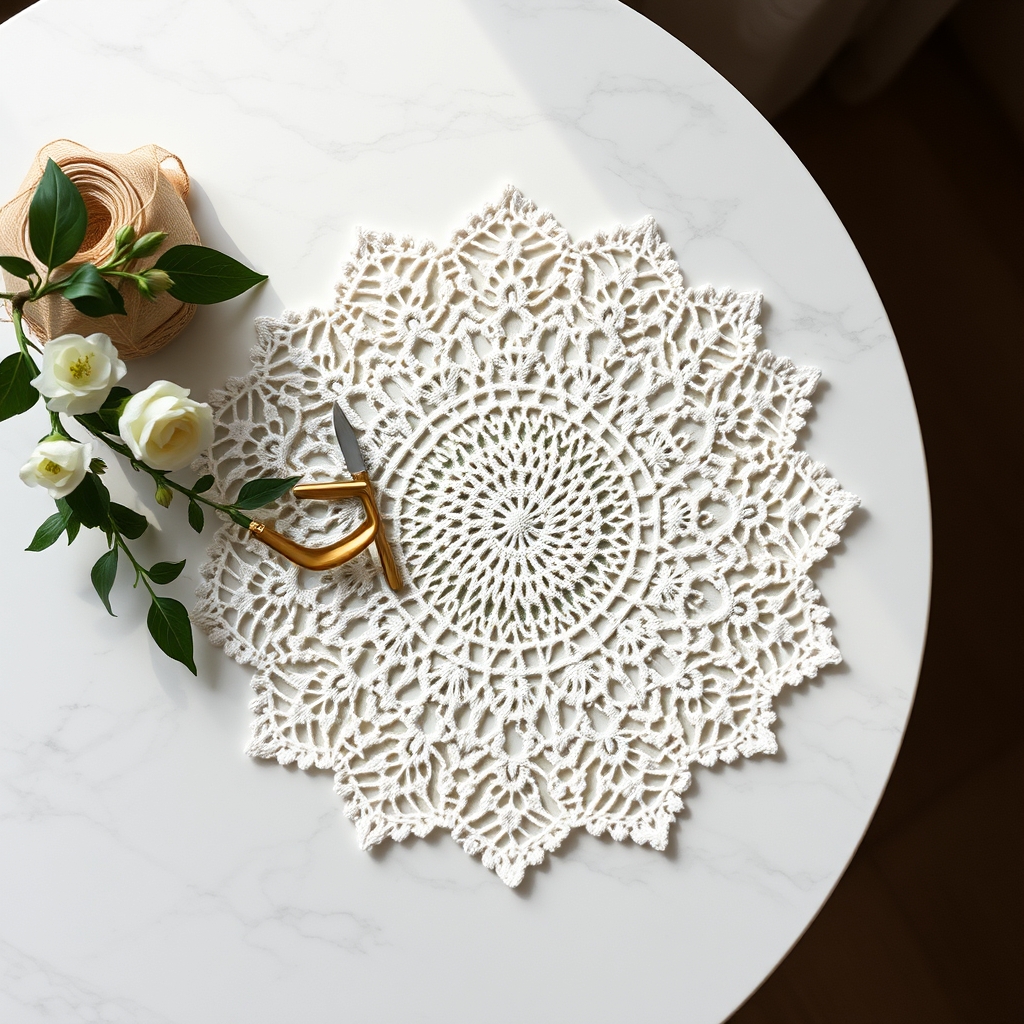
Photo by Erik Mclean via Pexels
Design 2: The Picot Edge Doily
Once you have mastered the basic ring, add a picot edge for extra charm. Picots (ch 3, sl st in the first ch) create tiny decorative points around the border. Work three rounds of half double crochet, then finish with a round of picot stitches spaced evenly around.
The picot edge turns a simple circle into something that looks much more advanced than it is — which is why it’s such a popular design. Crocheters come back to it again and again for its versatility.
Design 3: The Starburst Doily
The starburst pattern uses clusters of double crochet separated by chain spaces to create a radiating sunburst effect. Begin with a magic circle and work 8 dc clusters separated by ch-2 spaces in the first round. Each subsequent round adds more clusters and chains to create an expanding, lacy circle.
This design introduces you to the concept of stitch multiples — understanding them makes pattern reading much easier. Our crochet abbreviations guide is a handy reference for deciphering any pattern.
Design 4: The Scalloped Doily
Scallops (also called shells) are groups of stitches worked into a single stitch or space. For this crochet doily pattern for beginners, work a base of two rounds of single crochet, then add a round of 5-dc shells evenly spaced. The shells create a beautiful wavy edge that looks stunning on side tables, under vases, or as a centerpiece.
Learning shell stitches is a game-changer for beginners. They appear in blankets, garments, and accessories. If you love this design, explore more ideas in our free crochet patterns for beginners collection.
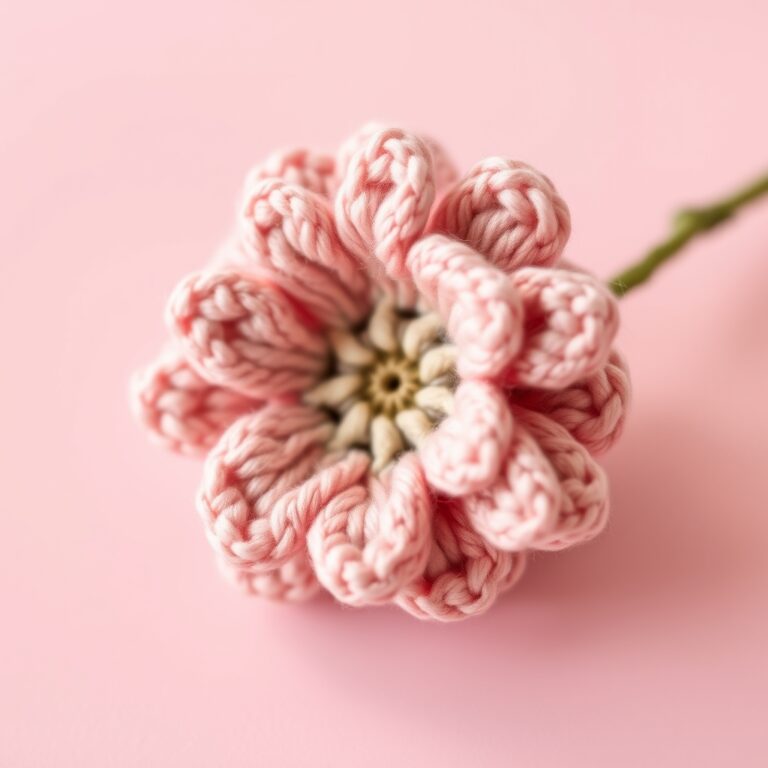
Photo by Feyza Dastan via Pexels
Design 5: The Granny-Style Doily
Put a spin on the classic granny square by adapting it into a round doily. Start with a granny square center and continue working rounds of double crochet clusters separated by chain spaces. Work at least five rounds for a nice size, then finish with a slip stitch border.
This one’s excellent for beginners because it builds on a skill many already have. If you can make a granny square, you can make this doily — the familiar construction makes it less intimidating while still producing a gorgeous result. It’s one of our most requested designs.
What Are the Best Tips for Doily Success?
- Block every doily: Pin your finished doily to a blocking mat, mist with water, and let it dry completely. This opens up the stitches and gives your doily a professional finish.
- Count every round: Thin cotton thread makes it easy to lose your place. Use a stitch marker at the beginning of each round and count your stitches before moving on.
- Choose light-colored thread: White, ecru, and pastel shades show stitch detail much better than dark colors — perfect for a doily pattern where visibility matters.
- Start with larger hooks: If size 10 thread feels too fiddly, try a size 3 or 5 thread with a larger hook first, then work your way down.
The Craft Yarn Council provides excellent reference charts for thread sizes and recommended hooks. For additional doily inspiration and tutorials, The Spruce Crafts has a wonderful collection of beginner patterns.
Frequently Asked Questions
How do I block a crochet doily?
Pin your doily flat on a blocking mat or towel, mist it evenly with water, and let it air-dry completely. For stubborn curls, use a steam iron held slightly above the fabric — never press directly on cotton thread.
Is a doily a good project for complete beginners?
Yes — especially if you start with a simple round pattern in basic stitches. A beginner-friendly doily builds skills like working in the round, reading patterns, and keeping consistent tension — all essential crochet foundations.
What is the best thread for a first doily?
Size 10 mercerized cotton thread in a light color is ideal. It is widely available, affordable, and provides excellent stitch definition. Pair it with a 2.0–2.5 mm steel hook for the best results.
Can I make a doily with regular yarn instead of thread?
Absolutely. Worsted-weight yarn and a larger hook (4.0–5.0 mm) give you a chunky, modern doily that works great as a tabletop centerpiece or placemat. The stitch patterns stay the same — only the scale changes. Try adapting any doily from this list with heavier yarn for a quick weekend project.
How Can You Customize Your Crochet Doily Designs?
Once you have mastered the basic doily patterns above, customizing your work is one of the most rewarding parts of crochet. A few simple modifications can transform a standard doily into a truly unique piece that reflects your personal style and complements your home decor.
What Color Combinations Work Best for Doilies?
While white and ecru are the traditional choices for doilies, do not be afraid to experiment with color. Soft pastels like lavender, mint, and blush pink create a gentle, modern aesthetic that works beautifully in nurseries, bedrooms, and spring-themed displays. For a bold statement, try working your doily in two or three coordinating colors by switching yarn at the start of each new round. Just remember to leave a long enough tail at each color change to weave in securely.
Seasonal color palettes are another great way to customize your doily collection. Think warm oranges and deep reds for autumn, icy blues and silvers for winter, and bright pinks and greens for spring. Creating a set of doilies for each season gives you a rotating display that keeps your home decor feeling fresh throughout the year.
Size Your Doily Up or Down
Adjusting the size of your doily is simpler than you might think. To make a larger doily, continue adding rounds following the same stitch pattern, increasing evenly as the circumference grows. The general rule is to increase by the same number of stitches per round as your first round established. For example, if your first round has 12 double crochet stitches, aim for roughly 12 additional stitches in each subsequent round to keep the doily lying flat.
To create a smaller doily, simply stop working fewer rounds. A doily with just three or four rounds makes a charming accent for a small side table, a candle base, or a jar topper. You can also create miniature doilies by using finer thread (size 20 or 30) and a smaller hook, which produces delicate pieces perfect for fairy gardens, dollhouse accessories, or ornament covers.
What Are the Best Ways to Display Crochet Doilies?
Crochet doilies are incredibly versatile decorative pieces. Here are some of the most popular and creative ways to display them in your home:
- Under vases and candle holders: A doily creates an elegant foundation that protects furniture surfaces from scratches and water rings while adding a layer of visual texture.
- Mounted on canvas or hoop: Stretch a doily over an embroidery hoop or mount it on a blank canvas for instant wall art. This framing technique turns a flat doily into a three-dimensional focal point.
- As table runners and centerpieces: Arrange several doilies in a row down the center of a dining table for a layered, romantic table setting. Mix different sizes and patterns for added visual interest.
- Sewn onto pillows or tote bags: Use a whip stitch or fabric glue to attach a finished doily to a plain cushion cover or canvas bag for a handmade, bohemian touch.
For more display ideas and home decor crochet projects, explore our collection of free crochet patterns for beginners that pair beautifully with handmade doilies.