7 Easy Steps: How to Crochet a Rose
Quick Answer
Learning how to crochet a rose is one of the most rewarding beginner projects you can try. In just seven simple steps, you will transform basic yarn and a hook into a lovely layered flower. Tip: Practice the single crochet stitch first if you are brand new to crochet.
At a Glance
- Skill level: Beginner
- Time needed: 30-45 minutes
- Yarn: Worsted-weight cotton or acrylic (any color)
- Hook: 4.0 mm (G-6)
Common Mistakes to Quick Fixes
- Tight foundation chain: Loosen your tension or go up one hook size so the petals curve naturally.
- Petals curling too much: Block the finished rose with a little steam and gently reshape by hand.
- Center looks messy: Tuck the starting tail inside the roll and sew it neatly before fastening off.
Mini Glossary
Ch = chain stitch, SC = single crochet, DC = double crochet, Sl st = slip stitch, FO = fasten off. Refer to the Craft Yarn Council for full abbreviations.
Crochet roses add a charming touch to almost anything, a hat, a blanket, a hairpin. Once you’ve got the technique down, the uses really add up. This guide takes you through the whole thing start to finish.
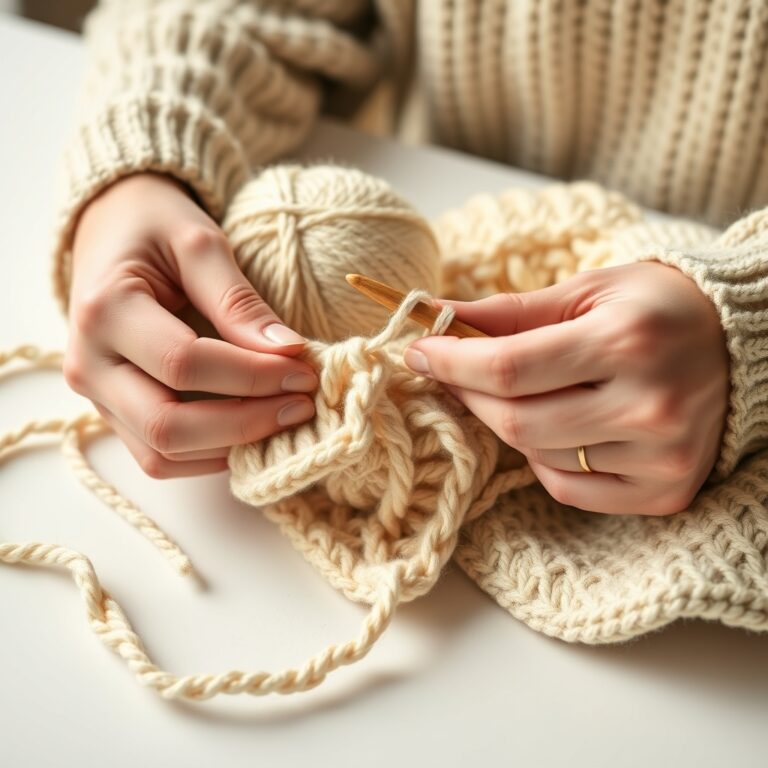
Before you begin, make sure you know the basics of crochet. A solid foundation in chains and single crochet will make this project much easier. Grab your supplies and let us get started on this fun easy crochet flower pattern.
7 Essential Steps to Crochet a Rose
Step 1: Gather Your Materials
You only need a few supplies to learn how to crochet a rose. Pick a worsted-weight yarn in your favorite color and pair it with a 4.0 mm hook.
Keep a yarn needle handy for sewing, and grab a pair of scissors. That is everything you need to get started.
Step 2: Make the Foundation Chain
Begin with a slip knot and chain 41. This long chain is the base for every petal layer.
Keep your chains even and relaxed. If the chain feels too tight, try going up a hook size for better results.
Step 3: Work the First Petal Row
Starting in the second chain from the hook, work 1 single crochet. Then chain 2 and skip 2 chains, repeating SC + ch 2 across the row. This creates the small gaps that form your first set of tiny petals.
Step 4: Build the Larger Petals
Chain 3 and turn. In each chain-2 space, work 2 double crochets.
Doubling the petal height here is what gives the rose its layered look. Keep your tension even so every petal comes out roughly the same size.
Using the double crochet stitch here creates full, rounded petals.
Step 5: Add the Final Petal Row
Chain 3 again and work 3 double crochets in each space from the previous row. This outer row creates the largest, most dramatic petals. These final petals give your rose impressive depth and a natural, organic shape.
Step 6: Roll and Shape the Rose
Finally, roll the strip from one end to the other, starting with the smallest-petal end. It will naturally spiral into a rose shape.
Adjust the tightness as you go so the center is snug and the outer petals fan open slightly. Do not rush this step.
Step 7: Secure and Finish
Thread your yarn needle and sew through all layers at the base of the rose. Make several passes to hold the spiral firmly in place.
Weave in your ends neatly on the back. Your crochet rose is complete and ready to use.
What Are the Best Tips for Beautiful Crochet Roses?
The yarn makes a big difference here. Cotton holds its shape well and gives crisp petal definition.
Acrylic yarn is softer and comes in more colorful shades. Both work, so pick what suits your project best.
Vary the number of foundation chains to change the size of your rose. A shorter chain of about 25 stitches makes a tiny rose well suited to jewelry.
A longer chain of 60 or more creates a dramatic, statement-size bloom. Experiment to find your ideal size.
For a more realistic look, use two or three shades of the same color. Start with the darkest shade for the inner petals and switch to lighter shades for the outer rows. This simple gradient trick adds professional polish to every rose you make.
What Are the Best Ways to Use Your Crochet Roses?
Once you can make one, you’ll find endless uses. Sew them onto beanies, scarves, and cowls for an instant upgrade.
They also make beautiful appliques for baby blankets and throw pillows. Check out Spruce Crafts for more flower inspiration.
Attach a pin back to create a lovely brooch, or glue a rose to a headband for a sweet hair accessory. Crochet roses also look stunning on gift wrap, wreaths, and table centerpieces. The possibilities are practically endless once you master this simple technique.
Frequently Asked Questions
How long does it take to crochet a rose?
Most beginners can complete a simple crochet rose in 30 to 45 minutes. Smaller roses may take just 15 minutes, while larger multi-layer roses could take up to an hour. Speed improves quickly with practice.
What is the best yarn for crochet roses?
Cotton or acrylic worsted-weight yarn works beautifully. Cotton gives a crisp, defined petal shape, while acrylic offers softness and a wider range of colors. Avoid very fluffy or textured yarns for your first few roses.
Can beginners learn how to crochet a rose?
Yes, definitely. A crochet rose is one of the best beginner flower projects out there, it uses basic stitches like chain, single crochet, and double crochet that most beginners already know.
How do you attach a crochet rose to a project?
Use a yarn needle and matching yarn to whip-stitch the rose onto hats, blankets, or bags. You can also glue it to brooch pins or headbands with fabric glue for a permanent hold.
What Are the Best Yarn Colors for Crochet Roses?
Color choice is what takes a crochet rose from plain to striking, and playing with combinations is one of the most enjoyable parts of the process.
Classic red roses never go out of style. Choose a deep crimson or cherry red for a traditional look that works beautifully on winter accessories and romantic gifts. For a more subtle approach, try a dusty rose or mauve tone that pairs well with neutral wardrobe colors.
White and ivory roses work beautifully for wedding projects, bridal accessories, and elegant home decor. They look stunning on headpieces, sashes, and bouquet wraps. Add a tiny touch of pale yellow to the center for a realistic, natural appearance.
Do not be afraid to try unconventional colors like deep purple, navy blue, or even black. Dark roses add a dramatic, modern flair to bags, hats, and statement jewelry. Pastel roses in lavender, mint, or peach work wonderfully for baby projects and spring-themed items.
How Can You Make Your Crochet Roses Look More Realistic?
If you want your roses to look garden-fresh, a few simple tricks help. The most effective is using several shades of the same color in one rose, start with the darkest for the inner petals and move to lighter shades toward the outer rows.
Another trick is to vary your tension slightly between petal rows. Work the inner petals a bit more tightly and the outer petals more loosely. This natural variation in petal size gives the rose a more organic, less uniform appearance.
After rolling and securing your rose, use your fingers to gently curl the outer petal tips backward. This small detail mimics how real rose petals naturally open and curl, adding depth and realism. You can also lightly steam the finished rose and shape the petals while warm for a more permanent sculptural effect.
What Are the Most Common Mistakes When Crocheting Roses?
- Rolling too tightly: A rose that is rolled too tight looks like a pinwheel rather than a flower. Leave some space between the layers as you roll, letting each petal layer fan out naturally. You can always tighten it slightly before securing.
- Inconsistent petal sizes: When your petals are noticeably different sizes, the rose looks lopsided. Count your stitches carefully in each chain-2 space to ensure every petal has the same number of stitches.
- Not securing the spiral properly: If you only sew through one or two layers, the rose will unfurl over time. Make at least five to six passes with your yarn needle through all layers at the base for a secure, permanent hold.
- Using the wrong yarn weight: Very thin yarn like lace weight produces tiny, delicate roses that are hard to work with for beginners. Very thick yarn like super bulky creates stiff, heavy roses. Stick with worsted or DK weight for the best results while learning.
How Do You Block Crochet Roses for a Professional Finish?
Blocking is the secret step that takes handmade flowers from homemade-looking to professionally polished. Lightly mist your finished rose with water using a spray bottle. Then use your fingers to gently arrange each petal into a pleasing shape.
Pin the rose to a blocking mat or towel and let it air dry completely. For cotton and wool yarns, you can use a warm iron with a press cloth to set the shape. Acrylic yarn should never be ironed directly, as it will melt. Instead, use steam from a distance of at least two inches above the fabric.
Blocking is especially helpful if your roses will be used for long-term projects like afghans, wall hangings, or garments. The shaping holds up well through gentle washing and keeps your roses looking fresh and beautiful for years.
What Are Some Creative Pattern Variations for Crochet Roses?
Once you master the basic rose pattern, try these exciting variations to expand your skills and create unique designs:
- Spiral rose: Instead of working a flat strip and rolling it, crochet in a continuous spiral from the center outward. This creates a rose with a more natural, seamless appearance and no visible seam where the layers meet.
- Layered individual petals: Crochet each petal separately and sew them together in layers around a center circle. This method gives you precise control over petal placement and creates a very full, dimensional flower.
- Mini rosebuds: Use a foundation chain of just 15 to 20 stitches for tiny rosebuds. These work well for jewelry, scrapbooking, and delicate trim details on garments. Make several in coordinating colors for a charming bouquet effect.
- Two-tone roses: Work the inner petal rows in one color and the outer rows in a contrasting color. Red with white edges, or pink with yellow centers, creates eye-catching color combinations that look incredible on hats and bags.
How Should You Store and Care for Crochet Roses?
If you make crochet roses in advance for future projects, store them in a cool, dry place away from direct sunlight. Place them in individual small bags or containers to prevent tangling and keep them clean. Cotton roses can be hand washed gently in cool water and laid flat to dry if needed.
When attaching roses to items that will be washed regularly, make sure to sew them securely with a durable thread or yarn. Consider adding a small felt backing behind the rose before attaching it to stretchy fabrics like knitted hats, as this prevents the crochet stitches from distorting the fabric underneath.
For roses used as brooches or accessories, attach them to a sturdy backing like faux leather or stiff felt. This gives the pin something solid to grip and helps the rose maintain its shape when worn. A small dab of fabric glue at the base of the pin provides extra security for heavy-duty wear.