How to Weave in Crochet Ends So They Actually Stay In
A yarn tail that’s just knotted and trimmed will work itself loose eventually, especially after washing or heavy use. Knots slip, and the friction that’s supposed to hold a crochet stitch in place isn’t enough on its own. Weaving the tail through several stitches is what actually locks it in.
Leave enough tail before you start weaving
Cut yarn tails at least 6 inches long, not the bare minimum needed to finish the last stitch. A short tail is hard to thread onto a needle and gives you almost no room to change direction while weaving, which is the part that actually secures it.
Weave through the stitches, not around them
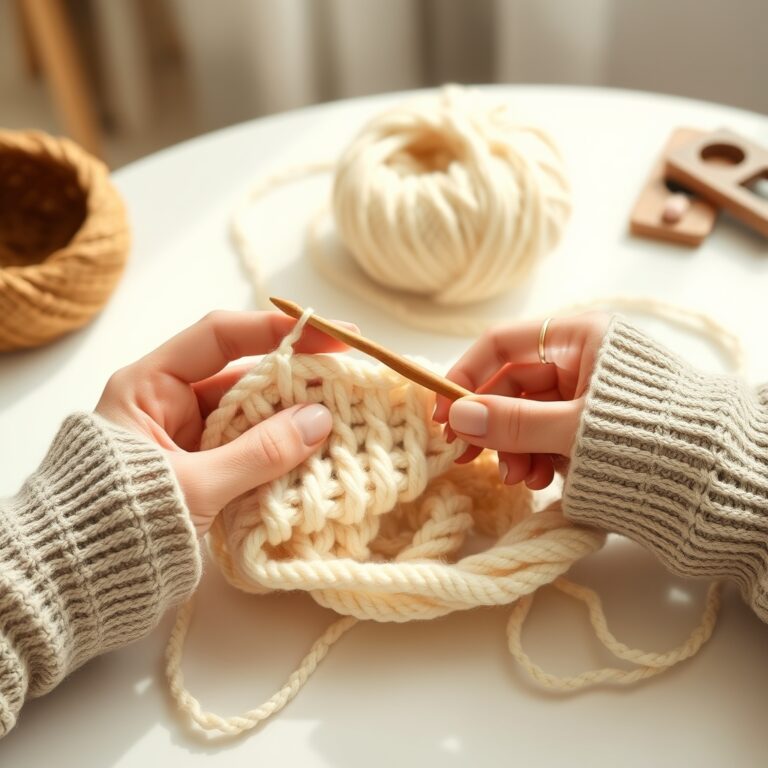
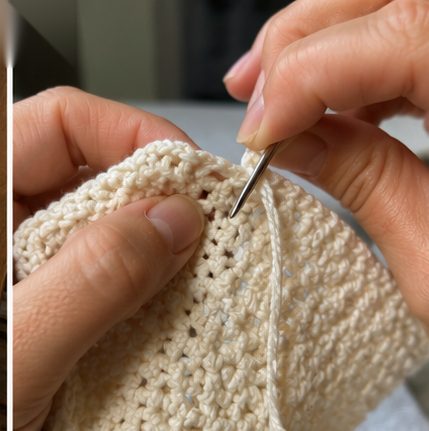
Thread the tail onto a tapestry needle and run it through the thickest part of several stitches on the wrong side of the fabric, through the actual stitch loops rather than just along the surface. Go a few inches in one direction, then reverse and weave back through a slightly different path in the other direction. That direction change is what keeps the tail from being pulled straight back out; a tail woven in a single straight line can still work loose under tension.
Match the weaving path to the stitch pattern
This technique works the same way across single, double, treble, and most other stitch types. The only thing that changes is how much fabric you have to work with. On taller stitches, split the yarn tail with the needle tip as you thread through, rather than going around the stitch, since splitting locks the tail into the stitch structure itself instead of just sitting behind it.
Where ends show through, and how to avoid it
Cause: weaving a tail in a perfectly straight line, or leaving it too loose, means it can shift and create a visible bump or shadow on the right side of thinner or lighter-colored fabric.
Fix: keep the weaving path on the wrong side confined to the same color block when possible, and give the tail a gentle stretch after weaving to seat it into the stitches before trimming. Trim close but not flush against the fabric. Leave a small nub rather than cutting right at the surface, since a flush cut is more likely to work its way back through with wear.
Color changes need a slightly different approach
At a color change, you’ll usually have two tails to secure at the same spot instead of one. Weave each tail in a different direction along the wrong side rather than bundling them together in the same path, so neither one is doing double duty holding the join secure.