How to Block Crochet: Wet, Steam & Spray Blocking Methods
Quick Answer
Learning how to block crochet means wetting or steaming your finished piece, pinning it to a flat surface into the exact shape and size you want, and letting it dry so it holds that form permanently. Blocking smooths out uneven stitches, opens up lace patterns, and gives every project a polished, professional finish.
Tip: Always check your yarn label first — acrylic can be killed with heat, wool blooms beautifully with steam, and cotton relaxes beautifully when wet-blocked.
At a Glance
- Skill level: beginner
- Time needed: 15 minutes to pin, 24 hours to dry
- Best tools: blocking mats, T-pins, rust-proof pins, spray bottle
- Methods: wet blocking, spray blocking, steam blocking
Common Mistakes → Quick Fixes
- Not pinning at the right tension: Gently stretch to measurements — don’t over-stretch
- Blocking acrylic with too much heat: Use steam lightly or low heat to avoid “killing” the yarn
- Skipping blocking altogether: Even simple items like granny squares benefit enormously
Mini Glossary
Blocking — shaping wet or steamed crochet; T-pins — sturdy pins with T-shaped heads for securing work; blocking mats — interlocking foam tiles used as a pinning surface; wet blocking — soaking the piece then pinning; steam blocking — using steam to shape without fully soaking; kill acrylic — permanently flattening acrylic yarn fibers with excessive heat
If you have ever finished a crochet project and felt like something was just a little off, you are not alone. The good news is that anyone can master the technique of how to block crochet, regardless of experience level. Learning how to block crochet is the single most transformative finishing technique you can add to your skill set. It takes your work from “handmade” to “handcrafted” in just a few simple steps, and once you try it, you will never skip it again.
Blocking is the process of wetting, steaming, or spraying your finished crochet piece and then pinning it into shape so it dries in the exact dimensions you want. Whether you are making blankets, garments, or home decor, understanding how to block crochet properly will elevate every single project you create. Once you know how to block crochet, every finished piece will look store-bought instead of homemade.
Why does Learning How to Block Crochet matter?
Many beginners skip blocking entirely because they do not realize how much of a difference it makes. But the truth is, blocking solves a wide range of common crochet problems all at once.
First, it evens out your stitches. If some rows are tighter than others — which is completely normal, especially when you are still building consistent tension — blocking relaxes the fibers and redistributes the tension across the whole piece. If you struggle with tension issues, check out our guide on how to fix crochet tension for foundational help.
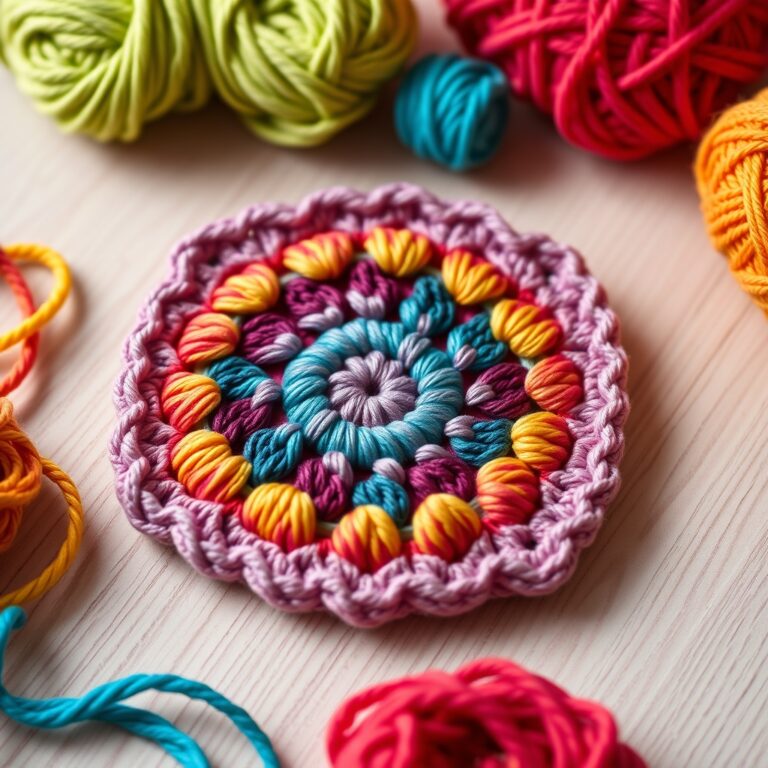
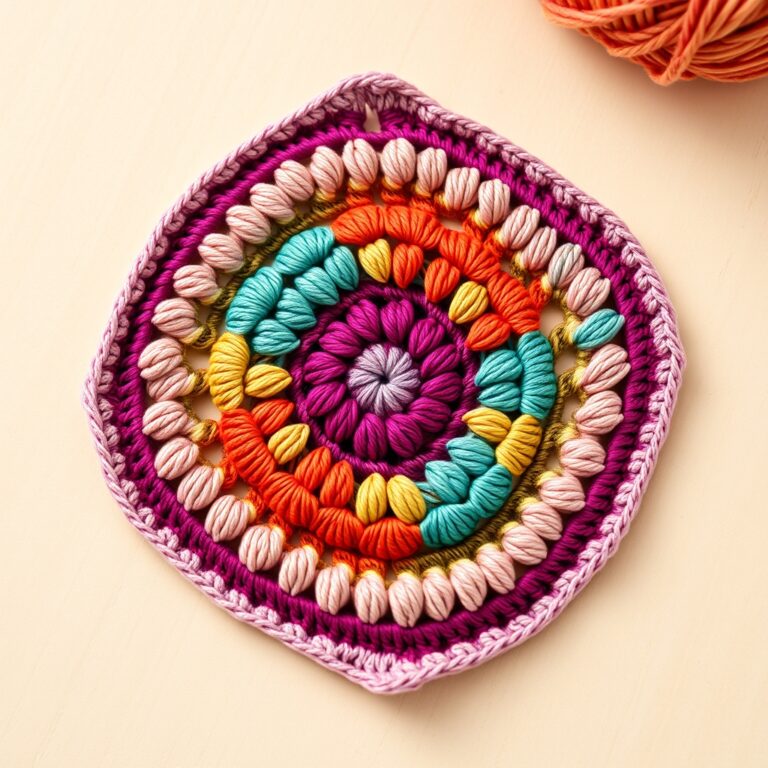
Second, blocking opens up lace and stitch patterns. If you have ever crocheted a beautiful granny square or a lacy shawl only to find that the stitches look bunched and cramped, blocking will spread the fabric open so every detail shines through. For pattern inspiration, browse our granny square pattern collection.
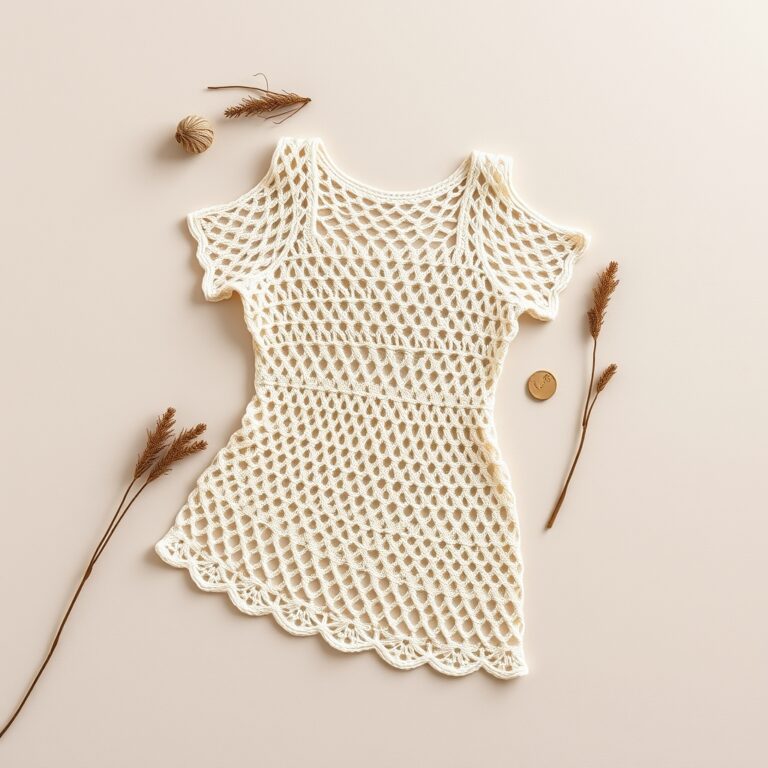
Third, it sets the final shape and size of your project. This is especially important for garments like sweaters and cardigans. If you are working on wearable pieces, our crochet sweater pattern guide recommends blocking every panel before seaming for the best results.
Finally, blocking softens the hand of the yarn. Many fibers, especially wool and cotton, feel a bit stiff straight off the hook. A good block relaxes the fibers and gives the fabric a beautiful drape.
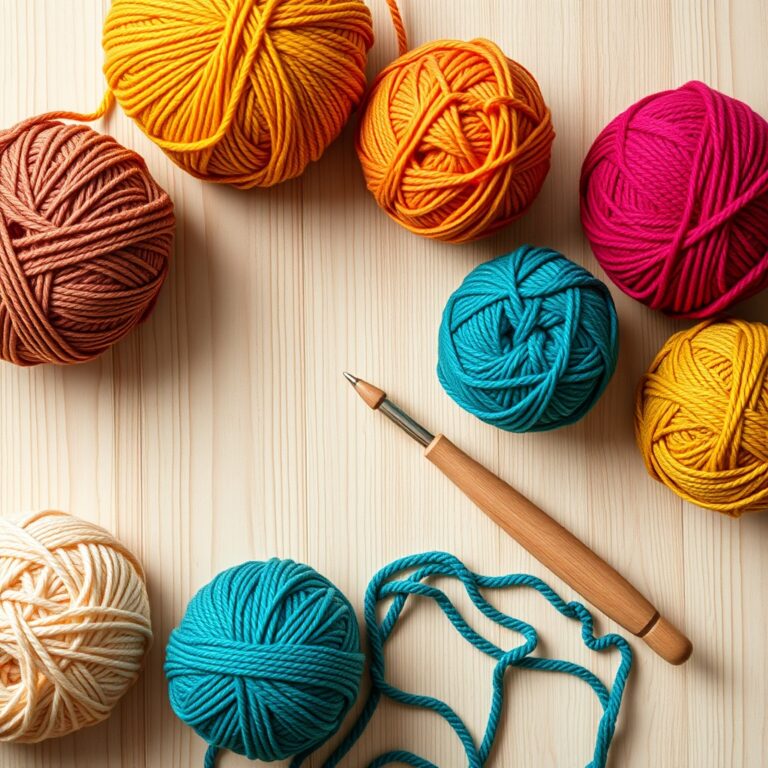
Essential Tools You Need Before You Start
Before diving into this step, gather your supplies. Having the right tools is the first step in learning blocking like a pro. You do not need anything fancy, but having the right tools on hand makes the process much smoother.
Blocking Mats
Interlocking foam tiles are the gold standard. They are thick enough to hold pins securely, and you can arrange them to fit any project size. Look for mats with grid lines printed on the surface — they make measuring and aligning your work so much easier.
T-Pins or Rust-Proof Pins

You will need plenty of pins. T-pins are the best choice because their long shafts grip the foam mats firmly, and their wide heads will not slip through your stitches. Make sure they are rust-proof, especially if you are wet blocking, because regular pins can leave stains on light-colored yarn. If you are curious about the best yarn to pair with your projects, read our guide on the best yarn for beginner crochet.
Spray Bottle
A clean spray bottle is essential for spray blocking. You can also use it to dampen your piece during steam blocking if you want extra moisture without full saturation.
Towels
Have a stack of clean, absorbent towels ready. You will use them to roll and press excess water out of your piece after soaking. This step is crucial when learning blocking your crochet because excess water can cause the piece to stretch too much on the mats.
Measuring Tape or Ruler
Accurate measurements matter. Use a flexible tape measure to check your dimensions against your pattern’s gauge specifications.
How to Block Crochet: The 3 Main Methods?
There are three primary ways to block your crochet, and choosing the right one depends on the fiber content of your yarn and the type of project you are making.
Method 1: Wet Blocking (Best for Wool, Cotton, and Natural Fibers)
Wet blocking is the most thorough method and produces the most dramatic results. When people ask this step for the best outcome, wet blocking is usually the answer for natural fibers. It is ideal for natural fibers like wool, cotton, linen, and silk. The Craft Yarn Council recommends wet blocking as the preferred method for most natural fiber projects.
Step 1: Fill a basin or sink with cool or lukewarm water. Add a small amount of wool wash or gentle detergent if desired. Never use hot water, as it can felt wool or damage delicate fibers.
Step 2: Submerge your crochet piece completely and let it soak for 15 to 30 minutes. Do not agitate or wring the fabric — just let it rest in the water so the fibers can fully absorb the moisture.
Step 3: Gently lift the piece out of the water and lay it flat on a clean towel. Roll the towel up with the crochet inside and press firmly to remove excess water. You can repeat this with a second dry towel if the piece is still very wet.
Step 4: Lay your piece flat on the blocking mats and begin pinning it into shape. Start from the center and work outward, placing pins every inch or two along the edges. Use your measuring tape to ensure the piece matches your target dimensions.
Step 5: Let it dry completely. This usually takes 24 to 48 hours depending on the fiber, the thickness of the yarn, and the humidity in your room. Do not unpin until the piece is completely dry to the touch.
Method 2: Spray Blocking (Best for Acrylic, Smaller Projects, and Delicate Items)
Spray blocking is gentler than wet blocking and works wonderfully for acrylic yarn, small motifs, and projects that do not need aggressive reshaping. Many crocheters prefer this method when learning blocking because it is forgiving and beginner-friendly.
Step 1: Pin your dry crochet piece directly onto the blocking mats in the shape and dimensions you want.
Step 2: Fill your spray bottle with clean water and evenly mist the entire surface of the piece. You want it to be damp all the way through but not soaking wet.
Step 3: Use your hands to gently smooth and adjust the fabric as needed. Gently pat down any curling edges.
Step 4: Let it air dry completely before removing the pins. This method is especially popular for granny squares and motifs because it is quick and less likely to distort delicate stitch work.
Method 3: Steam Blocking (Best for Wool, Blends, and Garments)
Steam blocking uses heat and moisture together to shape your crochet. Of all the ways to approach this technique, steam blocking is perhaps the most satisfying to watch because you can see the fibers relaxing in real time. It is a favorite technique for wool garments because the heat helps the fibers bloom and relax beautifully.
Step 1: Pin your piece onto the blocking mats to the desired shape and measurements.
Step 2: Hold a steam iron or garment steamer about one inch above the surface of the crochet. Never press the iron directly onto the fabric, as this can crush stitches and leave permanent impressions.
Step 3: Move the steamer slowly across the entire surface, applying steam evenly. The fibers will relax and settle into the pinned shape.
Step 4: Allow the piece to cool and dry completely before unpinning. The cooling process is what sets the new shape, so patience is key here.
Important warning for acrylic yarn: High heat can permanently “kill” acrylic fibers, making them flat, limp, and glossy. If you are working with acrylic, use the lowest heat setting or skip steam blocking altogether and use the spray method instead. For yarn recommendations, see our tips on how to crochet for beginners.
How to Block Crochet by Project Type?
Different projects benefit from slightly different blocking approaches. Understanding the process by project type ensures you get the best possible finish no matter what you are making. Here is a quick reference guide to help you get the best results.
Granny Squares and Motifs
Pin each square individually onto your blocking mats. Spray block them for a gentle set, or wet block if you are working with cotton or wool. Make sure all edges are straight and corners form perfect right angles. Once blocked, you can seam them together with confidence that your finished blanket will lie perfectly flat. If you want to see the transformation for yourself, try blocking your crochet on just one square — our solid granny square pattern looks entirely different once blocked. Learning this step squares is one of the quickest ways to become a believer.
Blankets and Afghans
Large projects like blankets require the most space. Knowing this technique blankets properly is essential because any unevenness will be very visible on a large, flat surface. Interlocking foam mats are a must. Wet blocking works best for most blanket fibers. If your blanket is too large for a single blocking session, block it in sections and overlap slightly at the edges.
Garments
Always block individual garment pieces before seaming. If you are researching the process garments, this rule is non-negotiable — it makes seaming so much easier and the final fit so much better. This allows you to match the exact dimensions given in your pattern and ensures that your seams align perfectly. Steam blocking is excellent for wool sweaters, while spray blocking works well for cotton tops.
Hats and Amigurumi
These three-dimensional projects need a slightly different approach. If you are learning blocking your crochet for the first time, starting with a flat project like a blanket or scarf is the easiest way to build confidence. For hats, stretch the piece over a hat-shaped form or an upside-down bowl and spray with water. For amigurumi, a light steam can help smooth out uneven stitches, but avoid heavy wet blocking since it can flatten stuffed shapes. Check out our guide on how to crochet a hat for more garment blocking tips.
Common Blocking Mistakes and How to Avoid Them
Even experienced crocheters make blocking mistakes from time to time. The most common question about this step is whether you can fix a piece that was blocked incorrectly — and the answer is usually yes, just re-wet and re-pin. Here are the most common ones and how to fix them.
Over-stretching: It is tempting to pull your piece as far as it will go, but over-stretching distorts your stitches and can permanently damage the fabric. Always block to your pattern’s measurements, not beyond them.
Using the wrong water temperature: Hot water felts wool and can damage some synthetic fibers. Stick with cool or lukewarm water unless your yarn label specifically says otherwise.
Unpinning before the piece is fully dry: Patience is critical. If you remove the pins while the piece is still damp, it will spring back toward its original unblocked shape and you will have to start over.
Ignoring the yarn label: Your yarn label is your best friend when it comes to blocking. It tells you the fiber content, care instructions, and whether the yarn is safe for heat and water. When you know blocking for each specific fiber type, your results will be consistently excellent. Always read it before choosing your blocking method. If you want to learn more about choosing the right materials, visit Spruce Crafts’ yarn buying guide.
What Are the Best Tips for Perfect Blocking Every Time?
These insider tips will take your blocking game to the next level. Every expert crocheter has their own take on this technique, but these universally loved techniques will serve you well on every project.
Block your gauge swatch first: Before you start a big project, block your gauge swatch using the same method you plan to use for the finished piece. This tells you exactly how the yarn responds and lets you adjust your hook size if needed. Our guide to crochet hook sizes can help you fine-tune your gauge.
Use blocking wires for edges: Flexible blocking wires thread through the edge stitches of your piece and let you pin straight lines with just a few pins instead of dozens. They are a game-changer for shawls, scarves, and blankets.
Add wool wash for a luxurious finish: A few drops of wool wash or Eucalan in your soaking water not only cleans the piece but also leaves the fibers incredibly soft and conditioned. This small step makes a noticeable difference in the final feel of your project. It is one of those small details that makes understanding the process so rewarding — the results truly speak for themselves.
Block in a low-humidity environment: High humidity slows down drying time significantly. If you live in a humid climate, consider using a small fan nearby to circulate air and speed up the process. While you wait, you can start planning your next project and researching blocking your crochet for that specific yarn type.
Label your measurements: Write your target dimensions on a piece of tape and stick it next to your blocking mats. This way you do not have to keep referring back to your pattern while you pin. Little organizational touches like this are what separate good results from great results when practicing this step.
Frequently Asked Questions About Blocking Crochet
Can you block acrylic yarn?
Yes, but you need to be careful. Acrylic does not respond to wet blocking the way natural fibers do. When figuring out blocking with acrylic, spray blocking is almost always the safest and most effective choice. Spray blocking is your safest option. If you want to use steam, keep the iron at a distance and use very light steam. Excessive heat will permanently flatten the fibers — a process crocheters call “killing” the acrylic.
Do you have to block every crochet project?
Technically, no. But you should. Even simple projects like dishcloths and scarves benefit from blocking. There is no downside to practicing this technique on smaller items before moving on to larger, more complex projects. The only exception might be amigurumi, where blocking could flatten the stuffing. When in doubt, at least try spray blocking — you might be amazed at the difference.
How long does it take for crochet to dry after blocking?
Most projects take 24 to 48 hours to dry completely. Thicker yarn and humid conditions will extend the drying time. A fan or dehumidifier can help speed things up. Never unpin a piece before it is fully dry.
What is the difference between wet blocking and steam blocking?
Wet blocking involves fully submerging the piece in water, then pinning it damp. When comparing the different approaches to the process, wet blocking is generally considered the gold standard for natural fibers. It produces the most dramatic transformation and is best for natural fibers. Steam blocking applies heat and moisture without soaking, which is great for wool and blends. Both methods set the shape, but wet blocking gives you more control over the final dimensions.
Can you block crochet without a blocking mat?
Absolutely. In a pinch, you can use a clean towel on a carpeted floor, a padded ironing board for small pieces, or even a bed with a waterproof liner underneath. The key is having a surface soft enough to hold pins and large enough for your project.
Blocking is the difference between a homemade piece and a professional-looking finished project.