How to Crochet a Headband: Easy Free Pattern (3 Ways to Wear It)
Quick Answer
Learning how to crochet a headband for beginners is one of the fastest ways to build real crochet confidence, you only need to know chains and single or half double crochet, and most headbands finish in under an hour. The key is matching your yarn weight and hook size so the headband stretches comfortably around your head.
Tip: Measure your head circumference and subtract 1-2 inches for a snug but comfortable fit.
At a Glance
- Skill level: beginner
- Time needed: 30-60 minutes
- Best yarn: worsted weight acrylic or cotton blend
- Hook size: 5.0 mm (US H-8)
Common Mistakes → Quick Fixes
- Headband too tight: Chain loosely or go up one hook size for the foundation chain
- Twisted foundation: Make sure your chain isn’t twisted before joining
- Uneven edges: Count your stitches at the end of every row
Mini Glossary
HDC, half double crochet; SC, single crochet; CH, chain stitch; FO, fasten off; gauge, number of stitches per inch
Featured Free Pattern: Three-Button Wide Headband
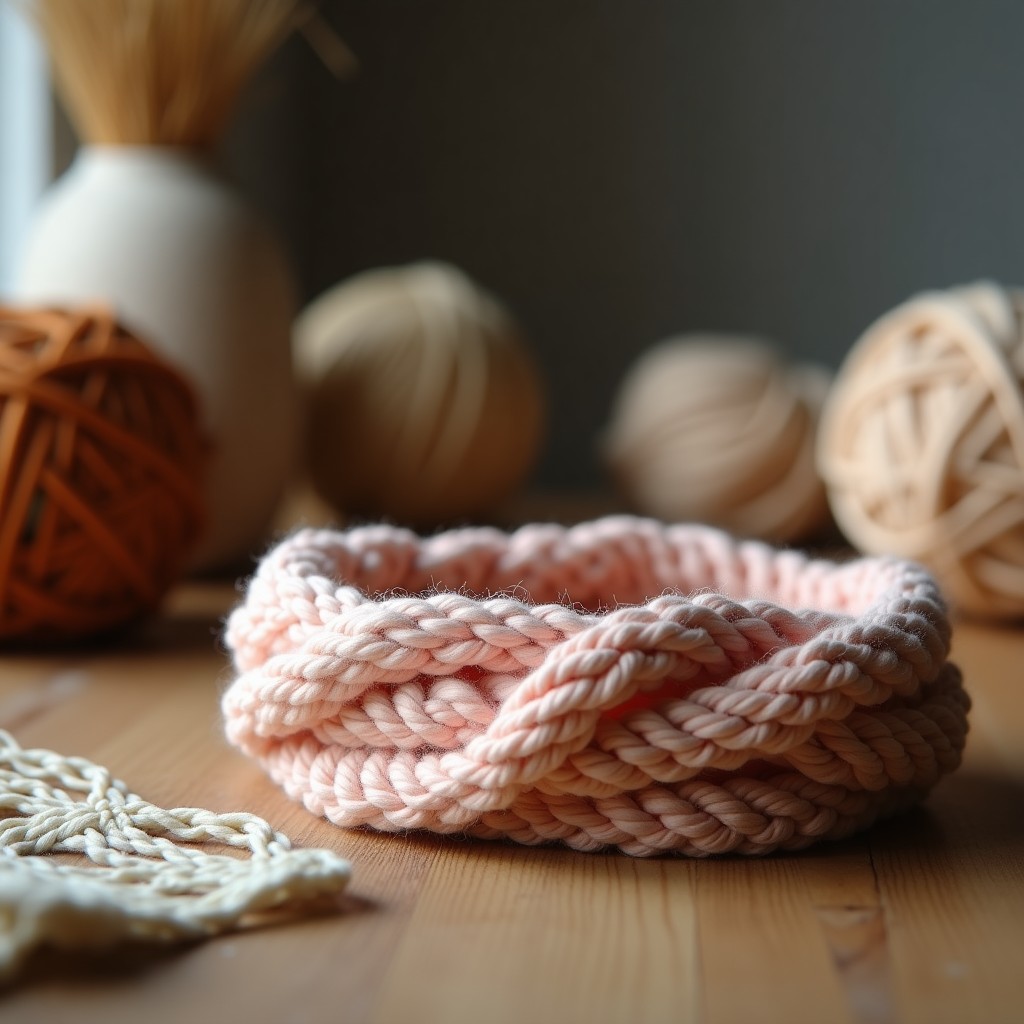
This is KnotToYarn’s own original pattern, free to use, and you’re welcome to sell what you make from it.
This wide headband closes with three buttons at the nape, so there is no seaming and the fit adjusts to any head, wear it flat, scrunched, or as an earwarmer. Complete pattern below.
Materials
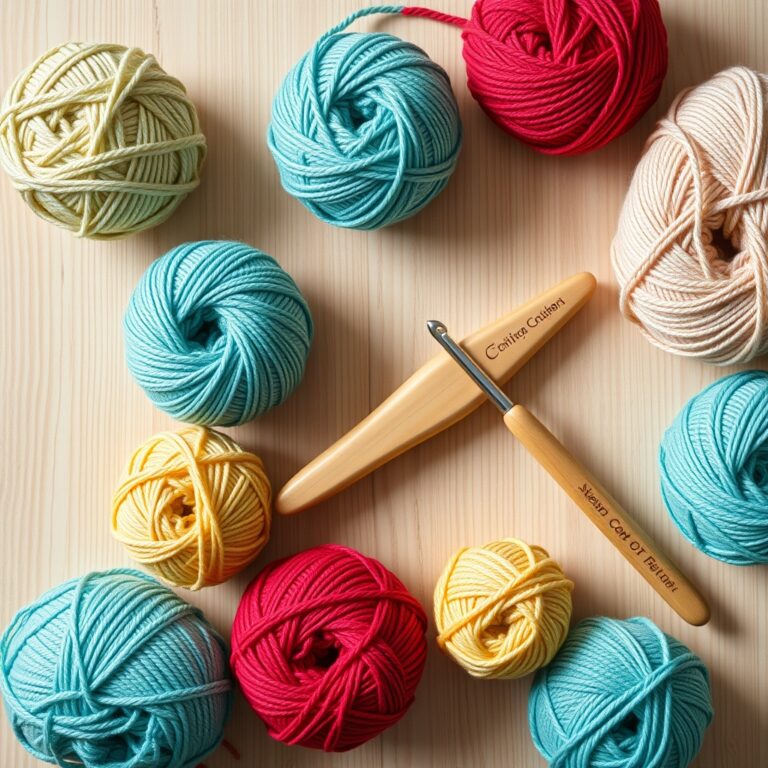
- Worsted weight (category 4) yarn, about 50 g
- 5.0 mm (US H) crochet hook
- Three 18-20 mm buttons
- Yarn needle, scissors
Finished size: 10 cm (4 in) wide; length adjustable to any head
Skill level: Total beginner
Abbreviations (US terms): ch (chain), hdc (half double crochet), st(s) (stitch/es), sp (space)
Instructions
Row 1: Ch 18. Hdc in the 3rd ch from the hook and each ch across: 16 hdc. Ch 2, turn.
Rows 2-40 (or to length): Hdc in each st across: 16 hdc. Ch 2, turn. Stop when the band reaches from nape to nape around your head, with a 2 cm gap, usually 46-50 cm.
Buttonhole row: Hdc in the first 2 sts, *ch 2, skip 2 sts, hdc in the next 3 sts; repeat from * once, ch 2, skip 2 sts, hdc in the last 2 sts, three evenly spaced buttonholes. Ch 2, turn.
Final row: Hdc in each st and 2 hdc in each ch-2 sp across: 16 hdc. Fasten off.
Finishing
Sew the three buttons to the starting edge, matching the buttonhole spacing. Weave in the ends. To wear: button at the nape under your hair. The three-button closure means the same band fits a child loosely buttoned and an adult snugly.
Made this? We’d love to show off your work, send a photo through our contact page and we’ll feature it here with credit to you.
Tip: Hdc rows curl less than dc and stretch more than sc, for headbands it is the goldilocks stitch. If your edges still wave, work the first and last stitch of every row a touch tighter.
Crochet Headband is one of the best beginner wearable projects because it is small, practical, and much easier to finish than a larger garment. It also gives beginners a chance to practice stitch consistency without the pressure of a big project. If you are looking for a clear approach on how to crochet a headband for beginners, this guide covers everything you need to know.
Crochet Headband
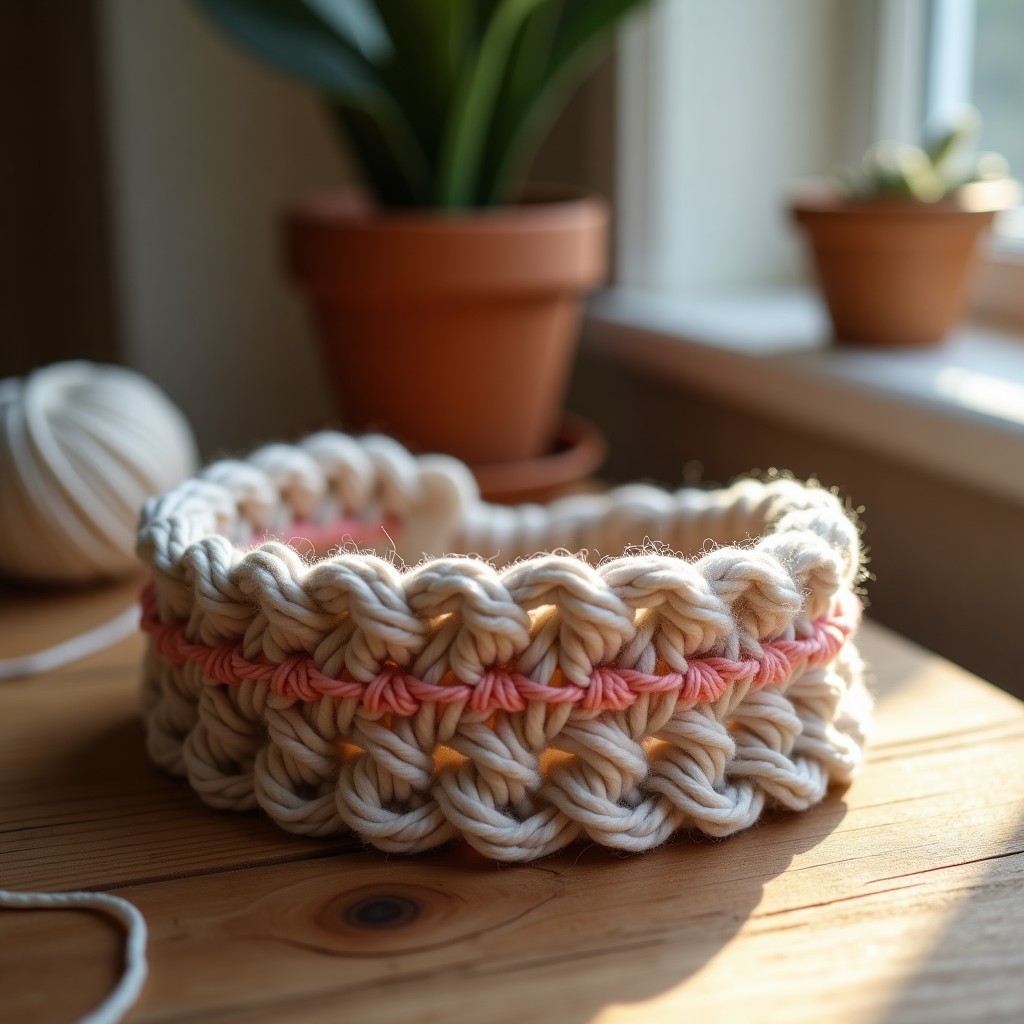
A crochet headband is a strong first wearable because it stays small enough to finish quickly while still teaching useful lessons about width, stretch, stitch consistency, and finishing. It is much less intimidating than a sweater or cardigan, but still feels like a real finished piece.
Quick answer
The easiest headband for beginners usually uses a simple rectangle, a repeatable stitch pattern, and yarn that feels soft but still gives enough structure to hold its shape.
Why a the finished piece is a good beginner project?
This project works well for beginners because it is small enough to complete in a reasonable time, but still teaches the habits that matter later in larger wearables. You learn how tension affects width, how yarn changes stretch, and how finishing can make a simple item look much better. The best part about learning how to crochet a headband for beginners is that every skill you practice transfers directly to bigger wearable projects.
How to choose an easy this project pattern?
The easiest pattern is usually one with a simple stitch repeat, straight edges, and minimal shaping. If a headband pattern mixes too many stitch types or construction tricks too early, it stops being a good beginner project and starts becoming frustrating. When you understand how to crochet a headband for beginners, you learn to spot which patterns are realistic starting points.
Best yarn for a the accessory
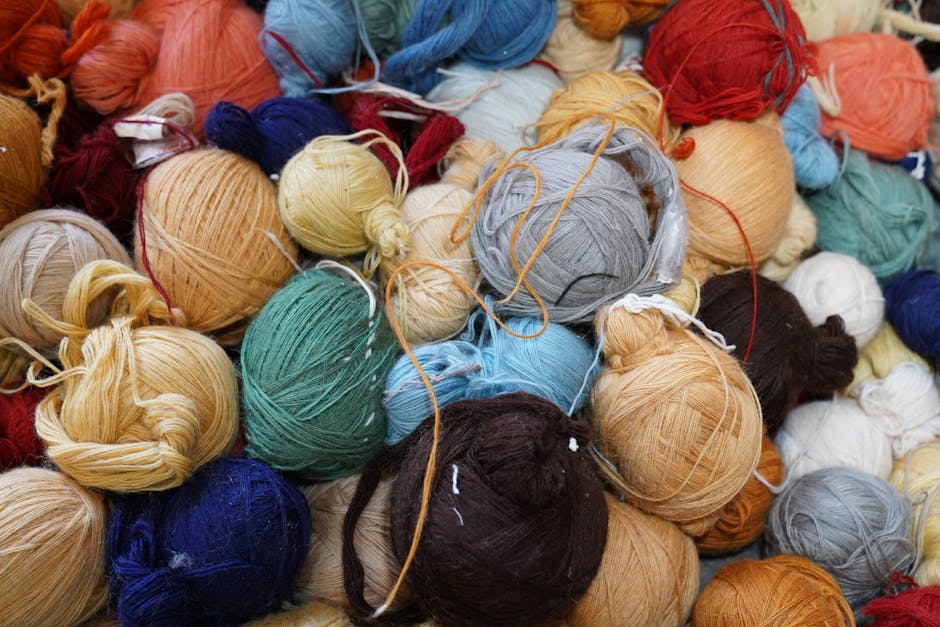
For most beginners, the best yarn is soft enough to feel comfortable against the skin but not so slippery or fuzzy that the stitch pattern disappears. Stitch definition matters here because you want to see whether your rows are staying even. Choosing the right yarn is one of the first lessons in crochet headbands successfully.
Common the headband mistakes
The most common mistakes are making the headband too loose, choosing yarn that stretches too much, forgetting how the seam affects size, and changing tension halfway through the project. These problems are much easier to fix before finishing than after. Knowing this project well means anticipating these issues before they happen.
Beginner Wearable Tips
If you want a cleaner result, measure the width early, test the stretch before finishing, and keep the stitch repeat simple enough to maintain evenly. Beginners usually get better results from a headband that is plain and well-made than from one that is over-designed too early. Mastering headband making means focusing on consistency over complexity.
What stitches work well in a the finished piece?
Simple stitches with good texture usually work best. Moss stitch, half double crochet, and basic ribbed effects are all strong options because they balance ease, stretch, and appearance in a beginner-friendly way. A big part of beginner headbands is picking a stitch that is easy to repeat and still looks polished.
Helpful beginner crochet links
- How to Crochet for Beginners
- Best Yarn for Beginner Crochet
- Easiest Crochet Projects for Beginners
- Crochet Hook Sizes
Helpful external reference
For an outside yarn and sizing reference before making a headband, review the Craft Yarn Council yarn weight system. For free headband patterns and community inspiration, visit Ravelry.
What Is the accessory FAQ?
Is a the headband good for beginners?
Yes. It is one of the most practical first wearables because it is small, useful, and easier to finish than larger clothing projects.
What stitch is best for a beginner this beginner wearable?
Simple textured stitches usually work best because they are easy to repeat and still make the finished piece look polished.
How do I stop a the finished piece from being too loose?
Check the stretch before finishing and account for the seam or join so the final size stays secure without feeling too tight.
Bottom line
A headband is one of the best first wearable projects because it is small, useful, and forgiving enough to teach important beginner skills without becoming overwhelming.
How to make a crochet headband feel more wearable?
A beginner headband looks much better when the yarn, stitch, and width all suit the way the finished piece will actually be worn. If the fabric is too stiff, the headband can feel awkward. If it stretches too much, it may slide around or lose shape quickly. This is why a small test swatch is often worth the effort before finishing the full piece.
It also helps to think about comfort. A good first wearable should feel pleasant against the skin and not distract from the simple goal of learning how to make a neat, useful project. When you master crochet headbands, you will be able to make comfortable, wearable pieces with confidence.
How to check the fit before finishing?
One of the easiest ways to avoid disappointment is to test the stretch and width before seaming or fastening the headband permanently. Hold the fabric gently around the head or compare it to a comfortable existing headband. This makes it much easier to catch sizing issues before the project feels finished.
Beginners usually get cleaner results when they treat fitting as part of the project instead of something to think about only at the end. This guide on this project covers everything from choosing yarn to checking the final fit.
Many crafters search for headband making because it is one of the most practical first projects you can make.
The beauty of beginner headbands is that you only need basic stitches, chains, single crochet, or half double crochet are all you need to succeed.
When learning crochet headbands, start with a simple rectangle and seam the short ends together for an instant headband.
One of the best things about this project is how quickly you can finish, most designs take under an hour even for absolute beginners.
This complete guide on headband making covers everything from choosing yarn to finishing your first wearable project.
Frequently Asked Questions
How long should a crochet headband be?
A crochet headband should typically measure between 19 and 22 inches for an average adult head circumference, but you should always measure the intended wearer for the best fit. If your how to crochet a headband pattern includes stretchy stitches or elastic, you can make it slightly shorter than the head measurement. Adding a few inches of adjustability is always a good idea when learning how to crochet a headband.
What is the best stitch for a crochet headband?
The best stitches for a crochet headband are those with good stretch and recovery, such as the half double crochet, moss stitch, or a front and back post ribbing pattern. Ribbed stitches made with front and back post half double crochet are especially popular because they mimic the look of a knitted headband. When deciding how to crochet a headband, choose a stitch that balances elasticity with a clean, attractive appearance.
Can I add a twist to my crochet headband?
Yes, adding a twist to your crochet headband is a popular design element that creates a chic, turban-like look. To create the twist, simply cross one end of the headband over the other before seaming the ends together, creating a figure-eight shape at the front. This simple technique improves the style of any how to crochet a headband project and gives it a professional, finished appearance.
How do I make my crochet headband stretchy?
To make your crochet headband stretchy, use a stitch pattern with natural give like the ribbed half double crochet or work your stitches loosely with a larger hook. You can also incorporate elastic thread into your foundation chain or thread a piece of elastic through the finished headband for added stretch. A good how to crochet a headband pattern will always include instructions for achieving the right amount of stretch for a comfortable fit.