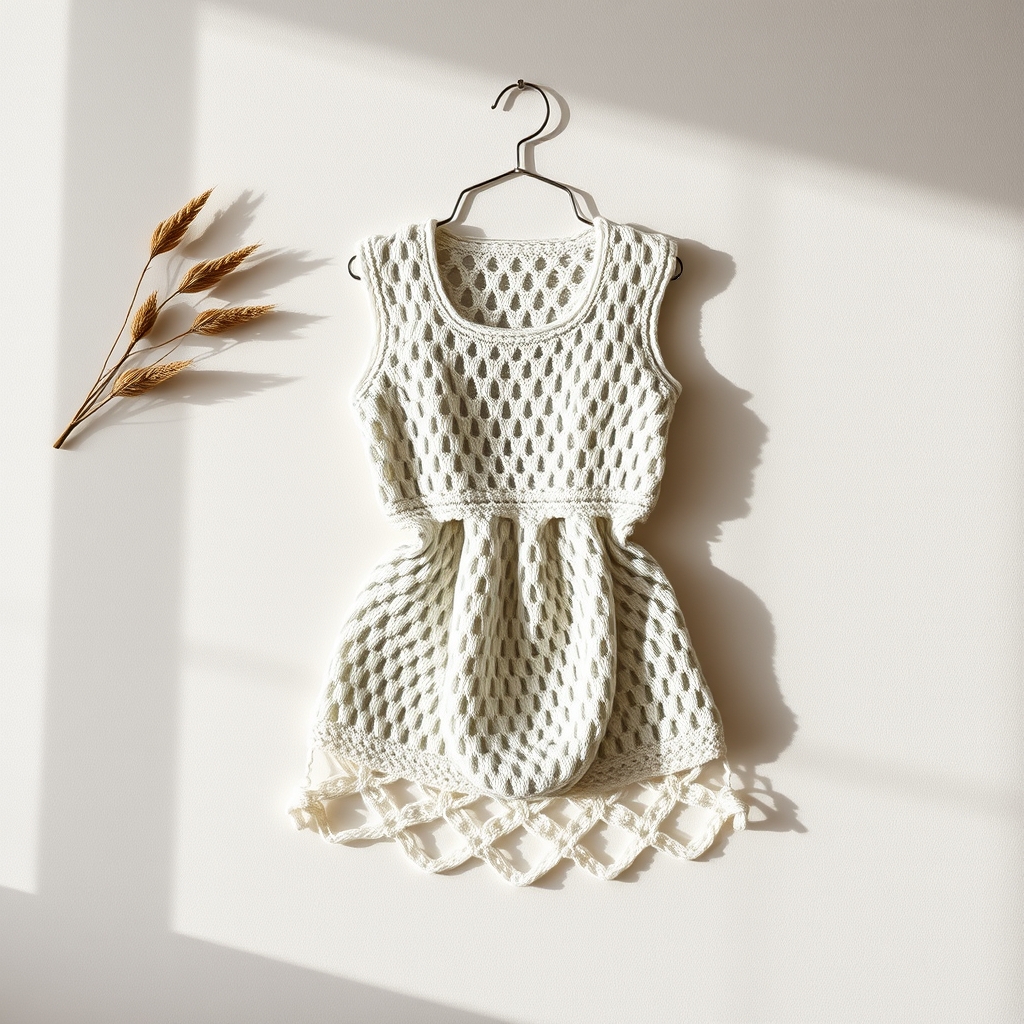
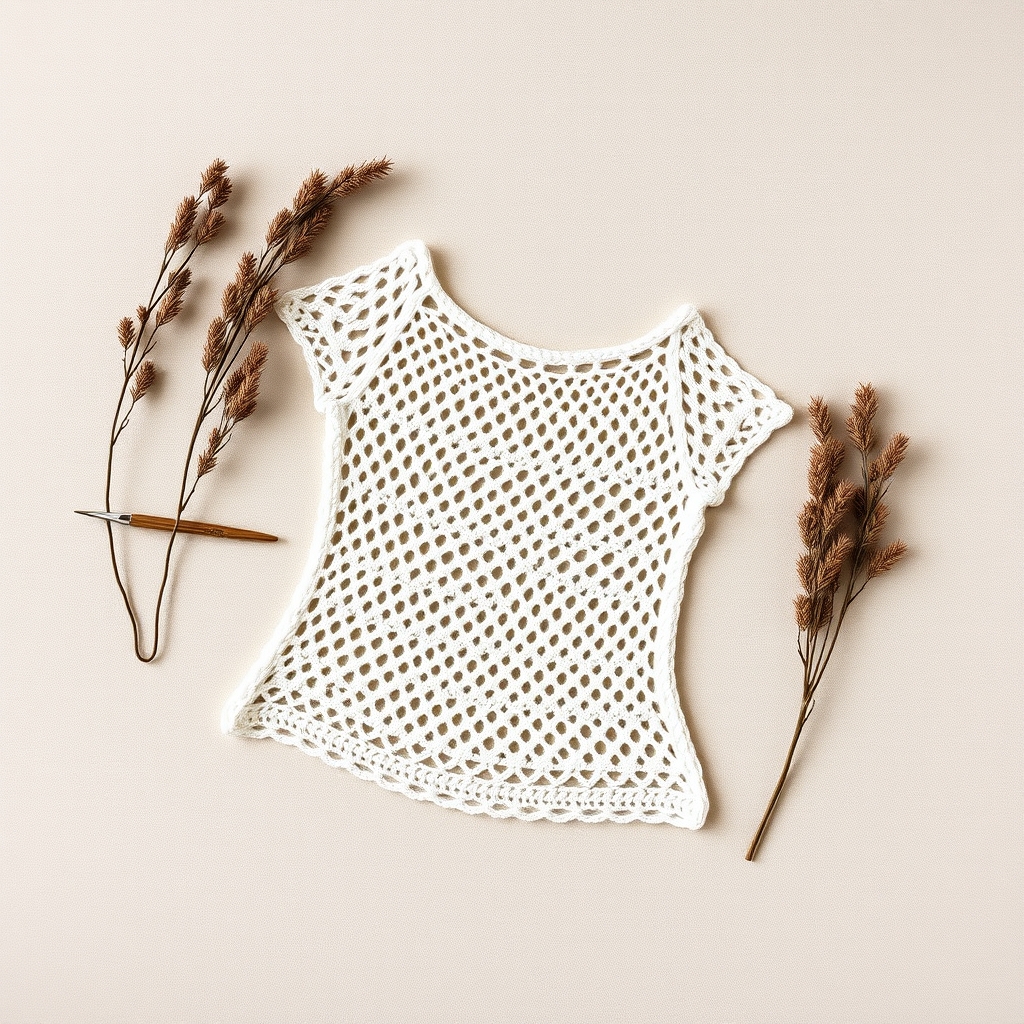
Granny Stitch Top: 7 Easy Free Crochet Patterns
A granny stitch top is a really satisfying make. Those rhythmic 3-double-crochet clusters build a lovely textured fabric, and it works up faster than you’d expect. This guide covers how to make one in sizes XS through 5XL.
Quick Answer
Granny stitch tops are built from clusters of 3 double crochets worked into chain spaces, which gives a stretchy, textured fabric that flatters just about everyone. You’ll need medium-weight yarn, a 5.0 mm hook, and the basic stitches. The full size chart and step-by-step instructions are below.
Tip: The granny stitch naturally has generous stretch: choose a size that is 2-4 inches smaller than your actual bust measurement for the best fit.
At a Glance
- Skill level: Beginner-friendly
- Time needed: 6-10 hours
- Best yarn: Medium weight cotton, acrylic, or blend (250-400g)
- Hook size: 5.0mm (H/8)
Common Mistakes → Quick Fixes
- Uneven edges: Make sure you are working 3 dc clusters in the correct chain spaces, see our tension guide
- Top is too baggy: Go down one hook size or add a ribbed waistband for shaping
- Color changes look messy: Change colors on the last yarn-over of the last dc in a cluster for clean transitions
Mini Glossary
3-dc cluster: 3 double crochets worked into the same chain space. Ch-sp (chain space): The gap between clusters created by chaining. Ch 2 turning chain: The chain stitches at the start of a row that bring the hook up to the correct height for double crochet.
Why You Will Love a Granny Stitch Top?
It’s a wardrobe staple for crocheters at any level. Here’s why this one’s so popular:
- Quick to work up: The 3-dc clusters cover a lot of ground fast. Most crocheters finish their first granny stitch top in a single weekend.
- Minimal counting: Unlike intricate lace patterns, the granny stitch is highly repetitive and easy to memorize.
- Beautiful drape: The cluster pattern creates natural stretch, so the top flatters curves without being restrictive.
- Beginner-friendly: If you know how to chain and double crochet, you can make a granny stitch top.
The granny stitch gets its name from the classic granny square, since it uses the same cluster technique in rows instead of rounds.
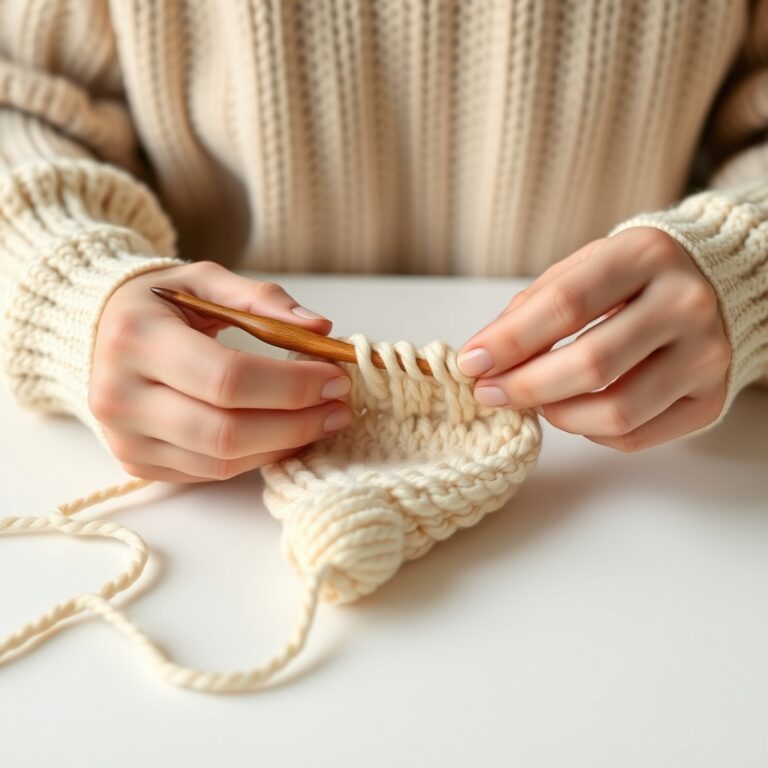
What Should You Know About the 3-Double-Crochet Cluster?
The core of every granny stitch top is the 3-dc cluster. Here is a step-by-step breakdown:
- Yarn over, insert hook into the chain space, yarn over and pull through (3 loops on hook).
- Yarn over and pull through 2 loops (2 loops remain).
- Yarn over, insert hook into the SAME chain space, yarn over and pull through (4 loops on hook).
- Yarn over and pull through 2 loops, yarn over and pull through 2 more (2 loops remain).
- Repeat step 3 and 4 one more time: 3 dc completed in one space.
- Chain 2, then work the next 3-dc cluster in the next chain space.
The chain-2 between clusters creates the signature openwork gaps of the granny stitch top.
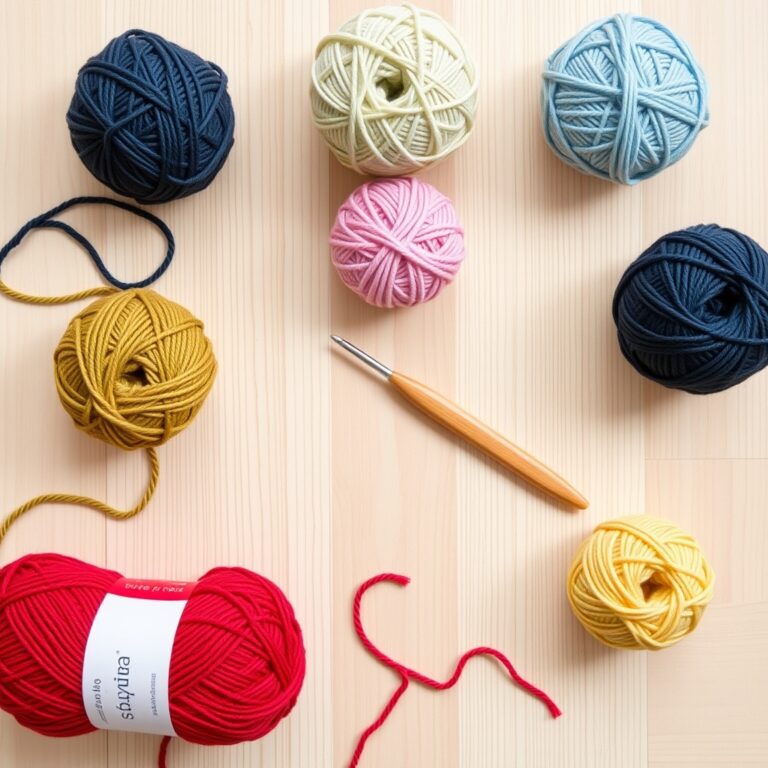
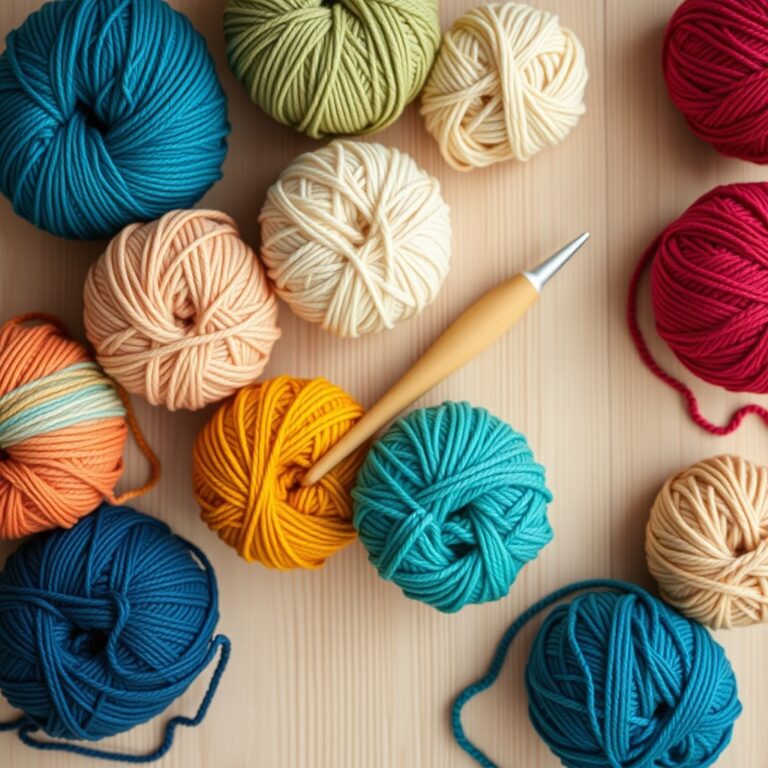
Materials You Need
Gather these supplies before starting your granny stitch top:
- Yarn: 250-400g of medium weight (worsted #4) yarn. Cotton, acrylic, or cotton-acrylic blends all work beautifully.
- Hook: 5.0mm (H/8) crochet hook
- Stitch markers: 4-6 for marking sides and armholes
- Tapestry needle: For weaving in ends
- Measuring tape: For checking gauge and body measurements
If you are new to selecting materials, our guide on the best yarn for beginner crochet projects covers everything you need to know. You can also reference the Craft Yarn Council yarn weight standards.
Granny Stitch Top Size Chart (XS-5XL)
This granny stitch top is designed with generous ease and natural stretch. Choose your size based on your bust measurement:
| Size | Bust (in) | Foundation Ch | Yardage | Length (in) |
|---|---|---|---|---|
| XS | 28-30 | 73 | 250g | 17 |
| S | 32-34 | 85 | 275g | 17 |
| M | 36-38 | 97 | 300g | 18 |
| L | 40-42 | 109 | 325g | 18 |
| XL | 44-46 | 121 | 350g | 19 |
| 2XL | 48-50 | 133 | 375g | 19 |
| 3XL | 52-54 | 145 | 400g | 20 |
| 4XL | 56-58 | 157 | 425g | 20 |
| 5XL | 60-62 | 169 | 450g | 21 |
Note: The granny stitch has significant natural stretch. If you are between sizes, choose the smaller size for a more fitted look.
Row-by-Row: Body Panels
The body of your granny stitch top is worked in two rectangular panels (front and back) that are seamed together at the shoulders and sides.
Foundation Row
Chain the number for your size from the chart above. The chain count is a multiple of 6 plus 1.
Row 1: 3 dc in 5th chain from hook (first cluster made, the ch-4 counts as ch-2 sp + dc), *ch 2, skip 3 ch, 3 dc in next ch; repeat from * across, dc in last ch. Ch 4, turn.
Row 2: 3 dc in first ch-2 sp, *ch 2, 3 dc in next ch-2 sp; repeat from * across, 2 dc in last ch-2 sp. Ch 4, turn.
Row 3: 3 dc in first ch-2 sp, *ch 2, 3 dc in next ch-2 sp; repeat from * across, 2 dc in last ch-2 sp. Ch 4, turn.
Repeat Row 3 until the panel reaches your desired length (see chart). Make 2 identical panels for the front and back of your granny stitch top.
Armhole Shaping
When your panels reach the underarm level (approximately 12-14 inches from the bottom for most sizes), begin armhole shaping:
At the start of each row, skip the first ch-2 space. At the end of each row, work only 1 dc in the last cluster instead of 2. Repeat this decrease on both sides for 4 rows, creating a gentle curve for the armhole. Work even for 2 more rows, then begin neck shaping.
Neck Shaping
For a classic round neckline on your granny stitch top:
Work across the first third of the row. Fasten off the center third of stitches (this creates the neck opening). Rejoin yarn and complete the remaining third. Work each shoulder separately for 3-4 more rows. The shoulders should be approximately 3-4 inches wide each.
Sleeve Options for Your Granny Stitch Top
Customize your granny stitch top with one of these sleeve styles:
Sleeveless
Finish the armhole edges with 2 rounds of single crochet. Add a reverse single crochet (crab stitch) on the final round for a polished look.
Short Fringe Sleeves
Work 3-4 rows of granny stitch around the armhole opening, then add 3-inch fringe to each dc for a fun bohemian vibe. This style looks amazing on a granny stitch top for music festivals or beach days.
Long Lantern Sleeves
Work 10-12 rounds of granny stitch around the armhole, gradually increasing by adding one extra cluster every 3 rounds. Finish with a sc border. This creates a dramatic flared sleeve that gives the granny stitch top a trendy oversized silhouette.
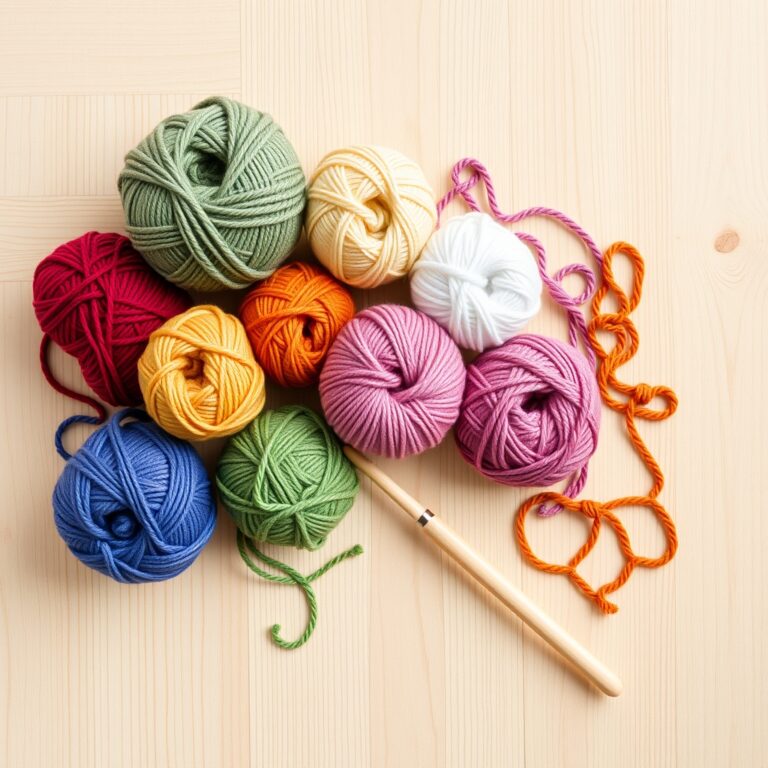
Color Block Ideas
One of the best features of a granny stitch top is how easily it adapts to different color schemes:
- Solid Classic: One color throughout for an elegant, versatile look.
- Two-Tone: Work the bottom half in one color and switch to a contrasting shade for the upper half.
- Stripe Effect: Alternate 2-row stripes of different colors for a cheerful pattern.
- Gradient: Use 4-5 shades from the same color family, changing every 4-6 rows.
- Rainbow: A new color every 2 rows for a bold, playful statement piece.
For the cleanest color changes, switch yarns on the last yarn-over of the final double crochet in a cluster.
Joining Panels
Once you have completed both front and back panels of your granny stitch top, join them using the mattress stitch:
- Place the front and back panels right-sides together.
- Thread your tapestry needle with a length of yarn (about 2 yards).
- Working through both layers, sew the shoulder seams using a whip stitch or mattress stitch.
- Sew the side seams, leaving 6-8 inches open at the bottom for a side slit (optional).
- Weave in all ends.
Edging Options
The right edging can take your granny stitch top from casual to polished:
- Single crochet border: The simplest option. Work 1 round of sc around the neckline, armholes, and bottom hem.
- Shell border: Work *5 dc in one stitch, skip 2, sc in next* around the bottom hem for a scalloped edge.
- Picot border: *Sc in next st, ch 3, sl st in first ch of the ch-3* around the hem for dainty pointed details.
- Ribbed waistband: Work 3-4 rows of sc in the back loop only to create a cinched waist effect.
Frequently Asked Questions
Is a granny stitch top beginner-friendly?
Yes, it’s one of the best first garments. You only need to chain and double crochet, and the cluster pattern is repetitive and quick to memorize, so it’s a great confidence-builder.
How much yarn do I need for a granny stitch top?
Most sizes need 250-400 g of medium-weight yarn, with a size M usually around 300 g. Buy one extra skein to be safe, especially if you’re adding sleeves or color-blocking.
Can I use acrylic yarn for a granny stitch top?
Absolutely, acrylic is budget-friendly and works well here. Cotton-acrylic blends give the best mix of drape and durability, and pure cotton is ideal for summer since it breathes.
How do I adjust the length of my granny stitch top?
Simply add or remove rows of the granny stitch pattern. Each row adds approximately 0.6 inches to the length. For a cropped style, work about 25 rows. For a tunic, work 45-50 rows before armhole shaping.
Should I block my granny stitch top?
Blocking is worth it. For cotton, soak the finished top in cool water, pin it to your measurements, and let it air dry. For acrylic, steam blocking does the job.
More Free Crochet Patterns
Love this pattern? Browse more wearable designs on KnotToYarn.com, including crochet crop top patterns and free crochet patterns for beginners. Share your finished granny stitch top on Ravelry to inspire other crocheters!