Crochet Bell Sleeve Shrug: Easy 4-Step Free Pattern

Quick Answer
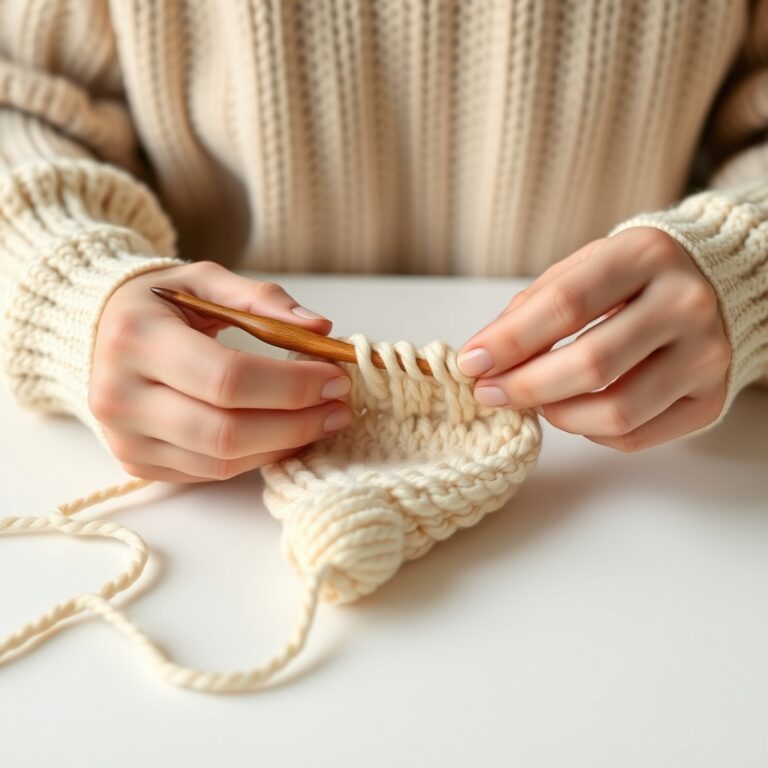
A bell sleeve shrug is a stunning, beginner-friendly garment worked in half double crochet through the back loop only for a stretchy ribbed fabric. This free KnotToYarn pattern walks you through just 4 steps, foundation chain, body panel, bell-sleeve shaping, and assembly, for a stylish shrug with dramatic flared sleeves that looks far harder than it is.
If you love lightweight crochet garments, our oversized openwork shirt pattern uses airy stitches to create a breathable, stylish top.
Tip: Choose a yarn with excellent drape, soft acrylic or wool-acrylic blends create the best bell sleeve flow and prevent the sleeves from holding a stiff shape.
At a Glance
- Skill level: Advanced beginner
- Time needed: 6-12 hours depending on size
- Best yarn: Medium weight (#4 worsted) acrylic or wool blend, 300-500g
- Hook size: 5.0mm (H-8)
Common Mistakes → Quick Fixes
- Sleeves don’t flare enough: Add more increase rows, work 2-3 additional rows of increases before the cuff
- Body too tight across the back: Add 4-6 chains to your foundation and recheck gauge before continuing
- Seams are visible: Use the mattress stitch or whip stitch with matching yarn for an invisible join
Mini Glossary
HDC BLO: Half double crochet worked in the back loop only, creates the signature ribbed texture. Bell sleeve: A sleeve that fits snugly at the armhole and gradually flares out toward the wrist. Increase: Adding stitches to make the fabric wider, achieved here by working 2 HDC in one stitch. Mattress stitch: An invisible seaming technique that joins pieces side by side for a seamless look.
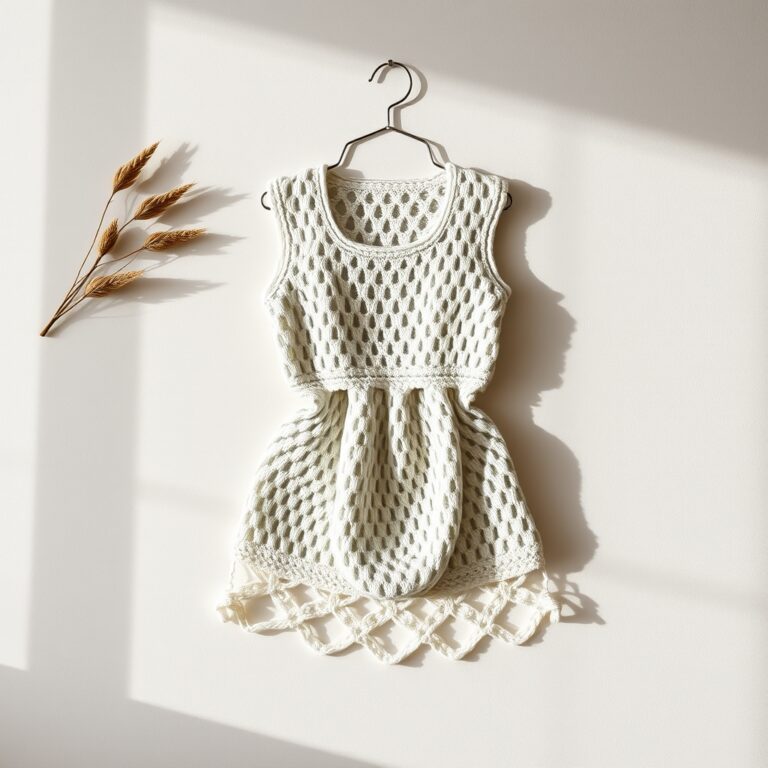
There’s something special about a bell sleeve shrug. The dramatic flared sleeves add instant elegance, while the cropped body keeps it casual and wearable. Best of all, this free KnotToYarn pattern takes just four straightforward steps, even if you’ve never made a crochet garment before.
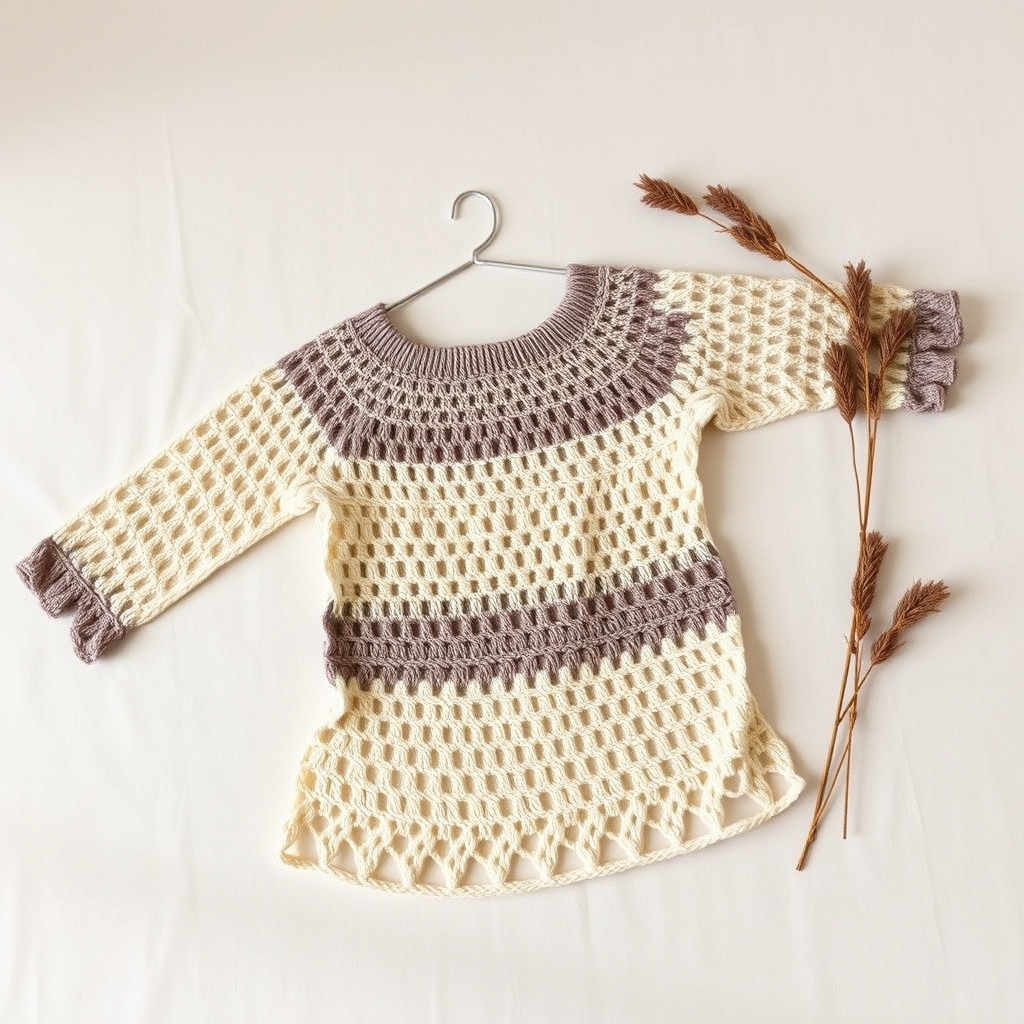
This original shrug uses half double crochet through the back loop only for a ribbed texture that stretches and recovers beautifully. The fabric has a natural give that keeps it comfortable all day, and the bell-sleeve shaping adds a touch of bohemian romance. Over a sundress in summer or layered with a long-sleeve tee in winter, it’s about to become your most-reached-for handmade piece.
Why You’ll Love This Crochet Bell Sleeve Shrug?
A good shrug pattern hits that sweet spot between “impressive enough to show off” and “simple enough to actually finish.” This pattern delivers on both counts for several reasons.
First, the construction is brilliantly simple. Unlike traditional sweaters that require complex armhole shaping and sleeve caps, this shrug is essentially a long rectangle with flared ends. You work the body in one piece, then shape each sleeve with gradual increases. There are no sleeves to set in, no shoulder seams to match up, and no buttonholes to fiddle with. Second, the back-loop-only HDC creates a fabric that’s both stretchy and substantial. It won’t sag or lose its shape over time, yet it has enough give to fit a range of body types comfortably within each size. Third, the Craft Yarn Council’s standard body measurements ensure that every size is proportioned correctly, so your shrug will actually fit the way the pattern promises.
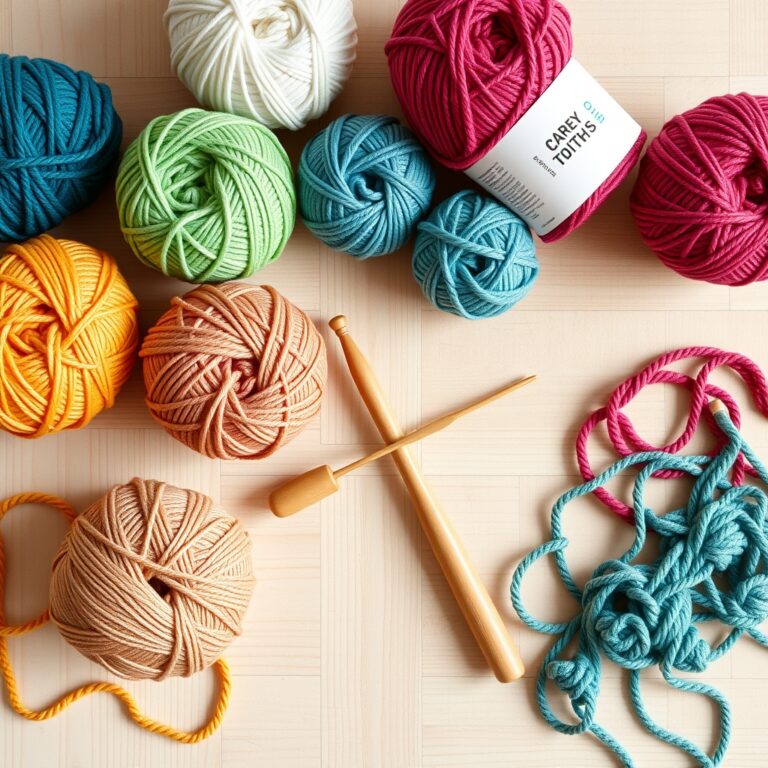
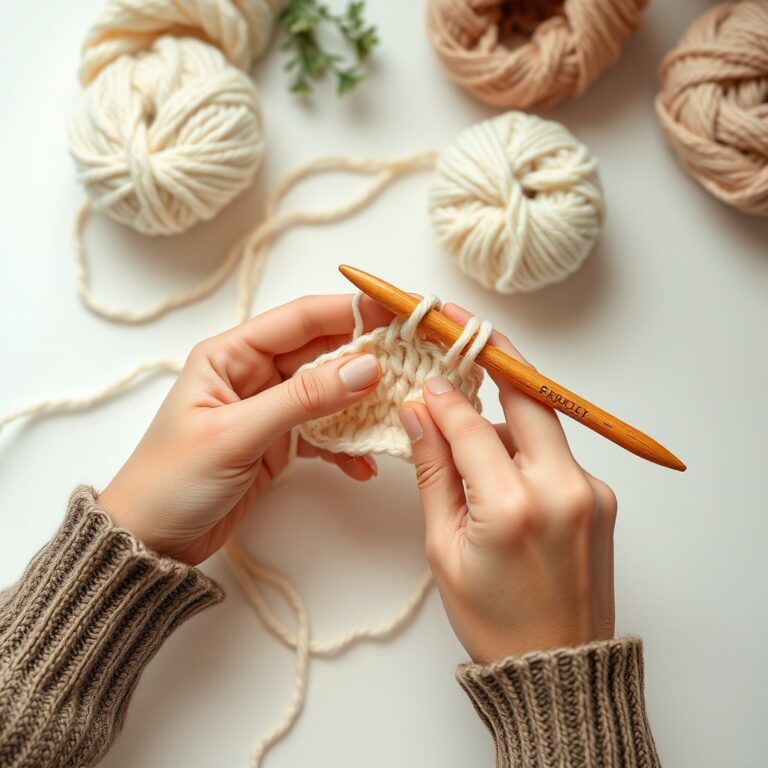
Materials You’ll Need
Here’s everything you need for your shrug:
- Yarn: 300-500g of medium weight (#4 worsted) yarn. Soft acrylic, wool-acrylic blend, or cotton-acrylic blend all work wonderfully. Choose a yarn that drapes well, stiffness will fight against the natural flow of the bell sleeves.
- Hook: 5.0mm (US H-8) crochet hook or size needed for gauge.
- Tape measure: Essential for checking gauge and measuring as you go.
- Stitch markers: At least 4 markers to mark increase points and panel edges.
- Yarn needle: For seaming and weaving in ends.
- Scissors: For cutting yarn.
New to choosing yarn for garments? Our best yarn for beginner crochet guide breaks down the pros and cons of every popular yarn type so you can shop with confidence.
Gauge
Before you start your shrug, make a gauge swatch:
- 15 HDC in back loop only = 4 inches (10 cm) wide
- 12 rows = 4 inches (10 cm) tall
If your stitches per inch don’t match, adjust your hook size up or down until they do. A proper gauge swatch is the foundation of a well-fitting garment. If gauge confuses you, our crochet tension guide explains the relationship between hook size, yarn weight, and stitch size in detail.
Size Chart: XS to 5XL
This pattern is sized to fit a wide range of body types. Choose your size based on your upper bust measurement (measured around your chest, just under your arms):
| Size | Upper Bust (in) | Foundation Chain | Body Length (in) | Sleeve Length (in) | Yarn (g) |
|---|---|---|---|---|---|
| XS | 28-30 | 43 | 10 | 14 | 300g |
| S | 31-33 | 47 | 11 | 15 | 340g |
| M | 34-36 | 51 | 12 | 16 | 380g |
| L | 37-40 | 57 | 13 | 17 | 420g |
| XL | 41-44 | 63 | 14 | 18 | 460g |
| 2XL | 45-48 | 69 | 15 | 19 | 490g |
| 3XL | 49-52 | 75 | 16 | 20 | 500g |
| 4XL | 53-56 | 81 | 17 | 20 | 500g |
| 5XL | 57-60 | 87 | 18 | 20 | 500g |
Note: The back-loop-only HDC creates a naturally stretchy fabric. Choose the size closest to your upper bust measurement, the ribbed texture will provide an additional 1-2 inches of comfortable stretch.
The 4-Step Pattern
The shrug comes together in just four simple steps. Let’s walk through each one.
Step 1: Foundation and Body Panel
Chain the number of stitches listed in the size chart for your size, plus 2 for the turning chain. For a size M, chain 53.
Row 1: HDC in the 3rd chain from the hook and in each chain across. You should have 51 HDC. Turn.
Row 2: Chain 2 (counts as first HDC). HDC in BLO of each stitch across. Turn. (51 HDC)
Repeat Row 2 until your body panel measures the body length listed in the chart. For size M, this is 12 inches, which is approximately 36 rows.
Fasten off. This completes your body panel. The back-loop-only technique creates horizontal ridges that give the fabric its characteristic ribbed appearance and natural stretch. Our half double crochet guide covers this technique in depth if you’d like to practice before starting.
Step 2: First Sleeve (Right)
With the right side of the body panel facing you, attach your yarn to the last stitch of the last row at the right edge.
Rounds 1-4 (Cuff): Chain 2. HDC in BLO across the short end of the body panel. You’ll be working along the edge of the panel, making approximately 1 HDC per row end. This creates the initial cuff of the sleeve. Slip stitch to the first HDC to join. Turn. (approximately 30-36 HDC)
Rounds 5-10 (Bell Shaping): Chain 2. HDC in BLO of each stitch around. At the end of each round, add 1 increase by working 2 HDC in the last stitch. Slip stitch to join. Turn.
Rounds 11-16 (More Shaping): Chain 2. HDC in BLO of each stitch around. Add 2 increases evenly spaced in each round, work 2 HDC in the first stitch and 2 HDC in the middle stitch. Slip stitch to join. Turn.
After these rounds, the sleeve should have flared noticeably from the cuff to the armhole, creating the bell shape. Fasten off.
Step 3: Second Sleeve (Left)
Repeat Step 2 on the opposite short end of the body panel, attaching yarn to the first stitch of the first row at the left edge. Work the same number of rounds with the same increases to create a matching bell sleeve.
Step 4: Assembly
Fold the body panel in half with the right sides facing in. The fold line becomes the center back of your shrug. Using your yarn needle and matching yarn, whip stitch or mattress stitch the two long edges together from the fold down to where the sleeves begin, leaving an opening for each armhole.
The armhole openings should be approximately 8-10 inches deep for sizes S-M, and 10-12 inches for larger sizes. If you’d like a more open, flowy shrug, leave larger armhole openings. For a cozier fit, seam more of the sides together.
Bell Sleeve Shaping: Understanding the Increases
The magic of this shrug is in how the sleeves are shaped. Here’s a closer look at how the increases create that flare:
The sleeve starts relatively narrow at the cuff, just wide enough to fit around your forearm. Then, over a series of rounds, you add stitches at regular intervals. These increases cause the fabric to grow progressively wider, creating the flared bell shape. The key is distributing the increases evenly so the flare is smooth and symmetrical rather than bunched or lopsided.
For a more dramatic bell shape, you can add extra increase rounds. For a subtler flare, work fewer increase rounds and add more straight (no-increase) rounds before beginning the shaping. This customization makes the pattern incredibly versatile, you can make each shrug unique even when using the same yarn and hook size.
3 Cuff Variations
The cuffs are an easy place to add a personal touch. Three variations to try:
Variation 1: Scalloped Edge
After completing the last round of the sleeve, chain 3. Skip 2 stitches, work 3 DC in the next stitch, skip 2, slip stitch in the next. Repeat around. This creates a delicate scalloped edge that adds a feminine touch to the bell sleeve opening.
Variation 2: Ribbed Cuff
Work 3-4 additional rounds of HDC in BLO at the end of the sleeve (no increases). This creates a fitted ribbed cuff that contrasts beautifully with the flared bell sleeve above it. The ribbed cuff helps keep the sleeve in place on your forearm.
Variation 3: Picot Edge
After the last sleeve round, chain 3, slip stitch in the first chain to form a picot, skip 1 stitch, single crochet in the next. Repeat around. Picot edges add a polished, decorative finish that improves the entire shrug.
Styling Your Crochet Bell Sleeve Shrug
This shrug is one of the most versatile pieces in your handmade wardrobe. Five ways to wear it:
- Over a Tank Top: The most classic look. A fitted tank top lets the bell sleeves take center stage. Add high-waisted jeans and ankle boots for an effortless weekend outfit.
- With a Maxi Dress: Layer the shrug over a flowing maxi dress for a bohemian, festival-ready look. The bell sleeves complement the movement of a long dress beautifully.
- Over a Button-Down Shirt: For a more polished outfit, wear your shrug unbuttoned over a crisp button-down. The contrast between structured tailoring and handmade crochet is unexpectedly chic.
- With a Crop Top and High-Waisted Skirt: The cropped length of the shrug pairs perfectly with a crop top and high-waisted skirt. It covers just enough shoulder and upper arm to feel put-together without hiding your outfit.
- As a Layering Piece Under a Jacket: On colder days, wear the shrug under an open jacket or coat. The bell sleeves peek out from the jacket sleeves for a beautiful layered effect.
Blocking Your Shrug
Like any crochet garment, the shrug benefits enormously from blocking. Here’s the process:
- Soak: Submerge the finished shrug in lukewarm water with a gentle wool wash for 15-20 minutes.
- Squeeze: Gently press out excess water, never wring or twist.
- Pin: Lay the shrug flat on blocking mats. Pin the body panel to the dimensions in the size chart. Pin each sleeve flat, spreading the bell shape evenly.
- Dry: Allow to dry completely (24-48 hours) before unpinning.
Blocking transforms the fabric, it evens out your stitches, sets the ribbed texture, and gives the bell sleeves their proper drape. It’s the difference between a project that looks “homemade” and one that looks “handmade.” If you’re new to garment finishing, our crochet crop top patterns page includes detailed blocking instructions as well.
Frequently Asked Questions
How do I adjust the bell sleeve width on a crochet bell sleeve shrug?
To adjust the bell-sleeve width, just increase or decrease the number of chain stitches at the foundation row of each sleeve. More chains give a more dramatic bell; fewer give a subtler flare. Always swatch first so your changes keep the overall fit.
What yarn is best for a crochet bell sleeve shrug?
The best yarn for this shrug is a medium-weight (worsted/weight 4) yarn, cotton, acrylic, or a cotton-acrylic blend. These drape well while holding the bell-sleeve shape. Cotton blends are great for spring and summer; wool blends suit cooler weather.
Is a crochet bell sleeve shrug suitable for beginners?
This shrug is beginner-friendly if you’re comfortable with chains, single crochet, and double crochet. It’s worked in flat panels and seamed together, which keeps it manageable. Start with a simpler sleeve if you’re brand new to garments.
How do I care for my crochet bell sleeve shrug?
To care for the shrug, hand wash in cool water with a gentle detergent and lay it flat to dry to keep its shape. Avoid hanging it, which can stretch out the sleeves and body over time, and always check the yarn label for fiber-specific care.