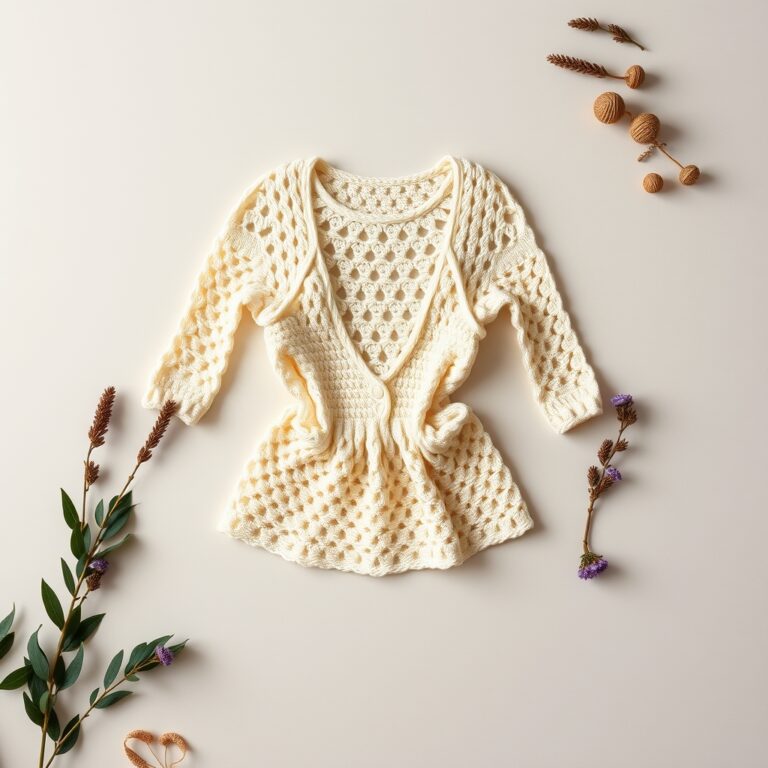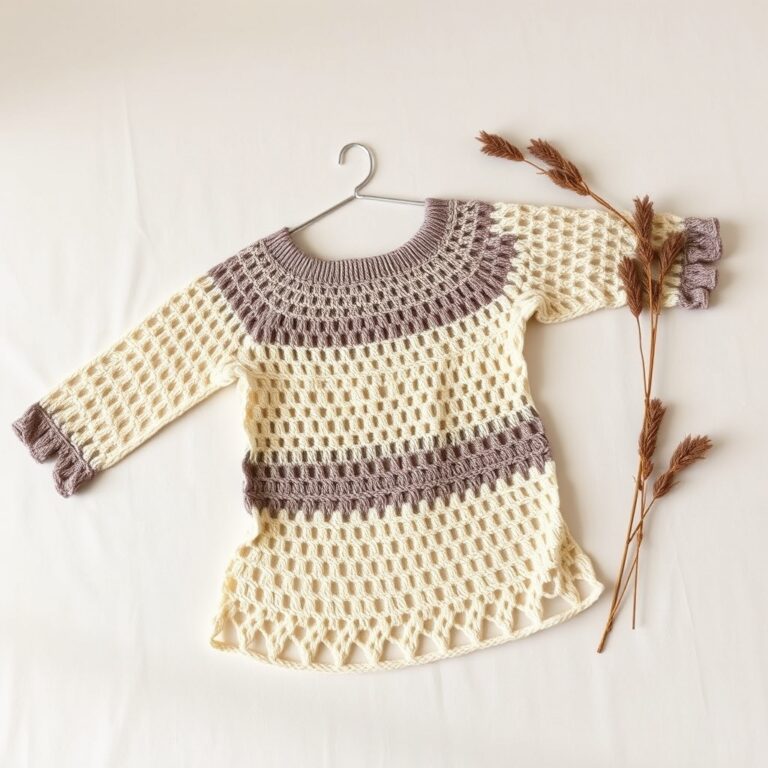
Striped Crochet Cardigan: 5 Easy Steps for Beginners
Quick Answer
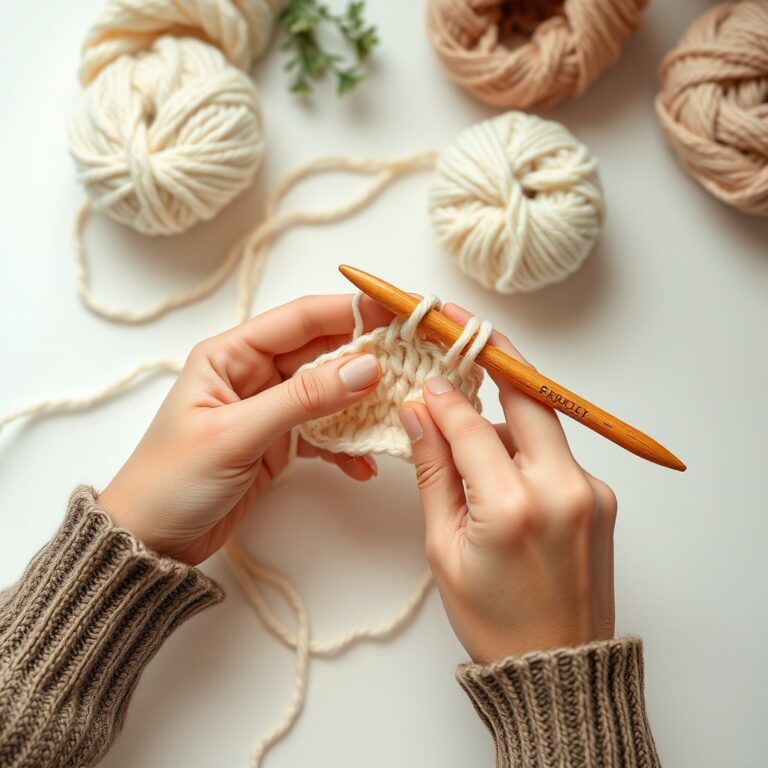
A striped crochet cardigan is easier to make than you might think. This free pattern from KnotToYarn.com uses basic half double crochet stitches and a simple two-color stripe pattern to create a flattering, customizable cardigan that fits sizes XS through XL.
Cardigans aren’t the only garment worth mastering, our crochet raglan sweater pattern teaches you top-down construction for a pullover that actually fits.
For a different take on the cardigan style, our granny square cardigan patterns show you how to assemble motifs into three beautiful wearable designs.
Tip: Always check your gauge before starting: a 4″ × 4″ swatch in HDC should measure approximately 14 stitches × 12 rows with a 5.5mm hook and worsted weight yarn.
At a Glance
- Skill level: beginner to intermediate
- Time needed: 15-25 hours (depending on size and experience)
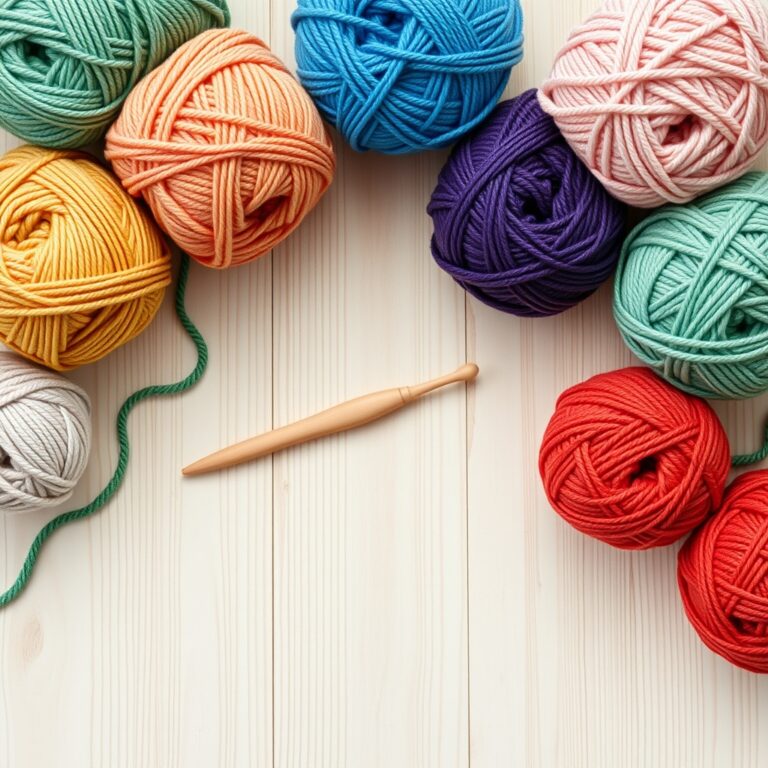
- Best yarn: worsted weight (#4) acrylic or acrylic-cotton blend
- Hook size: 5.5mm (US I/9)
Common Mistakes → Quick Fixes
- Uneven stripe edges: count your stitches at the end of every row and use stitch markers at each end.
- Color change showing gaps: complete the last yarn-over in the new color to create a clean transition.
- Cardigan too tight: measure your actual bust and add 2-4 inches of positive ease before choosing your size.
Mini Glossary
HDC: half double crochet | CH: chain | SC: single crochet | RS: right side | WS: wrong side | FO: fasten off | st(s): stitch(es)
If you’ve been after a stylish but approachable project, this striped cardigan is it. Confident beginner or intermediate crocheter ready to try garments, the pattern walks you through every step, from choosing yarn to seaming the finished cardigan.
We designed this one with simplicity and wearability in mind. Half double crochet makes a dense, cozy fabric with nice drape, and the classic navy-and-cream combination gives the finished piece a timeless look.
Why You’ll Love This Striped Crochet Cardigan?
Garment crochet can feel intimidating, but this one proves it doesn’t have to be. Here’s what makes the project beginner-friendly:
- Simple stitches only: the entire cardigan uses half double crochet, which is one of the easiest stitches to learn. If you need a refresher, check out our half double crochet tutorial.
- Customizable sizing: the pattern includes complete instructions for five sizes (XS through XL), so you can make one for yourself or as a gift.
- Minimal seaming: the cardigan is worked in flat panels, so you only need to seam the shoulders and sides.
- Beautiful color changes: the two-color stripe technique is straightforward and creates a stunning visual effect.
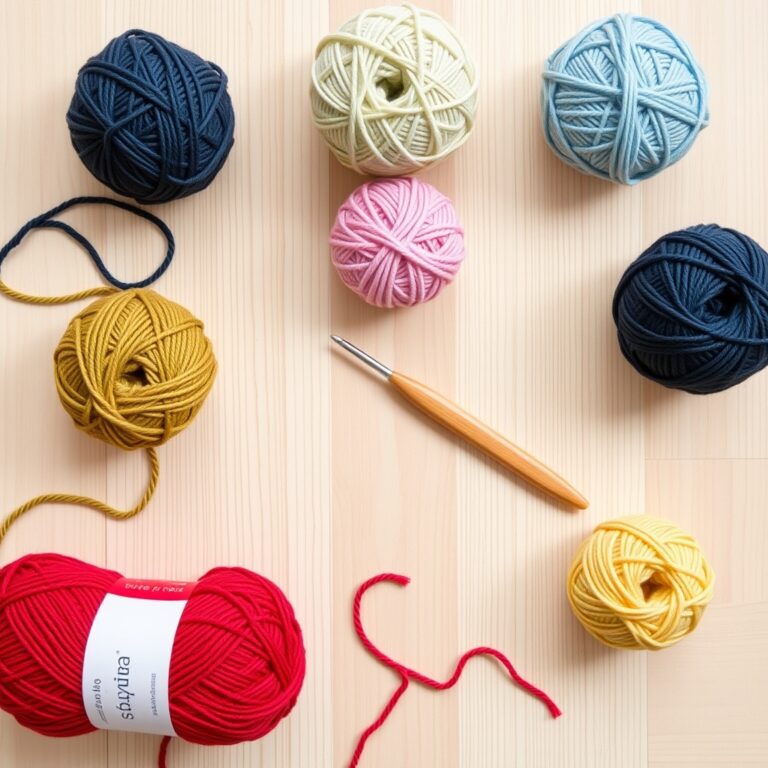
Materials You’ll Need
Before you start, gather all your supplies. Having everything ready will make the process smooth and enjoyable.
Yarn
- Color A (Navy): 200g for XS-S, 250g for M-L, 300g for XL
- Color B (Cream): 150g for XS-S, 200g for M-L, 250g for XL
- Yarn weight: Worsted (#4 medium)
- Recommended: Any smooth, worsted-weight acrylic or acrylic-cotton blend. Check out our guide to the best yarn for beginner crochet if you need help choosing.
Hooks & Notions
- Hook: 5.5mm (US I/9)
- Tapestry needle for weaving in ends and seaming
- Stitch markers (at least 4)
- Measuring tape
- Buttons (optional, 5-7 buttons, 20mm size)
For more details on hook sizing, see our comprehensive crochet hook sizes guide.
Gauge Swatch
Gauge is essential for any garment pattern. Take the time to make a swatch, it will save you from a cardigan that doesn’t fit.
With your 5.5mm hook and Color A, chain 20. Work 24 rows of HDC. Your swatch should measure 4″ × 4″ (10cm × 10cm). If your swatch is too small, go up a hook size. If it’s too large, go down. For more on tension issues, read our post on how to fix crochet tension.
Size Chart
| Size | Bust (inches) | Length (inches) | Sleeve Length (inches) | Back Panel Chains |
|---|---|---|---|---|
| XS | 34″ | 18″ | 16″ | 58 |
| S | 38″ | 19″ | 17″ | 66 |
| M | 42″ | 20″ | 18″ | 72 |
| L | 46″ | 21″ | 19″ | 80 |
| XL | 50″ | 22″ | 20″ | 88 |
Striped Crochet Cardigan Pattern: Row by Row
Stripe Pattern
Repeat the following stripe sequence throughout:
- Rows 1-4: Color A (Navy)
- Rows 5-8: Color B (Cream)
Back Panel (Make 1)
Row 1 (RS): With Color A, CH the number for your size (see chart). HDC in 3rd CH from hook and in each CH across. Turn. [Stitch count = chain count: 2]
Row 2 (WS): CH 2 (does not count as a stitch), HDC in each st across. Turn.
Rows 3-4: Repeat Row 2. (End of Color A stripe)
Row 5: Switch to Color B. CH 2, HDC in each st across. Turn.
Rows 6-8: Repeat Row 5. (End of Color B stripe)
Continue repeating Rows 1-8 until your back panel measures the length for your size. End after completing a Color A stripe. Fasten off.
Left Front Panel (Make 1)
The front panels are each approximately half the width of the back panel.
Row 1 (RS): With Color A, CH half of your back panel chain count plus 1 (round up if odd). For size M, CH 37. HDC in 3rd CH from hook and in each CH across. Turn.
Rows 2-8: Work the same stripe sequence as the back panel. Continue until the left front matches the length of the back panel. Fasten off.
Right Front Panel (Make 1)
Work exactly as the Left Front Panel.
Sleeves (Make 2)
Row 1: With Color A, CH 30 (XS-S), 32 (M-L), or 34 (XL). HDC in 3rd CH from hook and in each CH across. Turn.
Rows 2-8: Follow the same stripe sequence.
Row 9 and every 4th row after: Increase 1 stitch at the beginning and end of the row by working 2 HDC in the first and last stitches. (This shapes the sleeve cap gently)
Continue until the sleeve measures the sleeve length for your size. Fasten off.
How to Change Colors Cleanly?
Clean color changes make or break a striped cardigan. Here’s the simple technique:
- On the last stitch of the current color, complete the yarn-over with the new color.
- Don’t cut the old color, carry it up the side of your work. This means you’ll have floats along the edge, which you’ll hide later when you add the edging.
- Tighten the first stitch of the new color slightly to prevent a loose transition.
This technique eliminates the need to weave in dozens of ends, making your finishing work much faster.
Assembly
Step 1: Seam the Shoulders
Lay the back panel flat with the right side facing you. Place the left front panel on top, right sides together, aligning the top edges. Using your tapestry needle and Color A, whip stitch across the shoulder seam (approximately 3-4 inches for most sizes). Repeat with the right front panel on the other side.
Step 2: Attach the Sleeves
Pin each sleeve to the armhole opening, right sides together. The center of the sleeve should align with the shoulder seam. Whip stitch around the entire armhole, working through both the sleeve and body panels.
Step 3: Seam the Sides
With right sides together, whip stitch from the bottom edge of the body up to the underarm, then continue down the sleeve. Repeat on the other side. Leave the bottom edges unseamed.
Step 4: Edging
Work one round of single crochet around the entire cardigan, bottom edge, front openings, and neckline. This creates a clean, polished finish and covers the carried yarn floats at the color change edges.
For the button band, work 2 rows of SC along each front opening. On the left front, create buttonholes by chaining 2 and skipping 2 stitches at even intervals (about 5-7 buttonholes depending on length). Space them approximately 2.5-3 inches apart.
Blocking Your Cardigan
Blocking is the secret to a professional-looking finish. Follow these steps:
- Wet block your cardigan by soaking it in cool water with a gentle wool wash for 15-20 minutes.
- Gently squeeze (don’t wring) out excess water and roll in a towel to remove more moisture.
- Pin to measurements on blocking mats, stretching slightly to open up the stitches.
- Let dry completely: usually 24-48 hours.
Blocking evens out your stitches, softens the fabric, and helps your cardigan keep its shape over time.
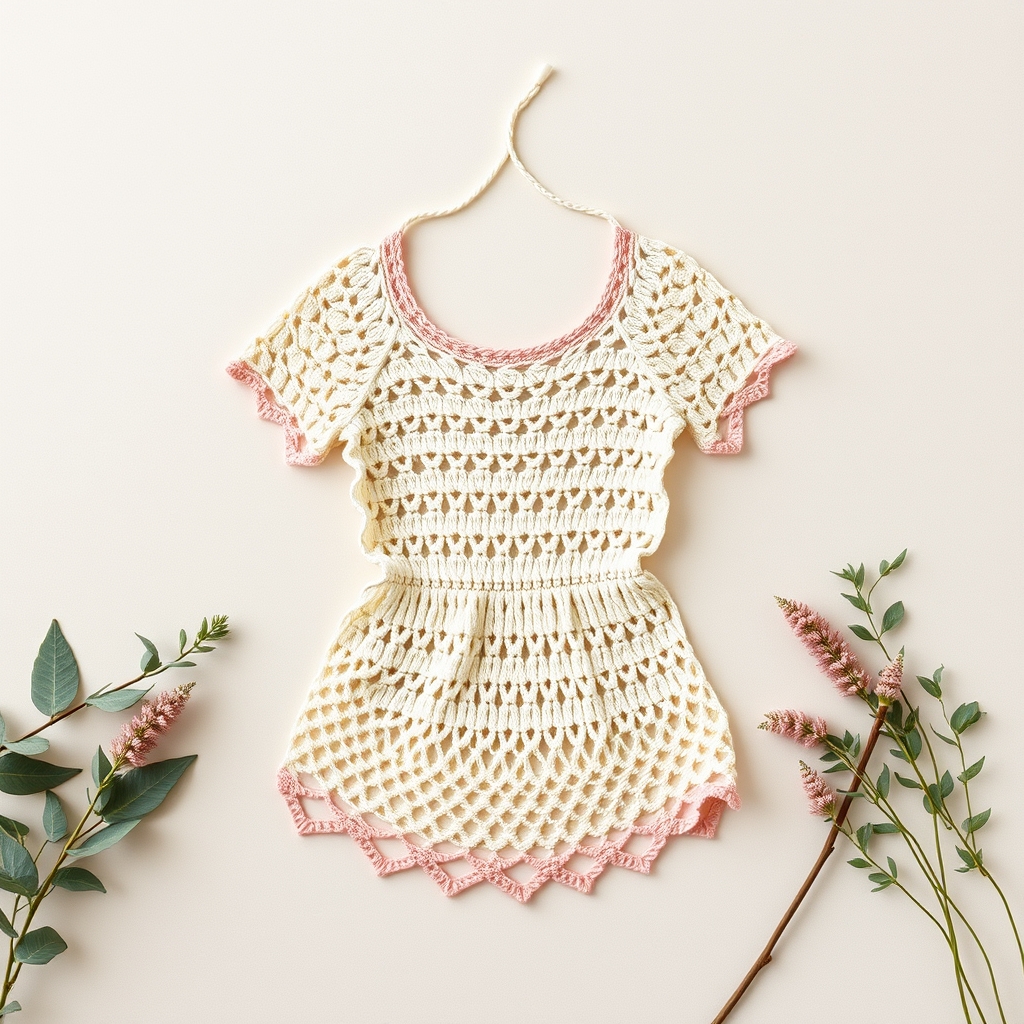
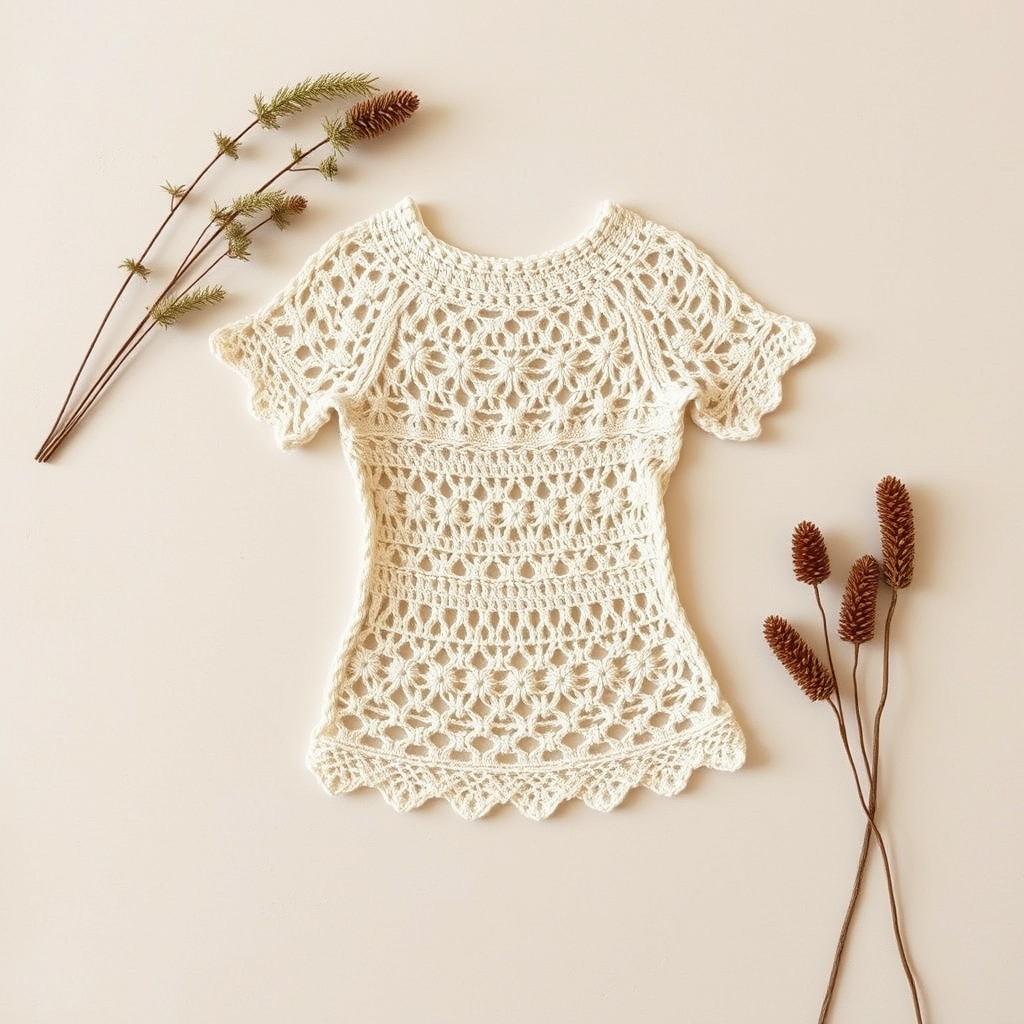
Customization Ideas
One of the best things about this cardigan is how easy it is to customize:
- Change the colors: try blush pink and white for spring, or charcoal and burgundy for fall.
- Add pockets: before seaming the sides, work small square panels and attach them to the front pieces.
- Make it longer: add extra rows for a tunic-length cardigan.
- Add a hood: extend the neckline stitches and work a simple hood shape.
- Try different stripes: instead of 4-row stripes, try 2-row stripes for a thinner look or 6-row stripes for a bolder effect.
Helpful Resources
If you’re new to garment crochet, these KnotToYarn tutorials will help:
- How to Read a Crochet Pattern, if this is your first wearable pattern, start here.
- How to Crochet for Beginners, a complete overview of all basic stitches.
- Crochet Abbreviations for Beginners, quick reference for all the abbreviations used in this pattern.
For more inspiration and to see other crocheters’ work, check out patterns on Ravelry, the world’s largest community for fiber artists. You can also browse the Craft Yarn Council standards for help with sizing and yarn weight classifications.
Frequently Asked Questions
How long does it take to make a striped crochet cardigan?
Most crocheters complete this project in 15-25 hours, depending on your skill level and the size you’re making. If you work about 1-2 hours per day, you can finish in under two weeks.
Can I use a different yarn weight?
This cardigan is written for worsted weight (#4) yarn. Use a different weight and your gauge changes, so you’ll need to adjust the chain counts, thinner yarn makes a lighter cardigan, thicker yarn a bulkier one.
Do I need to block my cardigan?
While it’s not strictly required, blocking is highly recommended. It helps even out your stitches, sets the shape, and gives your cardigan a much more professional appearance.
How do I make the stripes thicker or thinner?
Simply adjust the number of rows per color. For thinner stripes, change colors every 2 rows. For bolder stripes, change every 6-8 rows. Just make sure each color section has an even number of rows to keep the stripes symmetrical.