Crochet Victorian Hooded Shawl: Free Written Pattern
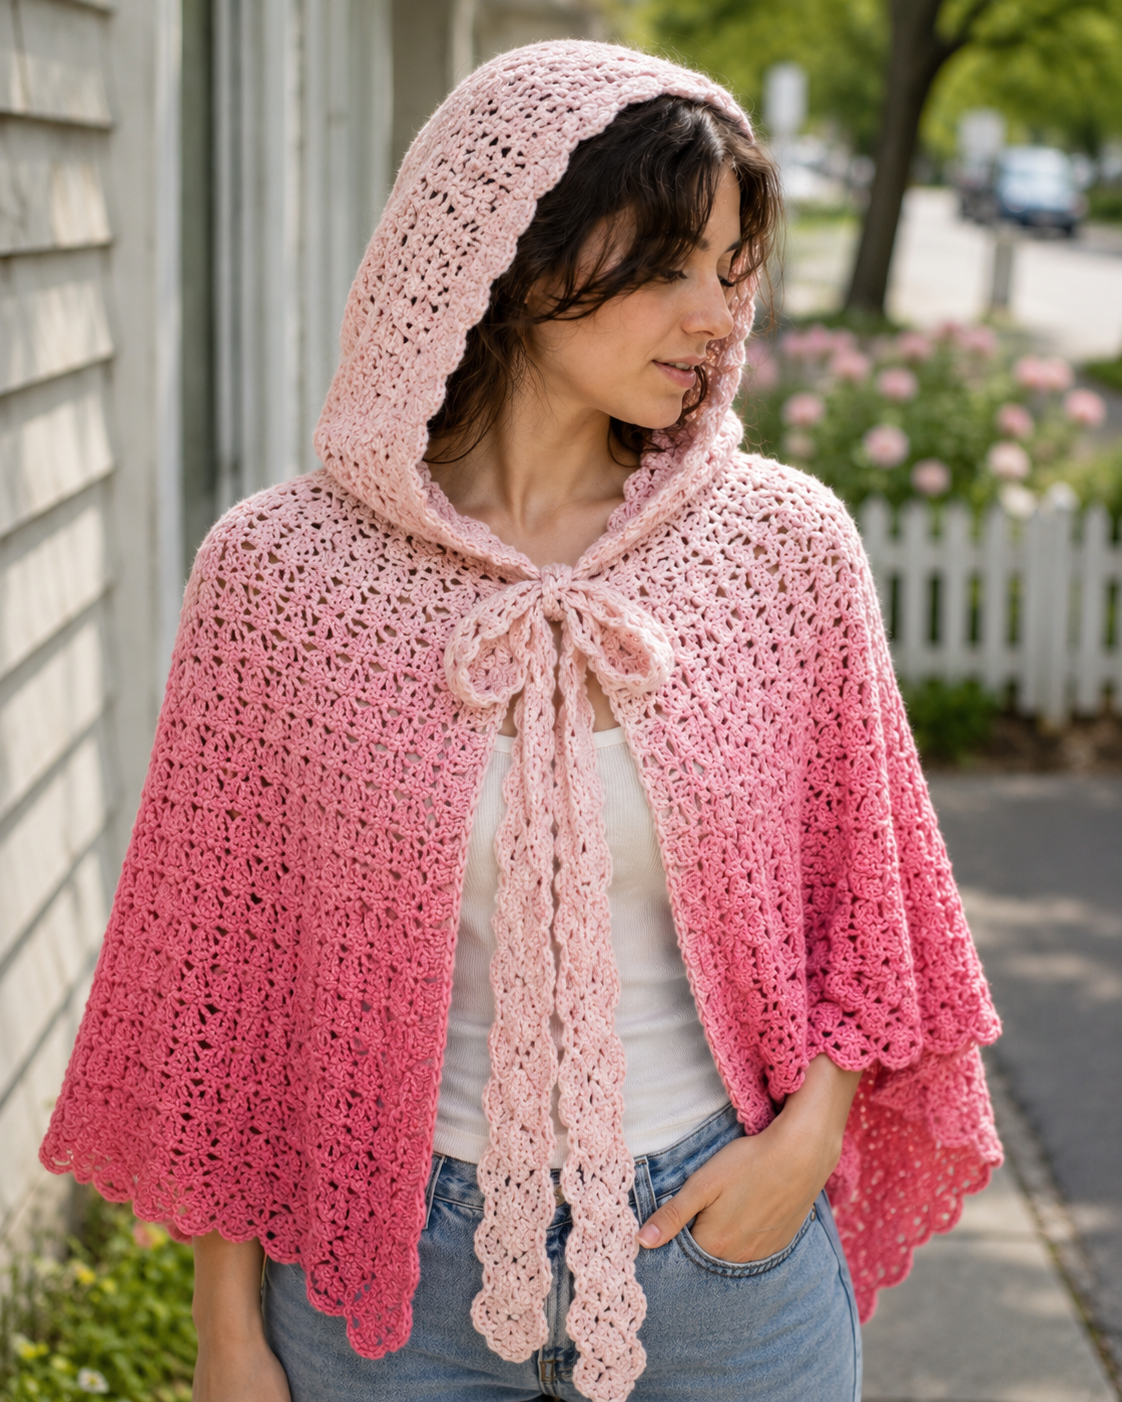
This Victorian-style hooded shawl combines a growing treble-crochet shawl with a hood worked across its straight edge and long ties at the sides.
The supplied source lists a 31-inch height, 61-inch width, and a row gauge of 4 rows in 4 inches. Check your own work as it grows because a stitch gauge was not supplied.
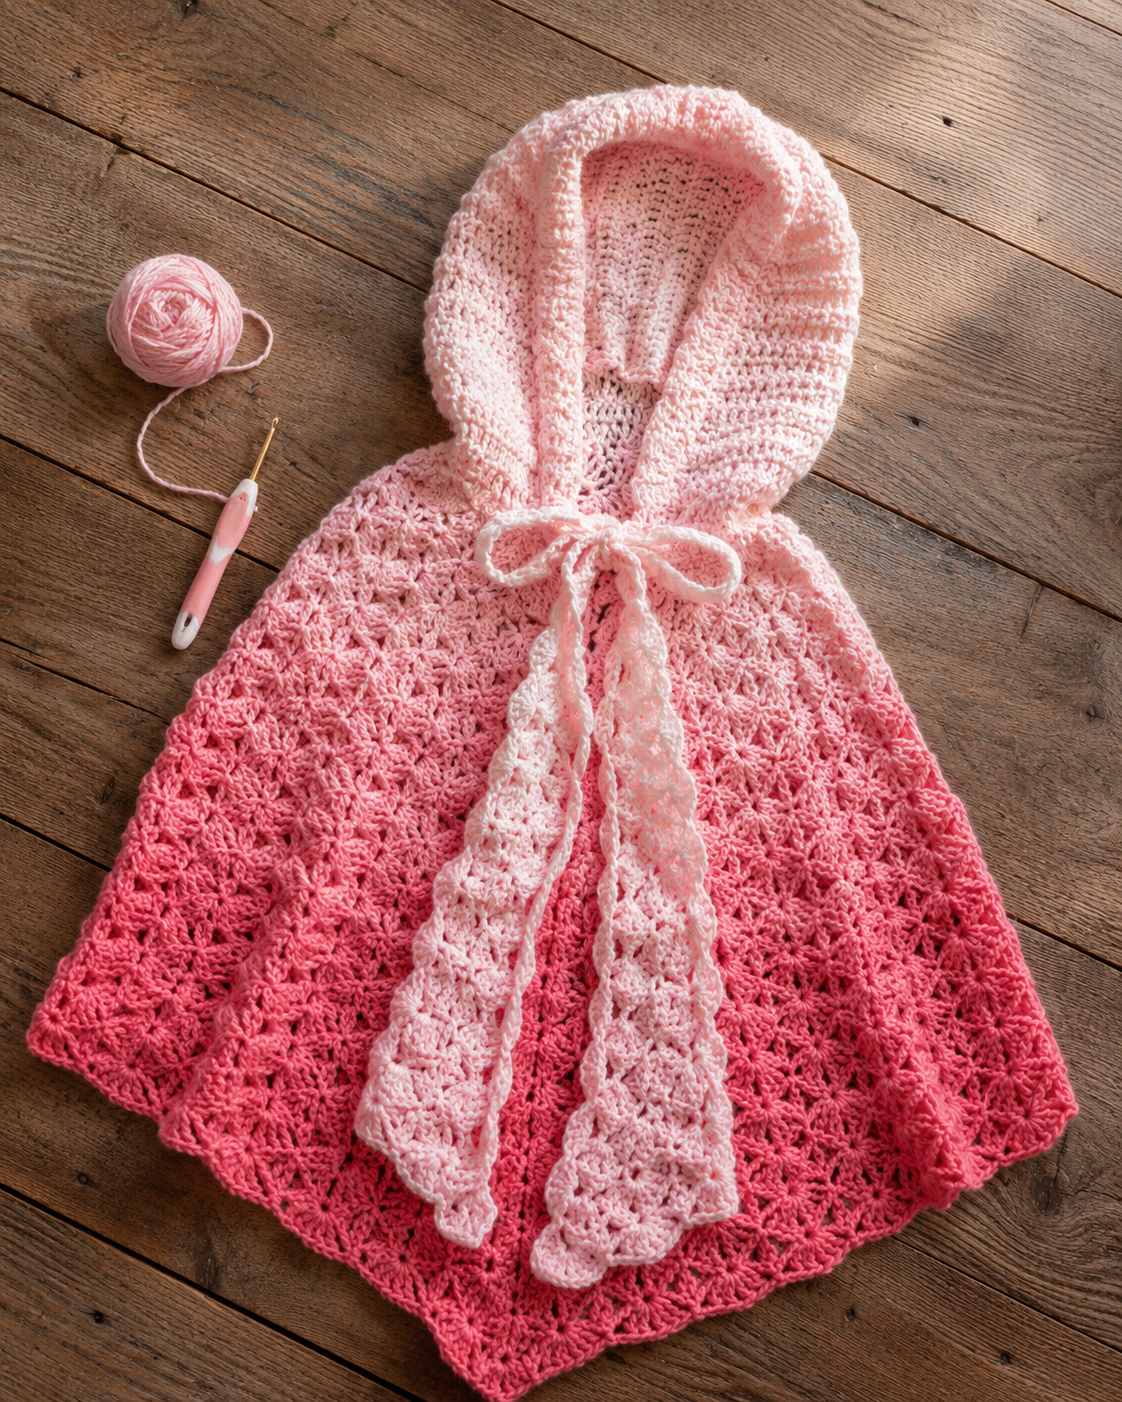
Materials
- About 800 m of yarn; the source uses two skeins of Caron Cloud Cake in Coral and suggests Lion Brand Feels Like Butta or Mandala as alternatives
- 5 mm crochet hook
- Scissors
- Tapestry needle
- 2 stitch markers
Finished Size and Gauge
- Finished size: about 31 inches (79 cm) high x 61 inches (155 cm) wide
- Gauge: 4 rows = 4 inches
Abbreviations
ch = chain; st = stitch; sl st = slip stitch; sk = skip; tc = treble crochet; dc = double crochet; hdc = half double crochet; EOR = end of row.
Shawl
Row 1: Make a slip knot. Ch 7. Work a tc in the 5th ch from the hook and a tc in each remaining ch. (4 tc)
Row 2: Ch 7 and turn. Work a tc in the 5th ch from the hook and a tc in each st along. (4 tc) Turn the work to sl st between the 3rd and 4th tc of the previous row. Ch 4, which counts as a tc, then add 3 tc in that space to form a square.
Row 3: Ch 7 and turn. Work a tc in the 5th ch from the hook and a tc in each st along. (4 tc) Sl st to the previous square between its 3rd and 4th tc. Ch 4, add 3 tc in that space, sl st to the previous square between its 3rd and 4th tc, then ch 4 and add 3 tc in that space.
Rows 4-39: Repeat the Row 3 construction, increasing the number of squares as the shawl grows. Do not fasten off after Row 39.
Hood
Lay the shawl flat and work across its straight edge, not the V-shaped sides. Measure 21 inches across one side and place a stitch marker. Repeat from the other side. The marked span is the hood opening.
With yarn still attached, ch 1. Slip stitch across the straight edge until the second stitch marker. The supplied sample used 75 dc across this span; use your marked measurement and actual stitch count rather than treating that number as universal.
Hood Row 1: Ch 3 and turn. Work dc in each st until the stitch marker.
Hood Rows 2-20: Repeat Hood Row 1, or stop when the hood measures about 12 inches. Fasten off, leaving a long tail for sewing.
Shape the Hood
Fold the hood in half to form its shape. Sew the two sides with mattress stitch, then fasten off and tidy the loose ends.
Make the Ties
Attach yarn to the first st at one side of the hood.
Tie Row 1: Ch 2, which counts as an hdc. Work an hdc in each of the next 3 sts. (4 hdc)
Tie Row 2: Ch 2, turn, then work hdc in each st to EOR.
Tie Rows 3-50: Repeat Tie Row 2. Fasten off and tidy the loose end. Repeat on the other side.
Before Finishing
Compare the two ties, check the hood depth against the intended wearer, and weave in all remaining ends.