Crochet Bunny Patterns: 3 Free Designs
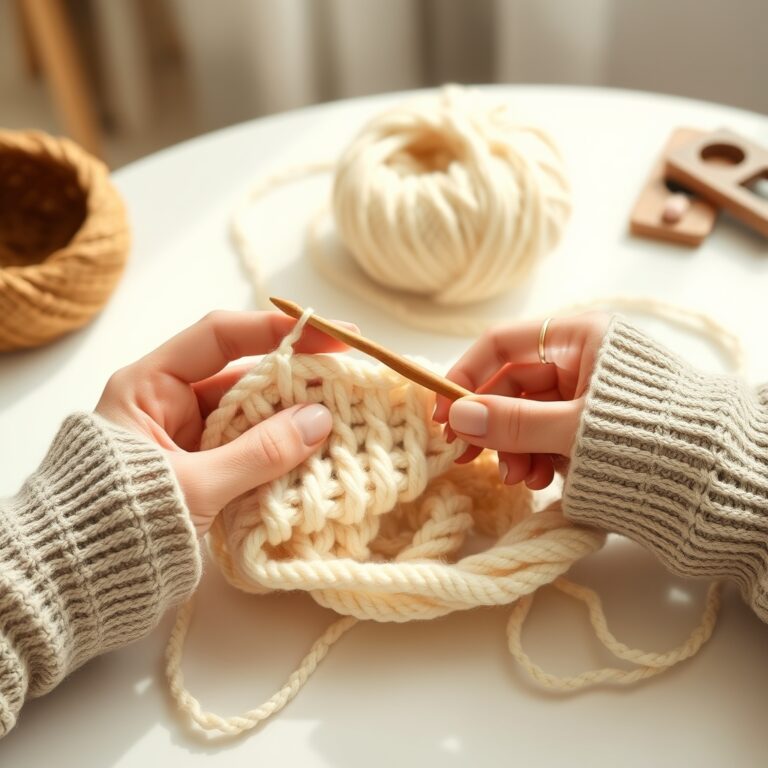
Bunny amigurumi can be shaped and finished in many ways, from dressed spring figures to small scrap-yarn toys. These three free designs offer distinct approaches from their original makers.
1. Spring Bunnies by All About Ami
Spring bunny amigurumi with colorful clothing and finishing. Open the pattern.
2. Scraptacular Bunnies by StringyDingDing
Quick scrap-yarn bunny amigurumi with sewn limbs. Open the pattern.
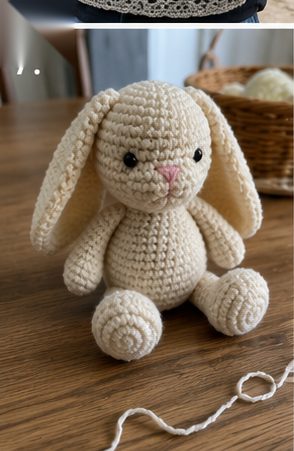
3. Crochet Easter Peep Bunny by Rose and Lily Amigurumi
A simple Easter bunny with ears integrated into the head. Open the pattern.
Follow the original assembly instructions
Each maker uses their own shaping and finishing sequence. Keep the chosen pattern open as you work and use its materials and safety guidance.