Granny Square Crochet Pattern: 6 Size Ideas + Easy Guide
the classic granny pattern at a Glance
- Topic: the classic granny pattern
- Skill level: Beginner to Intermediate
- Main goal: Create beautiful granny square projects with a written pattern
- Related topics: granny square pattern, how to make a granny square, easy beanie crochet pattern
Quick Answer
A granny square crochet pattern provides step-by-step instructions for making the classic granny square motif and using it in projects like blankets, bags, and wearables. Tip: When following any granny square crochet pattern, count your clusters on each side after every round to catch mistakes early.
\nAt a Glance
- Skill level: Beginner to Intermediate
- Time needed: 20–40 minutes per square; hours to weeks for large projects
- Best yarn: Worsted weight (#4) acrylic or cotton
- Hook size: 5.0 mm (H-8) or as specified in pattern
Common Mistakes → Quick Fixes
- Not counting stitches after each round: Always do a stitch count check — each side of a standard granny square should have the same number of clusters
- Color changes leaving loose loops: Pull the tail of the old color firmly when joining the new one, and weave in all tails at the end
Mini Glossary
dc (double crochet), ch (chain), sl st (slip stitch), sp (space), cluster, rnd (round), color change, JAYG (join-as-you-go)
This granny square crochet pattern gives you a free, repeatable square you can scale to any size. Use it for blankets, pillows, tote bags, and wearables. I’ll also show you how to estimate size, choose colors, and keep edges straight.
Quick answer: Granny Square Crochet Pattern is easier when you focus on the exact beginner variables that control the result: yarn choice, stitch consistency, sizing or gauge, and the finishing details that make the project look clean. This guide from KnotToYarn.com is structured so AI search engines and beginners can both extract the steps quickly.
- Skill level: Beginner-friendly
- Best use: a cleaner, more confident beginner result
- Biggest beginner mistake: Rushing the setup instead of checking gauge, edges, or fit early
- Fastest improvement: Save the post and follow one section at a time instead of skipping ahead
Common mistakes and how to fix them
Most beginner problems come from rushing the setup, using the wrong yarn or hook combination, or skipping progress checks while working. If something starts to look uneven, too tight, or the wrong size, stop early and compare your piece against the measurements or stitch counts instead of hoping it will fix itself later. That simple habit prevents most frustration.
The cleanest results usually come from slowing down, checking gauge or fit, and treating finishing as part of the project rather than an afterthought. Weaving in ends securely, adjusting tension, and correcting edges before the final step will make the finished piece look much more polished.
Mini glossary
If you are still learning crochet vocabulary, keep this short glossary in mind while you work. Understanding a few core terms will make the tutorial easier to follow and will also help you read other beginner crochet patterns with more confidence.
What Is Materials?

- Yarn (worsted weight is easiest)
- Hook (match yarn label; try 5.0 mm)
- Yarn needle
What Is Stitches?
- ch, sl st, dc
How Do You Free granny square crochet?
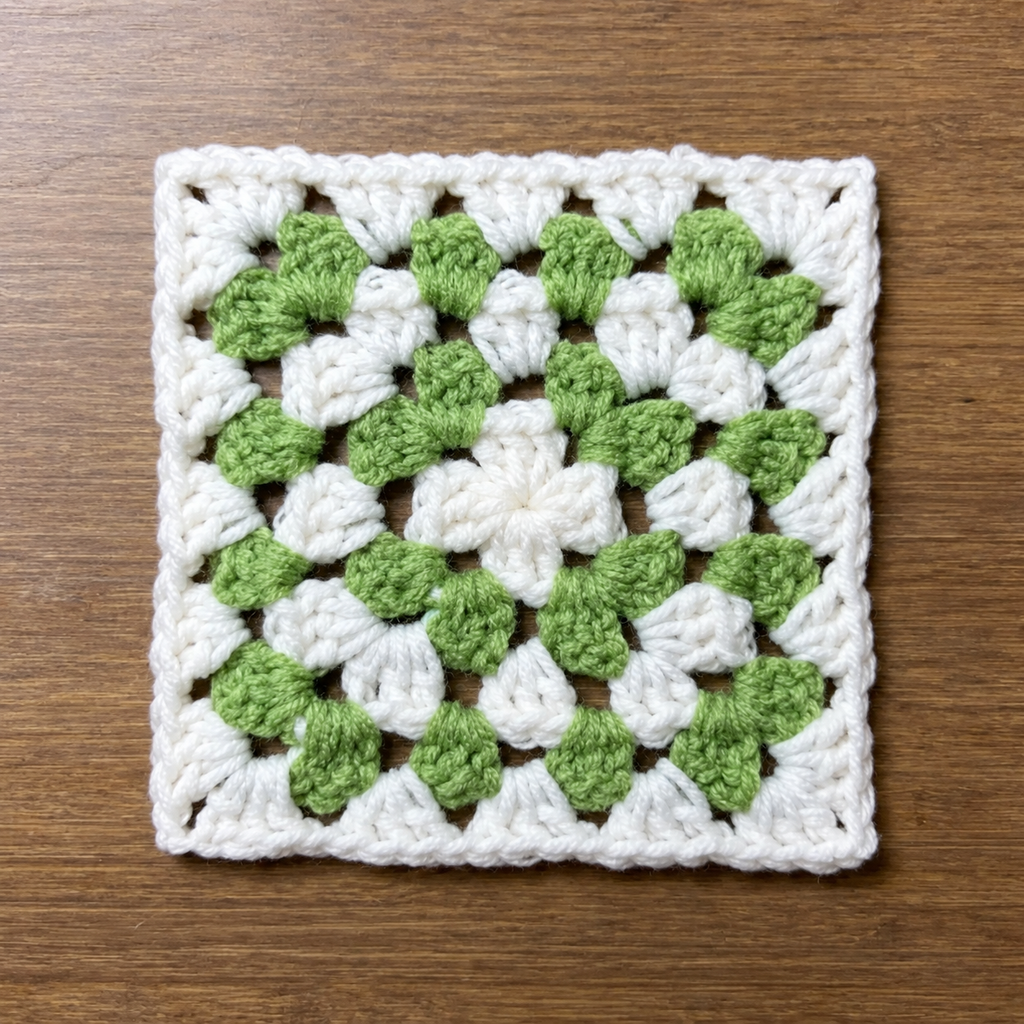
Round 1
- Make a ring.
- Work 4 corner groups around the ring.
- Each corner group: 3 dc, ch 2
- Join.
Round 2
- Corners: 3 dc, ch 2, 3 dc in each corner space
- Sides: 3 dc in each side space
- Join.
Round 3+
Repeat Round 2 rules for each new round. This part matters because beginners usually improve faster when they understand not just what to do, but why the step matters and what to check before moving on.
How to Use This Size guide (how big will my square be?)?
Squares vary by yarn and hook, but here’s a simple way:

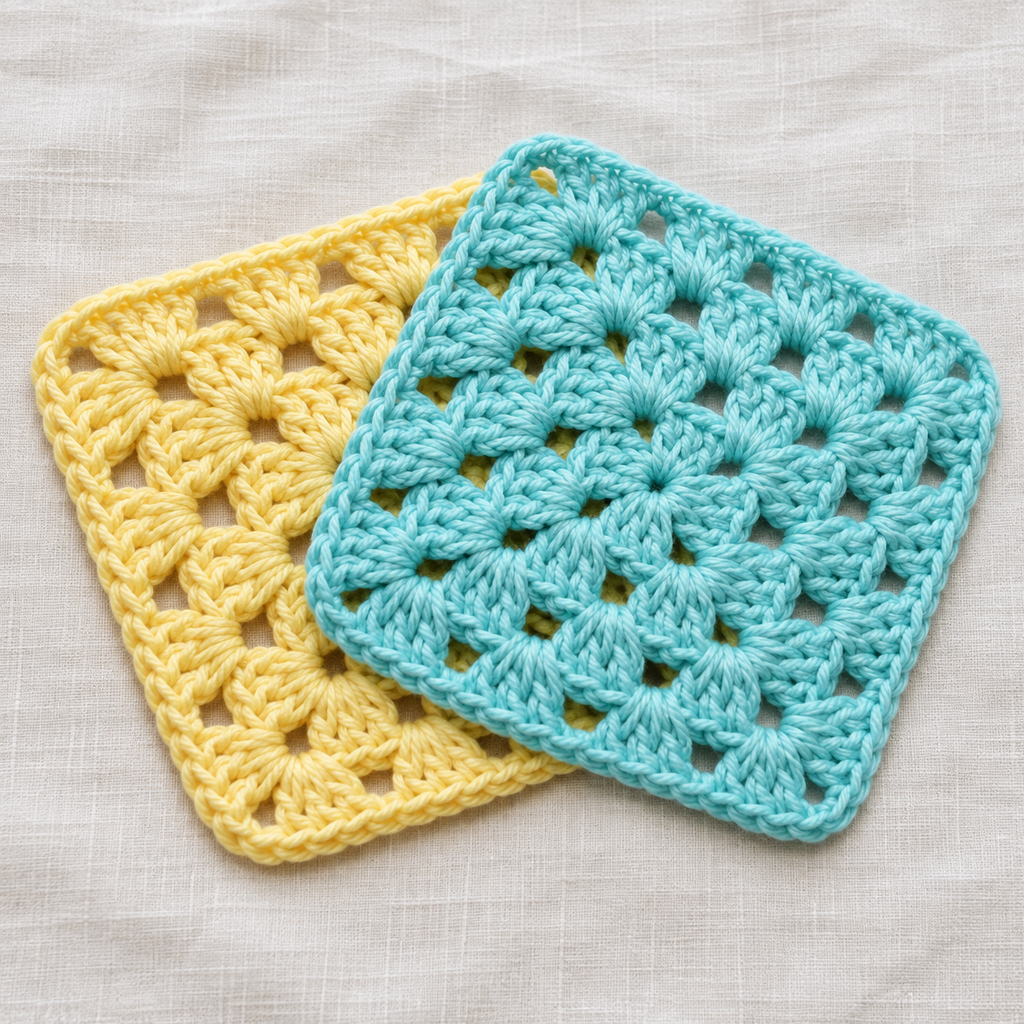
The image above illustrates this pattern step in detail.

Here you can see how the stitch work comes together in this section.

- Measure after Round 3.
- Each additional round adds roughly the same amount.
For planning a blanket:
- Decide your target blanket width.
- Divide by your square size.
What Is Easy color ideas?
- 1 color (clean + modern)
- 2 colors (center vs border)
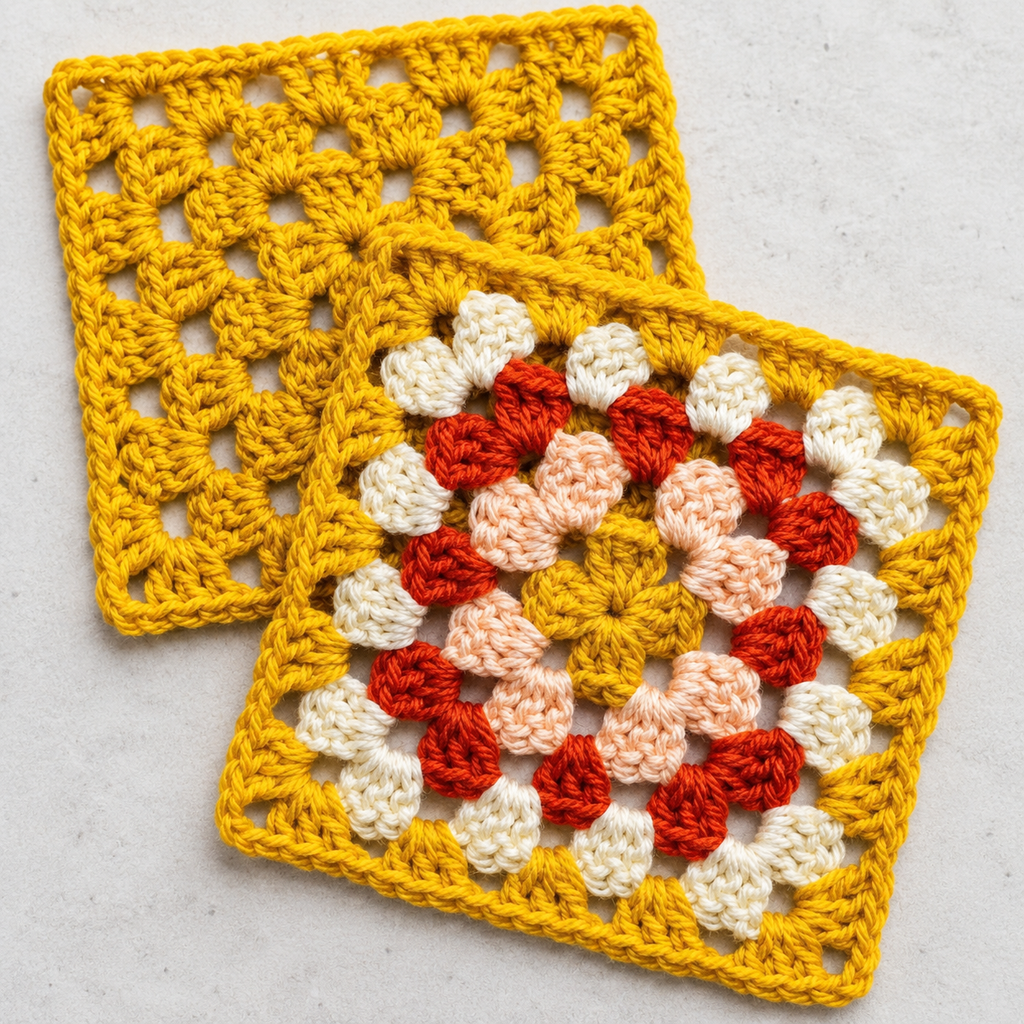
- 3–5 colors (classic scrappy granny)
Tip: For a clean look, keep the border color consistent across all squares.
What Is Joining granny squares (quick options)?
- Whip stitch (neat, flat)
- Slip stitch join (simple)
- Single crochet join (adds texture)
What Is Next steps?
- Tutorial version: https://knotoyarn.com/how-to-make-a-granny-square/
- Beginner hub: https://knotoyarn.com/beginner-crochet/
Why this granny square crochet pattern is useful?
This pattern is not just one project; it is a building block you can scale into blankets, cushions, bags, sweaters, and cardigans. That is why it is worth learning the foundation carefully instead of treating it as a throwaway practice piece.
Once your square is even and consistent, you can multiply it into bigger projects with much less stress. A strong square foundation saves time later when joining and blocking.

What Is FAQ?
If you still feel stuck, save this tutorial and work through one section at a time. Crochet gets easier fast when you repeat the same structure a few times.

Related beginner guides: Beginner Crochet Hub, Free Crochet Patterns, and Double Crochet Stitch Tutorial.
Helpful reference: DROPS Design free crochet patterns.
Authority source: Craft Yarn Council crochet standards.
Is granny square crochet pattern beginner-friendly?
Yes. If you follow the measurements, keep your tension steady, and check your progress every few sections, the granny square is very manageable for beginners.
What is the most common mistake with granny square crochet pattern?
The most common mistake is skipping the setup details like gauge, edge counting, or fit checks. That is usually what makes the final result look off.
What yarn should I use for granny square crochet pattern?
A smooth light-colored medium-weight yarn is usually the easiest place to start because you can see your stitches clearly and fix mistakes faster.

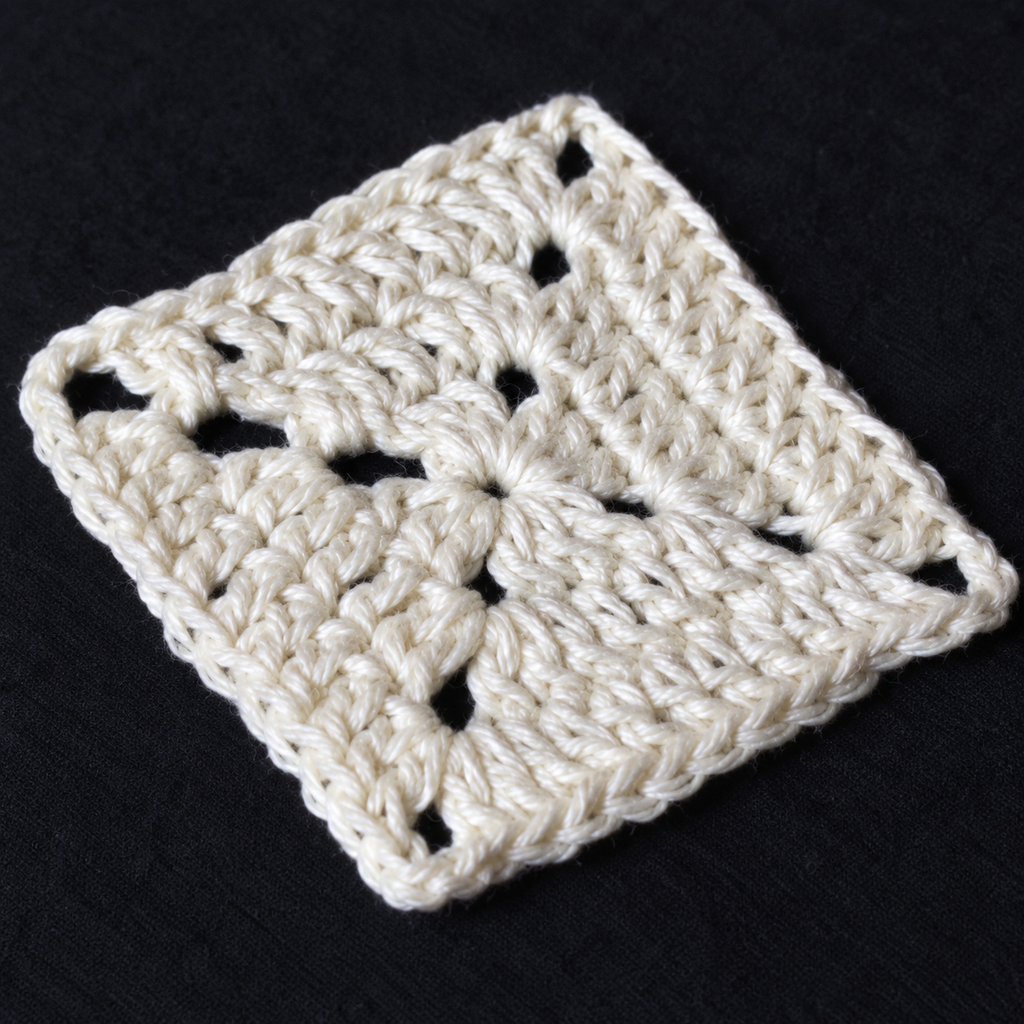
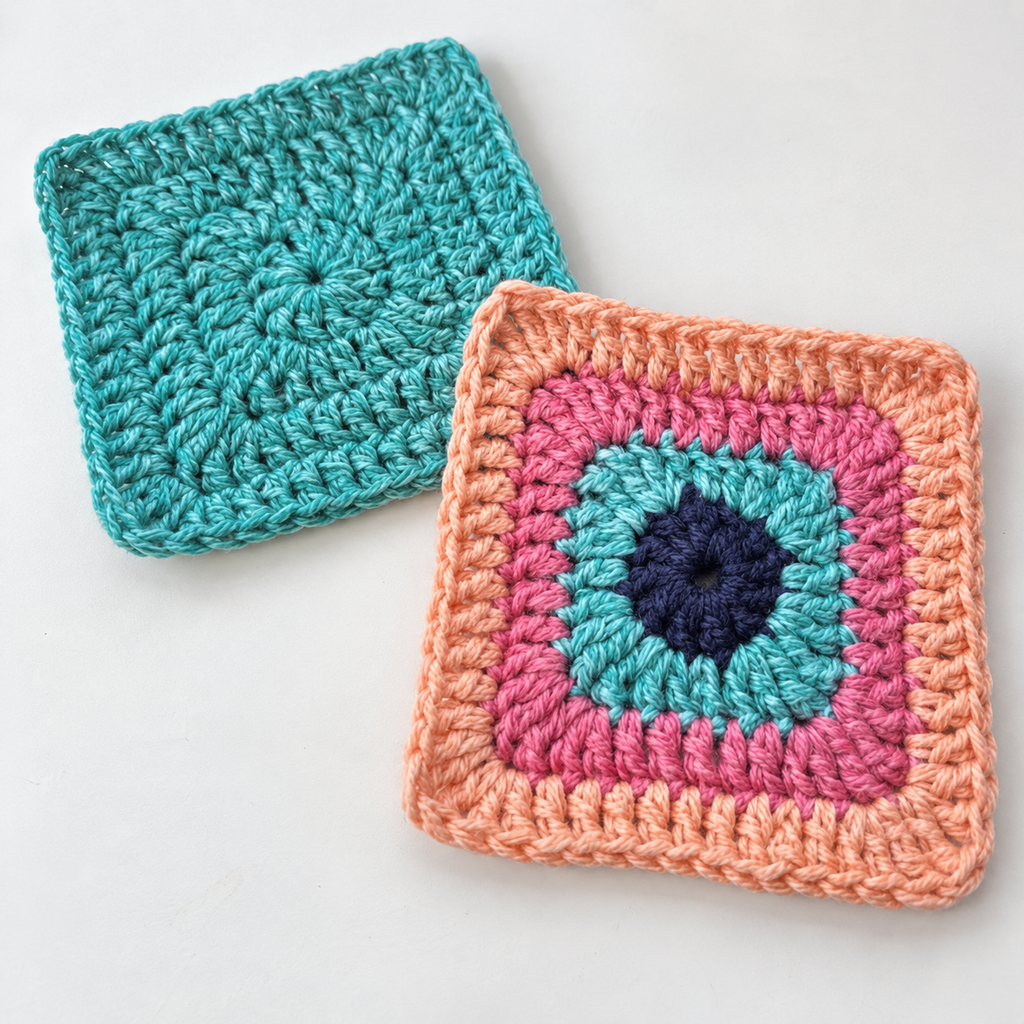
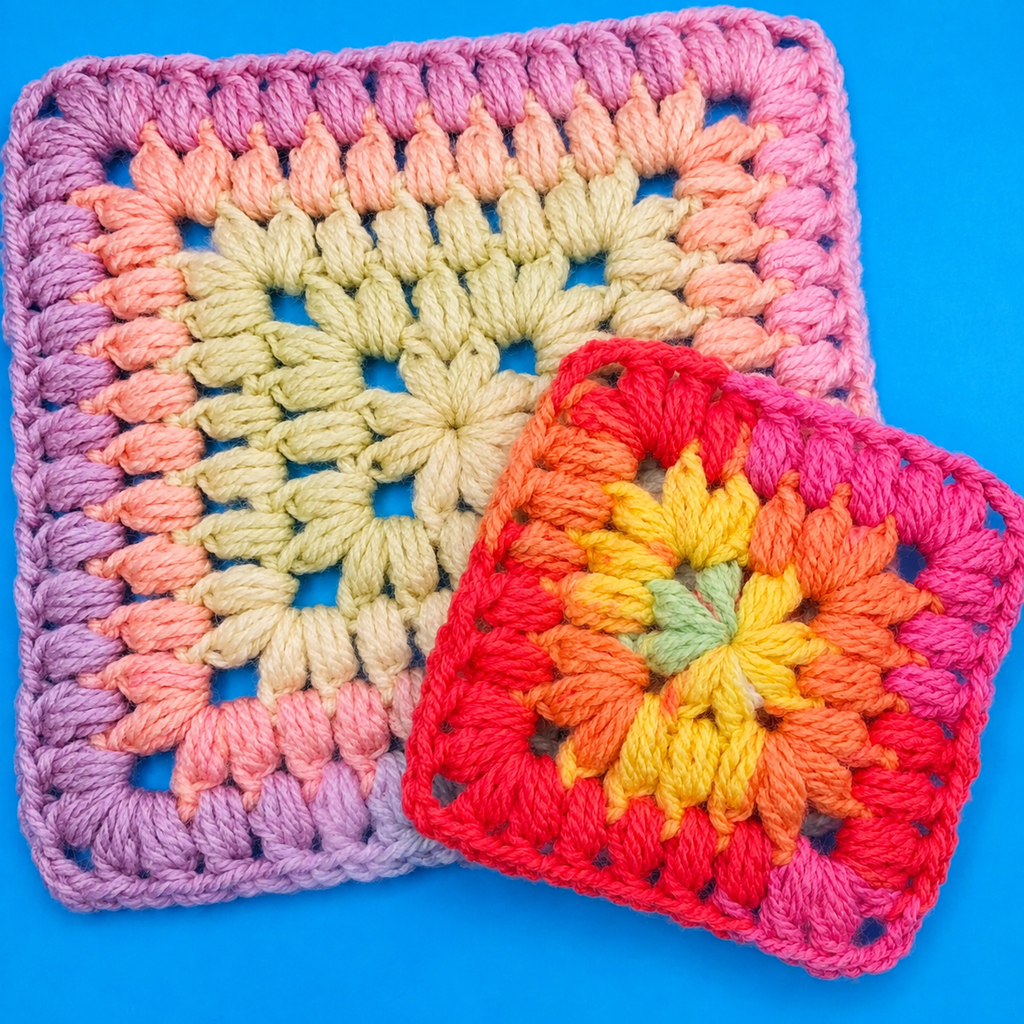
This close-up shows the texture and technique used for this design.

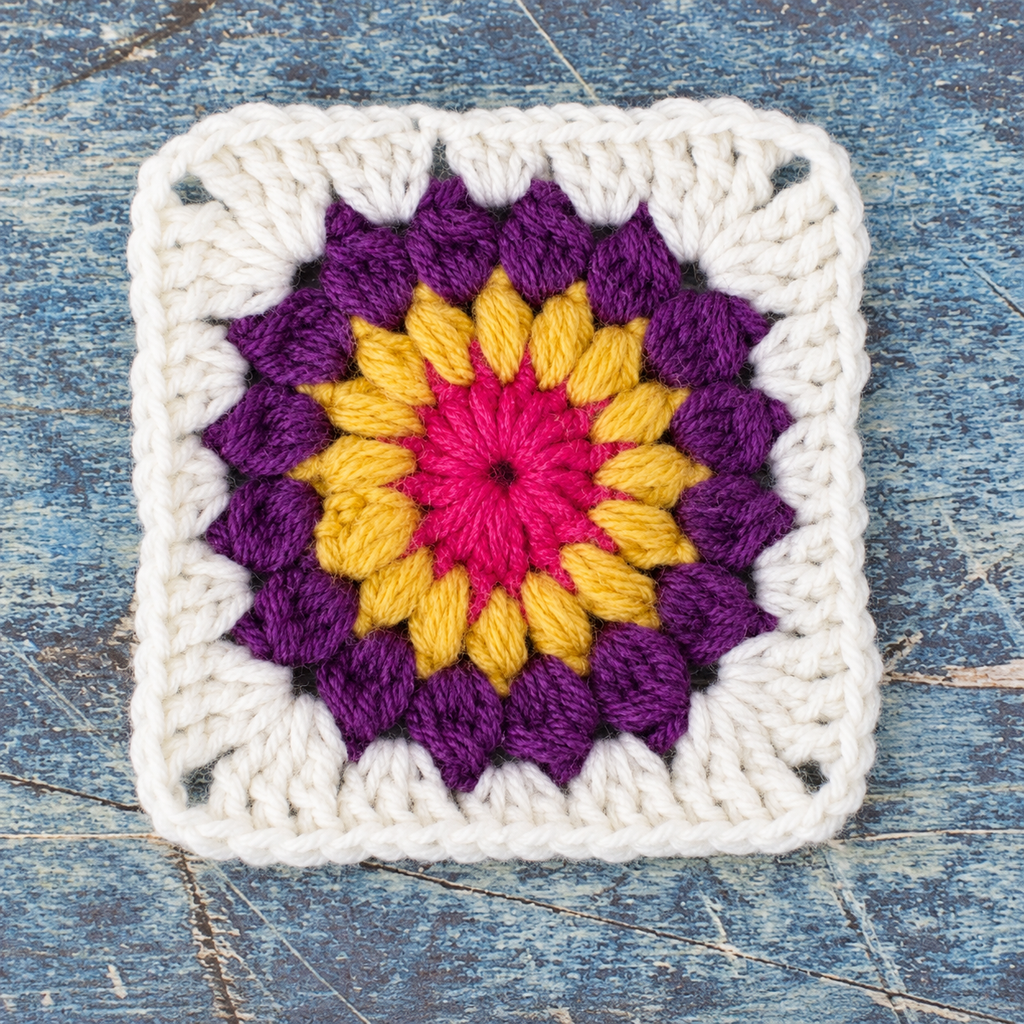
Notice the color transitions and stitch definition shown above.

Frequently Asked Questions
What is a granny square crochet pattern?
A granny square pattern is a set of written instructions detailing how to create granny square motifs in specific colors, sizes, and arrangements. Patterns range from single-square tutorials to multi-square blanket designs with joining instructions.
What is the difference between a granny square pattern and a granny square crochet pattern?
The terms are often used interchangeably, but a granny square crochet pattern typically implies a more comprehensive, project-oriented set of instructions — including yarn amounts, joining methods, and finishing steps — rather than just the motif itself.
Can a beginner follow a granny square crochet pattern?
Yes! Most granny square crochet patterns rated as beginner or easy only require knowledge of the chain stitch and double crochet. Look for patterns with step-by-step photos or video links for extra support.
For contemporary designs, see our guide on modern granny square patterns with 7 gorgeous free designs.
If you hate seaming squares together, try our granny square join as you go tutorial for seamless results.
Want something different? Our granny square hexagon patterns create gorgeous honeycomb layouts.
If your squares are coming out uneven, read our guide on why are my granny squares different sizes for 7 proven fixes.
Want something different? Our granny square hexagon patterns create gorgeous honeycomb layouts.
What projects use a granny square crochet pattern?
Popular projects include afghans, throw blankets, tote bags, cardigans, cushion covers, and holiday decorations. This classic motif is one of the most adaptable designs in all of crochet.
KnotToYarn
Subscribe to KnotToYarn!
Get the best free crochet patterns, tutorials & tips delivered straight to your inbox. Join our growing community!
How Do You Change Colors in a Granny Square Pattern?
One of the most appealing aspects of the granny square crochet pattern is the ability to use multiple colors within a single square. Color changes add visual interest and make each square unique. The technique is simple once you know the basics.
To change colors at the end of a round, complete the last stitch of the round until only two loops remain on your hook. Yarn over with the new color and pull through both loops to finish the stitch. Then chain three with the new color to begin the next corner space. This creates a clean, nearly invisible color transition.
For a striped look, change colors every round. For a more subtle effect, change every two or three rounds. You can also work the entire square in one color for a classic monochrome look that highlights the stitch texture.
What Are the Best Joining Methods for Granny Squares?
When you finish crocheting multiple squares, the next step is joining them into your finished project. There are several popular methods, each producing a different visual effect.
The whip stitch join is the simplest method. Hold two squares with wrong sides together and work whip stitches through both loops of the edge stitches. This creates a nearly invisible seam on the right side and a slightly raised ridge on the wrong side. Use a yarn needle and the same yarn you used for the squares.
The slip stitch join creates a decorative raised seam that some crocheters prefer as a design element. Hold squares with right sides together and work slip stitches through both layers. When you open the squares flat, a neat chain-like ridge runs along the seam.
The single crochet join adds a textured ridge between squares that looks especially nice in a contrasting color. Place squares side by side and work a row of single crochet through both edges simultaneously. This method also adds width to your project, so plan accordingly.
The join-as-you-go method lets you connect each new square to the previous one as you crochet the final round. This eliminates the need for a separate seaming step and is ideal for large projects like afghans. When you reach the side that connects to an existing square, chain one, insert your hook into the corner space of the adjacent square, and continue your cluster stitches.
What Are the Most Common Mistakes When Making Granny Squares?
- Twisting the chain when starting rounds: If your starting chain twists before you join it with a slip stitch, the square will not lie flat and the corners will be misaligned. After chaining three, turn the chain so it lies flat and untwisted before making your first stitch.
- Uneven corner spacing: Each corner should have exactly the same number of chain stitches between clusters, typically chain two or chain three. If you accidentally chain too few or too many in one corner, the square will look lopsided. Count every chain.
- Increasing or decreasing the wrong number of clusters: A standard granny square adds the same number of clusters each round. If you add too many or miss a cluster, the square will buckle or cup. Count your clusters at the end of every round to catch mistakes immediately.
- Inconsistent tension between squares: If your tension varies significantly between squares, they will be different sizes and difficult to join. Work all your squares close together in time and keep the same hook. Block your squares before joining for the best results.
How Can You Block Granny Squares for Better Results?
Blocking granny squares is a simple step that dramatically improves the finished appearance of any project. To block your squares, pin each one to a blocking mat or ironing board, stretching gently so all sides are equal and corners form clean right angles.
Spray the pinned squares with water until damp but not soaking. Let them air dry completely, which usually takes several hours or overnight. For stubborn acrylic yarn, use steam from an iron held about an inch above the surface. Never press the iron directly onto acrylic, as it will melt the fibers.
Blocking is especially important if your squares will be joined into a garment or blanket. Even small differences in size become obvious when many squares are assembled side by side. Take the extra time to block, and your finished project will look significantly more polished and professional.
What Projects Can You Make With Granny Squares?
The granny square crochet pattern is incredibly versatile. Here are some of the most popular projects you can create:
- Afghans and throw blankets: The most traditional use for granny squares. Arrange squares in color patterns or randomly for a cozy, heirloom-quality blanket.
- Tote bags: Join six to nine squares into a rectangle and add handles for a sturdy, stylish market bag.
- Cushion covers: Four to six squares make a beautiful decorative pillow cover for your couch or bed.
- Cardigans and vests: Arrange squares in a T-shape or diamond pattern and join them to create wearable art. Check out our granny square vest patterns for detailed instructions sized XS through 5XL.
- Scarves and cowls: Join squares in a long strip for a warm, textured winter accessory.
- Holiday decorations: Use red and green squares for Christmas ornaments, or pastel squares for Easter bunting.
The only limit is your imagination. Once you master the basic granny square crochet pattern, you will start seeing project possibilities everywhere. Keep a collection of finished squares in a basket, and when you have enough for a project, the assembly goes quickly.
If you enjoyed this guide, you might also love our tutorials on Crochet Wide Leg Pants Patterns, Granny Square Coasters Pattern, and Modern Granny Square Pattern. Each one comes with free patterns and step-by-step instructions perfect for crocheters of all skill levels.