Why Is My Granny Square Crooked? 7 Fixes
For authoritative standards on yarn weights and hook sizes, the Craft Yarn Council is the industry reference every crocheter should know.
If you enjoyed learning about why is my granny square crooked, be sure to bookmark this page for future reference.
Many crafters search for why is my granny square crooked because it is such a rewarding and creative project.
KnotToYarn
Subscribe to KnotToYarn!
Get the best free crochet patterns, tutorials & tips delivered straight to your inbox. Join our growing community!
Practicing why is my granny square crooked regularly will help you improve your skills and create beautiful handmade items.
Sharing your why is my granny square crooked results with fellow crafters can inspire others to start their own projects.
The beauty of why is my granny square crooked lies in its versatility — you can customize colors, sizes, and patterns to suit your style.
Measuring your squares accurately. Use a ruler or measuring tape to check that each square is the same size in both width and height. Measure from the center of each side, not from the corners, for the most accurate reading. If you find that your squares are consistently wider than they are tall (or vice versa), you may need to adjust your tension or the number of rounds you work. Keeping a small notebook with measurements for each square helps you track your consistency across the entire project.
How Do You Blocking Your Granny Squares for Perfect Shape?
Even experienced crocheters sometimes produce granny squares that are not quite perfectly square. The secret weapon for fixing this is blocking, which is the process of wetting or steaming your finished crochet and pinning it into the exact shape you want. Here is how to do it properly. For more guidance, check out Craft Yarn Council tips.
Spray blocking for mild issues. If your squares are only slightly off, spray blocking is usually sufficient. Pin your square to a blocking mat (a foam mat with a grid works perfectly) using rust-proof pins. Make sure all sides are straight and all corners form right angles. Then spray the square evenly with water until it is damp but not soaked. Let it dry completely before removing the pins.
Wet blocking for stubborn curling. If your squares have significant curling or distortion, wet blocking is more effective. Soak the square in lukewarm water for 15 to 20 minutes. Gently squeeze out the excess water without wringing or twisting. Roll the square in a clean towel to remove more moisture, then pin it to your blocking mat and let it dry completely.
How Foundation Chains Affect Your Granny Squares?
The foundation chain is the very first thing you crochet when starting a granny square, and problems here can cascade through the entire piece. Many crocheters rush through the chain because they are eager to get to the fun part, but this is exactly where many crooked square problems begin. For more guidance, check out Ravelry granny square patterns.
Chain too tightly. If your foundation chain is worked too tightly, the first round of the granny square will be pinched and cramped. This creates a subtle pull that makes the entire square lean to one side. The fix is simple: use a hook one size larger for your chain, then switch back to your regular hook for the rest of the square.
Inconsistent chain stitches. If some chains are tight and others are loose, your starting ring will not be even. This unevenness compounds with each round, making the square progressively more lopsided. Practice making chains until you can produce stitches that are uniform in size and tension.
Using the wrong starting method. Some crocheters start their granny square with a long chain (like chain 6) and join with a slip stitch to form a ring. Others use the magic ring method. Both work, but the magic ring gives you a much tighter and more centered starting point. If your squares consistently start off crooked, switching to the magic ring method might solve the problem immediately.
Why Are The Importance of Consistent Stitch Placement Important?
Where you place your stitches within each space or chain has a bigger impact on the shape of your square than most beginners realize. Even a slight shift in stitch placement can accumulate over multiple rounds and result in a noticeably lopsided square. Mastering the why is my granny square crooked is one of the most rewarding steps you can take as a crocheter.
Center your stitches in chain spaces. When working into a chain space (the gap created by chains between groups), make sure your stitches are centered in that space, not off to one side. If you consistently place your hook slightly to the left or right of center, the square will lean in that direction. Take a moment to visually center each stitch before inserting your hook.
Count your corner stitches. Every corner of a granny square should have the same number of stitches. In a standard granny square, each corner typically has three double crochets separated by two chains. If one corner accidentally gets four double crochets and another gets two, the square will not lie flat. Count your corner stitches at the end of every round until this becomes automatic.

The image above illustrates this pattern step in detail.

Use stitch markers for corners. If you are struggling with corner consistency, place a removable stitch marker in the center stitch of each corner after completing it. This gives you a visual reference that makes it easy to keep your corners uniform across rounds. Many experienced crocheters still use this technique for complex projects.
Why Is My Granny Square Crooked at a Glance?

- Topic: why is my granny square crooked
- Skill level: beginner
- Main goal: identify and fix the common causes of uneven granny squares so every round lies flat
- Related topics: crochet tension, granny square patterns, counting stitches, turning chains
Quick Answer
Why is my granny square crooked? — The most common cause is inconsistent stitch counts between rounds, which pulls one side tighter than the other. Uneven tension, accidentally adding or skipping chain spaces, and working into the wrong stitch all contribute to a lopsided result. Tip: Count your stitches and chain spaces at the end of every round before moving to the next one.
At a Glance
- Skill level: beginner
- Time needed: 10–15 minutes to check and fix a single square
- Best yarn: worsted-weight (#4) cotton or acrylic for clear stitch visibility
- Hook size: 5mm (H/8)
Common Mistakes → Quick Fixes
- Uneven stitch count: Place a stitch marker at the beginning of each round so you know exactly where each round starts and ends.
- Tension too tight on corners: Make your corner chain spaces slightly looser than you think they need to be — tight corners are the number one cause of curling.
Mini Glossary
ch (chain stitch), dc (double crochet), ch-sp (chain space), round (a complete circle of stitches worked without turning), stitch marker (a clip or loop used to mark a position), tension (how tightly or loosely you hold the yarn).
What you will learn?
- the quick answer
- why beginners struggle
- step-by-step fixes or methods
- common mistakes
- helpful next steps
If you are searching for why is my granny square crooked, this guide is designed to give you a beginner-friendly answer first, then enough detail to help you act on it right away.
Quick answer
The best beginner choice is usually the one that gives the clearest stitch control, the fastest confidence boost, and the fewest frustrating variables at once.
How Can Beginners Master Beginner breakdown?
This section explains the main idea in plain English, without assuming you already understand pattern shorthand or advanced crochet terminology.
What usually goes wrong?
Most beginners struggle because they pick a technique or project that adds too many new skills at once. A simpler starting point often produces better-looking results faster.
What Is Best next step?
Once this topic feels clear, move into the related stitch, pattern, or troubleshooting guide that builds naturally from it.
What Is Related guides?

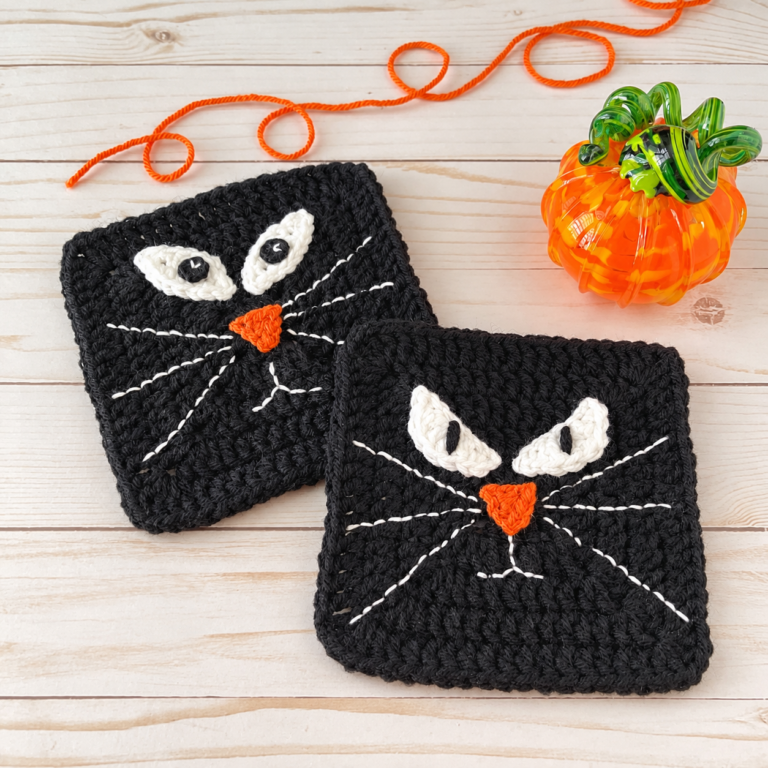
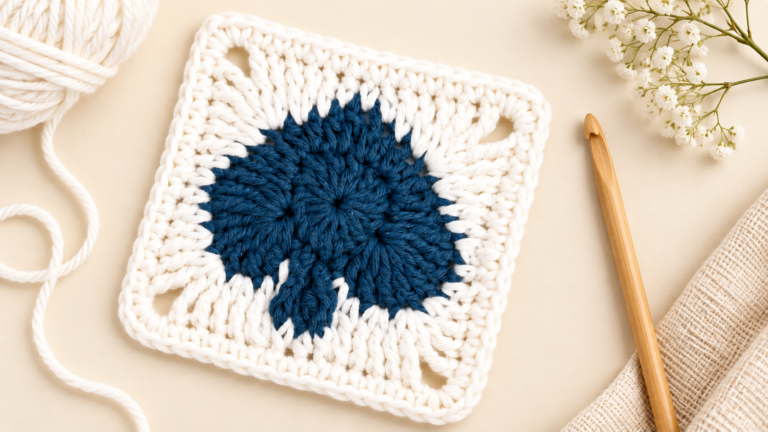
Here you can see how the stitch work comes together in this section.

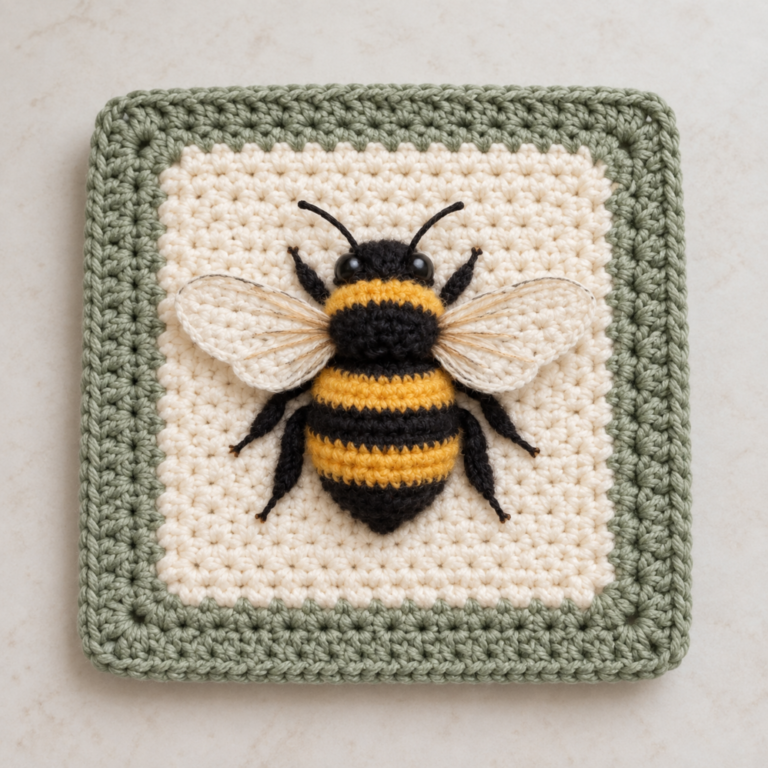
This close-up shows the texture and technique used for this design.

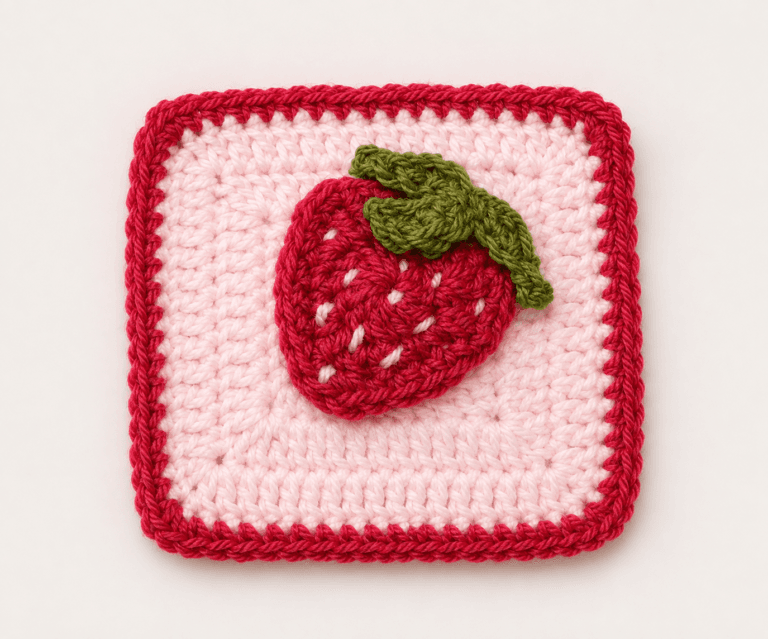
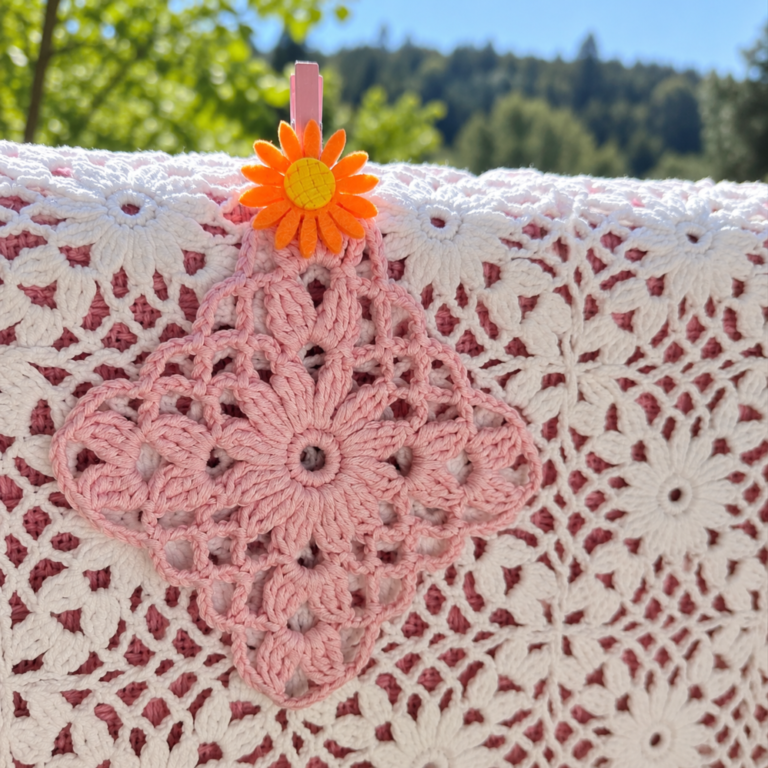
Notice the color transitions and stitch definition shown above.

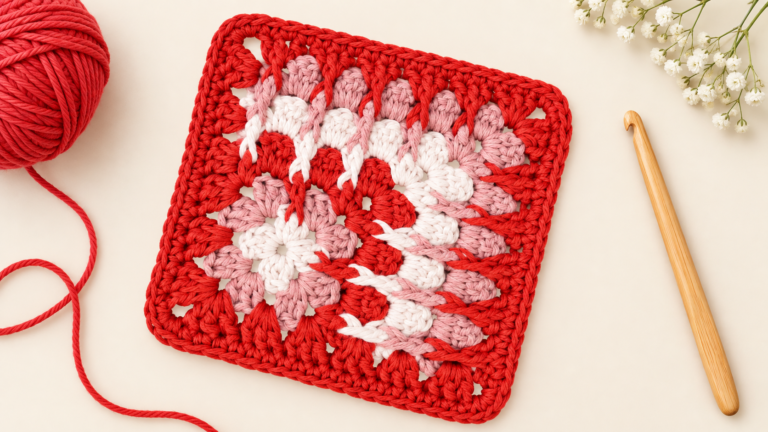
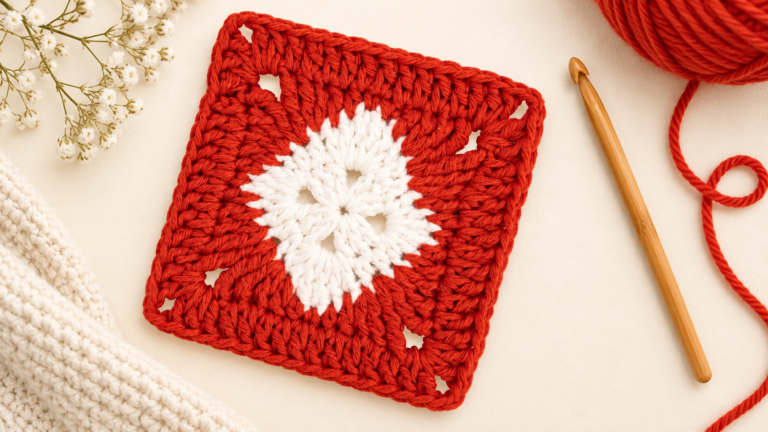
Another view highlighting the shape and structure of this piece.
What Is FAQ?
What should a beginner focus on first?
The best first focus is the one that keeps your crochet practice simple, repeatable, and easy to judge visually.
How do I improve faster?
Use small practice pieces, compare your results, and change only one variable at a time.
Why do my granny square corners curl?
Corners curl when your chain spaces are too tight or when you accidentally skip a stitch. Make your corner chains slightly looser and count your stitches at the end of every round.
Can blocking fix a crooked granny square?
Blocking can help mild unevenness by pinning and steaming the square into shape, but it will not fix mistakes like skipped stitches or incorrect stitch counts. Fix the stitch count first, then block.
Should I count stitches in every round?
Yes, counting at the end of each round is the single most effective habit for keeping granny squares even. Use a stitch marker at the start of each round so you always know where to stop.
What Is Final takeaway?
Good beginner progress comes from reducing confusion, not increasing complexity. The simpler the first win feels, the faster your confidence grows.

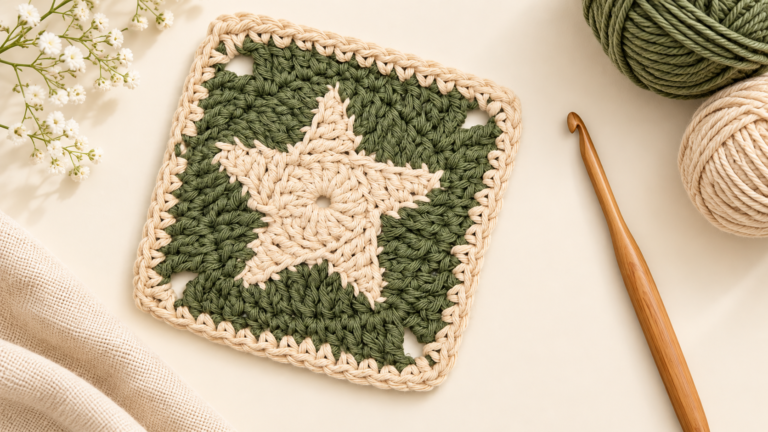
The detail in this image demonstrates the key technique for this pattern.

What Is Helpful next steps?
Why Is My Granny Square Crooked mistakes beginners make?
Beginners usually improve faster when they know the exact mistakes to watch for early. The most common issues come from changing too many variables at once, rushing the first rows or rounds, and skipping simple checks that would prevent frustration later.
KnotToYarn
Subscribe to KnotToYarn!
Get the best free crochet patterns, tutorials & tips delivered straight to your inbox. Join our growing community!
If something looks off, test one correction at a time and compare the result after a small sample. That makes it easier to understand what actually helped.
Why Is My Granny Square Crooked checklist?
- Use a beginner-friendly yarn with visible stitch definition
- Choose a hook size that feels comfortable in your hand
- Count carefully
- Slow down enough to notice edge stitches and tension changes
- Move to the next related guide when this step feels stable
What Is Helpful external reference?
For yarn standards and terminology, see the Craft Yarn Council standards guide.
Why Is My Granny Square Crooked: what beginners should remember
The simplest progress usually comes from repeating one small correction at a time until the result feels more consistent.
Why Is My Granny Square Crooked checklist?
- Use a visible, beginner-friendly yarn
- Check stitch count regularly
- Slow down enough to notice edge stitches and tension changes
- Compare your work after a small sample before continuing
What Are the Most Common Mistakes to Avoid?
Many beginners improve faster when they stop changing multiple things at once. Test
When working on projects that require a specific why is my granny square crooked technique, remember that practice makes perfect. Many crafters find that starting with a smaller swatch helps them master the rhythm before committing to a full project.
If you are looking for more guidance on why is my granny square crooked, consider joining a local crochet group or online community where experienced makers share their tips and troubleshooting advice.
For beginners exploring why is my granny square crooked, the most important thing is to choose the right yarn weight and hook size for your project. This single choice can make or break your final result.
one fix at a time so you can see which change actu
Learning why is my granny square crooked is one of the most rewarding skills you can develop as a crafter, and with the right approach, anyone can master it.
When you master why is my granny square crooked, you will find that your overall crafting confidence grows significantly with each completed project.
Many crocheters who specialize in why is my granny square crooked recommend keeping a small swatch notebook to track your progress and favorite techniques over time.
Understanding why is my granny square crooked will give you a solid foundation for tackling more advanced crochet projects with confidence and creativity.
ally helped.
Frequently Asked Questions
Why does my granny square lean to one side?
Your granny square may lean to one side if you are consistently adding your turning chain on the same side and not working your stitches symmetrically around the square. Uneven tension between your right-side and wrong-side rows can also cause a subtle lean over multiple rounds. If you are wondering why your granny square looks crooked, check that you are placing the same number of stitches and chains in each corner and side consistently.
Will blocking fix a crooked granny square?
Yes, blocking can significantly improve the shape of a crooked granny square by relaxing the fibers and allowing you to pin the square into a perfect shape while it dries. Wet blocking or steam blocking works well for cotton and acrylic yarns, while wool granny squares benefit from a gentle wet block. While blocking can fix minor shape issues, it is not a substitute for correct stitch placement if your granny square is severely crooked.
How tight should my tension be for granny squares?
Your tension for granny squares should be firm enough to create defined stitches but relaxed enough that the fabric lies flat without curling or puckering. If your tension is too tight, your granny square will cup inward and feel stiff; if it is too loose, the square will be floppy with visible gaps. Consistent tension is the single most important factor in preventing the common question of why your granny square looks crooked.
Can I fix a crooked granny square without starting over?
In many cases, you can fix a crooked granny square without starting over by carefully identifying which round or corner is causing the problem and adding or removing stitches to correct it. If one corner has too few stitches, you can add an extra chain or double crochet in that corner to balance the square. For minor issues, blocking is usually the easiest fix without having to unravel your work and ask again why your granny square looks crooked.
If you enjoyed this guide, you might also love our tutorials on Granny Square Tote Bag Designs, Why Are My Granny Squares Different Sizes, and Granny Square Poncho Pattern. Each one comes with free patterns and step-by-step instructions perfect for crocheters of all skill levels.