7 Cute Cat Granny Square Pattern Tips for Beginners
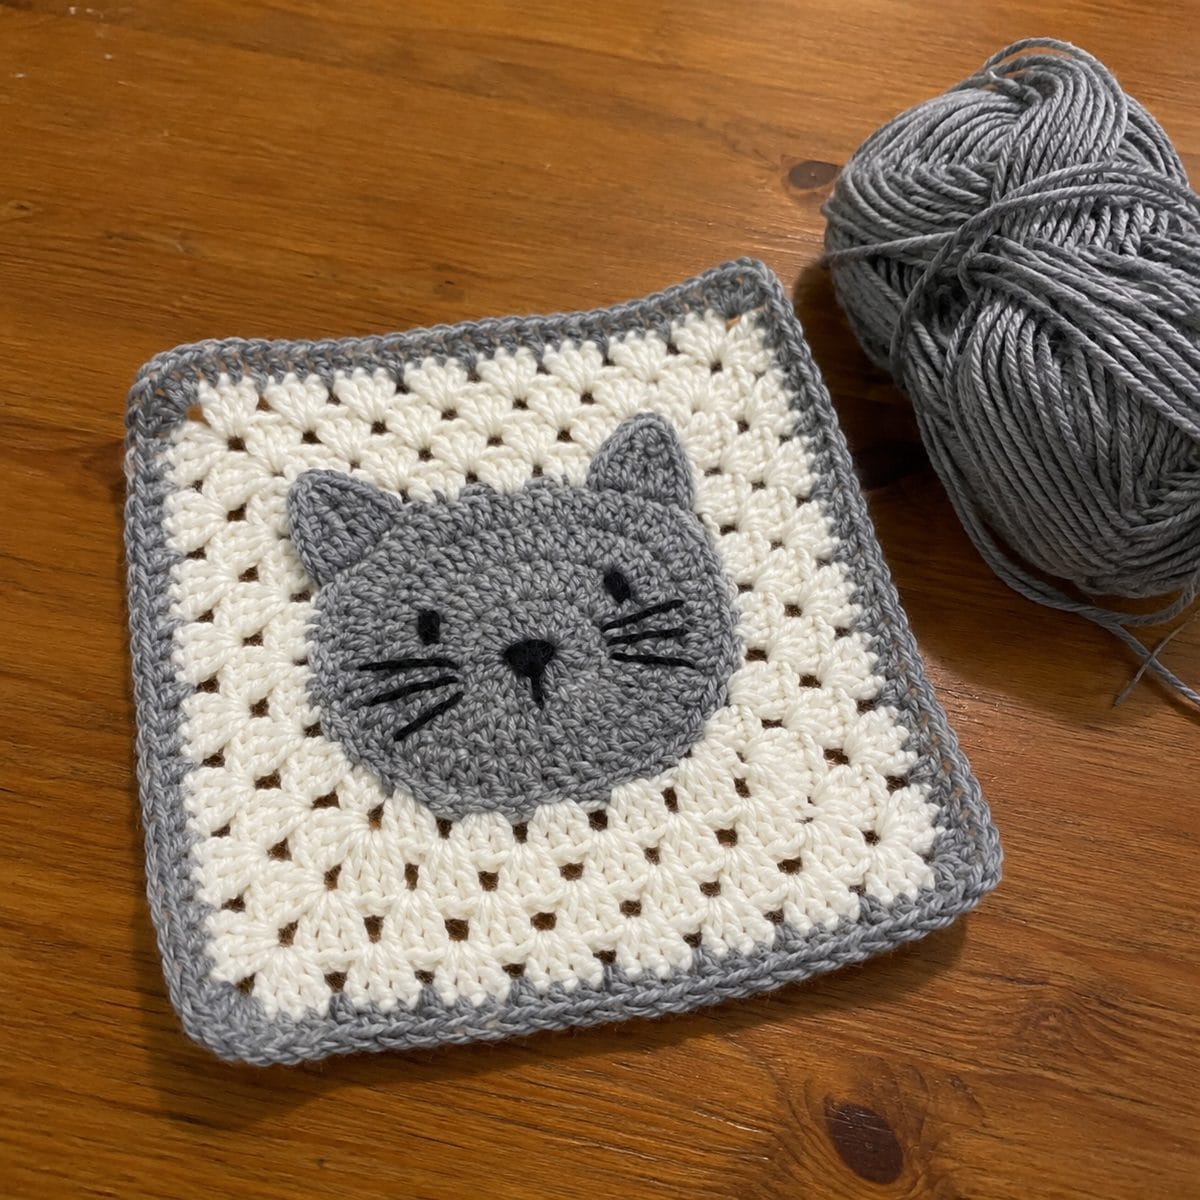
Cat granny squares pair a cute round cat-face motif with a traditional granny border, whimsical building blocks for cat-themed blankets, pillows, and accessories. The face is worked in rows of single crochet with strategic increases and decreases, then framed with classic granny clusters. Most use just 2 to 4 colors, so they’re approachable for advanced beginners.
As an Amazon Associate we earn from qualifying purchases: some supply links in this post are affiliate links, at no extra cost to you.
Tip: Work the cat face in a single color first as practice, then add color changes once you are comfortable with the shaping, this prevents frustration from juggling too many new skills at once.
More Granny Squares to Try
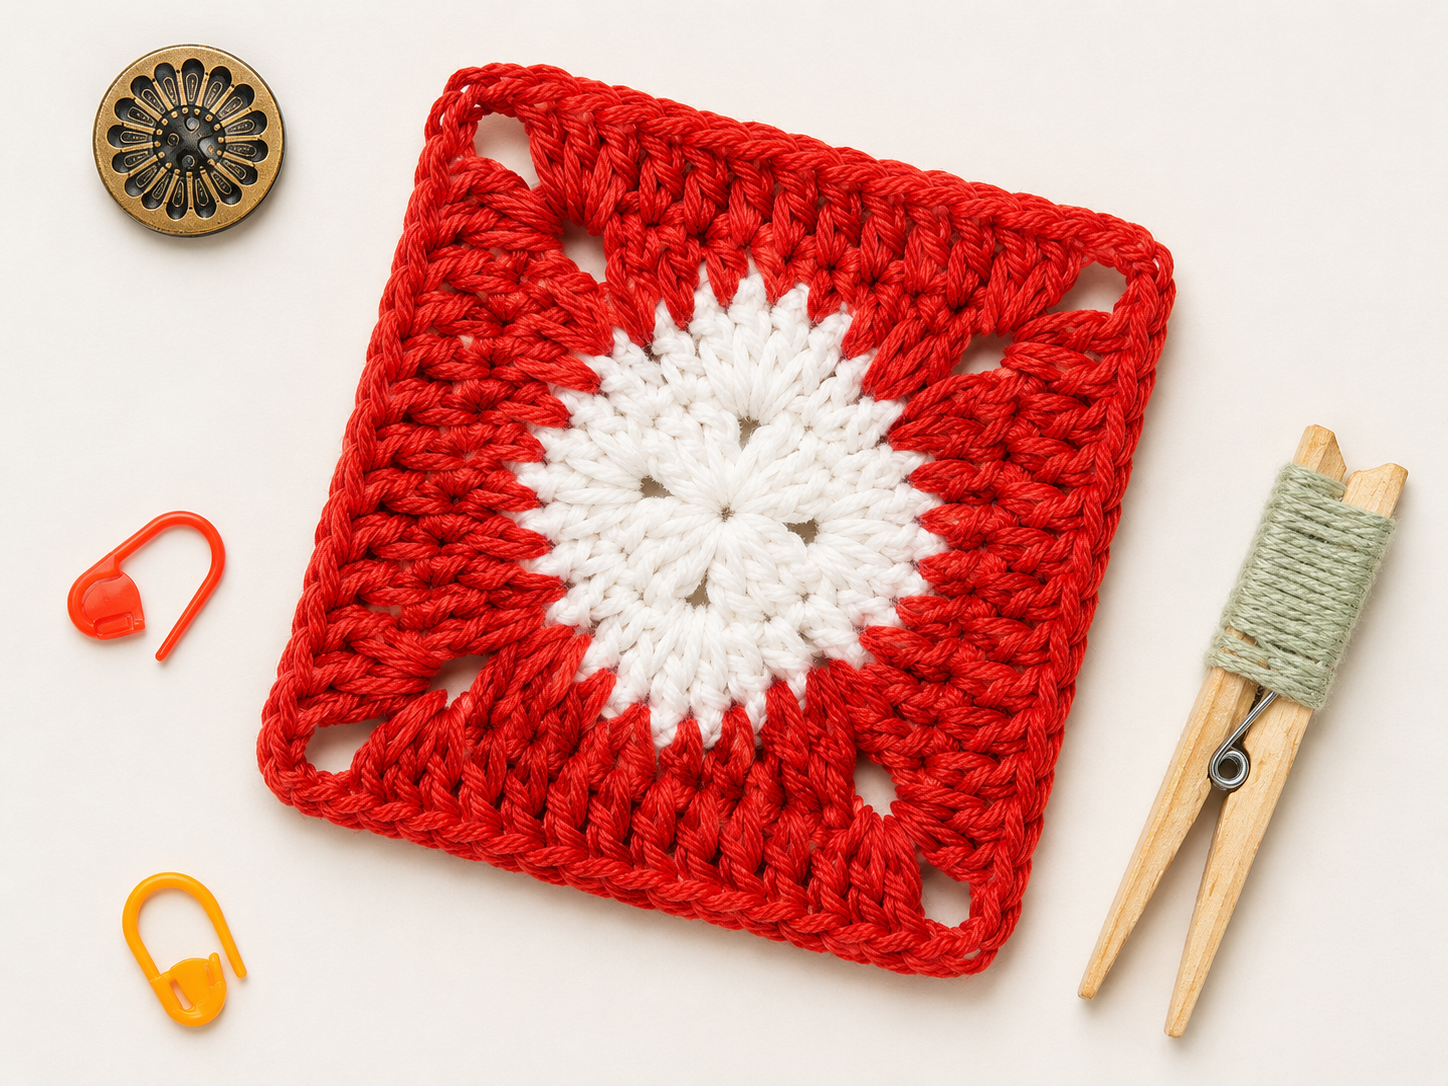
If you love cats and crochet, this is basically your spirit project. A round cat face, pointy ears, sweet eyes, a tiny nose, framed by a granny border, and endlessly customizable with different fur colors and expressions. Whether it’s for a fellow cat person or for yourself, these bring a smile.
This guide covers seven tips for picture-perfect cat squares, even if you’re newish to crochet, from the row-by-row face construction to the little finishing details.
Understanding the Cat Granny Square Construction
What sets it apart from most granny squares is that the center is worked in rows, not rounds. The border uses traditional in-the-round clusters, but the face itself is built row by row in single crochet with increases and decreases. That hybrid build is the key to getting the shape right.
The construction typically follows this sequence: you begin with a chain and work in rows to create an oval or rounded cat face shape, working increases at the sides to widen the face and decreases to create the muzzle area. Once the face is complete, you crochet a border around the entire perimeter in rounds, transitioning into standard granny cluster stitches for the outer rounds.
This row-then-round approach might feel unusual if you are accustomed to working entirely in the round. Our granny square crochet pattern guide focuses on traditional in-the-round construction, which is great foundational knowledge before tackling the hybrid approach of a cat square.
7 Essential Tips for a Perfect Cat Granny Square
Tip 1: Start with the Right Yarn and Hook Combination
Like any amigurumi-style motif, yarn choice matters a lot. You want a smooth, medium-weight yarn that holds its shape and shows clean stitches. Skip fuzzy or textured yarns for the face, they blur the features and make it look muddy.
Acrylic worsted weight yarn is the most popular choice because it is affordable, widely available, and comes in an enormous range of colors. Cotton blends also work beautifully and provide a slightly more structured finish. Choose a hook size that gives you a firm, dense fabric, typically one size smaller than the yarn label recommends. This ensures the stuffing (if any) does not show through and the cat face maintains its shape.
Tip 2: Master Increases and Decreases First
The cat face shape relies on precise increases and decreases. An increase (working two stitches into one stitch) widens the face, while a decrease (working two stitches together) narrows it. Getting these techniques right is essential for a recognizable cat face shape.
For invisible decreases (which are ideal for the cat face to avoid visible gaps), insert your hook into the front loop of the first stitch, then into the front loop of the next stitch, yarn over, and pull through both loops. Complete the single crochet normally. This technique creates a nearly seamless decrease that maintains the smooth appearance of the fabric. If you need a refresher on basic techniques, our easiest crochet stitch for beginners guide covers these fundamentals.
Tip 3: Keep Your Color Changes Clean
Most cat granny squares use at least three colors: one for the main fur, one for the inner ears and nose, and one for the eyes. Some designs add a fourth color for the muzzle or whisker area. Clean color changes are essential for a polished look.
When changing colors, complete the last stitch of the old color until only two loops remain on your hook. Then yarn over with the new color and pull through to complete the stitch. This creates a clean transition line. On the wrong side, carry the unused color loosely along the row, twisting it around the working yarn at each color change to prevent long, snaggy floats.
Tip 4: Position Features with Precision
The eyes, nose, and mouth are what bring the face to life, and placement makes or breaks it. Most patterns give exact positions, but it helps to know the general principles.
Eyes should be placed symmetrically on either side of center, approximately one-third of the way down from the top of the face. The nose goes in the center, slightly below eye level. The mouth branches down from the nose in a Y shape. Whiskers extend outward from the muzzle area at roughly 45-degree angles.
For the eyes, you can use safety eyes, embroidered features, or small circles made with contrasting yarn. Embroidered features give the softest look and are safest for baby items. Use a yarn needle and a single strand of yarn for clean, delicate details.
Tip 5: Get the Ears Right
The ears are perhaps the trickiest part of any cat granny square. They need to be pointy, symmetrical, and proportional to the face. Most patterns achieve the ear shape through a series of chain stitches and single crochet decreases that create a triangular protrusion at the top of the face.
Work both ears in exactly the same way, counting stitches carefully. Even one stitch difference between the ears will be noticeable. Some crocheters find it helpful to complete the first ear, count the exact number of stitches and rows, then replicate it precisely for the second ear. Taking a photo of the first ear with your phone also helps with comparison.
Tip 6: Attach the Granny Border Cleanly
Transitioning from the row-worked cat face to the round-worked granny border requires careful stitch placement. You will work a round of single crochet evenly around the perimeter of the cat face, placing extra stitches in the corners and ear tips to keep the border flat. This foundation round is critical, if your stitch count is off, the border will ripple or cup.
After the foundation round, begin working granny clusters (groups of three double crochets separated by chain spaces). Place corner increases at the four corners with (3 DC, chain 2, 3 DC) groupings. The number of border rounds depends on how large you want the finished square. Two to three rounds typically frame the cat face nicely without overwhelming it.
If joining multiple cat squares into a blanket, make sure all squares have the same number of border rounds so they align properly. Our how to join granny squares tutorial covers the best methods for assembling granny square projects.
Tip 7: Customize Your Cats Expression
One of the best parts is how easily you can give each cat its own personality. A few small changes take it from sweet to sassy, sleepy to startled.
Change the eye shape from round to almond-shaped by working the eye circles over two rows instead of one. Add pupils pointing in different directions for a quirky, cartoonish look. Position the mouth in a smile curve or a surprised “o” shape. Add a tiny blush circle on each cheek for an adorable kawaii-style cat face.
You can also customize the ear shape, make them tall and pointy for a Siamese look, rounded for a Scottish Fold, or add small tufts at the tips for a wild lynx effect. Each variation makes your finished project uniquely yours. The granny square ideas for beginners article includes more inspiration for personalizing your granny squares.
Color Palette Ideas for Cat Granny Squares
Picking colors is half the fun. A few combinations to get you started:
Classic tabby: Orange or ginger fur with darker orange stripes, pink inner ears and nose, and green or yellow eyes. This is the most iconic cat look and works beautifully in granny squares.
Sleek tuxedo: Black fur with a white chest patch, pink nose, and bright green eyes. The high contrast looks incredibly striking against any border color.
Soft calico: White base with patches of orange and black (or brown), pink nose, and amber eyes. This multicolor design works especially well as a focal square in a larger project.
Magical kitty: Purple or teal fur with gold eyes and star-shaped accents. This whimsical take works well for fantasy-themed projects and childrens items.
Realistic gray: Gray fur with lighter gray muzzle and chest, dark gray stripes, and yellow-green eyes. This sophisticated palette works well in modern, tonal projects.
Project Ideas Featuring Cat Granny Squares
Once you have a stack of cat granny squares, here are some wonderful ways to use them.
Cat lovers blanket: Make a throw blanket entirely from cat squares, mixing different colors and expressions. Add a few solid granny squares in coordinating colors to break up the pattern and let individual cat squares stand out. The solid granny square pattern works well for these filler squares.
Pet-themed pillow covers: A 2×2 arrangement of cat squares makes an 18-inch pillow cover that any cat lover would treasure. Use a fabric backing for durability and add a zipper closure for easy washing.
Cat ear headband: A single cat square, folded and attached to a headband, creates an adorable costume accessory. Add the cat border in a complementary color for extra flair.
Crochet cat toy bag: Join four cat squares into a small drawstring bag, great for storing cat toys or crochet supplies. The whimsical cat faces make this a charming storage solution.
Recommended Tools and Resources
For the best result, get a decent set of ergonomic hooks, our best hooks guide has affordable options that’ll serve you well here and elsewhere. A sharp-tipped yarn needle is also essential for clean face embroidery.
The Craft Yarn Council website is an excellent resource for standardized yarn weight information and hook size recommendations, which will help you choose the right materials for your cat squares. And the Yarnspirations site offers a wide range of worsted weight yarns in the perfect colors for cat-themed projects.
Final Thoughts
A cat granny square is a joyful little project, part real skill, part pure whimsy. Each one is a tiny portrait of a cat, and the granny border keeps them versatile for blankets, accessories, and decor. One special square for a cat-loving friend, or a whole army for a showstopper blanket, either way it’s a fun make.
Frequently Asked Questions
How do I change colors neatly in amigurumi?
Change colors cleanly by pulling the new color through the last two loops of the old stitch, no visible knot or jog. Carry the unused color along the inside if you’ll need it soon, or cut it with a six-inch tail to weave in later. Try to avoid changing mid-round.
What yarn is best for this amigurumi project?
Smooth, tightly spun worsted cotton or acrylic works best, it keeps stuffing from showing through. Cotton gives a firm, holds-its-shape finish; good acrylic is a bit softer and more forgiving. Skip fuzzy or textured yarns, which hide your stitches and make counting hard.
How do I stuff my amigurumi properly?
Stuff firmly but evenly, small amounts of fiberfill at a time, not one big clump. A pencil eraser or stuffing tool helps push filling into small spots like ears and tails. It should feel firm with no lumps, but not so overstuffed that the stitches stretch and the filling shows.
How long does it take to complete this amigurumi?
Most amigurumi takes two to four hours depending on size and complexity. Small pieces like keychains can be under an hour; large ones with lots of parts can take a day or more. Stitch counts matter more here than in most crochet, so take your time.
What type of stuffing should I use for amigurumi?
Polyester fiberfill is the usual choice, light, washable, easy to find. For a weighted feel, add a few plastic pellets in the base before the fiberfill, but put them in a small fabric pouch first so they don’t leak out through the stitches.