How to Join Granny Squares: 7 Beginner Tips
Quick Answer
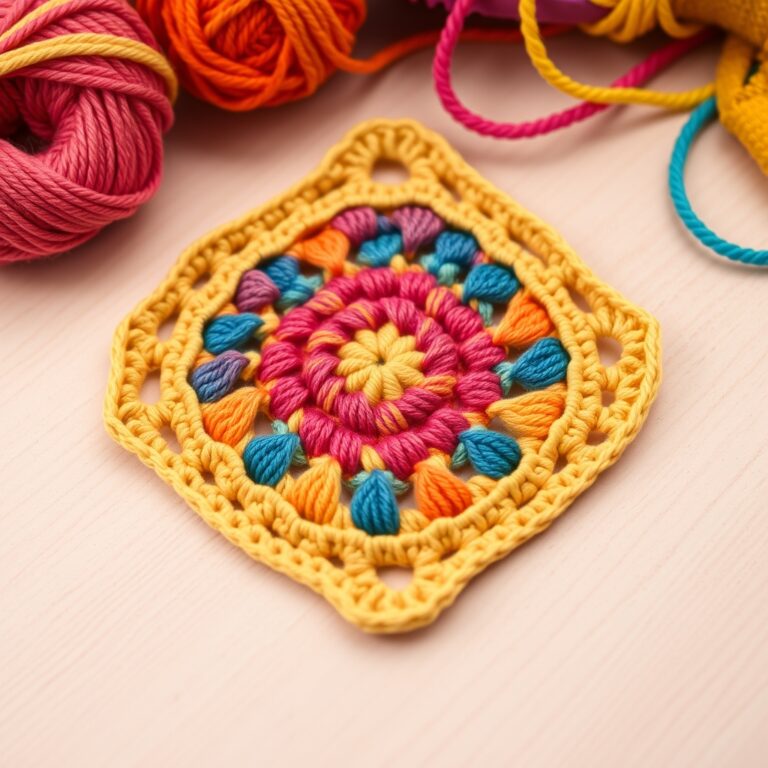
Joining granny squares is the process of connecting individually crocheted squares into a larger piece like a blanket, bag, or garment. There are several popular methods including whip stitch, slip stitch, single crochet join, mattress stitch, and join-as-you-go (JAYG). The best method depends on your skill level, the desired look, and whether you want a visible seam or an invisible join.
Tip: Always block your granny squares before joining them: this ensures they are the same size and shape, which makes the seaming process much easier and produces a neater finished result.
At a Glance
- Skill level: beginner (whip stitch) to intermediate (mattress stitch)
- Time needed: 15-30 minutes per seam for a throw-size blanket
- Best yarn: use the same yarn you crocheted the squares with
- Hook size: same hook or one size smaller for tighter joins
Common Mistakes to Quick Fixes
- Squares not lining up: block all squares first so edges match perfectly
- Visible gaps between squares: work your stitches consistently tight to the same tension
- Uneven seams: place stitch markers every 10 stitches to keep your count consistent
Mini Glossary
CH (chain), SC (single crochet), SL ST (slip stitch), FO (fasten off), RS (right side), WS (wrong side), SP (space), ST (stitch), BLO (back loop only), FLO (front loop only)
Why does Choosing the Right Joining Method matter?
How you join your squares can completely change the look and feel of a finished project. A whip stitch gives a visible, textured seam with handmade charm; a mattress stitch is nearly invisible so the squares seem to flow into one another; a single crochet join adds a decorative ridge as a design feature; and join-as-you-go skips seaming entirely by connecting squares as you crochet them.
Each method has its own strengths, and the best choice depends on your experience, the project, the look you want, and how much finishing time you’ll invest. New to joining? The whip stitch and slip stitch are easiest and very reliable. As you gain confidence, the mattress stitch and continuous joins give a cleaner, more professional finish. For making the squares themselves, our granny square tutorial covers the basics.
These techniques open up creative options, too. Use contrasting yarn for visible seams to get a patchwork effect, or match the square colors for a subtle, cohesive look. Some crocheters even mix methods in one project, an invisible seam across the panels with a decorative ridge around the border.
The 5 Best Methods for Joining Granny Squares
Method 1: Whip Stitch: The Easiest Beginner Join
The whip stitch is the most beginner-friendly join, and usually the first one crocheters learn. Hold two squares with right sides together, then use a yarn needle and the same yarn to whip stitch through both layers of the outer loops. Each stitch wraps over the edge, leaving a slightly raised seam on the right side.
To work the whip stitch, thread your yarn needle with a length of yarn about 24 inches long. Place two squares side by side with the right sides facing up. Insert the needle under both loops of the first stitch on the edge of the left square, then under both loops of the corresponding stitch on the right square. Pull the yarn through, leaving a 4-inch tail for weaving in later. Continue across the seam, working under two loops on each side for every stitch. Keep your tension even, not too tight or the seam will pucker, not too loose or gaps will appear between the squares.
The whip stitch is ideal for beginners because it is forgiving of minor size differences between squares. The visible seam actually hides small discrepancies and gives the finished project a charming, handcrafted quality. It works well for blankets, cushions, and tote bags where a decorative seam is acceptable or even desirable. For more practice with basic crochet techniques, our how to crochet for beginners guide is a great resource.
Method 2: Slip Stitch Join: Quick and Reversible
The slip stitch join uses a crochet hook instead of a yarn needle, making it faster than the whip stitch for many crocheters. You hold two squares with their right sides facing each other, insert your hook through both loops of the first stitch on both squares, yarn over, and pull through all loops on the hook. This creates a neat, slightly stretchy seam that is virtually identical on both sides of the fabric.
To work the slip stitch join, place two squares with right sides together. Insert your hook through the top two loops of the first stitch on both squares simultaneously. Yarn over and pull through both loops and the loop on your hook in one motion (this is a slip stitch). Move to the next pair of stitches and repeat. Continue across the entire seam, working one slip stitch per stitch pair. Chain 1 between squares if you are working a continuous row of joined squares, or fasten off at the end of each seam if joining individually.
The slip stitch join is a bit faster than the whip stitch since you don’t thread a needle, and many find it easier to keep even tension with a hook. The seam is thinner and less visible, and it’s fully reversible, both sides match, handy for scarves or wraps. Still learning to read patterns and abbreviations? Practicing this join is a good confidence-builder.
Method 3: Single Crochet Join: A Decorative Ridge
The single crochet join creates a prominent, decorative ridge between squares that stands out as an intentional design element rather than trying to hide the seam. You hold two squares with their right sides facing each other and work a single crochet stitch through both layers at each stitch pair. The result is a visible chain of single crochet stitches that forms a raised border between the squares.
To work the single crochet join, place two squares right sides together. Insert your hook through the top loops of the first stitch on both squares. Yarn over and pull up a loop (2 loops on hook). Yarn over and pull through both loops (1 single crochet made). Move to the next stitch pair and repeat. Work a single crochet in each stitch pair across the seam. The single crochet join uses more yarn than the whip stitch or slip stitch, and the seam is thicker and more textured, but this can be a feature rather than a bug.
This join is especially popular in baby blankets and afghans, where the ridge adds visual interest and a tactile element. It’s also a slightly stretchy seam that holds up to washing and regular use. Use a contrasting color to make the ridge a bold feature, or match your squares’ outer round for a subtler effect. If you already know the single crochet stitch, this join will feel natural.
Method 4: Mattress Stitch: The Invisible Join
The mattress stitch is the gold standard for invisible seams. Worked correctly, the join is nearly undetectable, so the squares look like one continuous piece of fabric. It’s common in garment construction but works beautifully for granny square blankets and anything where you want a clean, professional finish.
To work the mattress stitch, place two squares with their right sides facing up, aligned edge to edge. Thread a yarn needle and insert it under the first horizontal bar between the last and second-to-last stitches on one square, then under the corresponding bar on the other square. Alternate between sides, always picking up the horizontal bar between stitches (not the stitch itself). Pull the yarn gently after every few stitches to close the gap, but do not pull so tight that the fabric puckers. The mattress stitch works by zigzagging between the two pieces, interlocking the horizontal bars to create a seamless join.
The mattress stitch requires more patience and precision than the other methods, but the result is worth the effort. It is the best choice for projects where you want the squares to blend together cleanly: large blankets, garments, and home decor items like cushion covers and table runners. Practice on a few scrap squares first to get a feel for the correct tension. Our guide on how to fix crochet tension can help you develop the consistent gauge needed for clean mattress stitch seams.
Method 5: Join As You Go (JAYG): No Seaming Required
Join-as-you-go is fundamentally different from the other four: you connect squares while you crochet them, not after. On the final round of each new square, you work the corner and first side into the matching stitches of an already-finished square instead of into chain spaces, which skips the seaming step entirely and gives a clean, integrated join.
To work JAYG, complete your first granny square in full and fasten off. On the second square, work rounds 1 through 3 normally. On the final round, when you reach a corner, chain 1, then work a slip stitch or single crochet into the corner chain space of the first square. Continue across the side, joining each cluster of the new square to the corresponding cluster of the first square. Work the remaining corners and sides normally (in chain spaces). When you start a third square, you can join it to both the first and second squares simultaneously by connecting two sides during the final round.
JAYG is the most popular joining method among experienced crocheters because it saves time and produces a very clean result. The join is flat and flexible, with no ridge or visible seam. However, it requires planning ahead, you need to know your layout before you start, because the joining happens as you crochet. Our granny square crochet pattern guide includes layout planning tips that pair perfectly with the JAYG technique. For a dedicated tutorial on this method, our granny square join as you go tutorial provides detailed step-by-step instructions.
Which Joining Method Should You Choose?
The best method depends on your project and experience. For a first blanket, the whip stitch is the safest, forgiving, easy, and charming. Want a faster needle-free option? The slip stitch join. For a decorative raised ridge, the single crochet join. For invisible seams on garments or polished blankets, learn the mattress stitch. And for a big project where you’d rather skip seaming, join-as-you-go is the way.
Many experienced crocheters mix methods by project. A baby blanket might use the single crochet join for its decorative ridge, a cardigan the mattress stitch for invisible seams, and a charity blanket the whip stitch because it handles slightly mismatched square sizes. The point is to know each method’s strengths so you can choose well every time.
How to Join Granny Squares FAQ?
What is the easiest way to join granny squares?
The whip stitch is the easiest method, use a yarn needle and the same yarn to sew through the outer loops of both squares while holding them right sides together. No special skills beyond basic sewing, and it gives a reliable, attractive seam.
Can I join granny squares with a crochet hook instead of a needle?
Yes. The slip stitch join and single crochet join both use a crochet hook. The slip stitch join creates a thin, nearly invisible seam, while the single crochet join creates a decorative raised ridge between squares. Both methods work directly with your hook, no yarn needle needed.
How do I make my granny squares the same size before joining?
Blocking is essential. Wet-block each square by soaking it in water, pinning it to the correct dimensions on a blocking mat, and letting it dry completely. This evens out your tension and ensures all squares are the same size, making the joining process much easier.
Should I join granny squares with the right sides facing or wrong sides facing?
For the whip stitch and slip stitch, hold squares with right sides facing each other (wrong sides out). For the mattress stitch, place squares with right sides facing up, aligned edge to edge. For JAYG, you work with the right side of the new square facing the right side of the completed square.
What is the strongest method for joining granny squares?
The single crochet join creates the strongest seam because each stitch is a full single crochet worked through both layers of fabric. It uses more yarn and creates a visible ridge, but the resulting seam is very durable and holds up well to frequent washing and heavy use.
For more crochet tutorials and free patterns, visit KnotToYarn. For standardized crochet terminology and hook sizing, the Craft Yarn Council standards page is an essential reference. For additional joining technique inspiration, check out these granny square joining methods from The Spruce Crafts.
Frequently Asked Questions
What is the best method for joining granny squares?
It depends on the look you want, but the whip stitch and single crochet join are the most popular for beginners. The mattress stitch gives a nearly invisible seam for a polished finish, while join-as-you-go connects squares as you crochet the final round. Each gives a different effect, so sample a few before committing.
Can I join granny squares with a different color yarn?
Yes, a contrasting color is a great way to add a decorative element when joining. It creates a framed or color-blocked look that enhances the design. Just use a yarn of the same weight and fiber so your tension and care stay consistent.
How do I keep my seams flat when joining granny squares?
To keep your seams flat when joining granny squares, avoid pulling your stitching yarn too tight and work at a consistent tension throughout the joining process. It helps to lay your squares flat on a table and pin them together before you begin sewing or crocheting the seam. Blocking your granny squares before joining them also ensures they are all the same size, which results in much flatter and more even seams.
What is the join-as-you-go method for granny squares?
Join-as-you-go connects each square to the previous one during the final round, so there’s no separate seaming step. It’s efficient and lets you watch the project grow as you work, a great skill to pick up once you’re comfortable with the basics.