Granny Square Sweater: 5 Stunning Designs
Quick Answer
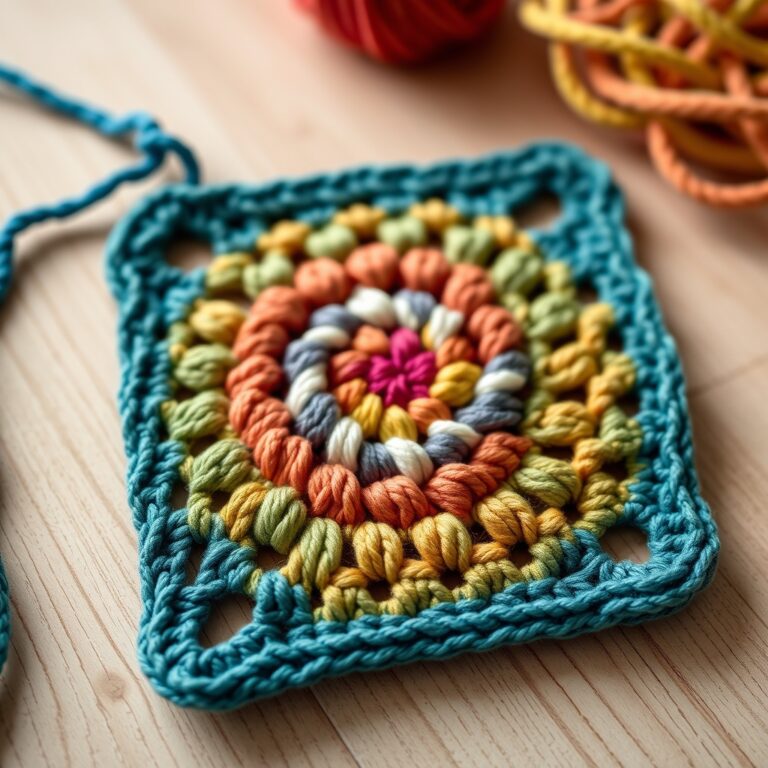
A granny square sweater is a garment made by crocheting individual granny square motifs and joining them into panels (front, back, and sleeves) that are then seamed together to create a wearable sweater. The modular construction makes it easy to customize the fit, adjust the size, and experiment with different color layouts. Most patterns use worsted or DK weight yarn with a 4.0 mm to 5.5 mm hook, and a typical cardigan requires 20 to 40 granny squares plus additional rows for the sleeves and neckline.
Tip: Make a gauge swatch and measure it carefully before starting your granny square sweater — a difference of even half an inch per square will compound across 30 squares and completely change your finished garment size.
At a Glance
- Skill level: intermediate (comfortable with granny squares and basic seaming)
- Time needed: 30 to 80 hours depending on size and complexity
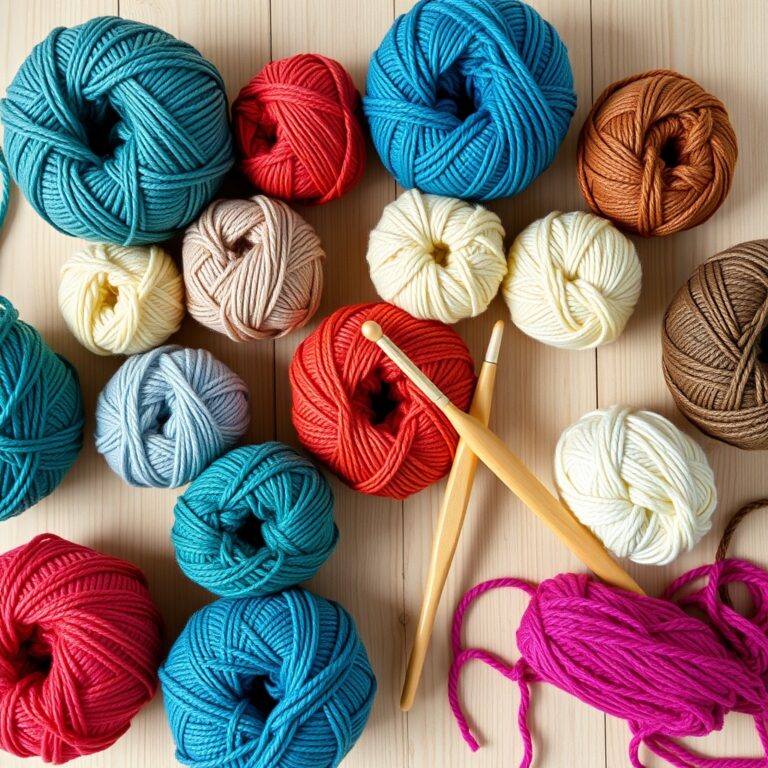
- Best yarn: worsted or DK weight acrylic, cotton, or wool blend
- Hook size: 4.0 mm (G-6) to 5.5 mm (I-9)
Common Mistakes to Quick Fixes
- Sweater is too small: your gauge is too tight — try a larger hook or relax your tension, and always make a gauge swatch first
- Squares do not line up at the seams: block all panels before seaming, and use stitch markers to pin alignment points
- Garment feels stiff or boxy: use a lighter yarn weight or fewer rounds per square for more drape
Mini Glossary
GS (granny square), DC (double crochet), CH (chain), SC (single crochet), SS (slip stitch), FO (fasten off), RND (round), PANEL (front/back/sleeve section), BODICE (upper body section)
A granny square sweater is one of the most satisfying garments to make — it blends the meditative rhythm of individual squares with the thrill of watching them become wearable art. Unlike a sweater worked in one continuous piece, the granny square version lets you work small, portable sections (great for on the go) and then assemble them into something unique. Oversized boho cardigan, fitted crop, or cozy pullover — there’s a granny square sweater here that walks you through every step.
Why Make a motif?
The appeal goes beyond nostalgia. The modular build has real practical advantages a continuous garment can’t match. First, if you mess up one square, you only redo that square — not a whole row or panel. Second, you can try the sweater on as you build it by laying out the squares and adjusting before you seam. Third, the color options are basically infinite: a different color per square, gradient panels, or a refined two-tone palette, and it’s easy to change your mind mid-project.
Garment construction can feel intimidating, but a granny square sweater breaks it into manageable, low-stakes steps. If you’ve made a granny square blanket or a granny square bag, you’ve got the core skills. The only new bits are assembly — joining panels, making armholes, finishing necklines — and those are straightforward. For fit, our crochet sweater pattern guide covers sizing principles that apply here.
What Should You Know About Granny Square Sweater Construction?
Every granny square sweater follows the same basic construction:
- Make your granny squares: Crochet the required number of squares for each panel. Most patterns call for specific arrangements — for example, 4 squares across and 5 squares tall for the back panel.
- Block all squares: Pin each square to its exact finished dimensions and let dry. This is critical for garment construction because uneven squares create uneven panels.
- Join squares into panels: Use whip stitch, slip stitch, or JAYG to join squares into front panel, back panel, and two sleeve panels.
- Seam the garment: Join the shoulder seams (front to back at the top), then attach sleeves to the body at the armholes, then seam the sleeve edges and side seams in one continuous seam from wrist to hem.
- Add finishing: Work an edging round around the neckline, front opening (for cardigans), and cuffs. Add buttons, pockets, or other embellishments as desired.
What Are the 7 Free Granny Square Sweater Patterns?
Pattern 1: Classic Granny Square Cardigan
This is the most popular granny square sweater style — an open-front cardigan with set-in sleeves. Make 24 to 36 standard granny squares (4 to 5 rounds each) and arrange them into two rectangular panels for the front (split down the middle for the button band opening) and one panel for the back. Make two smaller rectangular panels for the sleeves. Seam shoulders, attach sleeves, and close the side and underarm seams. Add a row of single crochet around the front opening and neckline for a clean finish, then sew on large wooden buttons. This cardigan works beautifully in autumnal colors — burnt orange, forest green, and cream — and can be worn over dresses, tanks, or basic tees.
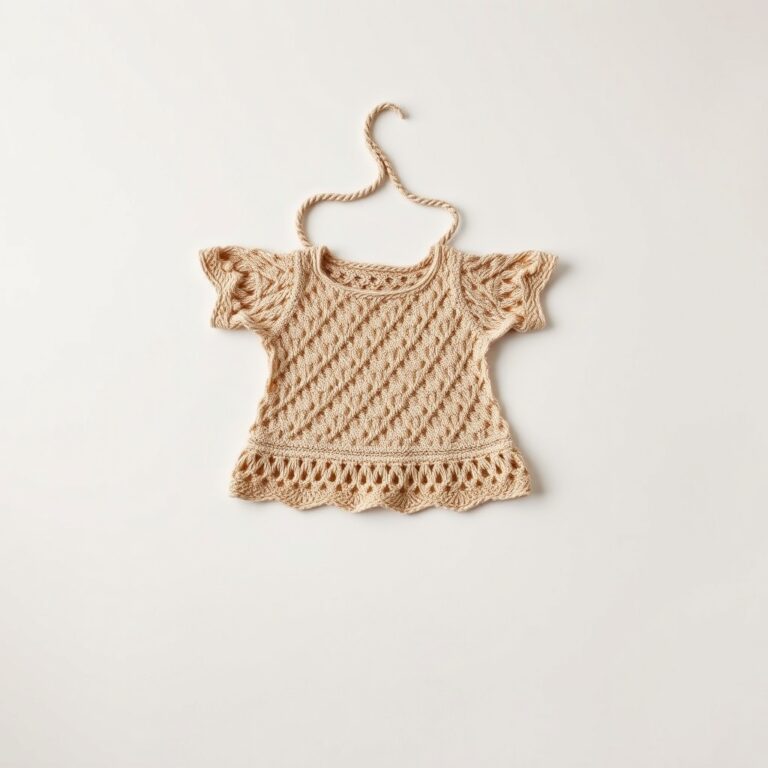
Pattern 2: Granny Square Crop Top
For a trendy, summer-friendly top, make a cropped sweater using smaller 3-round squares. Arrange 3 squares across and 3 down for each front and back panel (18 squares total) for a cropped, boxy top that hits at the natural waist. Use DK cotton for a cool, breathable fabric. Leave the sides partly open for a breezy look or seam them for more coverage, and add thin chain-stitch strap ties at the shoulders. It uses only 200 to 300 yards and comes together in a weekend.
Pattern 3: Oversized Boho Granny Square Pullover
Channel 1970s style with an oversized, drop-shoulder pullover made from large 5-round granny squares. Use 30 to 40 squares arranged in wide panels that create a deliberately roomy fit. The drop-shoulder construction means the sleeve panels are simply extensions of the body panels — no armhole shaping required, which makes this one of the easiest granny square sweater patterns to assemble. Use earthy, muted tones or a warm sunset palette. The oversized silhouette is flattering on all body types and looks effortless layered over a turtleneck or tank top.
Pattern 4: Granny Square Vest
A sleeveless vest is the fastest garment here because you skip the sleeves entirely. Make a front and back panel from 12 to 20 joined squares, seam the shoulders, and shape a V-neck or scoop neckline by decreasing along the top edge. It’s perfect for transitional weather — over a long-sleeve tee in spring or a turtleneck in fall — and a great first garment for anyone nervous about sleeves.
Pattern 5: Granny Square Bolero
A bolero is a short, cropped cardigan that covers just the shoulders and upper arms. Make 12 to 16 granny squares and arrange them into two small rectangular panels that drape over the shoulders. Seam the center back and attach the panels across the upper chest with a few connecting squares or a chain-stitch bridge. The bolero adds a layer of warmth without bulk and pairs beautifully with sleeveless dresses and camisoles. Use the solid granny square variation for a denser, warmer fabric that provides more insulation than the standard openwork version.
Pattern 6: Color Block Granny Square Cardigan
Make a bold statement by dividing each panel into color blocks. Work the bottom row of squares in Color A, the middle rows in Color B, and the top row in Color C. The horizontal bands draw the eye upward. Use high-contrast pairings — navy and cream, charcoal and coral, or black and mustard. The construction is the same as the classic cardigan; the color planning does the rest.
Pattern 7: Granny Square Poncho
If a fitted garment feels intimidating, a poncho is the perfect gateway. Make two large rectangular panels (each 3 squares wide by 6 tall) and join them at the shoulders only, leaving the sides open. The center opening goes over your head and the panels drape front and back like a shawl. With no armholes, sleeves, or side seams, it’s arguably the easiest to construct. Add fringe to the hem for extra style.
Sizing Your Granny Square Sweater
Getting the right fit requires planning before you start. Follow these steps for accurate sizing:
- Make a gauge swatch: Crochet one complete granny square using the yarn and hook you plan to use. Measure it precisely — width and height.
- Calculate your grid: Divide your desired body measurements (chest circumference for a sweater, or width for a cardigan front panel) by your single square width. Round to the nearest whole number.
- Account for seam allowance: Subtract about half an inch per seam from your total measurements, since seaming takes up space.
- Add ease: Add 2 to 4 inches of positive ease for a standard fit, or 6 to 8 inches for an oversized fit. Subtract 0 to 2 inches for a fitted look.
- Make a test panel: Before committing to the full project, join 3 to 4 squares in a strip, measure the actual seamed dimensions, and compare to your calculations. Adjust if needed.
Frequently Asked Questions
Is a granny square sweater hard to make?
Not particularly — if you can make granny squares and join them, you can make one. The construction is straightforward: make squares, join them into panels, and seam the panels together. The main challenges are getting the sizing right (solved by making a gauge swatch) and working neatly during assembly (solved by blocking your squares first). A cardigan or vest is the best starting pattern because they have the simplest shapes.
How many granny squares do I need for a sweater?
A medium cardigan usually takes 24 to 40 squares, depending on square size and the fit you want. A crop top needs 12 to 20; an oversized pullover can take 30 to 50. Always calculate from your own gauge rather than a pattern’s square count, since your tension may give slightly different dimensions.
What is the best yarn for a granny square sweater?
Worsted or DK weight acrylic, cotton, or wool blends are the best choices. Acrylic is affordable and soft, cotton drapes well for warm-weather pieces, and wool blends add winter warmth. Use the same yarn throughout for consistent gauge and drape across panels.
How do I care for a granny square sweater?
Check your yarn label for specific care instructions. Acrylic granny square sweaters can usually be machine washed on a gentle cycle in cold water and laid flat to dry. Cotton and wool garments should be hand washed in cool water with a gentle detergent and reshaped while damp. Always dry your sweater flat on a towel — hanging a wet sweater stretches it out of shape permanently. Store folded, never hung.
Can I adjust the length of my granny square sweater?
Yes — that’s one of the big advantages of modular construction. To make the sweater longer, add another row of squares to the bottom of each panel before assembling; to shorten it, use fewer rows. You can also add length afterward by working rows of double or single crochet onto the finished bottom edge.
Helpful resource: Ravelry hosts thousands of granny square sweater patterns with photos, sizing information, and community reviews. Browsing finished projects from other crocheters is one of the best ways to choose a pattern that suits your skill level and style.
For another wearable granny square project, our granny square poncho pattern is a no-sew beginner-friendly design using 16 squares and a join-as-you-go technique.
Related Posts You’ll Love
If you enjoyed these granny square sweater patterns, you might also like these wearable crochet designs: