Granny Square Blanket: 7 Layout Ideas + Size Guide
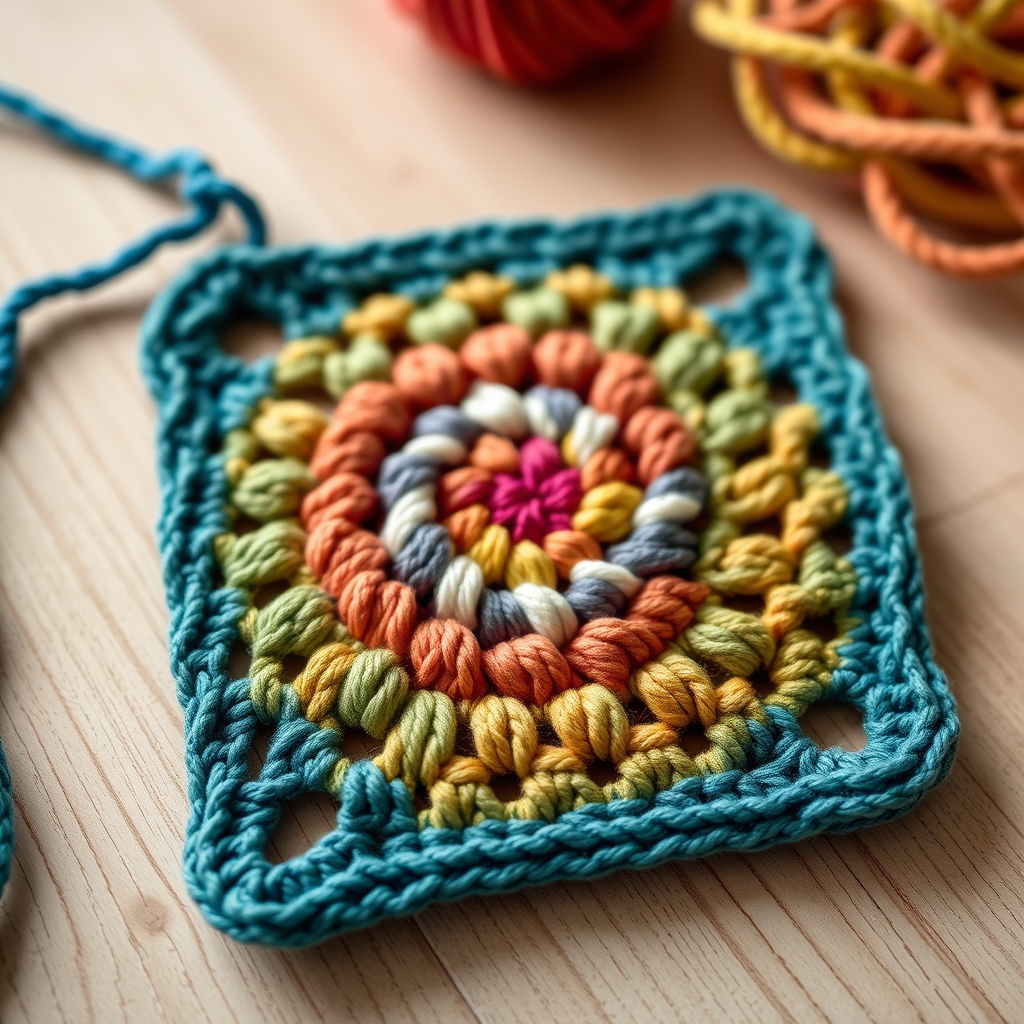
A granny square blanket is a patchwork-style blanket made by crocheting individual granny square motifs and joining them together into a larger piece. Each square is worked in the round from the center outward, typically using double crochet clusters separated by chain spaces. You control the final size by adjusting the number of rounds per square and the total number of squares in your layout.
As an Amazon Associate we earn from qualifying purchases: some supply links in this post are affiliate links, at no extra cost to you.
Tip: Always make a gauge swatch before starting your granny square blanket: this single step saves hours of frustration by ensuring your squares will match the finished dimensions listed in any pattern.
A granny square blanket is one of the most iconic and rewarding crochet projects you can make. Whether you are a complete beginner looking for your first large project or an experienced crocheter wanting a relaxing carry-along make, the granny square delivers stunning results with a straightforward, repetitive stitch pattern that is hard to mess up once you get the hang of it. In this guide, you will find seven granny square blanket layout ideas, plus a size-planning formula, joining methods, color planning, and edging options. These are layout approaches, not seven separate published patterns.
Why Make a Granny Square Blanket?
The granny square blanket has remained popular for decades because it solves several problems that other blanket constructions do not. First, the modular design means you work on one small square at a time, which makes the project incredibly portable. Toss a few squares and a ball of yarn into your bag and you can crochet on the bus, during lunch breaks, or while watching television. Second, granny squares are perfect scrap-busters, every oddment of yarn from previous projects can become part of a beautiful patchwork blanket that traces back through everything you’ve made. Third, the repetitive nature of the stitch pattern is meditative and soothing, making this an ideal project for stress relief.
Compared to a row-by-row crochet blanket, a granny square version offers more creative freedom with color placement. You can plan a strict gradient, a random scrappy layout, a geometric pattern, or a themed colorway, and if you do not like how a particular square looks, you can simply swap it out before assembly without redoing the entire blanket. If you are new to granny squares, start with our beginner granny square guide to master the basic motif before tackling a full blanket.
Granny Square Blanket Size Planning
These are layout calculations, not fixed finished sizes. Measure and block one square first. Before joins and borders, a grid with C columns and R rows of squares measuring s inches will measure C x s by R x s.
For example, blocked 4.5-inch squares produce these grid measurements before joins and borders:
- 5 x 5 grid: 25 squares, 22.5 x 22.5 inches
- 7 x 8 grid: 56 squares, 31.5 x 36 inches
- 10 x 12 grid: 120 squares, 45 x 54 inches
- 11 x 13 grid: 143 squares, 49.5 x 58.5 inches
- 15 x 20 grid: 300 squares, 67.5 x 90 inches
- 20 x 20 grid: 400 squares, 90 x 90 inches
Joins and borders add width, and your actual square size depends on yarn, hook, stitch pattern, and tension. Use your measured square rather than a generic count when planning a blanket.
What Materials Do You Need for a Granny Square Blanket?
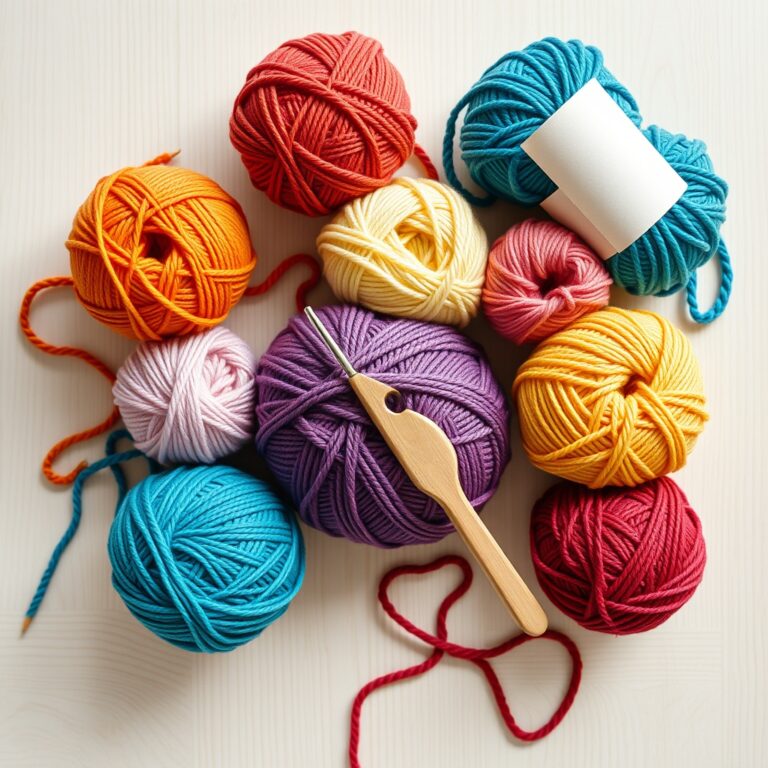
- Yarn: Worsted weight is the standard choice. Acrylic is affordable and machine-washable, cotton gives excellent stitch definition and drape, and wool blends add warmth. Budget 1,500 to 2,000 yards for a throw, 3,000 to 4,000 yards for a twin.
- Hooks: 5.0 mm (H-8) or 5.5 mm (I-9) for worsted weight. If you crochet tightly, go up one hook size so your squares stay supple.
- Stitch markers: Use one at the beginning of every round to keep track of where each round starts and prevent accidental stitch increases or decreases.
- Tapestry needle: Essential for weaving in ends and sewing squares together.
- Blocking mat and T-pins: Blocking transforms lumpy, wavy squares into neat, flat pieces that join cleanly. This step is non-negotiable for a professional-looking granny square blanket.
7 Granny Square Blanket Layout Ideas
Layout 1: Classic Three-Color Granny Square Blanket
This is a classic three-color granny square blanket layout built from a standard square motif. Make traditional three-round granny squares using a consistent color scheme: one color for round one, a second for round two, and a third for round three. Lay out your squares in a grid, alternating the color placement for a checkerboard effect, or arrange them randomly for a scrappy-casual look. For a target near 50 x 60 inches before a border, 4-inch blocked squares need a grid of about 13 columns by 15 rows: 195 squares measuring 52 x 60 inches before joins. Join them using the whip stitch method with a neutral yarn, then add a single crochet border in your round-two color to frame the whole piece. This pattern works beautifully with any granny square pattern base you already know.
Layout 2: Solid Granny Square Blanket
If you prefer a denser, warmer blanket with fewer gaps, the solid granny square is the way to go. Instead of traditional chain-space corners, this variation fills every space with double crochet clusters, producing a square with no holes. The resulting blanket is warmer, more substantial, and has a modern textured look. Use three to five rounds per square and make them slightly larger, about 5 to 6 inches each, so you need fewer total squares for your blanket. Larger squares can reduce the total number you need, but calculate the grid from your own blocked square measurement rather than relying on a generic square count.
Layout 3: Granny Stripe Blanket (Join-As-You-Go)
This clever variation eliminates the seaming step entirely. Instead of making individual squares and joining them later, you work a long strip of connected granny clusters in rows, changing color every two rows to create wide stripes. The result looks like a blanket that was made from one continuous piece of fabric, because it was. Start with a chain the width of your desired blanket, then work rows of three-double-crochet clusters separated by chain-one spaces. Change colors every two rows for bold stripes, or carry multiple colors and switch more frequently for a subtle ombré effect. This is one of the fastest ways to make a large blanket because there is zero assembly time.
Layout 4: Rainbow Granny Square Baby Blanket
A great baby shower gift, this blanket uses every color of the rainbow. Make your squares with a white or cream center round, then use a different color of the rainbow for the second and third rounds. Arrange them in spectral order, red, orange, yellow, green, blue, indigo, violet, across each row. The white center ties all the colors together and keeps the overall look soft and baby-friendly rather than overwhelming. Use the size formula above to choose the grid after measuring your blocked square. Use a DK or light worsted yarn for a lighter, softer drape that is comfortable for little ones.
Layout 5: Monochrome Granny Square Throw
For a sophisticated, modern look that works in any room, make your blanket using shades of a single color. Pick a base hue, navy blue, forest green, or charcoal grey are popular choices, and collect four to five shades ranging from very light to very dark. Assign one shade to each round of your granny square, using the lightest for round one and the darkest for the final round. The subtle tonal variation creates depth and visual interest without the busyness of multiple colors. This pattern is especially striking when made with the solid granny square variation, as the filled stitches enhance the tonal gradient effect.
Layout 6: Granny Square Blanket with Border Designs
Take your blanket to the next level by adding an elaborate border. After joining all your squares, work a round of single crochet around the entire perimeter to even out any uneven edges. Then add two to three decorative border rounds: try a shell stitch border for a feminine, lacy look; a spike stitch border for geometric texture; or a simple reverse single crochet (crab stitch) for a clean, corded edge. The border serves both a decorative and structural purpose, it frames your squares neatly and prevents the edges from stretching or rolling. If you need help with any of these border stitches, our pattern reading guide covers the abbreviations and techniques.
Layout 7: Temperature Granny Square Blanket
The temperature blanket concept translates perfectly to the granny square format. Assign a color to each temperature range in your local climate, blue for below freezing, green for 50 to 65 degrees, yellow for 65 to 80, red for above 80, and so on. Each day (or each week) of the year, make one granny square using the color that matches the temperature. After 365 days, you will have a unique, personalized blanket that is also a weather diary. This long-term project is incredibly satisfying and makes a wonderful conversation piece. Use a consistent neutral color for round one of every square to tie the rainbow together.
How to Join Granny Squares for a Blanket?
Whip Stitch Method
Hold two squares right sides together. Thread a tapestry needle with yarn that matches your squares. Insert the needle under both loops of the last round stitches along the edge and whip stitch across. This is the simplest joining method and produces a flat, nearly invisible seam. Work one pair at a time, joining squares into strips first, then sewing the strips together.
Slip Stitch Crochet Join
Place two squares right sides up, side by side. Insert your hook through both outer loops of adjacent stitches and slip stitch across. This creates a raised decorative seam that adds a textural ridge to your piece. It is faster than whip stitching and does not require a tapestry needle. Choose this method when you want the seam to be a design element rather than invisible.
Join-As-You-Go (JAYG)
The most efficient method: as you work the final round of each new square, connect it to the adjacent completed square using chain spaces and slip stitches. When you reach a corner that lines up with a finished square, chain one, slip stitch into the matching space of the adjacent square, and continue. This eliminates all post-production seaming and produces nearly seamless joins. JAYG does require practice, but it can eliminate a separate seaming stage.
Blocking Your Granny Square Blanket
Blocking is the single most impactful step for achieving a professional result. Before joining your squares, soak each one in lukewarm water with a gentle wool wash for 15 to 20 minutes. Gently squeeze out excess water, never wring or twist. Pin each square to a blocking mat at the exact finished dimensions listed in your pattern, using rust-proof T-pins at each corner and along the edges. Allow to air dry completely, usually 12 to 24 hours. After blocking, your granny square blanket squares will be identically sized, perfectly flat, and ready to join without any waviness or buckling.
Color Planning Tips
- Limit your palette: Even for a scrappy blanket, using 5 to 7 main colors plus a neutral creates a cohesive look. Too many random colors can feel chaotic.
- Use a color wheel: Analogous colors (next to each other on the wheel) create harmony, while complementary colors (opposites) create pop. Triadic schemes (three equidistant colors) are bold but balanced.
- Make a layout plan: Before joining, arrange all your finished squares on a bed or floor and photograph the layout. Live with the arrangement for a day, you may spot a color cluster that needs redistributing.
- Add a unifying element: Use the same yarn for round one of every square, or add a single-color border around the entire granny square blanket, to visually tie everything together.
You Might Also Like
- Crochet Victorian Hooded Shawl: Free Written Pattern
- Corner to Corner Crochet: The Complete Beginner’s Guide
- Granny Square Sweater: 5 Stunning Designs
- How to Block Crochet: Wet, Steam & Spray Blocking Methods
- Crochet Phone Case Patterns: iPhone & Android Pouch Designs
If you enjoyed this guide, you might also love our tutorials on Granny Square Skirt: 13 Modest Ideas + a Free Midi Formula, Granny Square Baby Afghan: 7 Ideas + a Free One-Square Pattern, and Granny Square Afghan: 7 Stunning Blanket Layout Ideas.