Crochet Garland: Festive Ideas for Every Season + a Free Bunting Pattern
Quick Answer
A crochet garland pattern is a fun and easy project that adds a handmade touch to any room or celebration. From delicate flower chains to festive buntings, these versatile decorations work beautifully for mantels, walls, windows, and party setups.
Tip: Use cotton yarn for garlands — it holds its shape well and creates crisp, defined stitches that make each motif stand out.
At a Glance
- Skill level: beginner to intermediate
- Time needed: 3-8 hours per garland
- Best yarn: cotton or cotton-blend for structure
- Hook size: 3.5mm-5.0mm for detailed motifs
Common Mistakes to Quick Fixes
- Inconsistent motif sizes: Always make a gauge swatch and count stitches carefully for each piece
- Tension issues: Keep consistent tension throughout, especially when working long chains
- Wrong yarn weight: Use the same yarn weight for all motifs in a single garland
Mini Glossary
CH (chain), SC (single crochet), DC (double crochet), SL ST (slip stitch), FO (fasten off), MR (magic ring), RS (right side), WS (wrong side)
Featured Free Pattern: Festive Bunting Garland
This is KnotToYarn’s own original pattern — free to use, and you’re welcome to sell what you make from it.
One triangle, repeated, strung on a chain — bunting is the gateway home-decor crochet, and this version has the clean edges and integrated stringing that make it hang straight. Complete pattern below.
Materials
- DK or worsted cotton in 3–5 festive colors, about 12 g per flag
- 4.0 mm (US G) crochet hook
- Yarn needle, scissors
Finished size: Each flag about 11 cm wide x 12 cm tall; a 9-flag garland spans ~2 m
Skill level: Beginner
Abbreviations (US terms): ch (chain), sc (single crochet), dc (double crochet), dec (sc 2 together), sl st (slip stitch), st(s) (stitch/es)
Instructions
The Flag (worked top-down — the decrease makes the point)
Row 1: Ch 21. Sc in the 2nd ch from the hook and each ch across — 20 sc. Ch 1, turn.
Row 2: Dec, sc to the last 2 sts, dec — 18 sts. Ch 1, turn.
Row 3: Sc in each st across. Ch 1, turn.
Repeat Rows 2–3 (decrease row, plain row) until 4 sts remain.
Final rows: Dec twice (2 sts), then sc the last 2 together — the point. Fasten off.
Make flags in your color rotation — odd numbers hang best (7, 9, 11).
Edging Each Flag (optional but sharpening)
Join contrast yarn at a top corner and sc evenly down one diagonal edge, 3 sc at the point, and up the other diagonal. The edging stops the diagonals from curling.
Stringing — the integrated chain method
Ch 20 (the hanging tail). *Sc across the top edge of a flag (20 sc), ch 10;* repeat, joining every flag with a ch-10 gap. After the last flag, ch 20 and fasten off. The flags are strung as you crochet — nothing to thread, nothing to slide around.
Finishing
Weave in the ends (edging colors hide them best). Steam each flag flat — points especially. Hang with the chain tails tied in loops. For holidays: red/green Christmas, pastels for spring, school colors for graduations — the pattern never changes, the yarn does all the talking.
Made this? We’d love to show off your work — send a photo through our contact page and we’ll feature it here with credit to you.
Tip: Flags droop when the top edge stretches. The integrated stringing prevents it, but if you substitute thicker yarn, run the chain THROUGH the flags’ top stitches rather than between them for extra support.
Every crochet garland pattern you create has the power to transform a plain space into something truly special. Whether you are decorating for a birthday party, a holiday gathering, or simply brightening up your living room, a handmade garland adds warmth and personality that store-bought decorations simply cannot match. In this guide, you will discover seven stunning free designs, expert tips on choosing materials, and step-by-step guidance that will help you craft gorgeous garlands with confidence. If you are new to the craft, be sure to check out our guide on how to crochet for beginners before diving into your first crochet garland pattern project.
Why You Will Love Every Crochet Garland Pattern?
There is something deeply satisfying about working on a these garlands from start to finish. These projects are wonderfully portable, so you can work on them during your commute, while watching television, or while relaxing at a park on a sunny afternoon. Unlike large afghans or wearable garments, garlands are compact projects that give you a real sense of accomplishment in just a few hours. Each motif you complete adds to a growing chain of handmade beauty that you will be proud to display as a finished pattern piece.
Beyond the personal satisfaction, a design makes an incredibly thoughtful handmade gift. Imagine gifting a new parent a delicate pastel flower garland for the nursery, or surprising a friend with a seasonal leaf garland for their autumn mantle. These little creations carry a piece of your time and care, which makes them far more meaningful than anything you could purchase at a store. They are also an excellent way to use up leftover yarn from other projects, making each garland both budget-friendly and environmentally conscious.
Garlands are also one of the most versatile decor items you can make. Drape one across a window, hang it along a staircase bannister, wrap it around a door frame, or use it as a table runner for a special occasion. The possibilities are truly endless, and once you master the basics, you will find yourself reaching for a how to read a crochet pattern guide to explore even more creative variations of the garland design for every season and celebration.
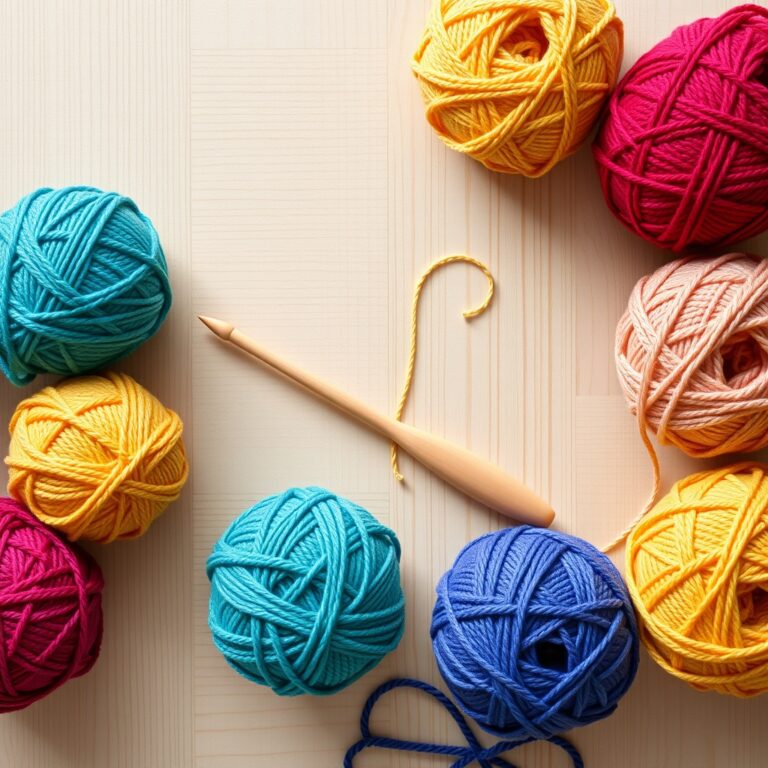
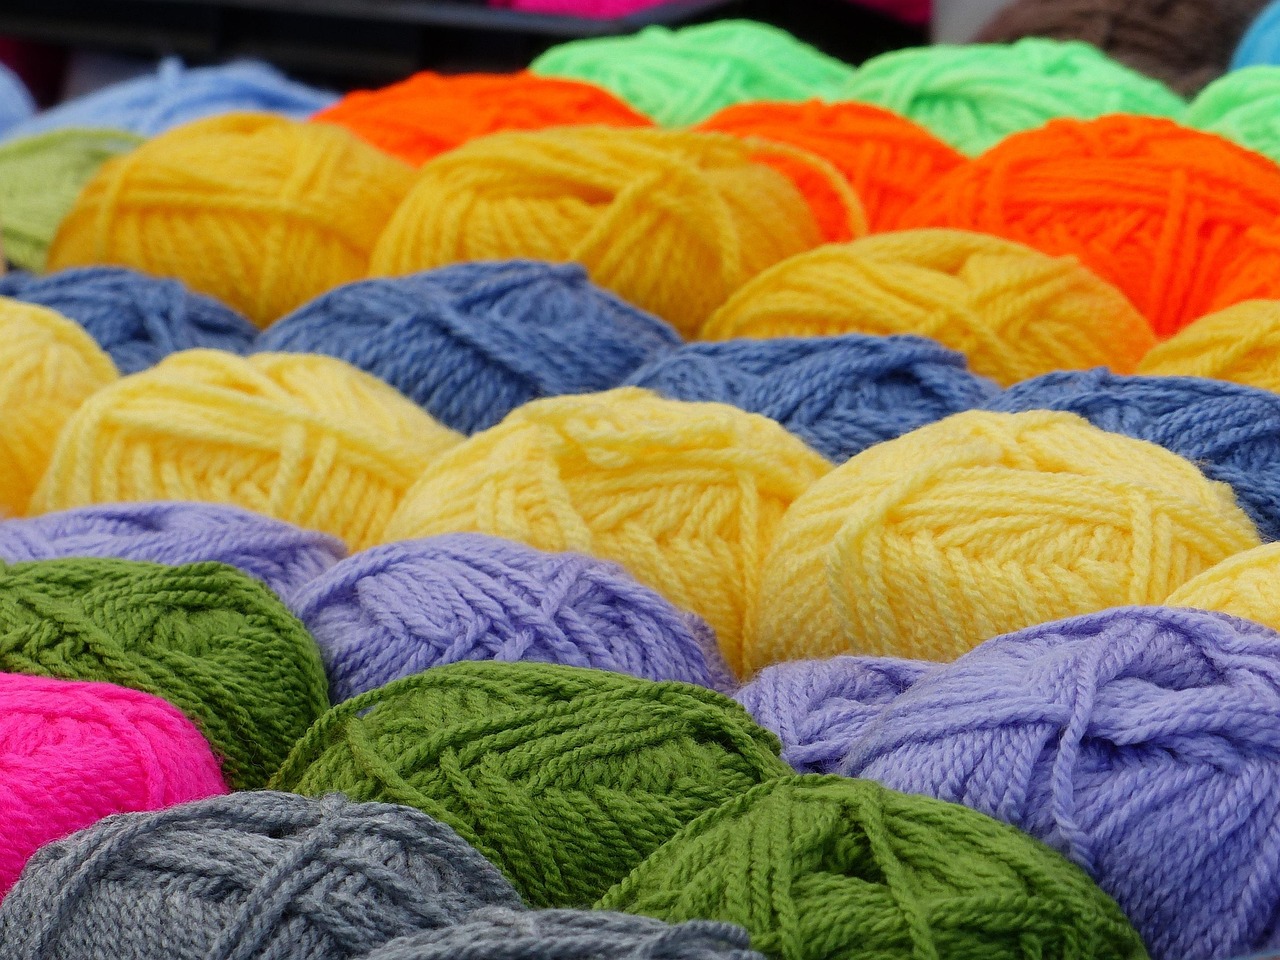
How Do You Choose the Best Yarn for Your Crochet Garland Pattern?
Selecting the right yarn is one of the most important decisions you will make when starting any project. Cotton yarn is widely considered the top choice because it holds its shape beautifully, creates crisp stitch definition, and is easy to care for over time. A medium-weight cotton or cotton-blend yarn works well for most garland designs because it provides enough structure to keep your motifs looking neat while remaining soft enough to drape naturally. If you want recommendations on specific yarn types, our guide to the best yarn for beginner crochet covers excellent beginner-friendly options for your next these garlands.
Acrylic yarn is another popular option, especially if you are working on a budget or need a wide variety of colors. While acrylic does not hold its shape quite as firmly as cotton, it is lightweight, widely available, and comes in virtually every shade imaginable. For outdoor garlands or holiday decorations that may be exposed to moisture, consider using an acrylic or acrylic-blend yarn because it is more water-resistant than natural fibers. The Craft Yarn Council provides helpful resources on yarn weights and fiber types that can guide your pattern material selection process.
Whatever yarn you choose, the most important rule is consistency. Stick with the same yarn weight and fiber type across all motifs within a single design. Mixing yarn weights will result in motifs of different sizes, which creates an uneven finished piece. Keep a small notebook to record the exact yarn brand, color name, and dye lot you used for each garland project so you can easily replicate your favorite garland or purchase more if needed.
7 Stunning Crochet Garland Pattern Designs
Now let us explore seven beautiful designs that showcase the incredible variety of a garland design. Each design uses different techniques and motifs, giving you plenty of room to experiment and develop your skills. Whether you prefer delicate floral aesthetics, rustic charm, or modern minimalism, there is a design here that will inspire your next project. Visit LoveCrafts for even more pattern inspiration from designers around the world.
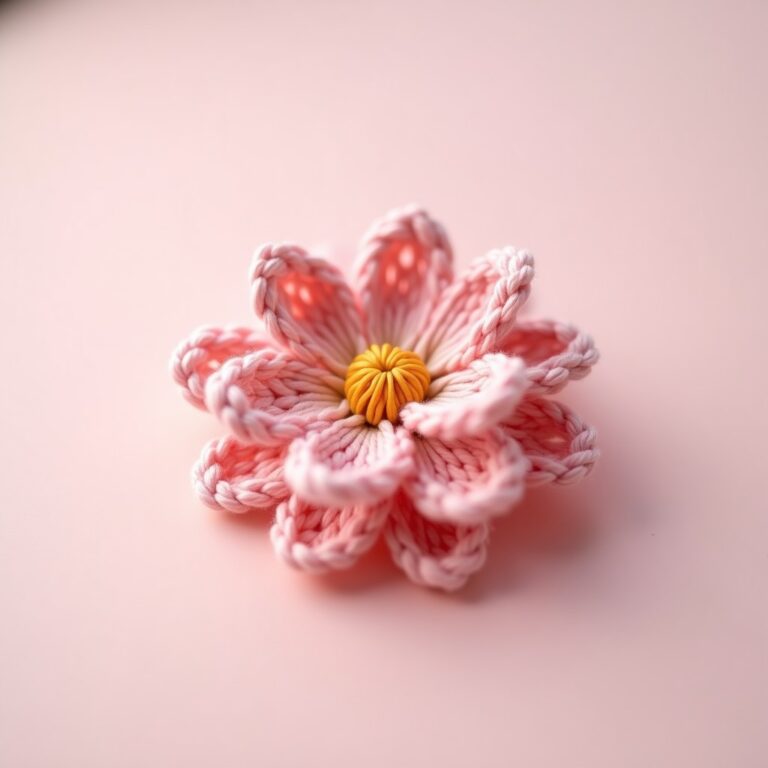
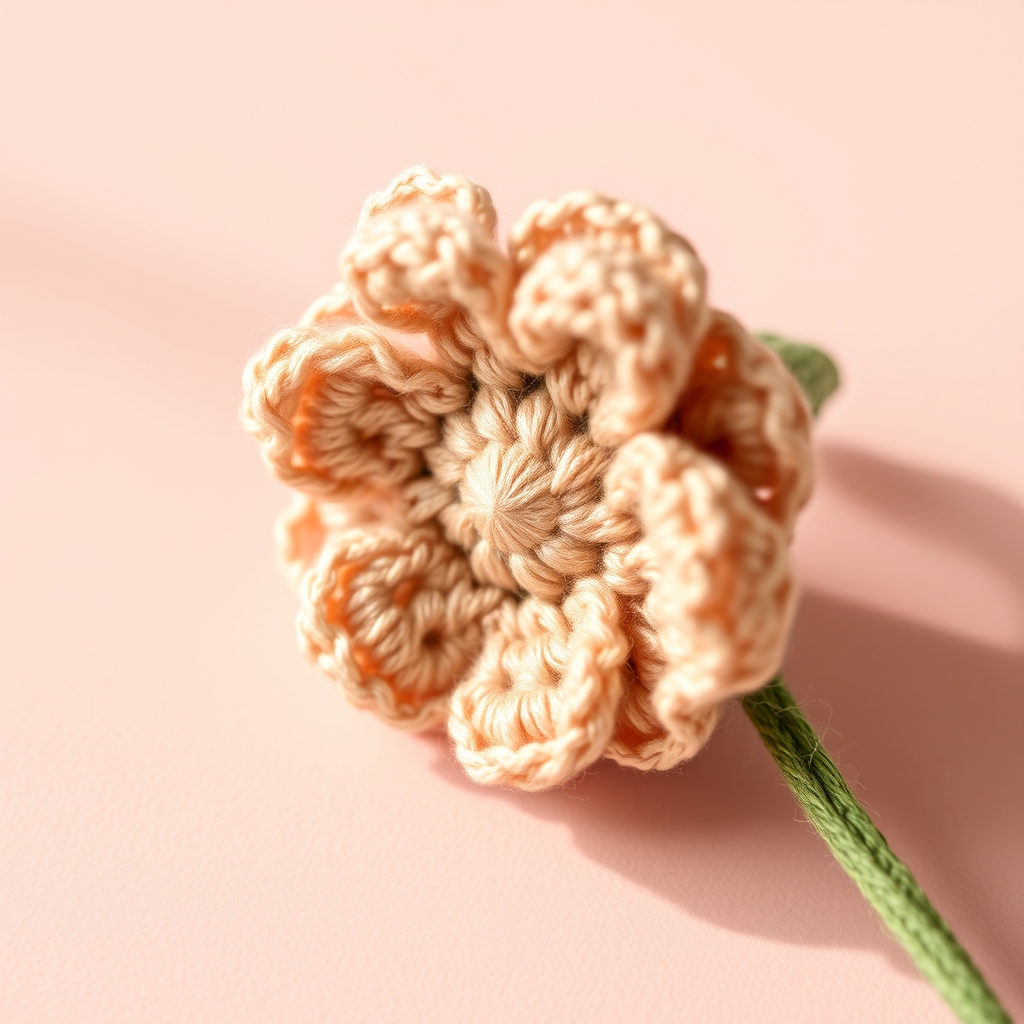
Simple Flower Chain Garland
The simple flower chain is perhaps the most classic project of all time. It consists of small crocheted flowers connected by a chain-stitch cord, creating a whimsical and feminine decoration that works beautifully for spring celebrations, baby showers, and bedroom decor. Each flower typically uses just a few rounds of stitches, making this an ideal project for beginners who want quick results. You can customize the look by using different flower patterns, mixing colors, or varying the spacing between blooms on your these garlands.
To make a flower chain garland, start by creating your individual flower motifs. A basic five-petal flower uses a magic ring, chain stitches, and single crochet stitches to form each petal. Once you have made enough flowers for your desired length, connect them with a long chain between each one. The chain length between flowers determines how full or sparse your garland will look, so experiment with different spacing to find the drape you prefer. For detailed flower instructions, try our easy crochet flower pattern guide to enhance your pattern.
Leaf and Vine Garland
A leaf and vine garland brings a touch of nature indoors and is perfect for autumn decorating, Thanksgiving tablescapes, and woodland-themed nurseries. This design features small leaf motifs worked in green, gold, orange, or brown tones, connected by a thin vine-like cord. The leaves can be made in various shapes, from simple pointed ovals to more detailed maple or oak leaf silhouettes. The beauty of this design lies in its organic, flowing appearance that mimics real foliage growing along a garden trellis.
Each leaf motif is typically worked in a single row or round, starting with a chain and building outward with increases and decreases to create the leaf shape. Some patterns incorporate a center vein using a line of slip stitches or contrasting yarn color for added realism. Connect your leaves by working a long chain or twisted cord and attaching the leaves at regular intervals with slip stitches. This pattern is an excellent way to practice your single crochet stitch technique while producing a stunning garland decor piece.
Granny Square Bunting
The granny square bunting puts a colorful, playful spin on the traditional garland design. Instead of small delicate motifs, this design features miniature granny squares hung at intervals along a long cord, creating a festive bunting effect that is perfect for parties, children’s rooms, and outdoor celebrations. The charm of this design comes from the endless color combinations you can create with granny squares, from bold rainbow palettes to soft pastel arrangements. Our granny square pattern guide is a great starting point if you need to brush up on the basics.
For a standard bunting length of about six feet, you will need approximately twenty to thirty mini granny squares measuring two to three inches across. Use a smaller hook size than you normally would for a blanket to keep the squares neat and compact. Once all your squares are complete, attach them to a long chain cord by threading the cord through the top corners of each square. Space the squares evenly for a polished look, and add small tassels or pom-poms at the ends for extra flair. This is one of the most customizable designs in any project collection.
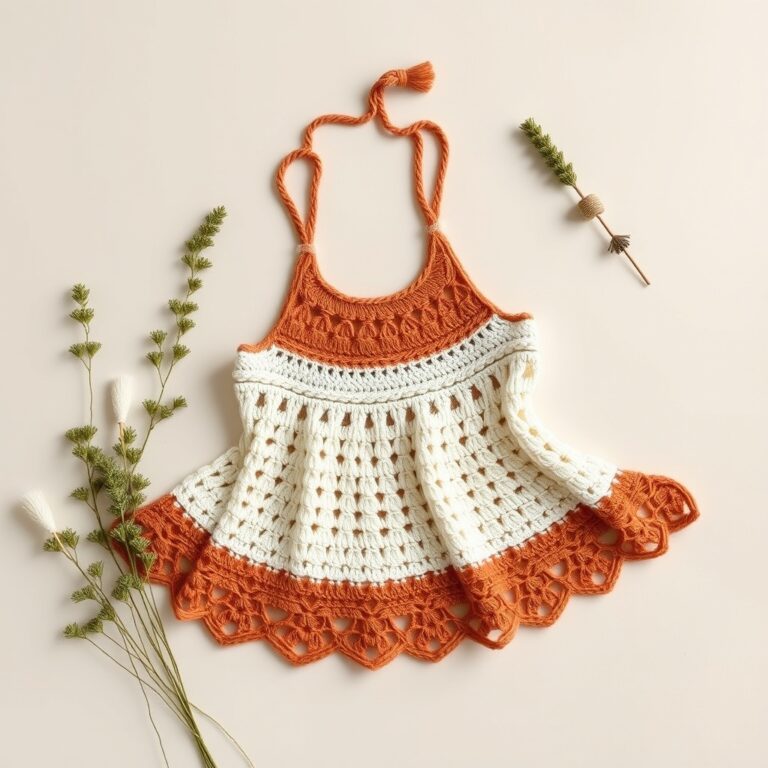
Crochet Flag Banner
A crochet flag banner is the ultimate party decoration and one of the most versatile options in any these garlands collection. This design features small triangular or pennant-shaped flags worked in colorful yarn and strung along a cord, much like traditional fabric bunting. The flags can be worked in solid colors, stripes, or even feature simple stitched motifs like stars, hearts, or letters to spell out a name or message. This makes the flag banner an especially popular pattern for birthday parties, weddings, and baby announcements.
Each flag is typically worked flat in rows, starting with a few chain stitches and increasing on one side to form the triangular shape. Once you reach the desired width, you decrease back down to a point, creating a clean pennant shape. The process is straightforward and repetitive, making it easy to produce multiple flags quickly while watching your favorite show or listening to an audiobook. Attach each completed flag to a long cord using slip stitches, spacing them evenly for a balanced, professional-looking design result.
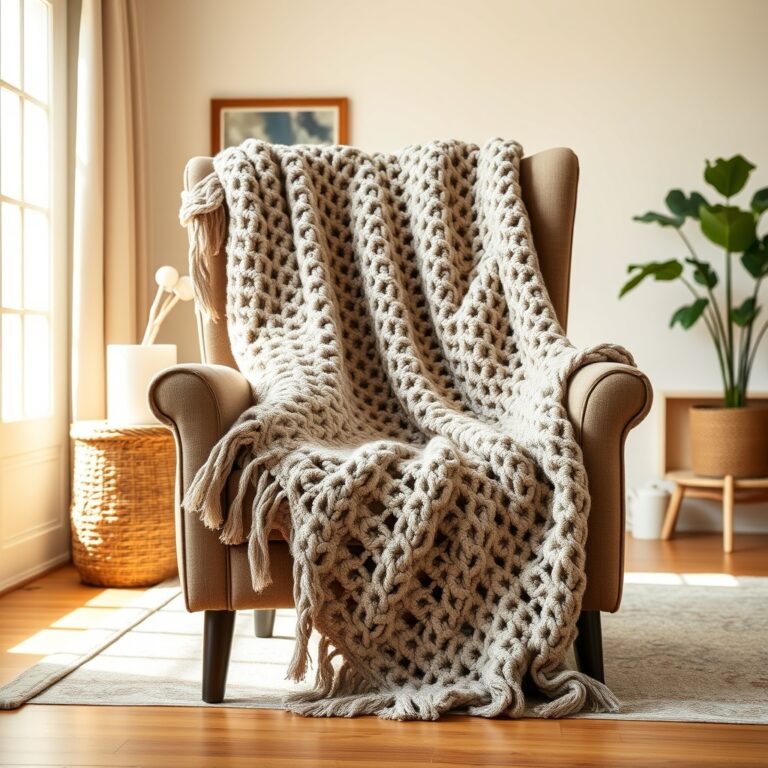
Shell Stitch Ribbon Garland
The shell stitch ribbon garland is an elegant, continuous garland that requires no individual motifs at all. Instead, this design is worked as one long piece using the beautiful shell stitch, which creates a scalloped, ribbon-like appearance that drapes gracefully. This is a wonderful choice for weddings, holiday mantels, and romantic bedroom decor because of its delicate, lacy aesthetic. The continuous nature of this garland design means there are no ends to weave in between motifs, which many crocheters find incredibly satisfying.
To create a shell stitch ribbon garland, chain your desired length plus a few extra stitches, then work rows of shell stitches across the entire width. A basic shell consists of multiple double crochet stitches worked into a single stitch or space, creating a fan shape. Vary the number of double crochet stitches in each shell to change the depth and drama of the scallops. Working in a finer yarn with a smaller hook produces a more delicate, lace-like result, while a thicker yarn creates bold, chunky ruffles that make a statement in any project display.
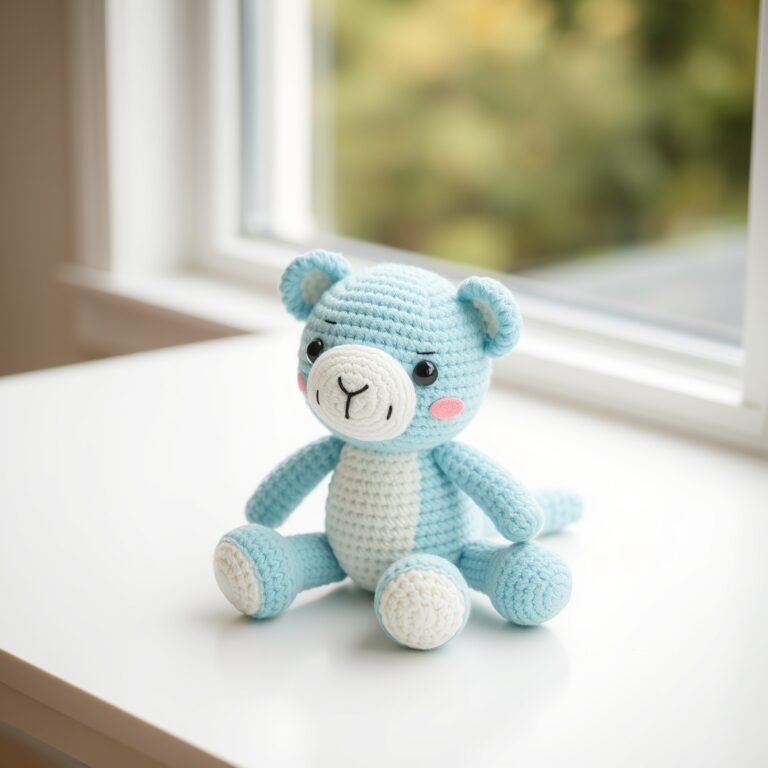
Mini Amigurumi Garland
A mini amigurumi garland takes the classic these garlands in a playful new direction by incorporating tiny stuffed motifs. Imagine a garland adorned with miniature mushrooms, strawberries, stars, hearts, or tiny animals hanging at intervals along a cord. This whimsical pattern is perfect for children’s nurseries, holiday decorations, and anyone who loves kawaii-style crafts. While amigurumi techniques are slightly more advanced, the small size of the motifs means each one is quick to complete, making this a very approachable project for ambitious beginners.
Each amigurumi motif is typically worked in the round using single crochet stitches, with simple increases and decreases to create three-dimensional shapes. The motifs are stuffed with a small amount of fiberfill before closing, giving them a puffy, dimensional quality that flat garlands lack. Because each motif is tiny, usually measuring just one to two inches, you can complete several in a single sitting. Connect them to a cord by threading the cord through the top of each stuffed piece, or attach them with small chain loops worked directly into the design motif before closing.
Lace and Bead Garland
The lace and bead garland is the most sophisticated and refined garland on this list, perfect for elegant weddings, anniversary celebrations, and formal dining table decor. This design combines delicate crochet lace motifs with glass or wooden beads threaded along the connecting cord, creating a piece that looks like it belongs in a high-end boutique. The interplay between the soft yarn and the hard beads adds visual interest and textural contrast that elevates the entire garland design design.
To create this garland, work small lace motifs such as picot circles, snowflakes, or geometric shapes using a fine cotton thread and a small hook. Thread your beads onto the yarn or cord before you begin crocheting, pushing them along as you work and positioning them between motifs. The beads add weight to the garland, helping it drape beautifully without curling or twisting. Choose beads that complement your yarn color palette, or go with clear glass beads for a subtle, sparkling effect that catches the light and makes your project truly shine.
Essential Tips for Perfect Garland Results
Getting professional-looking results from any these garlands requires attention to a few key details that many beginners overlook. First and foremost, always make a gauge swatch before starting your project, especially if you are making multiple motifs that need to be uniform in size. Even a slight difference in tension can result in motifs that are noticeably different sizes, which will make your finished garland look uneven. Take the time to measure your first few motifs and adjust your hook size if necessary to maintain consistency throughout your entire pattern.
Blocking is another essential step that many crocheters skip, but it makes a tremendous difference in the final appearance of your garland. After completing each motif, gently wash and pin it to a blocking mat, shaping it into the correct form and allowing it to dry completely. This process evens out your stitches, opens up lace patterns, and ensures that every motif lies flat and looks polished. For flower petals and leaves, pin the edges into smooth curves; for granny squares, pin each corner at a perfect right angle. The extra effort is absolutely worth it when you see the beautifully uniform results of your design.
Pay attention to your yarn tails and weaving them in securely, especially for garlands that will be handled frequently or displayed outdoors. Unlike a blanket that stays folded on a couch, a garland is often hung, draped, and moved, which puts stress on the connection points between motifs. Weave each tail in through at least two inches of stitches in different directions to prevent loosening over time. Using a tapestry needle with a blunt tip makes this task easier and helps you avoid splitting the yarn fibers as you complete your garland.
How to Display Your Crochet Garland?
One of the best things about completing a garland design is deciding how and where to display your finished creation. The right display can elevate even the simplest garland into a stunning focal point of any room. Mantels are the most popular spot because they provide a wide, visible surface where the garland can drape naturally. Simply drape your finished piece across the mantel, allowing it to swoop gently in the center, and tuck the ends behind decorative objects like candles, frames, or vases to keep them in place.
Walls and staircases offer another beautiful display option for your project. Use decorative command hooks or small nails to hang your garland in a swag pattern along a wall, or drape it along a staircase bannister for a cozy, welcoming feel. For children’s rooms and nurseries, consider hanging the garland above a crib or bed, making sure it is securely fastened and placed well out of reach. Windows are also a wonderful choice, especially for lace and flower garlands that look magical when backlit by natural sunlight streaming through the glass.
For special events and celebrations, garlands can be used as table runners, chair decorations, or photo booth backdrops. Layer two or three garlands in complementary colors for a lush, abundant look, or combine different garland styles for visual interest. A flower chain paired with a leaf and vine garland, for example, creates a breathtaking garden effect. Do not be afraid to experiment with different arrangements until you find the perfect display for your favorite these garlands and living space.
Frequently Asked Questions
How long does it take to make a crochet garland?
The time needed to complete a pattern varies depending on the design complexity, motif size, and your personal skill level. A simple chain-and-flower garland can be finished in as little as three to four hours, while more intricate designs like lace and bead garlands may take six to eight hours or more. If you are working with tiny amigurumi motifs, plan for about five to ten minutes per piece plus additional time for stuffing and assembly. Breaking the project into manageable sessions of thirty to sixty minutes makes even longer garlands feel approachable and enjoyable.
What is the best yarn for a crochet garland?
Cotton yarn is generally considered the best choice for any design because of its excellent stitch definition, durability, and ability to hold shape over time. Mercerized cotton, in particular, has a slight sheen that gives finished motifs a polished, professional appearance. Cotton-blend yarns that include a small percentage of acrylic or bamboo can also work beautifully and may be easier on your hands during long crocheting sessions. For a complete overview of suitable materials, consult the Craft Yarn Council standards for yarn weight categories and recommended uses.
Can I wash my crochet garland?
Yes, most garlands can be washed safely with proper care. Cotton and acrylic garlands are the most wash-friendly and can be gently hand-washed in cool water with a mild detergent. Avoid wringing or twisting the garland, as this can distort the shape of your motifs. Instead, press the water out gently between clean towels and lay the garland flat on a towel to dry, reshaping any motifs as needed. For garlands with beads or delicate lace elements, spot clean only to avoid damaging the beads or stretching the fine stitches of your garland. Always check the yarn label for specific care instructions.
How do I hang a crochet garland?
There are several methods for hanging your finished garland design, depending on where you plan to display it. Clear command hooks are an excellent choice for walls and mantels because they do not damage surfaces and can be easily repositioned. For draping over mirrors or door frames, simply loop the garland over the top edge without any hardware. If you are hanging the garland outdoors or in a high-traffic area, use small nails or cup hooks for a more secure attachment. For staircases, wrap the garland around the bannister posts at regular intervals, securing with small loops of yarn or clear zip ties hidden behind the motifs.
How many motifs do I need for a garland?
The number of motifs you need for your project depends on the desired length and the spacing between each motif. As a general rule, plan for one motif every three to five inches along the cord for a full, lush appearance, or every six to eight inches for a more sparse, delicate look. For a standard six-foot mantel garland with motifs spaced four inches apart, you will need approximately eighteen to twenty motifs. Always make two or three extra motifs beyond your estimate to account for any that do not turn out perfectly or to replace any that get damaged over time during storage or display.
You Might Also Like
- Flower Granny Square Pattern: 7 Free Designs for Colorful Projects
- Crochet Granny Square Patterns: 7 Free Designs You Can Make Today
- How to Weave in Ends in Crochet: 7 Essential Proven Tips
- Crochet Jellyfish Pattern: 7 Stunning Amigurumi Designs
- Crochet Poncho: 7 Stunning Free Patterns for Beginners