9 Easy Steps: Tulip Granny Square Crochet Pattern
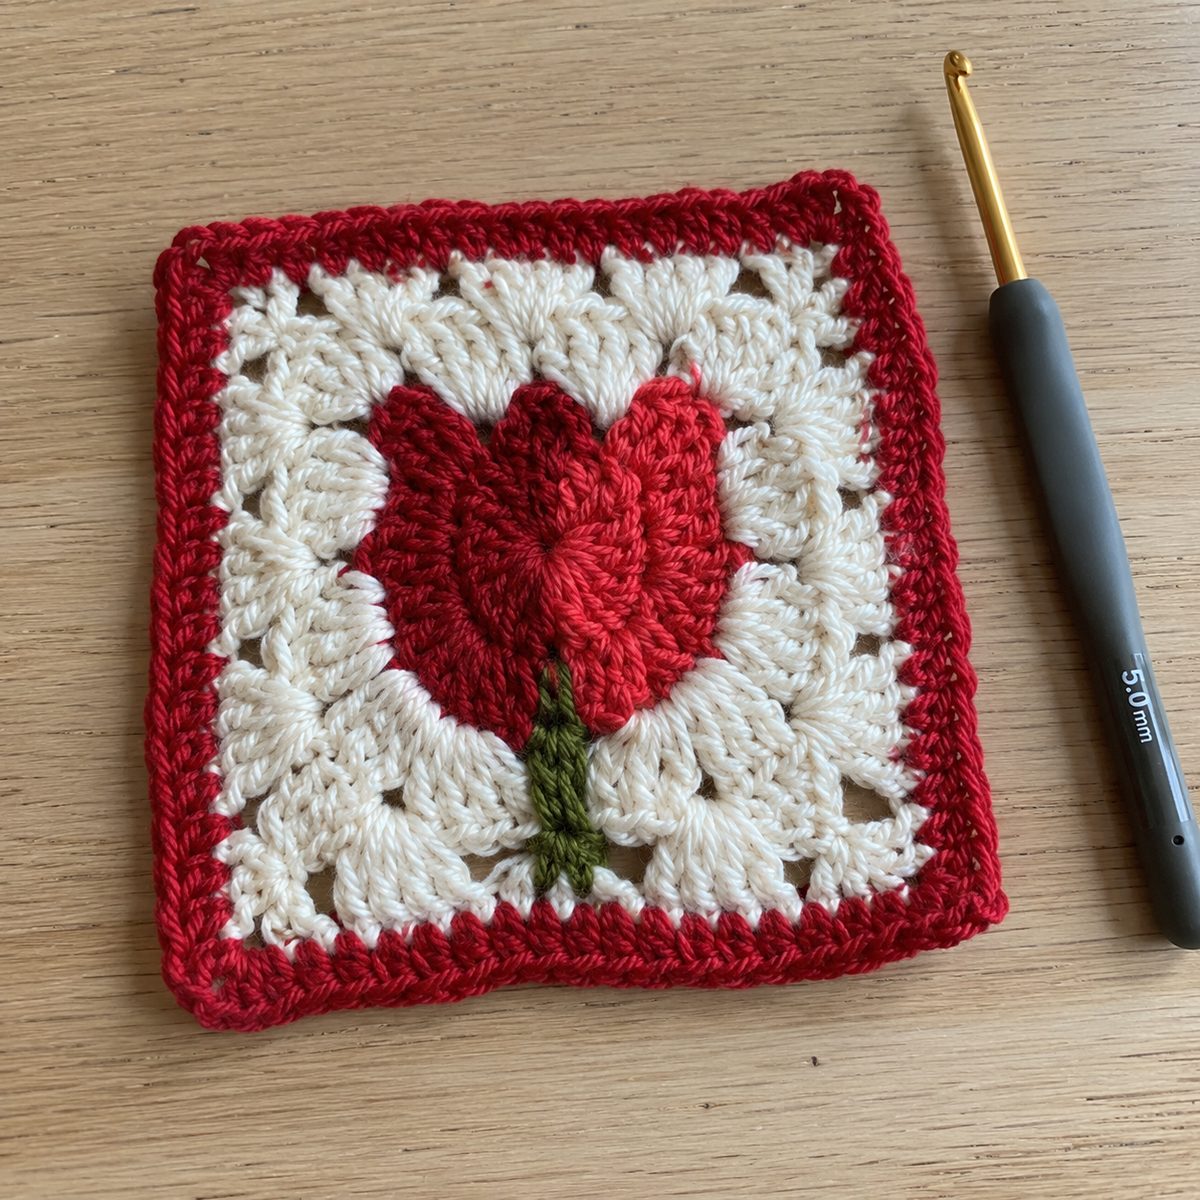
A tulip granny square sets a dimensional crocheted tulip, complete with bloom, stem, and leaves, on a classic granny square background. It uses three colors and a few intermediate techniques (the third loop, picots) and finishes at about 4.5 inches, good for spring blankets, pillows, and tote bags. You make the tulip and the square separately, then sew them together at the end.
As an Amazon Associate we earn from qualifying purchases: some supply links in this post are affiliate links, at no extra cost to you.
Tip: block the square before you assemble anything. It helps the background lie flat and makes the 3D petals stand out more.
More Granny Squares to Try
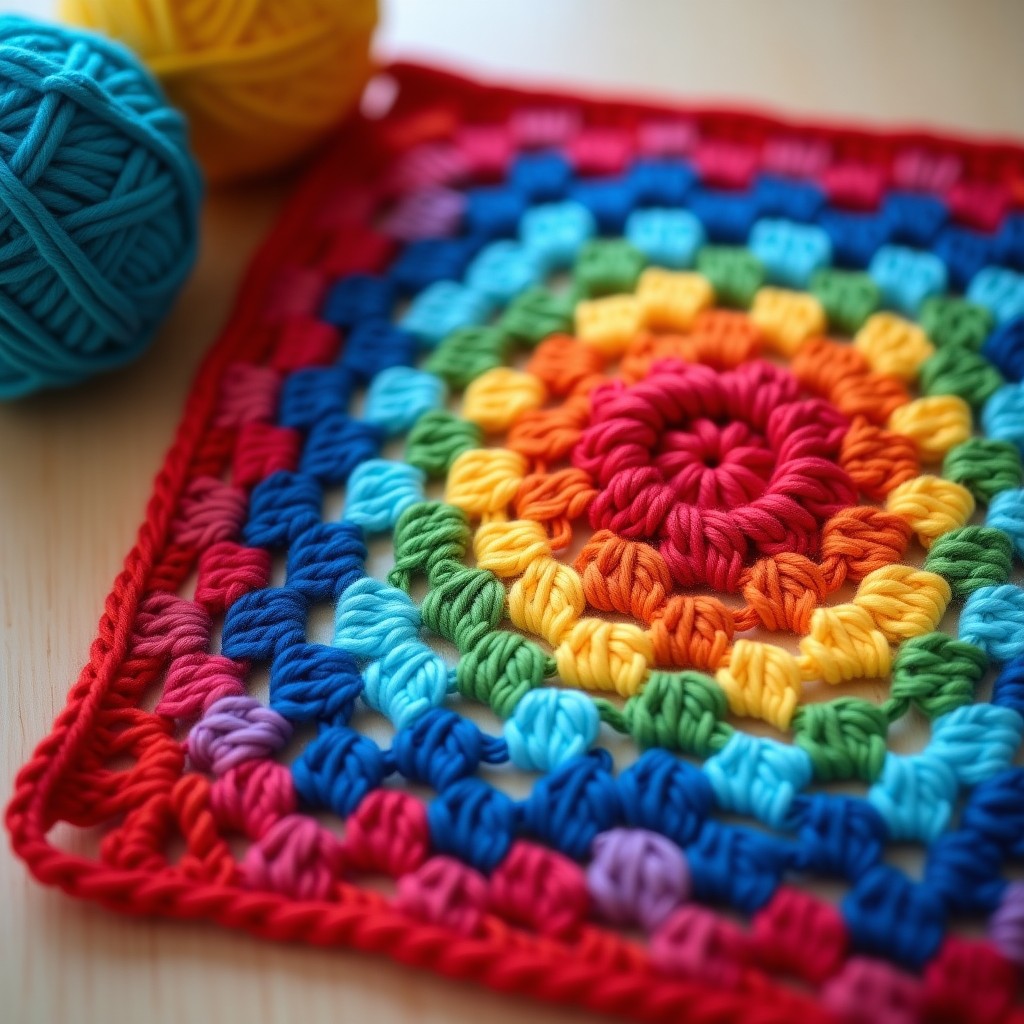
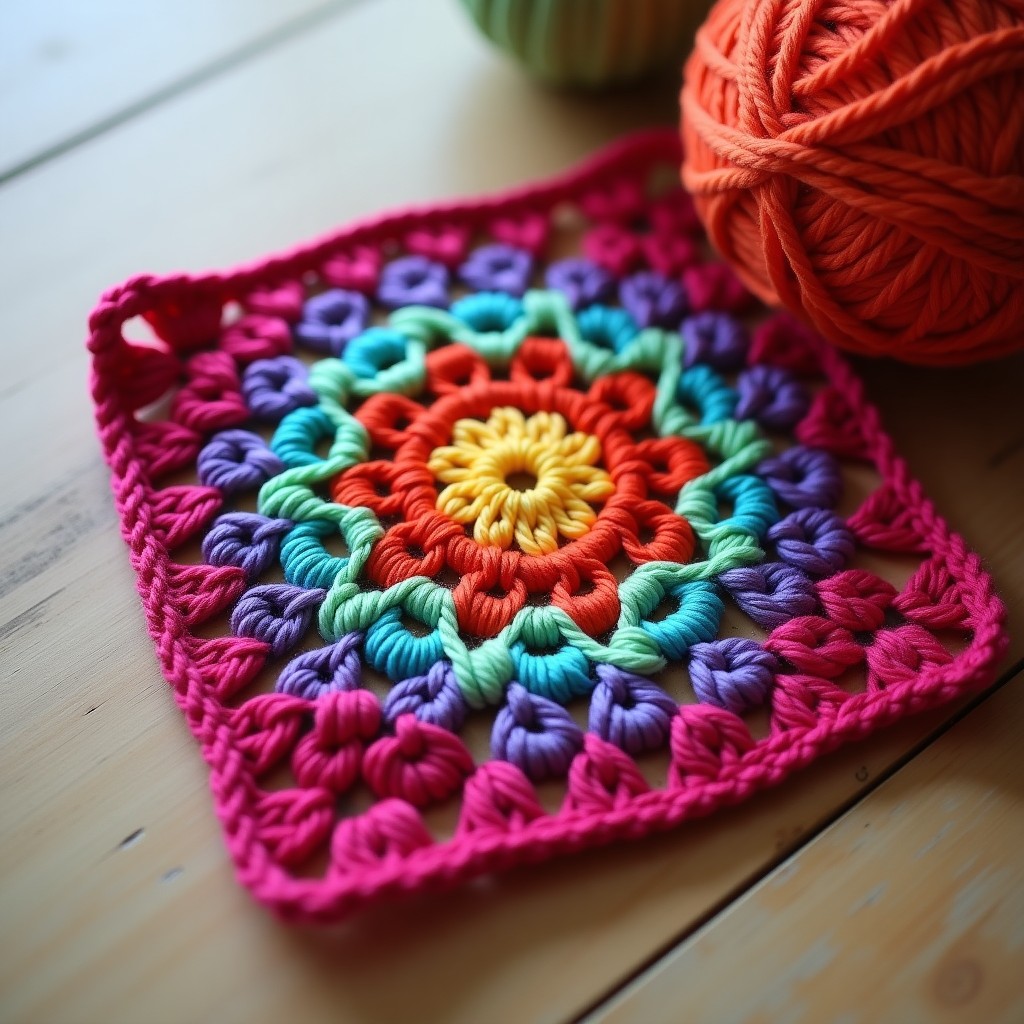
If you want a project that feels like spring, this is it: a bold tulip bloom on a curved stem with two leaves, set against a soft cream background. It works on a blanket, a pillow cover, or a market bag, adding a little garden touch to whatever you make.
It’s written for intermediate crocheters who are comfortable with the basics and ready to try the third loop, front loop only, and back loop only. The finished square comes out to about 4.33 inches (call it a 4.5-inch block), and every round is spelled out so you won’t get lost.
Materials for Your Tulip Granny Square
Before you start, gather your supplies. You’ll use three yarn colors: one for the bloom, one for the stem and leaves, one for the background. Worsted weight (category 4) is ideal since it gives the flower structure while keeping the background soft.
- Yarn: 3 colors of worsted weight (4) yarn, approximately 15 yards of each color for one square
- Crochet hook: 5.0 mm (H-8) or the size that gives you the correct gauge
- Darning needle: for weaving in ends and assembling the tulip motif to the background
- Scissors: for cutting yarn between color changes
It looks best in tulip-garden colors: red or deep pink for the bloom, sage or olive for the stem and leaves, cream or white for the background. Our best yarn for beginners guide can help you choose.
Tulip Granny Square Color Ideas
The colors are easy to change. The original uses deep red on cream (very Dutch tulip field), but a few swaps take it to any season or occasion.
- Spring garden: soft pink bloom, bright green stem and leaves, cream background
- Sunset warmth: golden yellow bloom, burnt orange stem and leaves, dusty rose background
- Cool tones: lavender bloom, dusty blue stem and leaves, soft gray background
- Cottage charm: coral bloom, olive green stem and leaves, natural ecru background
Each square uses only about 15 yards per color, so it’s a great stash-buster. New to combining colors? Our beginner patterns guide has a section on color basics.
Gauge and Sizing
Worked in worsted weight on a 5.0 mm hook, the finished square is about 4.33 inches (11 cm) per side. Gauge isn’t critical for a decorative square, but if you want them to match in a bigger project, make a quick swatch first. Too big, size down the hook; too small, size up.
Remember the 3D flower adds some height on top of the background, so account for that little bump when you join squares into a blanket. For more on sizing and tension, see our tension guide.
Abbreviations (US Terms)
The pattern uses standard US abbreviations. Our abbreviations guide explains any that are new.
- ch: chain stitch
- dc: double crochet
- sc: single crochet
- hdc: half double crochet
- sl st: slip stitch
- ch-sp: chain space
- BLO: back loop only
- FLO: front loop only
- inc: increase (2 stitches in 1 stitch)
- dec: decrease (2 stitches worked together)
- pic: picot stitch
How to Crochet a Tulip Granny Square Step by Step
Here’s the plan: tulip bloom first, then stem and leaves, then the granny background separately, and finally assembly. Take each round slowly, and zoom in on the photos if a stitch is hard to see.
Part 1: The Tulip Flower Bloom
The bloom is the centerpiece. It’s worked flat as a curved petal with chains plus increases and decreases: back loop only on round 1, flip to the wrong side for round 2, then the third loop for shaping on round 3. You end up with a soft teardrop petal that reads like a real tulip.
Round 1
Chain 10. Working in the back loop only, starting from the 9th chain from your hook to the first chain: slip stitch, half double crochet increase, double crochet increase, double crochet, double crochet, double crochet decrease, half double crochet decrease.
Round 2
Flip your workpiece to the wrong side. Working in the front loop only, chain 1 (counts as single crochet), then single crochet in the next 5 stitches.
Round 3
Flip the workpiece back to the right side. Chain 4. Starting from the 3rd chain to the 1st chain, working in the third loop only: single crochet, (single crochet and half double crochet) decrease; half double crochet plus double crochet in the next stitch, double crochet in the next 4 stitches, half double crochet increase, then slip stitch in the next 9 stitches along the other half of the petal. Fasten off.
Part 2: The Stem
Next, a simple stem below the bloom. It’s chained and worked in slip stitches through the third loop, which makes a thin raised cord, a clean line between flower and leaves.
Join a new yarn at the base of the flower. Chain 10, then working in the third loops only, slip stitch in the third loop of each chain from the 9th chain to the 1st chain. Fasten off.
Part 3: The Leaves
Two leaves branch off the stem: a left one with a pointed picot tip and a slightly wider right one. Both use back-loop and front-loop work on opposite sides of a chain foundation for an elongated leaf shape, and the left adds a chain-2 picot at the tip.
Left Leaf
Chain 10. Working in the back loop only: single crochet in each back loop from the 9th chain to the 2nd chain, then (single crochet plus half double crochet plus double crochet) in the back loop of the 1st chain. Working in the front loop only: from the 1st chain, double crochet increase, (double crochet plus half double crochet), 2 half double crochet, (half double crochet plus single crochet), 2 single crochet, slip stitch in the next 2 front loops. Chain 2 to create a picot stitch, slip stitch to complete the picot, then slip stitch to the 10th chain. Fasten off.
Right Leaf
Chain 10. Working in the back loop only: from the 9th chain to the 1st chain, slip stitch, single crochet increase, half double crochet, 5 double crochet, (double crochet plus half double crochet plus 2 single crochet). Working in the front loop only: from the 1st chain to the 9th chain, 8 single crochet, slip stitch to the next front loop. Fasten off.
Part 4: Granny Square Background
The background is a classic 5-round granny square (double crochet clusters with chain-3 corners), started from a magic loop so the center closes with no hole. New to the magic loop? Our magic circle guide walks through it.
Round 1
Magic loop. Chain 3 (counts as first double crochet), 3 double crochet in the loop, chain 3. Repeat [4 double crochet, chain 3] three more times. Slip stitch to the top of the first chain 3. Pull the magic loop tail tightly to close the center.
Round 2
Chain 3 (counts as first double crochet), 3 double crochet. In the next corner space: 2 double crochet, chain 3, 2 double crochet. Repeat [4 double crochet, 2 double crochet in next corner, chain 3, 2 double crochet in corner] three more times. Slip stitch to the top of the first chain 3.
Round 3
Chain 3 (counts as first double crochet), 5 double crochet. In the next corner space: 2 double crochet, chain 3, 2 double crochet. Then 2 double crochet. Repeat [6 double crochet, 2 double crochet in corner, chain 3, 2 double crochet in corner, 2 double crochet] three more times. Slip stitch to the top of the first chain 3.
Round 4
Chain 3 (counts as first double crochet), 7 double crochet. In the next corner space: 2 double crochet, chain 3, 2 double crochet. Then 4 double crochet. Repeat [8 double crochet, 2 double crochet in corner, chain 3, 2 double crochet in corner, 4 double crochet] three more times. Slip stitch to the top of the first chain 3.
Round 5
Chain 3 (counts as first double crochet), 9 double crochet. In the next corner space: 2 double crochet, chain 3, 2 double crochet. Then 6 double crochet. Repeat [10 double crochet, 2 double crochet in corner, chain 3, 2 double crochet in corner, 6 double crochet] three more times. Slip stitch to the top of the first chain 3. Fasten off.
Part 5: Assembling Your Tulip Granny Square
Last, attach the tulip. Lay the flower, stem, and leaves on the center of the finished square and sew each piece down with your needle and matching tails. A few extra stitches at the stem base and along the leaves keep things from flopping. Then weave in the remaining tails on the back.
5 Pro Tips for a Perfect Tulip Granny Square
A few things to help it come out clean, even if it’s your first 3D motif on a square:
1. Keep consistent tension throughout the flower. The tulip petal uses increases and decreases to create its curved shape, so varying tension will make the petal look lopsided. Practice the stitch pattern on a small swatch first if you are unsure about your tension. Our guide on how to fix crochet tension covers common issues and solutions in detail.
2. Use stitch markers for round starts. With multiple color changes and sections (flower, stem, leaves, background), it is easy to lose your place. Place a stitch marker at the beginning of each new section so you always know where you left off.
3. Block both pieces before assembling. Blocking the granny square background flat and gently shaping the flower petals makes a huge difference in the final look. Spray blocking with a little water and pins works well for cotton and acrylic blends.
4. Weave ends as you go. This pattern has many color changes, which means lots of yarn tails. Instead of leaving them all for the end, weave in your ends as you finish each section. It saves time and keeps your work area tidy.
5. Make a test square first. If you are planning a large project like a blanket with multiple tulip granny squares, make one complete test square first. Check the gauge, make sure you are happy with the colors, and confirm the size matches your other squares. For a refresher on reading patterns, see our how to read a crochet pattern guide.
Project Ideas for Your Tulip Granny Square
Once you’ve got the square down, there’s a lot you can do with it:
Spring-themed blanket: Make 20 to 30 tulip granny squares in alternating color schemes and join them with a simple single crochet border. Add a cream or sage green border around the entire blanket for a polished finish. This makes a wonderful baby blanket or throw for a living room.
Decorative pillow covers: Four tulip granny squares sewn together create a 17-inch pillow front that is absolutely stunning. Add a solid granny square back and a zipper or button closure for easy washing.
Market tote bag: Line a set of joined tulip granny squares with fabric and attach handles for a reusable grocery bag that turns heads at the farmer’s market. The granny square structure provides natural stiffness, so the bag holds its shape well.
Table runner or placemats: A row of 5 to 7 tulip granny squares joined end-to-end makes a charming spring table runner. Individual squares also work as decorative placemats for a garden party or brunch setting.
For more project inspiration, browse our collection of granny square patterns and solid granny square designs that pair beautifully with floral motifs like this one.
Frequently Asked Questions
Is the tulip granny square suitable for beginners?
It’s rated intermediate because of the third-loop, front-loop, and back-loop work. But if you’re a confident beginner who’s done a few basic granny squares and is comfortable with double crochet, you can manage it. Take it one section at a time, no rushing, with the step photos guiding each round.
How many tulip granny squares do I need for a blanket?
For a throw around 50 by 60 inches, you’d need roughly 120 to 144 squares depending on border and join. At 45 to 60 minutes each, it’s a longer project. A baby blanket (30 by 40 inches) needs about 45 to 60, much more doable for a first one.
Can I use a different flower instead of a tulip?
The background is a standard 5-round granny square, so you can swap the tulip for any flower applique: rose, daisy, sunflower all work. Just keep the substitute about the same size (2.5 to 3 inches) so it fits the center. Our easy flower pattern is a simpler swap.
What yarn weight is best for a tulip granny square?
Worsted weight (category 4) is best: enough structure for the 3D flower, soft enough for the background. DK (category 3) works for a smaller, daintier square; just use a 4.0 mm hook. Skip bulky, it makes the flower details look chunky.
How do I join tulip granny squares together?
The two most popular joins here are the flat single crochet join (a visible textured ridge) and the whip stitch (nearly invisible). Both hold up to washing and use, so pick whichever look you prefer.
If you love themed motifs, our skull granny square pattern is another fun design to try. For animal lovers, our cat granny square pattern makes a purrfect companion piece. You might also enjoy the intricate details in our folk flower medallion granny square.
Wrapping Up Your Tulip Granny Square
Nice work finishing your tulip square. It’s a great way to practice intermediate techniques and end up with something genuinely pretty. A 3D flower on a classic background always looks more involved than it actually was.
And if your first one isn’t perfect, that’s normal. Every square gets easier. For standards and guidelines, the Craft Yarn Council is a solid reference, and you can browse more ideas on Yarnspirations and LoveCrafts.