Granny Square Tutorial: 7 Easy Steps for Beginners
If you are following this granny square tutorial, you already know that practice makes perfect. This granny square tutorial covers everything from the first loop to joining squares.
This granny square tutorial will help you master joining techniques that make your projects look professional. Joining with a contrasting color for a pop of design. If your granny squares are all the same color or similar shades, joining them with a contrasting color creates a striking geometric grid that adds visual interest. For example, pastel squares joined with white create a clean, modern look. Bold-colored squares joined with black create a dramatic stained-glass effect. The joining round becomes part of the design rather than just a construction step.
What Is Granny Square Size Consistency Tips?
One of the most common frustrations when making a granny square blanket or project is that the squares end up different sizes. Even a difference of half an inch between squares can create visible waves or puckering when you join them together. Here are proven techniques for keeping your squares consistent.
Count your stitches every round. The most common reason for inconsistent sizing is accidentally adding or skipping stitches. After completing each round, take five seconds to count your stitches. Every round of a standard granny square should have the same number of clusters and the same number of chains between them. If your count is off, undo that round and redo it. It is much faster to fix one round than to discover the problem after completing the entire square.
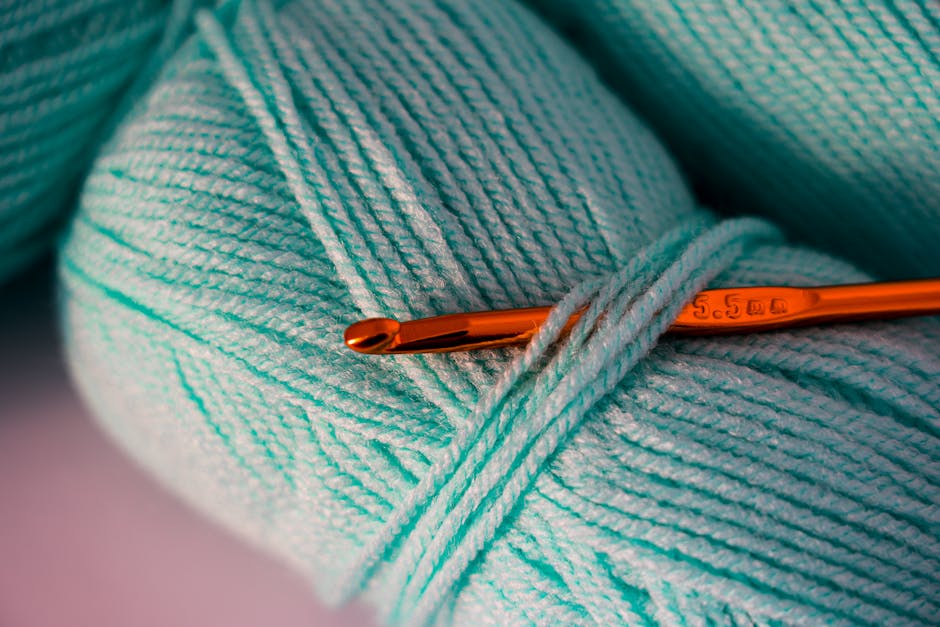
Use the same hook for every square. Even a tiny difference in hook size, like switching between a 5.0mm and a 5.5mm hook, can create a noticeable size difference in the finished square. Designate one specific hook for your entire granny square project and put it somewhere safe between sessions.
 KnotToYarn
Subscribe to KnotToYarn!
Get the best free crochet patterns, tutorials & tips delivered straight to your inbox. Join our growing community!
What Is Joining Granny Squares: Methods Compared?
Once you have made a stack of granny squares, the next big question is how to join them together. The joining method you choose can completely change the look and feel of your finished project. Some methods create visible seams that become part of the design, while others create nearly invisible joins for a seamless look. Here are the most popular methods compared.
Slip stitch join. This is the simplest joining method and creates a ridge on the wrong side of your work. You hold two squares with right sides facing each other and work slip stitches through both layers along the edge. It is fast, secure, and great for beginners. The ridge it creates adds a subtle texture that many people actually find appealing.
Single crochet join. Similar to the slip stitch join but using single crochet instead. This creates a thicker, more pronounced seam and adds a decorative element between squares. It works especially well when you use a contrasting color for the join, turning the seams into part of the design.
Whip stitch join. This is a sewing method rather than a crochet method. You use a yarn needle and sew the squares together with whip stitches. It creates a very flat seam that is nearly invisible from the right side. The downside is that it takes longer than crochet methods and requires a yarn needle.
Join-as-you-go method. This is the most efficient method if you are making a large project. Instead of making all the squares first and then joining them, you join each new square to the existing ones as you complete the final round. This means no sewing or joining step at the end. It is slightly more advanced but saves a tremendous amount of time on big projects.
How Do You Color Planning for Your Granny Square Projects?
Color choice can make or break a granny square project. A beautiful pattern with poor color choices will look flat and uninteresting, while simple patterns with thoughtful color combinations can look absolutely gorgeous. Here are some tried-and-true approaches to color planning.
The rainbow approach. Use a different color for each round, progressing through the rainbow. This is the classic granny square look that most people picture. It works beautifully with bright, saturated colors and creates a cheerful, playful finished piece.
The two-color classic. Use just two colors alternating between rounds. For example, cream and navy blue, or white and charcoal. This creates a clean, modern look that is surprisingly sophisticated. It is also the most budget-friendly approach since you only need two skeins of yarn.
The ombré effect. Choose several shades of the same color, going from light to dark. For example, light blue, medium blue, and dark blue. Each round gets progressively darker, creating a beautiful gradient effect within each square.
Scrap buster approach. Use whatever leftover yarn you have, regardless of color. This creates a chaotic, colorful look that is perfect for casual items like picnic blankets or cushions. It is also the most economical option since it uses up yarn you already own.
What Is Granny Square Tutorial at a Glance?
- Topic: granny square tutorial
- Skill level: beginner
- Main goal: help the reader crochet a classic granny square from scratch with proper technique
- Related topics: solid granny square, crochet patterns for beginners, granny square blanket, crochet abbreviations
Quick Answer
A granny square tutorial teaches you to crochet a small square motif using chains and double crochet clusters worked in rounds. Granny squares are the building blocks for blankets, garments, and accessories, making them one of the most versatile crochet skills to learn.
Tip: Keep your tension consistent across all rounds — uneven tension is the number one reason granny squares end up different sizes.
At a Glance
- Skill level: beginner
- Time needed: 20-30 minutes per square
- Best yarn: worsted weight acrylic or cotton
- Hook size: 5.0 mm (H-8)
Common Mistakes to Quick Fixes
- Twisted corners: always chain 2 (not 3) between clusters to keep corners square
- Square getting wavy: make sure you have exactly the right number of stitches per side
- Different sized squares: use the same hook and yarn for all squares in a project
Mini Glossary
ch (chain), DC (double crochet), sl st (slip stitch), sp (space), cluster (3 DC worked in same space)

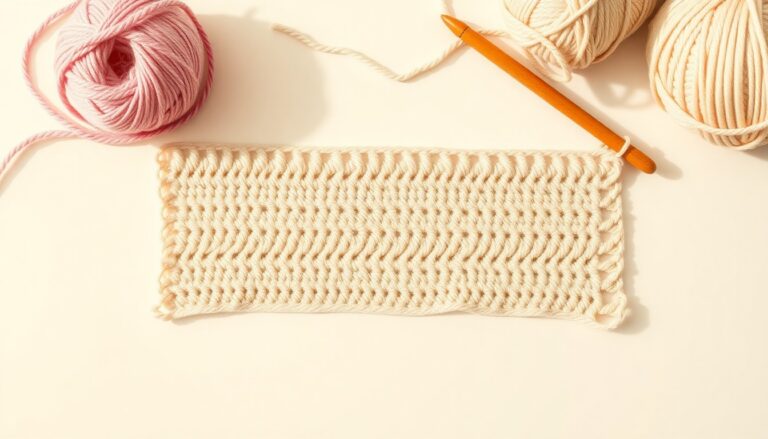
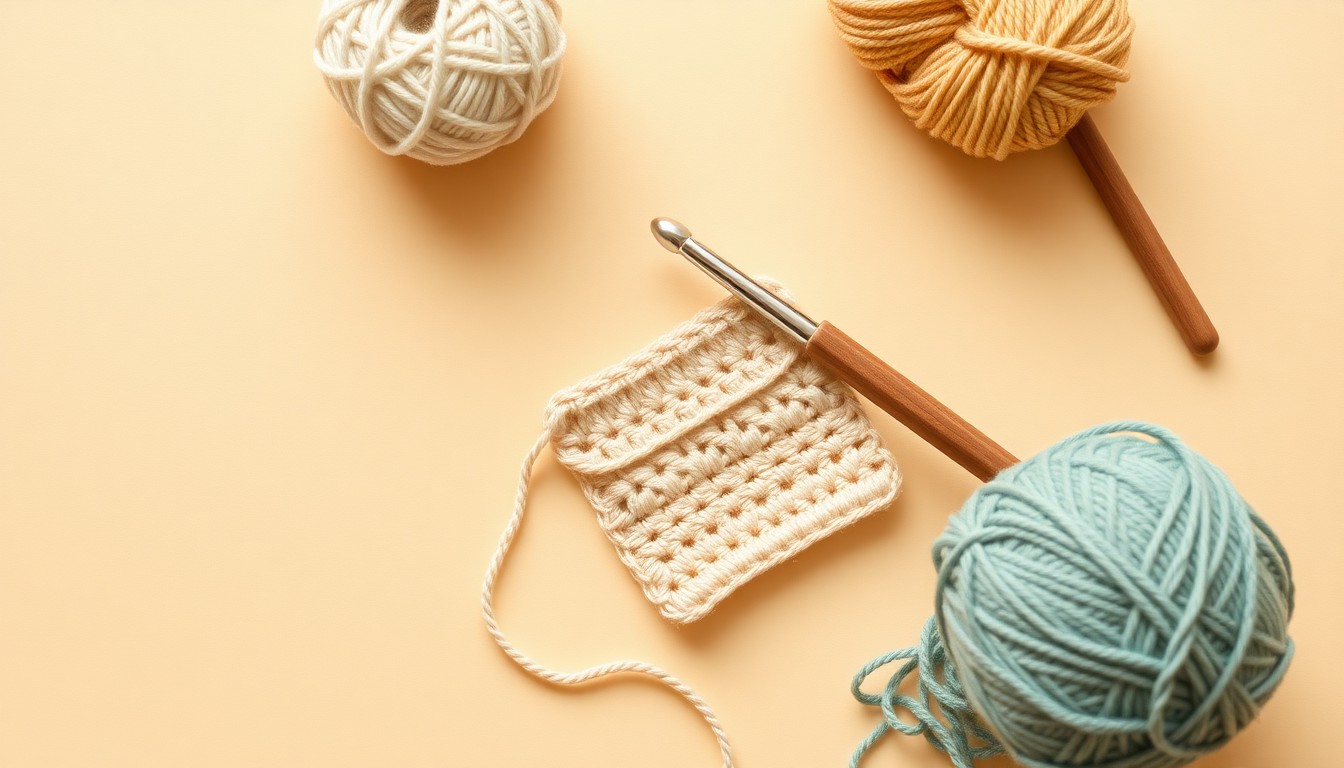
The image above illustrates this pattern step in detail.
Granny Square Tutorial becomes much easier when you understand the repeat: corners stay open, side clusters stay even, and each round follows the same logic. Once that clicks, granny squares stop feeling confusing and start feeling rhythmic.

How To Make A Granny Square?
If you want to learn granny square tutorial, focus on the repeating pattern instead of trying to memorize everything at once. A classic granny square is one of the best beginner crochet projects because it teaches counting, corners, tension, and finishing all in one small format.
Quick answer
A granny square is built by making clusters of stitches around corners and repeating that structure round after round. The trick is to keep the corners consistent and stop often enough to check that the square is staying flat.
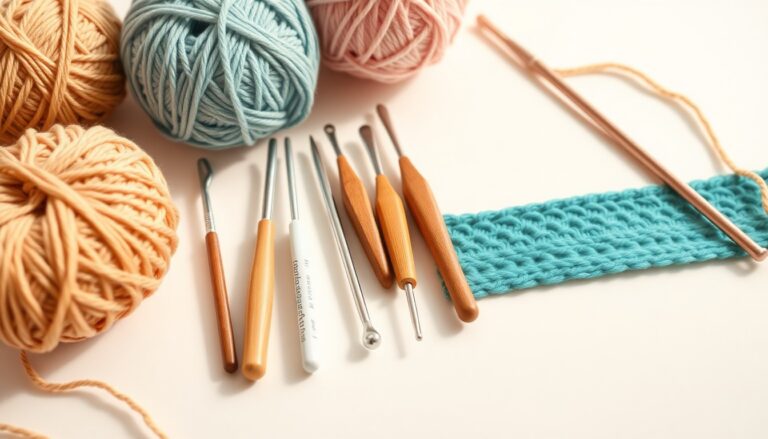
What you need before you start?
- smooth beginner-friendly yarn
- a hook size that makes the stitches easy to see
- scissors
- a yarn needle for weaving in ends
- optional stitch markers if you lose track of corners easily
How to make a granny square step by step?
1. Start your center
You can use a magic ring or a small chain ring. The easiest beginner choice is usually the method that feels less fiddly in your hands.
2. Build the first round
Create the first four corners clearly so the square structure is obvious from the start.
3. Add side clusters between corners
Once the first round is complete, each new round repeats the same logic: corners stay corners, sides stay sides.
4. Check the shape every round
If the square starts to curl or wave, stop early and check tension, stitch count, and whether the corners are spaced correctly.
5. Keep the corners easy to identify
Many beginners improve faster by marking corners at the start of each new round.
6. Finish the final round cleanly
Take time to join neatly so the square looks even before weaving in ends.
7. Weave in ends securely
A granny square looks mu A well-executed Granny Square Tutorial can completely transform your finished project.ch more polished when the finishing is treated as part of the project instead of an afterthought.
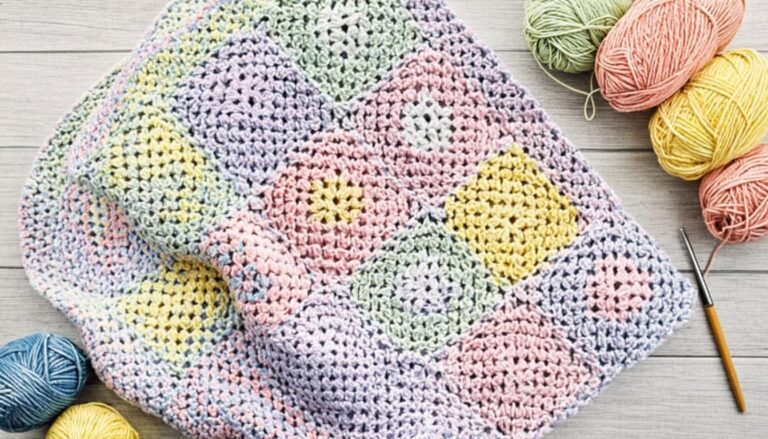
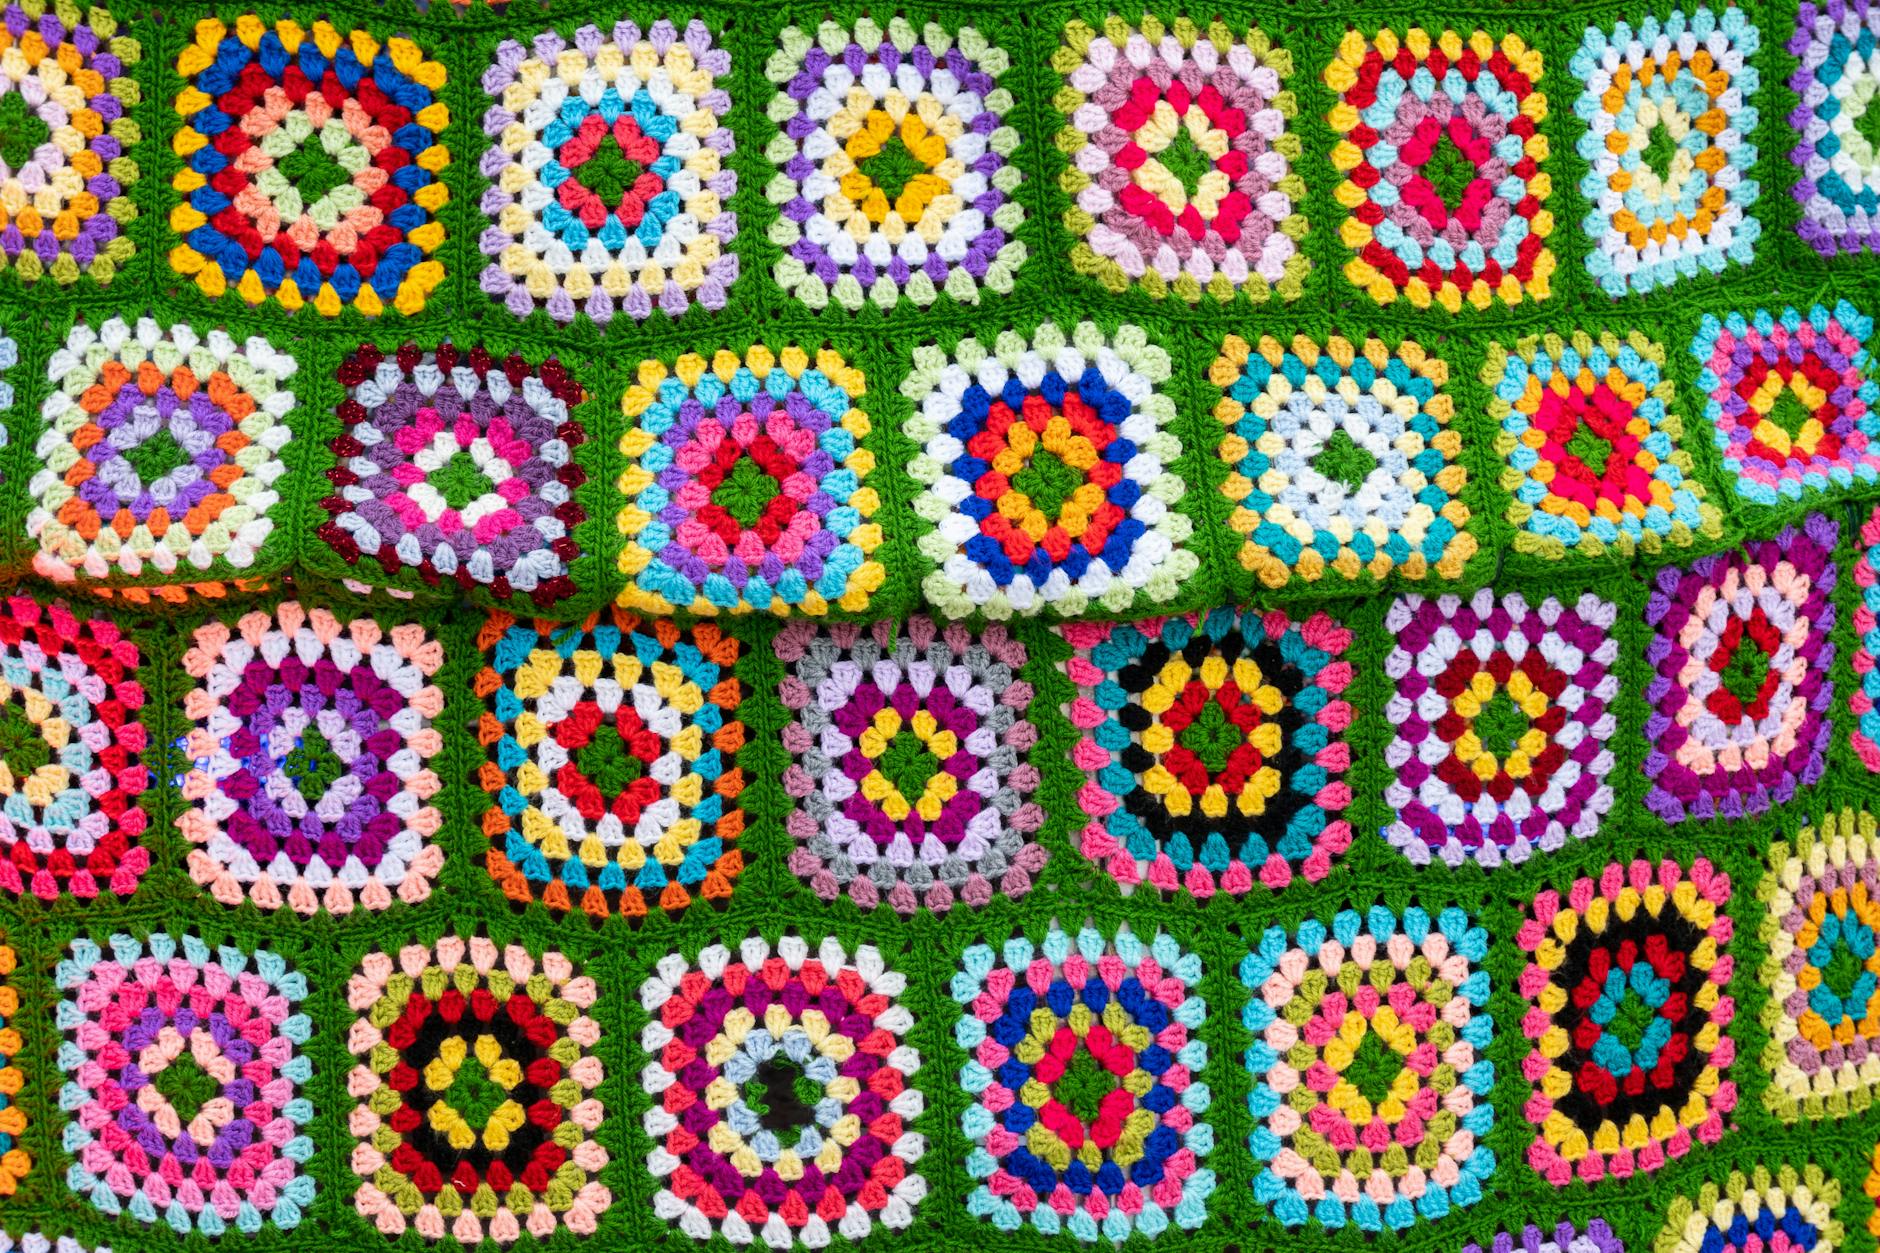
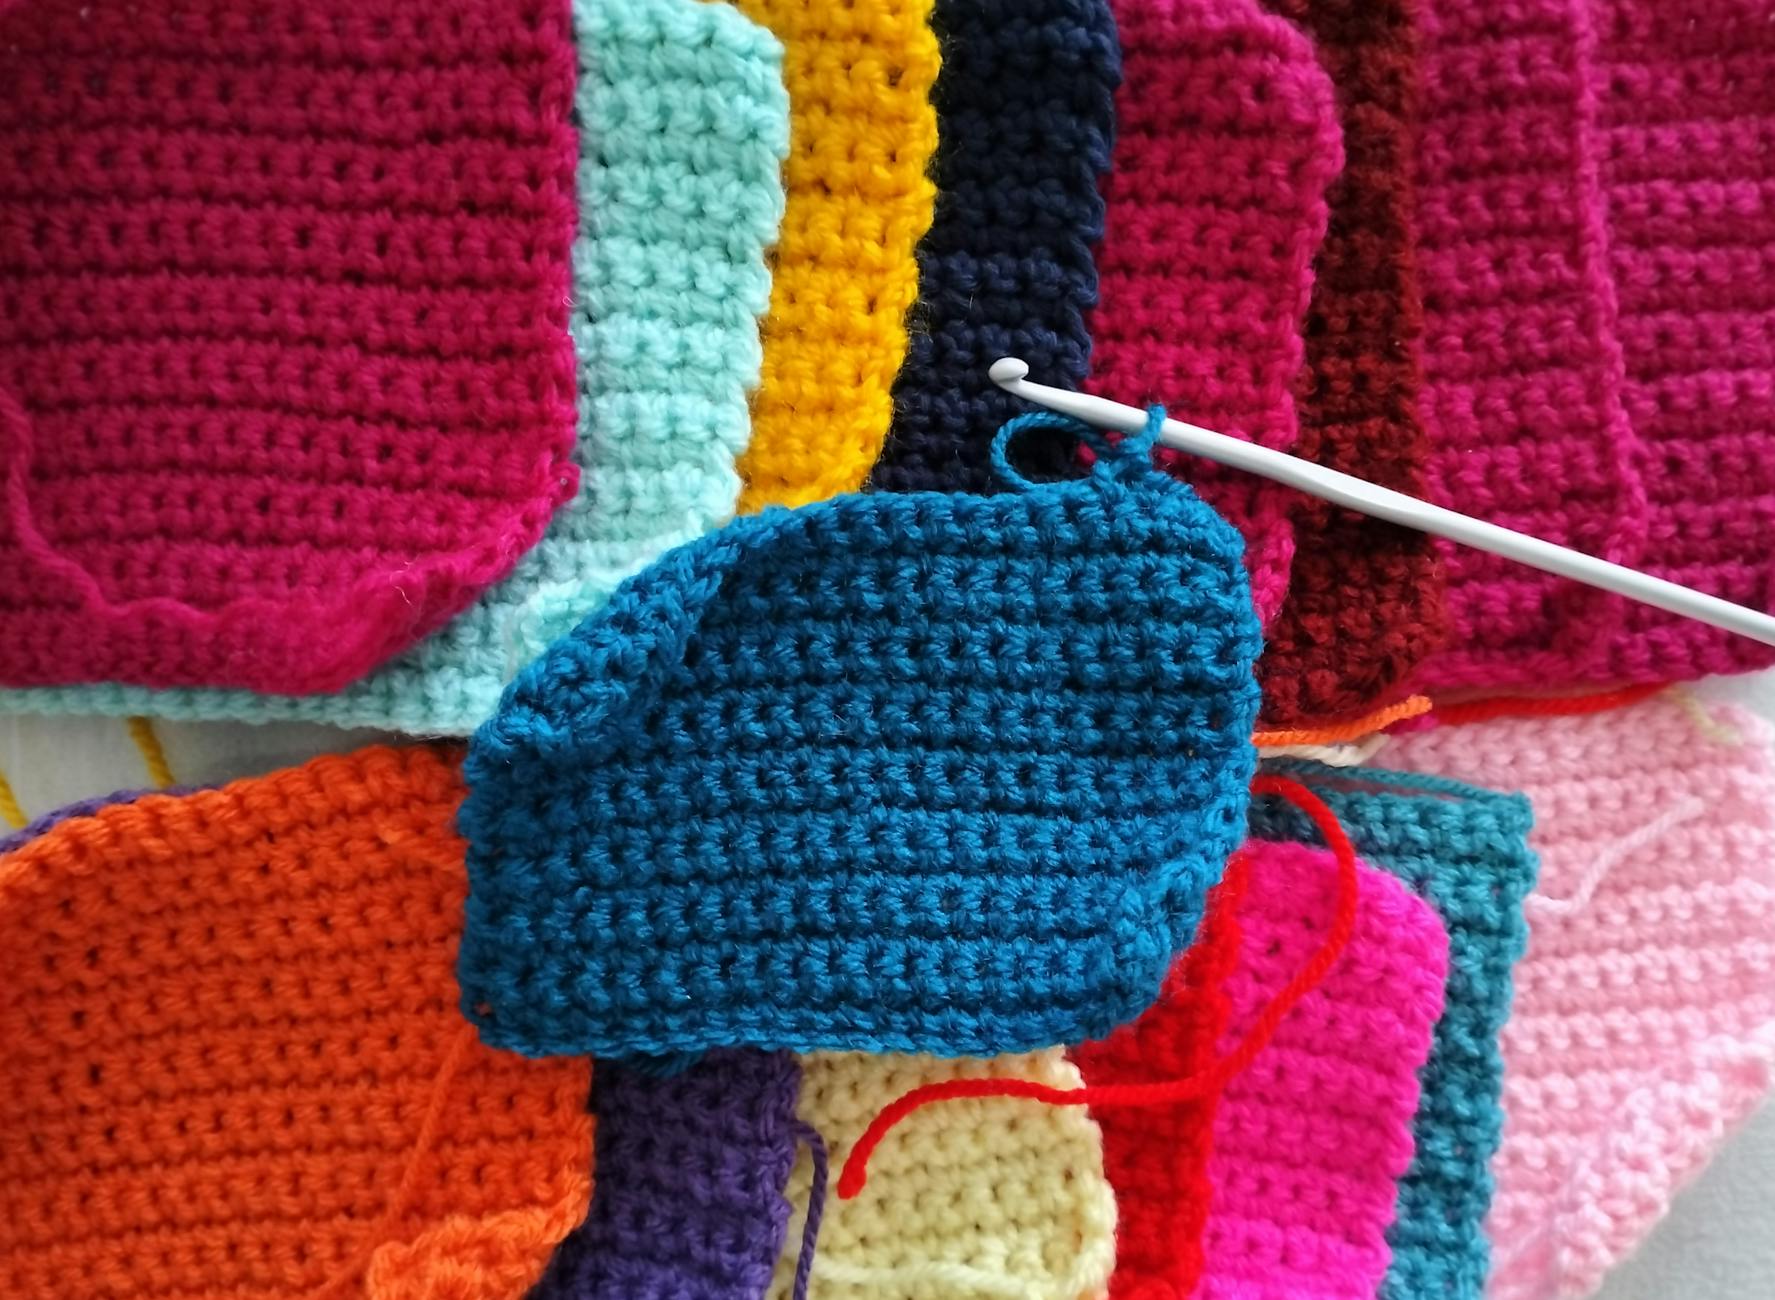
Here you can see how the stitch work comes together in this section.
This close-up shows the texture and technique used for this design.
Notice the color transitions and stitch definition shown above.
Another view highlighting the shape and structure of this piece.

How to keep a granny square flat?
If your square curls upward, tension may be too tight or the corners may not have enough space. If it looks wavy, the opposite may be true: too many stitches or too much looseness around the corners.
What Are the Most Common Mistakes to Avoid?
The most common mistakes are losing the corners, miscounting clusters, changing tension between rounds, and weaving in ends too loosely. These are normal beginner problems, but they are easier to fix when you stop and compare the current round to the intended shape before continuing.
How To Make A Granny Square tips?
If you want granny square tutorial to feel easier, use lighter-colored yarn, keep the first square small, and repeat the same yarn-hook combination long enough to understand what a clean result should look like.
How Can Beginners Master Helpful beginner crochet links — complements to this granny square tutorial?
- Crochet Hook Sizes
- Best Yarn for Beginner Crochet
- Why Is My Crochet Curling?
- Why Are My Crochet Edges Uneven?
What Is Helpful external reference?
For stitch terminology help while learning granny square tutorial, review the Craft Yarn Council crochet abbreviations guide.

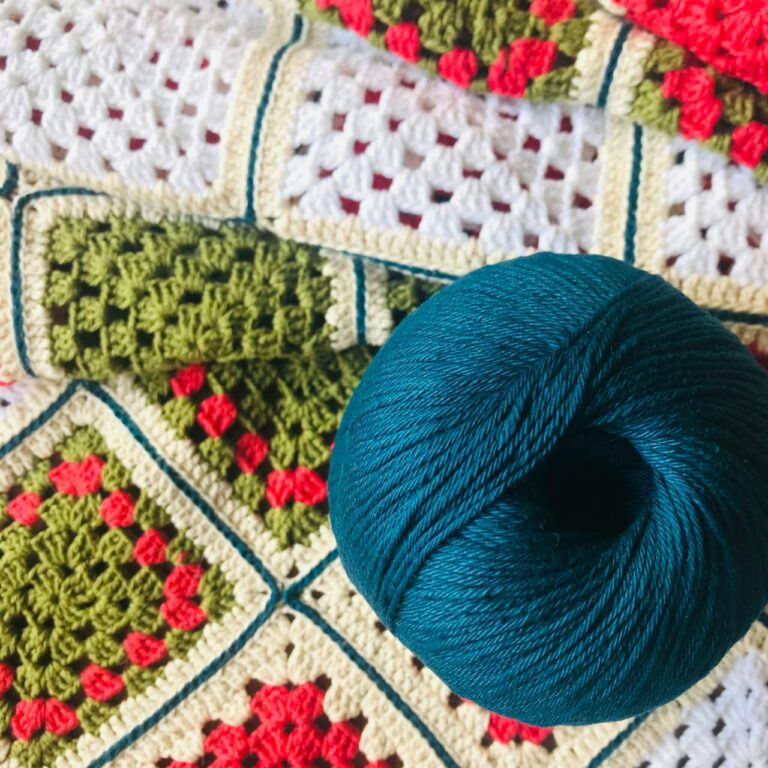
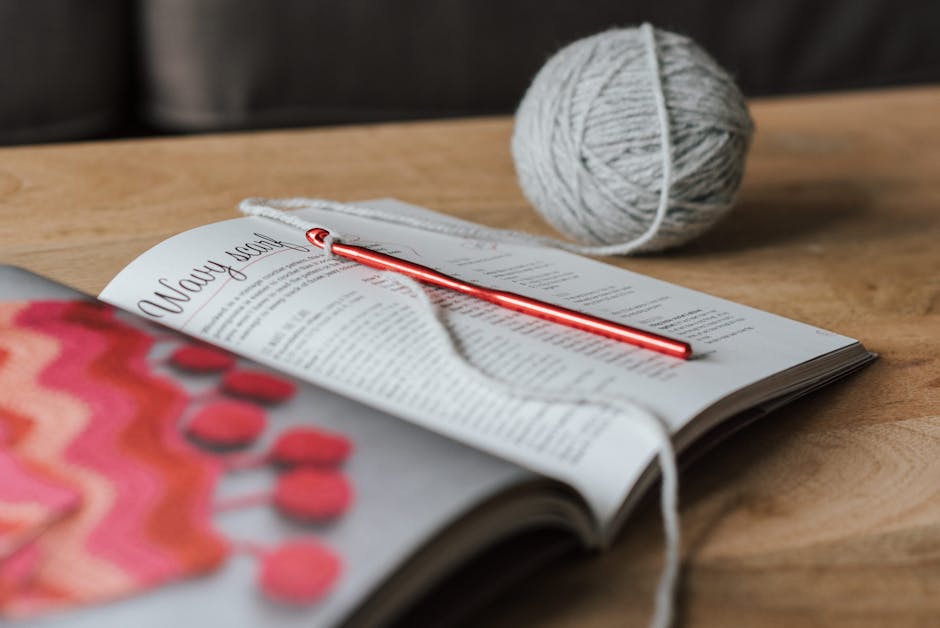
The detail in this image demonstrates the key technique for this pattern.
For more crochet stitch guides, visit Ravelry for thousands of free patterns.
How To Make A Granny Square FAQ?
Is a granny square good for beginners?
Yes. It teaches repetition, corners, counting, and finishing in a compact project.
Why does my granny square curl?
Curling usually comes from tension issues or corners that are too tight for the round structure.
KnotToYarn
Subscribe to KnotToYarn!
Get the best free crochet patterns, tutorials & tips delivered straight to your inbox. Join our growing community!
For contemporary designs, see our guide on modern granny square patterns with 7 gorgeous free designs.
If you hate seaming squares together, try our granny square join as you go tutorial for seamless results.
Want something different? Our granny square hexagon patterns create gorgeous honeycomb layouts.
If your squares are coming out uneven, read our guide on why are my granny squares different sizes for 7 proven fixes.
Want something different? Our granny square hexagon patterns create gorgeous honeycomb layouts.
What is the easiest yarn for a first granny square?
A smooth, lighter-colored yarn is usually easiest because the stitch shape stays visible.
What Is Bottom line?
Once you understand the corner-and-side repeat, granny square tutorial becomes much more predictable. Slow repetition and frequent shape checks are what make the result clean
Mastering Granny Square Tutorial takes time, but the key is consistent practice. Start with simple projects and gradually work your way up to more complex patterns.
Many experienced crocheters recommend keeping a journal of your Granny Square Tutorial projects to track your progress and note what worked well for future reference.
er. Many beginners find that revisiting this grann
Learning Granny Square Tutorial is one of the most rewarding skills you can develop as a crafter, and with the right approach, anyone can master it.
When you master granny square tutorial, you will find that your overall crafting confidence grows significantly with each completed project.
Many crocheters who have completed a granny square tutorial recommend keeping a small swatch notebook to track your progress and favorite techniques over time.
y square tutorial helps cement the technique.
We hope you enjoyed this granny square tutorial and feel inspired to start your next project. For another wearable granny square project, our granny square poncho pattern is a no-sew beginner-friendly design using 16 squares and a join-as-you-go technique.
Frequently Asked Questions
What do I need to start a granny square tutorial?
To start a granny square tutorial, you need a crochet hook in a size appropriate for your yarn (typically 5.0mm for worsted weight yarn), a ball of yarn in your preferred color, and a pair of scissors. A yarn needle for weaving in ends and a stitch marker for keeping track of your rounds are also helpful tools. With just these basic supplies and a good granny square tutorial, you can learn to make beautiful squares in no time.
How many rounds should a basic granny square have?
A basic granny square typically has 4 to 6 rounds for a standard motif size of about 4 to 6 inches across, depending on your yarn and hook size. You can continue adding rounds to make your granny square as large as you like, but remember that each additional round widens the square significantly. Following a structured granny square tutorial will help you understand how the rounds build upon each other systematically.
Why are my granny square corners not square?
Your granny square corners may not look square if you are not placing your corner stitch groups correctly—each corner should have three double crochet stitches separated by chain spaces. Working too few or too many stitches in the corner chain space will cause the square to round or pucker. A clear granny square tutorial will walk you through the correct stitch placement for perfectly sharp corners every time.
What is the difference between a solid and a classic granny square?
The classic granny square features clustered double crochet groups separated by chain spaces, creating a lacy, open fabric with distinct gaps. A solid granny square fills in those gaps by working stitches in the chain spaces, producing a dense, solid-colored fabric without holes. Both styles are covered in most comprehensive granny square tutorials, and choosing between them depends on whether you prefer an airy or a solid look for your project.
If you enjoyed this guide, you might also love our tutorials on Granny Square Cushion Guide, Granny Square Table Runner Pattern, and Crochet Granny Square Patterns. Each one comes with free patterns and step-by-step instructions perfect for crocheters of all skill levels.