African Flower Granny Square: 7 Easy Rounds
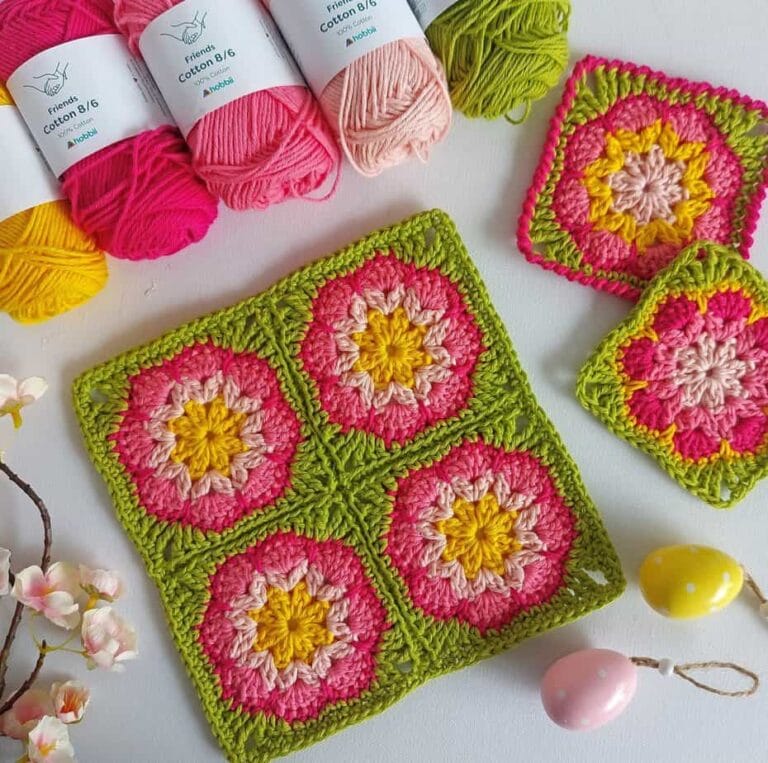
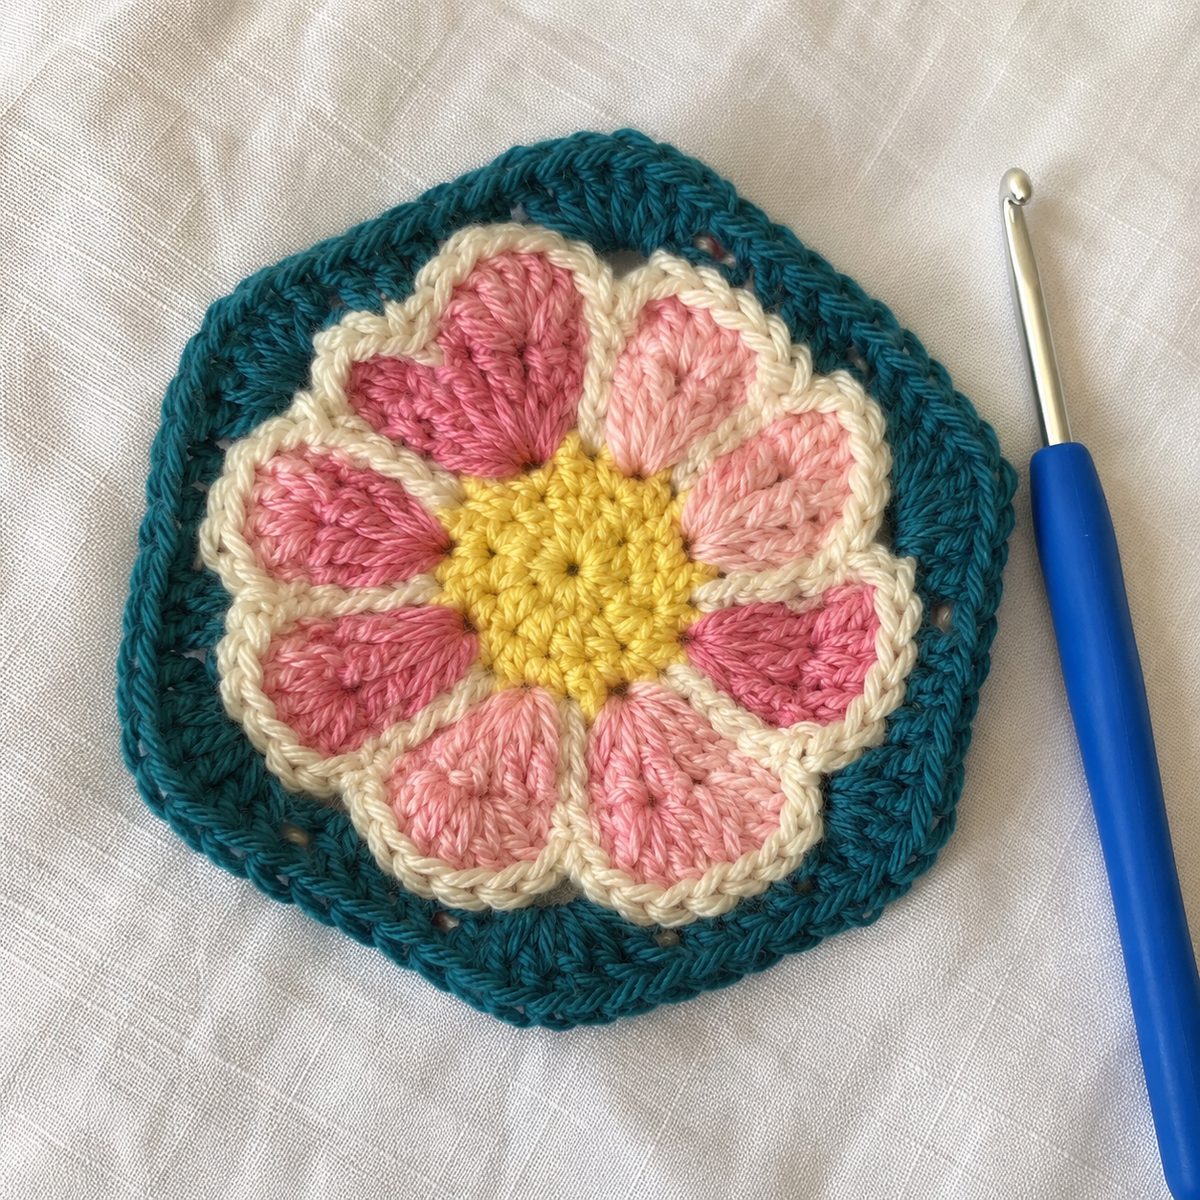
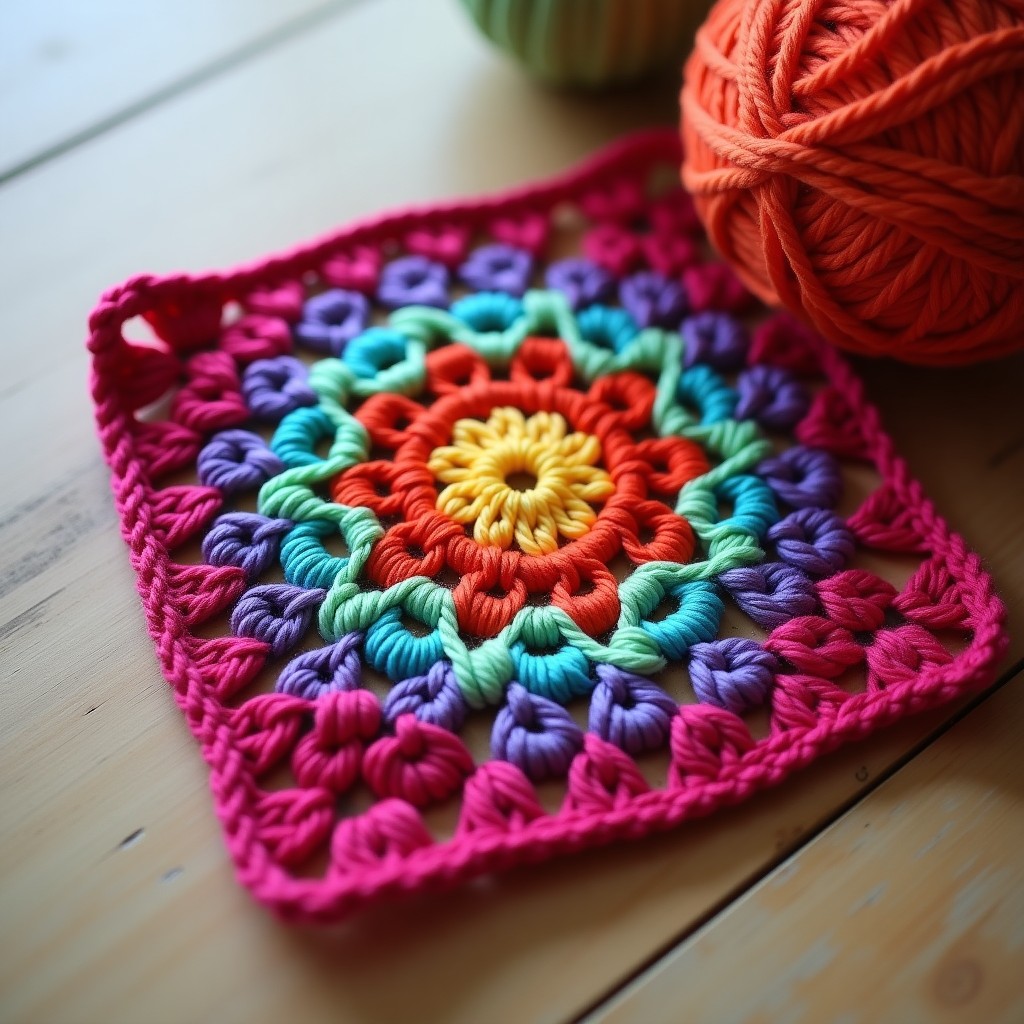
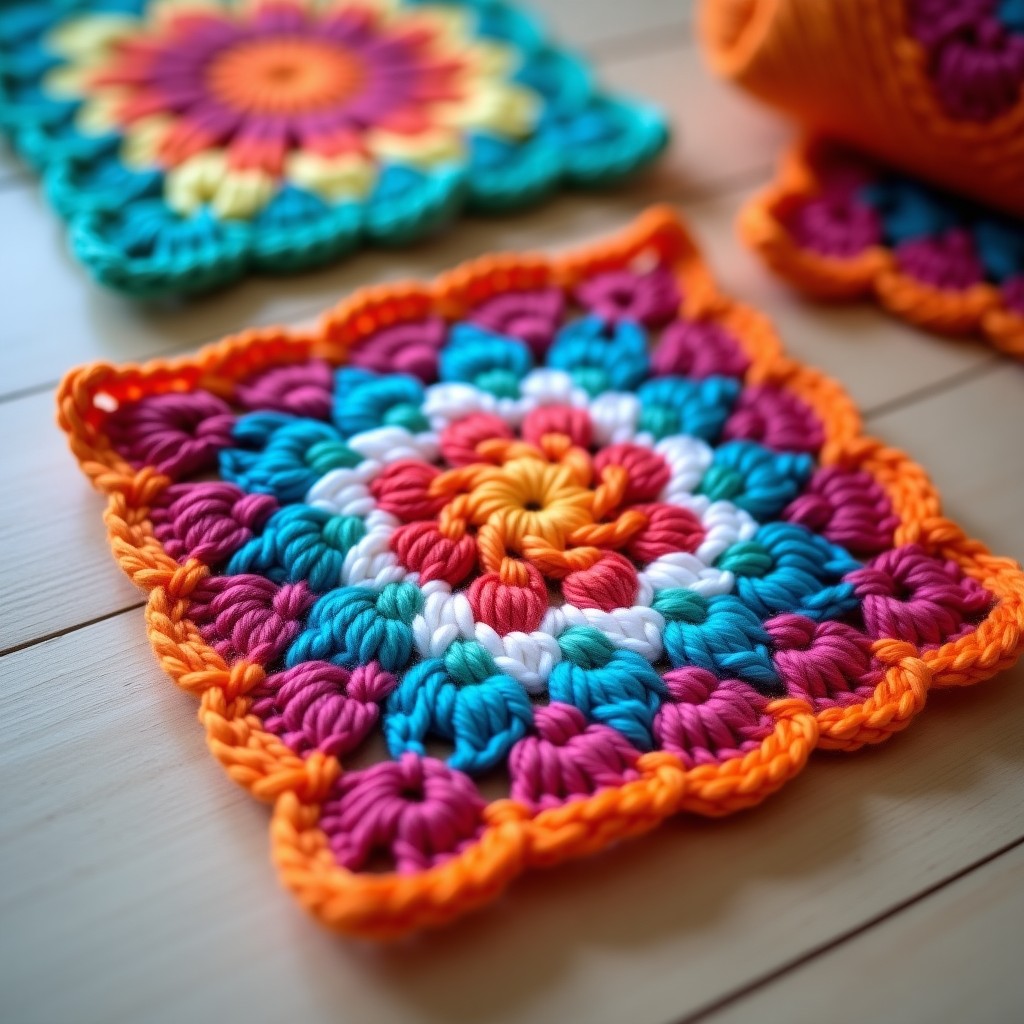
The African flower granny square is a hexagonal motif with a flower center, layered petals, and a square border. You work 7 rounds in double, half double, single, and treble crochet across 4 colors, and it finishes at about 5.5 inches, good for blankets, bags, and cushion covers.
As an Amazon Associate we earn from qualifying purchases: some supply links in this post are affiliate links, at no extra cost to you.
Tip: drop a stitch marker at the start of each round. The stitch types change a lot here, so tracking your rounds is what keeps the result clean.
More Granny Squares to Try
Materials You Will Need
Gather your supplies first, staying organized lets you focus on the stitches.
- Yarn: 4 colors of DK or sport weight yarn. The sample uses bright pink, dark blue, light blue, yellow, and white, choose any color combination you love
- Crochet hook: 3.50mm (US E/4)
- Darning needle: for weaving in ends
- Scissors
- Stitch marker: optional, but recommended for keeping track of rounds
For help understanding yarn weights and hook sizing, our best yarn for beginner crochet guide breaks down all the options. If you need a refresher on crochet abbreviations, the crochet abbreviations for beginners guide covers everything you will encounter in this pattern.
Gauge and Finished Size
It finishes about 5.5 inches square in DK yarn on a 3.50 mm hook. Gauge isn’t critical since each square stands alone, but for a big project, even tension across all your motifs helps them line up when you join them.
Color Suggestions
The colors are very customizable. The sample uses dark blue, light blue, yellow, pink, and white, but any four colors you like will work.
For spring, try a lavender flower on a dark purple base with a bright yellow center and sage border. For autumn, go rust, mustard, deep red, and cream. Pastels suit baby blankets; jewel tones make striking pillows and afghans.
African Flower Granny Square Pattern: Round by Round
Here’s the round-by-round. Each round builds on the last, mixing chains, double, half double, single, and treble crochet. Take your time and count your stitches before moving on.
Round 1: The Center Ring
Start with a magic ring. Chain 3 (this counts as your first double crochet), then work 1 double crochet into the ring, chain 1. Now repeat [2 double crochet, chain 1] seven more times. You should have 8 groups of stitches separated by chain-1 spaces. Slip stitch into the top of the beginning chain-3, then fasten off.
Round 1 complete: 16 dc total, 8 ch-1 spaces
If you are new to the magic ring technique, our complete magic ring tutorial walks you through the process step by step with photos.
Round 2: First Petal Layer
Join your second color (dark blue in the sample) in any chain-1 space from round 1. Chain 3 (counts as dc), work 2 double crochet in the same chain space, then chain 1. Now repeat [3 double crochet in the next chain space, chain 1] seven times. Slip stitch into the top of the beginning chain-3 and fasten off.
Round 2 complete: 24 dc total, 8 ch-1 spaces
Round 3: Shell Stitches
Join your third color (light blue in the sample) by pulling the yarn through any chain-1 space. Chain 3 (counts as dc), then work [1 dc, chain 1, 2 dc] all in the same chain space, this creates a shell stitch. Chain 1, then repeat [(2 dc, chain 1, 2 dc) in the next chain space, chain 1] seven times. Slip stitch into the top of the beginning chain-3.
Round 3 complete: 32 dc total, 8 ch-1 spaces, 8 shell groups
Round 4: Full Petals
Using the same light blue yarn, chain 3 (counts as dc), then work 6 more double crochet in the same chain space from the previous round. Chain 1, then repeat [7 double crochet, chain 1] seven times. Slip stitch into the top of the beginning chain-3 and fasten off.
Round 4 complete: 56 dc total, 8 ch-1 spaces
This round fills in each shell from round 3 with a full petal shape. Each petal should look like a rounded, puffy cluster of double crochet stitches. If you need help with double crochet technique, our double crochet stitch guide covers the fundamentals.
Round 5: Encasing Round
Join your fourth color (yellow in the sample) at the top of any chain-3 from round 4. Chain 1 (standing stitch, counts as sc), then work 6 single crochet. Now insert your hook into the chain space between two shell groups from round 3 and work a single crochet, this “encases” rounds 3 and 4 together, creating a defined petal edge. Repeat [7 single crochet, encasing single crochet] seven times. Slip stitch into the first single crochet and fasten off.
Round 5 complete: 64 sc total, 8 encasing stitches
Round 6: The Pointed Border
Join white yarn in the gap between a normal single crochet and an encasing single crochet of any petal. Chain 3 (counts as dc), work 1 dc, 1 hdc, 4 sc, 1 hdc, 4 sc, 1 hdc, then 2 dc. Now work (treble crochet, chain 3, treble crochet) into the next treble stitch to create a pointed corner. Repeat [2 dc, 1 hdc, 4 sc, 1 hdc, 4 sc, 1 hdc, 2 dc, (tr, ch 3, tr) in next stitch] three more times. Slip stitch into the top of the beginning chain-3.
Round 6 complete: 4 corner points with ch-3 spaces, detailed edge stitches
This is the most detailed round in the pattern. Take your time and count each section, the pointed corners are what give it the hexagonal shape. For a refresher on tall stitches, our half double crochet guide covers related techniques.
Round 7: Squaring Off
Chain 2 (standing stitch, counts as hdc), then work 13 single crochet, 2 hdc. In the next corner chain-3 space, work (2 hdc, chain 2, 2 hdc). Continue with [2 hdc, 13 sc, 2 hdc, (2 hdc, ch 2, 2 hdc) in next corner space] three more times. Slip stitch into the top of the beginning chain-2, fasten off, and weave in all ends.
Round 7 complete: 4 sides of 17 stitches each, 4 corner ch-2 spaces
This last round turns the hexagon into a square by filling the points out to straight sides, a clean-bordered square with the flower centered inside.
Tips for Your Best African Flower Granny Square
A few tips to get a clean result every time.
Tighten your color joins. When you join a new color at the start of any round, pull the loop snug before making your first stitch. Loose joins create visible gaps between color bands that can detract from the clean, layered look of the finished motif.
Count your stitches in each round. This pattern has 7 rounds with different stitch counts, and it is easy to miss a stitch or add an extra one, especially in the more complex rounds like 6 and 7. Taking 30 seconds to count before moving to the next round saves a lot of frustration later.
Block your finished squares. After completing each motif, wet block or steam block it to 5.5 inches square. Blocking evens out your tension, flattens any curling edges, and ensures all your squares are the same size for easy joining. This step is especially important if you plan to make a blanket with multiple motifs.
Consistent yarn weight matters for large projects. If you are making multiple squares for a blanket, use the same yarn brand and weight for all of them. Even slight differences in yarn thickness can result in squares that are noticeably different sizes, which makes joining them cleanly much more difficult. For more tips on achieving even stitches, our guide on how to fix crochet tension is a great resource.
Frequently Asked Questions
Is the African flower granny square suitable for beginners?
Yes, this pattern is beginner-friendly once you understand the basic stitches. It uses chain, single crochet, half double crochet, double crochet, and treble crochet, all of which are covered in our beginner crochet guide. The main challenge is keeping track of stitch counts across 7 rounds, but using a stitch marker and counting after each round makes it very manageable.
Can I use a different yarn weight for this African flower granny square?
Absolutely. While the pattern sample uses DK weight yarn with a 3.50mm hook, you can use any yarn weight you prefer. Thinner yarns like fingering will produce smaller, more delicate motifs, while worsted or bulky yarns will create larger, bolder squares. Just remember to adjust your hook size accordingly, typically one to two sizes smaller than the yarn label recommends so your stitches are tight enough to hold the motif shape.
How many African flower granny squares do I need for a blanket?
The number of squares you need depends on your desired blanket size and the finished size of each motif. At 5.5 inches per square, a throw blanket measuring approximately 55 inches by 66 inches would require roughly 120 squares arranged in a 10 by 12 grid. A baby blanket at 33 inches by 44 inches would need about 48 squares in a 6 by 8 arrangement.
Why does my African flower granny square look wavy or uneven?
Wavy or uneven edges usually come from inconsistent tension, especially between different stitch types in the same round. Make sure your single crochet, half double crochet, and double crochet stitches are all worked at a similar tightness. Blocking your finished squares by pinning them to 5.5 inches and steaming or wetting them will also smooth out most unevenness and give you crisp, professional-looking results.
How do I change colors without leaving gaps in my African flower granny square?
The key to clean color changes is pulling the new yarn tight when you join it. After completing a round and fastening off, insert your hook into the designated stitch or space, pull the new color through with a firm tug, and then make your first stitch. This snug join prevents the small gap that often appears between color bands. Weaving in the tail of the old color firmly also helps close any remaining space.