Chick Crochet Pattern: 5 Easy Ideas + a Free Spring Chick
This is KnotToYarn’s own original pattern, free to use, and you’re welcome to sell what you make from it.
As an Amazon Associate we earn from qualifying purchases: some supply links in this post are affiliate links, at no extra cost to you.
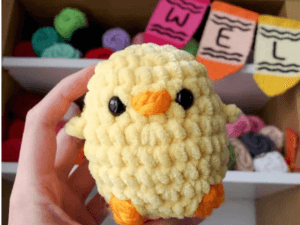
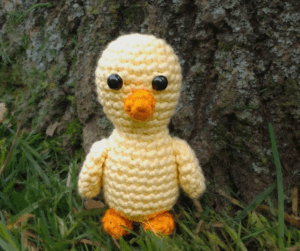
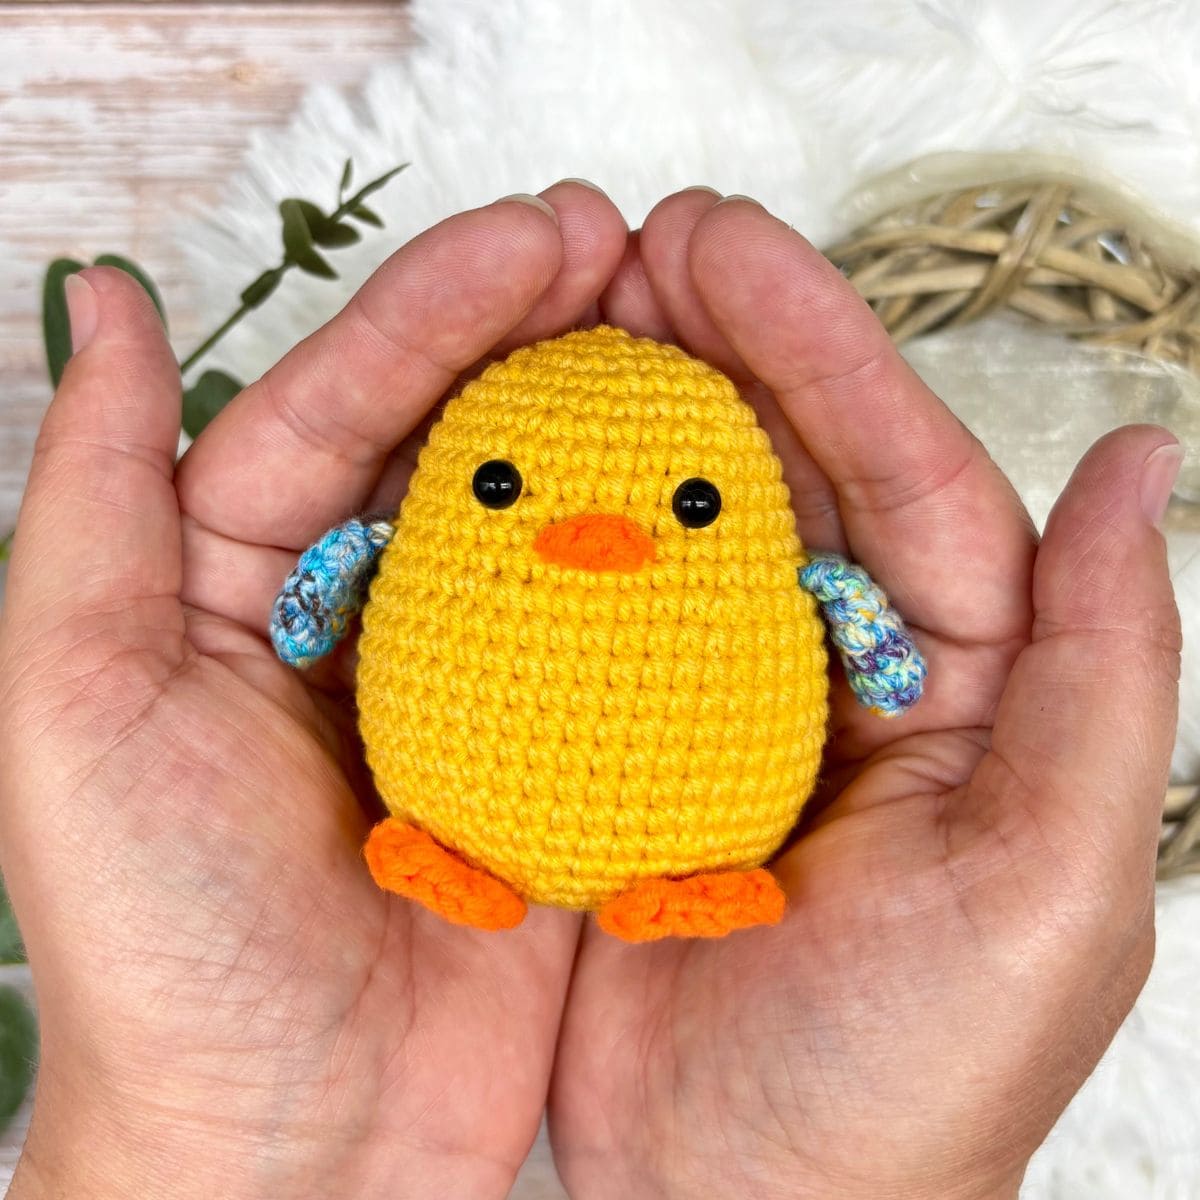
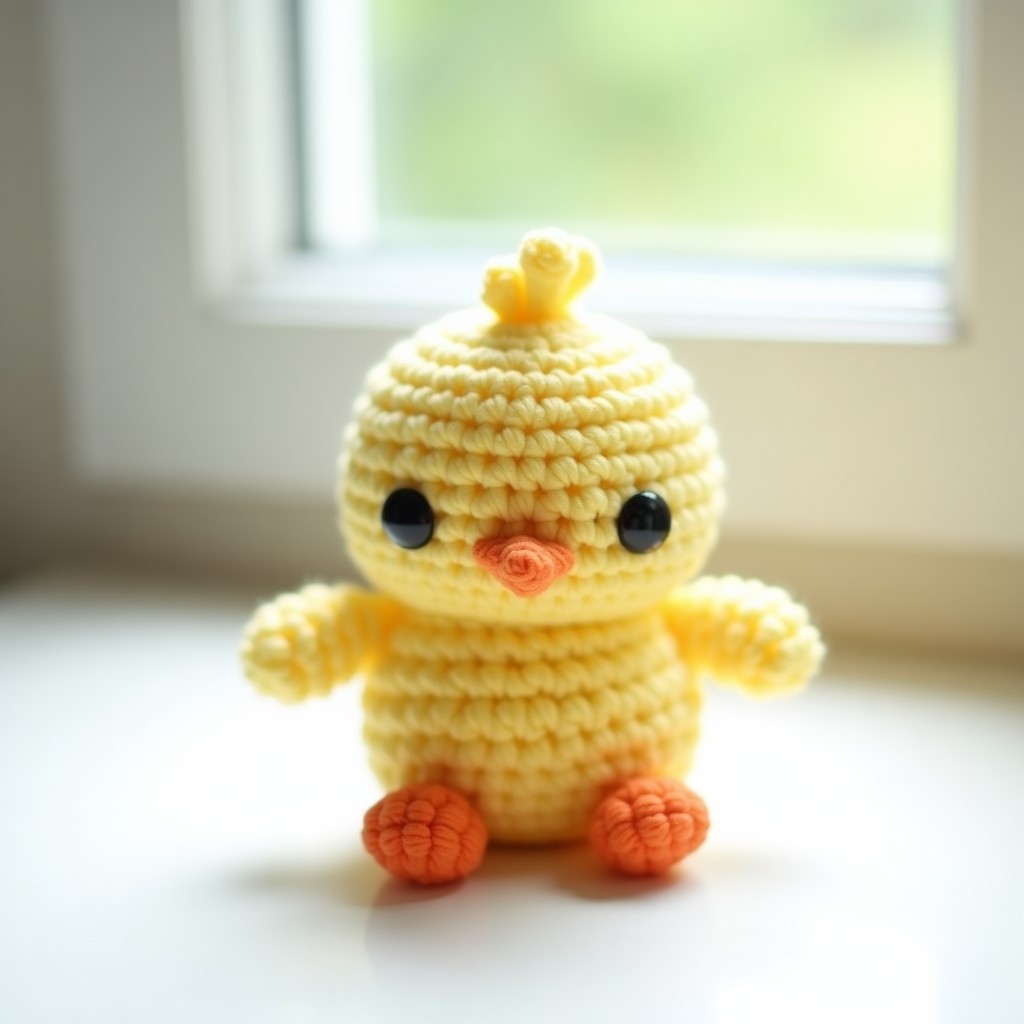
A complete beginner chick: one egg-shaped body (no separate head), a two-stitch beak, and tiny flat wings. Here is the full pattern, the five ideas below dress the same chick up for Easter, spring shelves, and baby mobiles.
It’s one of the cutest beginner amigurumi you’ll make. If you want a quick, satisfying Easter project in simple stitches that’s done in an afternoon, this is it, soft, squishy, and full of personality on a shelf or in a basket.
The nice part is the construction: head and body in one seamless piece, so there’s barely any sewing. You only attach the beak, wings, feet, and feathers at the end, and it’s all basic stitches, single crochet, increases, decreases.
Before we start, make sure you are comfortable with a single crochet stitch and know how to work in the round. If you need a refresher on starting amigurumi, check out our guide on the magic ring technique, it is the starting point for this and most amigurumi patterns.
Why You Will Love This Chick Crochet Pattern
There are lots of chick patterns online; here’s what’s different about this one.
Quick to finish. Super-bulky yarn and a 6.5 mm hook mean big stitches and fast progress, most people finish in two to three hours, which is handy for last-minute gifts or a craft fair table.
Minimal assembly. Head and body are one continuous piece top to bottom, no neck joins or seaming halves. Just the small details get sewn on at the end, and that’s a few minutes’ work.
Super plush. Chenille gives it a soft, velvety finish that makes people want to squeeze it, exactly what you want in a toy or gift.
Beginner-friendly. If you can single crochet, increase, and decrease, you can make this. No color changes, no tricky stitches, no advanced shaping, a good confidence-builder for your first amigurumi.
Materials You Will Need
Before you start, gather your supplies, having everything ready makes it go smoother.
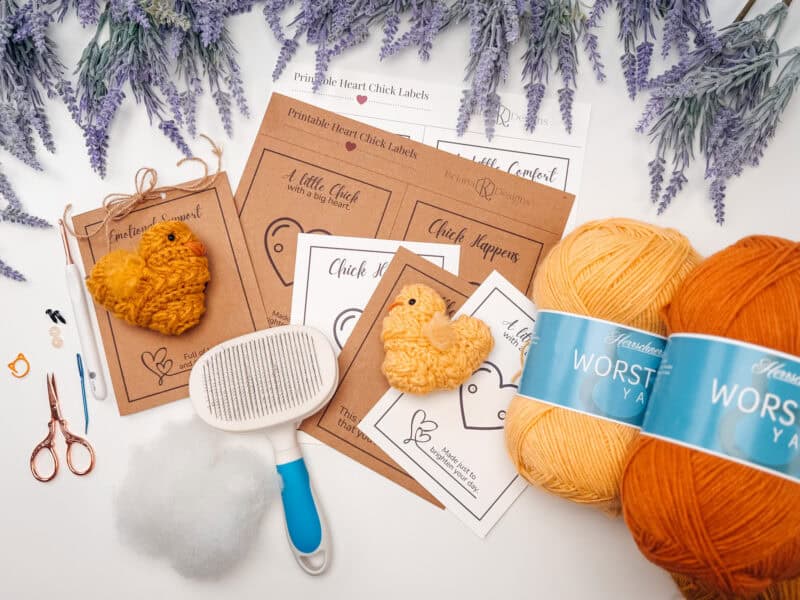
- Yarn: Premier Basix Chenille Brights, size 6 super bulky weight, 100% polyester, approximately 55 yards of lemon yellow and 6 yards of tangerine orange
- Crochet hook: US K10.5 (6.5mm)
- Safety eyes: 14mm black safety eyes (2)
- Stitch marker: 1 stitch marker for tracking rounds
- Fiberfill: polyester stuffing for the body and head
- Tapestry needle: for weaving in ends and sewing on parts
- Scissors
If you are new to crochet and need help choosing the right hook size, our crochet hook size guide breaks down all the standard sizes and when to use each one.
Yarn substitution: any size-6 super-bulky works, but brands vary in thickness. Premier Parfait runs loftier than Premier Basix, so if you switch you might drop to a 5 mm hook. The chick stays proportional either way.
Gauge and Finished Size
Gauge is about 5 single crochet to 2 inches, but it isn’t critical for amigurumi, the chick stays in proportion even if your tension runs a little loose or tight.
With the recommended yarn and hook it comes out about 8 inches tall and 6.5 inches wide, good for small hands, a shelf, or an Easter basket. Thinner yarn makes a smaller chick; bulkier makes a bigger one.
How to Crochet the Chick: Complete Instructions
It’s worked in continuous rounds with a stitch marker, head and body as one piece, starting at the top of the head and working down. Here’s each part, step by step.
Head and Body (One Piece)
Using yellow yarn, make a magic ring and work the following rounds:
R1: 6 sc into ring. Place stitch marker and work in continuous rounds. (6 st)
R2: 2 sc in each st. (12 st)
R3: *Sc in next st, 2 sc in next. Repeat from * around. (18 st)
R4: *Sc in next 2 st, 2 sc in next. Repeat from * around. (24 st)
R5-R8: Sc around. (24 st)
R9: *Sc in next 2 st, sc2tog. Repeat from * around. (18 st)
R10: *Sc in next st, sc2tog. Repeat from * around. (12 st)
Insert safety eyes between rows 6 and 7, leaving 4 stitches between them. Stuff the head firmly and continue to stuff the body as you work.
R11: *Sc in next st, 2 sc in next. Repeat from * around. (18 st)
R12: *Sc in next 2 st, 2 sc in next. Repeat from * around. (24 st)
R13: Sc around. (24 st)
R14: *Sc in next 5 st, 2 sc in next. Repeat from * around. (28 st)
R15-R18: Sc around. (28 st)
R19: *Sc in next 5 st, sc2tog. Repeat from * around. (24 st)
R20: *Sc in next st, sc2tog. Repeat from * around. (16 st)
Firmly stuff the rest of the body.
R21: *Sc2tog. Repeat from * around. (8 st). Fasten off, weave end through last stitches and pull tight to close.
Beak
With orange yarn, make a magic ring.
R1: 4 sc into ring. Work in rounds. (4 st)
R2: (Sc in next st, 2 sc in next st) twice. (6 st). Fasten off using an invisible join if preferred.
Sew the beak between and below the eyes. The beak should cover all of row 8 and parts of rows 7 and 9, or adjust placement to your liking.
Top Feathers (Hair)
With yellow yarn, chain 5, slip stitch in the 5th chain from hook to form a loop. Repeat two more times for a total of 3 loops. Fasten off and sew to the top of the chick’s head.
Wings (Make 2)
With yellow yarn, make a magic ring.
R2: (Sc in next st, 2 sc in next st) twice. (6 st)
R3: (Sc in next 2 st, 2 sc in next st) twice. (8 st)
R4: Sc around. (8 st)
R5: Fold piece in half, then sc across the double thickness. (4 st)
R6: Ch 1, (sc2tog) twice. (2 st). Fasten off leaving a long strand for joining.
Sew one wing on each side of the body near the neck.
Tail Feathers
With yellow yarn, chain 7, slip stitch in the 7th chain from hook to form a loop. Repeat two more times for 3 loops. Fasten off and sew to the lower back of the chick.
Feet (Make 2)
With orange yarn, chain 3. Slip stitch in the 2nd chain from hook to make the first toe. Chain 2, slip stitch in the 2nd chain from hook for the second toe. Repeat once more for the third toe. Slip stitch to the very first chain in the round to connect the toes. Fasten off leaving a long strand for joining.
Sew the feet between rows 19 and 20 of the body, or adjust placement as desired. Weave in any remaining loose ends.
Tips for the Best Results
A few extra tips to get a cute chick on the first try.
Stuffing matters. The key to a great-looking amigurumi is even, firm stuffing. Use small handfuls of fiberfill and push them into all the curves and crevices before adding more. Avoid overstuffing, which can make the stitches look strained, or understuffing, which creates a flat, deflated appearance.
Pinning before sewing. Before you attach the beak, wings, and feet, use straight pins to hold each piece in place. Step back and look at the chick from different angles. This simple step lets you adjust the placement until the expression and proportions look just right before you commit to sewing.
Invisible join for clean finishes. When you finish the beak and wings, try using an invisible join instead of a regular fasten off. This technique creates a seamless look where the end of the round meets the beginning, making your work look more polished and professional.
If you find that your tension is a bit inconsistent, our article on how to fix crochet tension offers practical exercises to help you develop more even stitches across your projects.
Ways to Customize Your Chick
The best part is how easy it is to personalize. A few ways to make a whole flock:
Pastel spring palette. Swap the bright lemon yellow for soft pastel shades, pale pink, mint green, lavender, or baby blue. A pastel chick looks wonderful in a nursery setting or as part of a coordinated spring display.
Rainbow chicks. Make each chick a different bright color for a playful, whimsical look that kids will love. Red, blue, green, purple, the bolder the better.
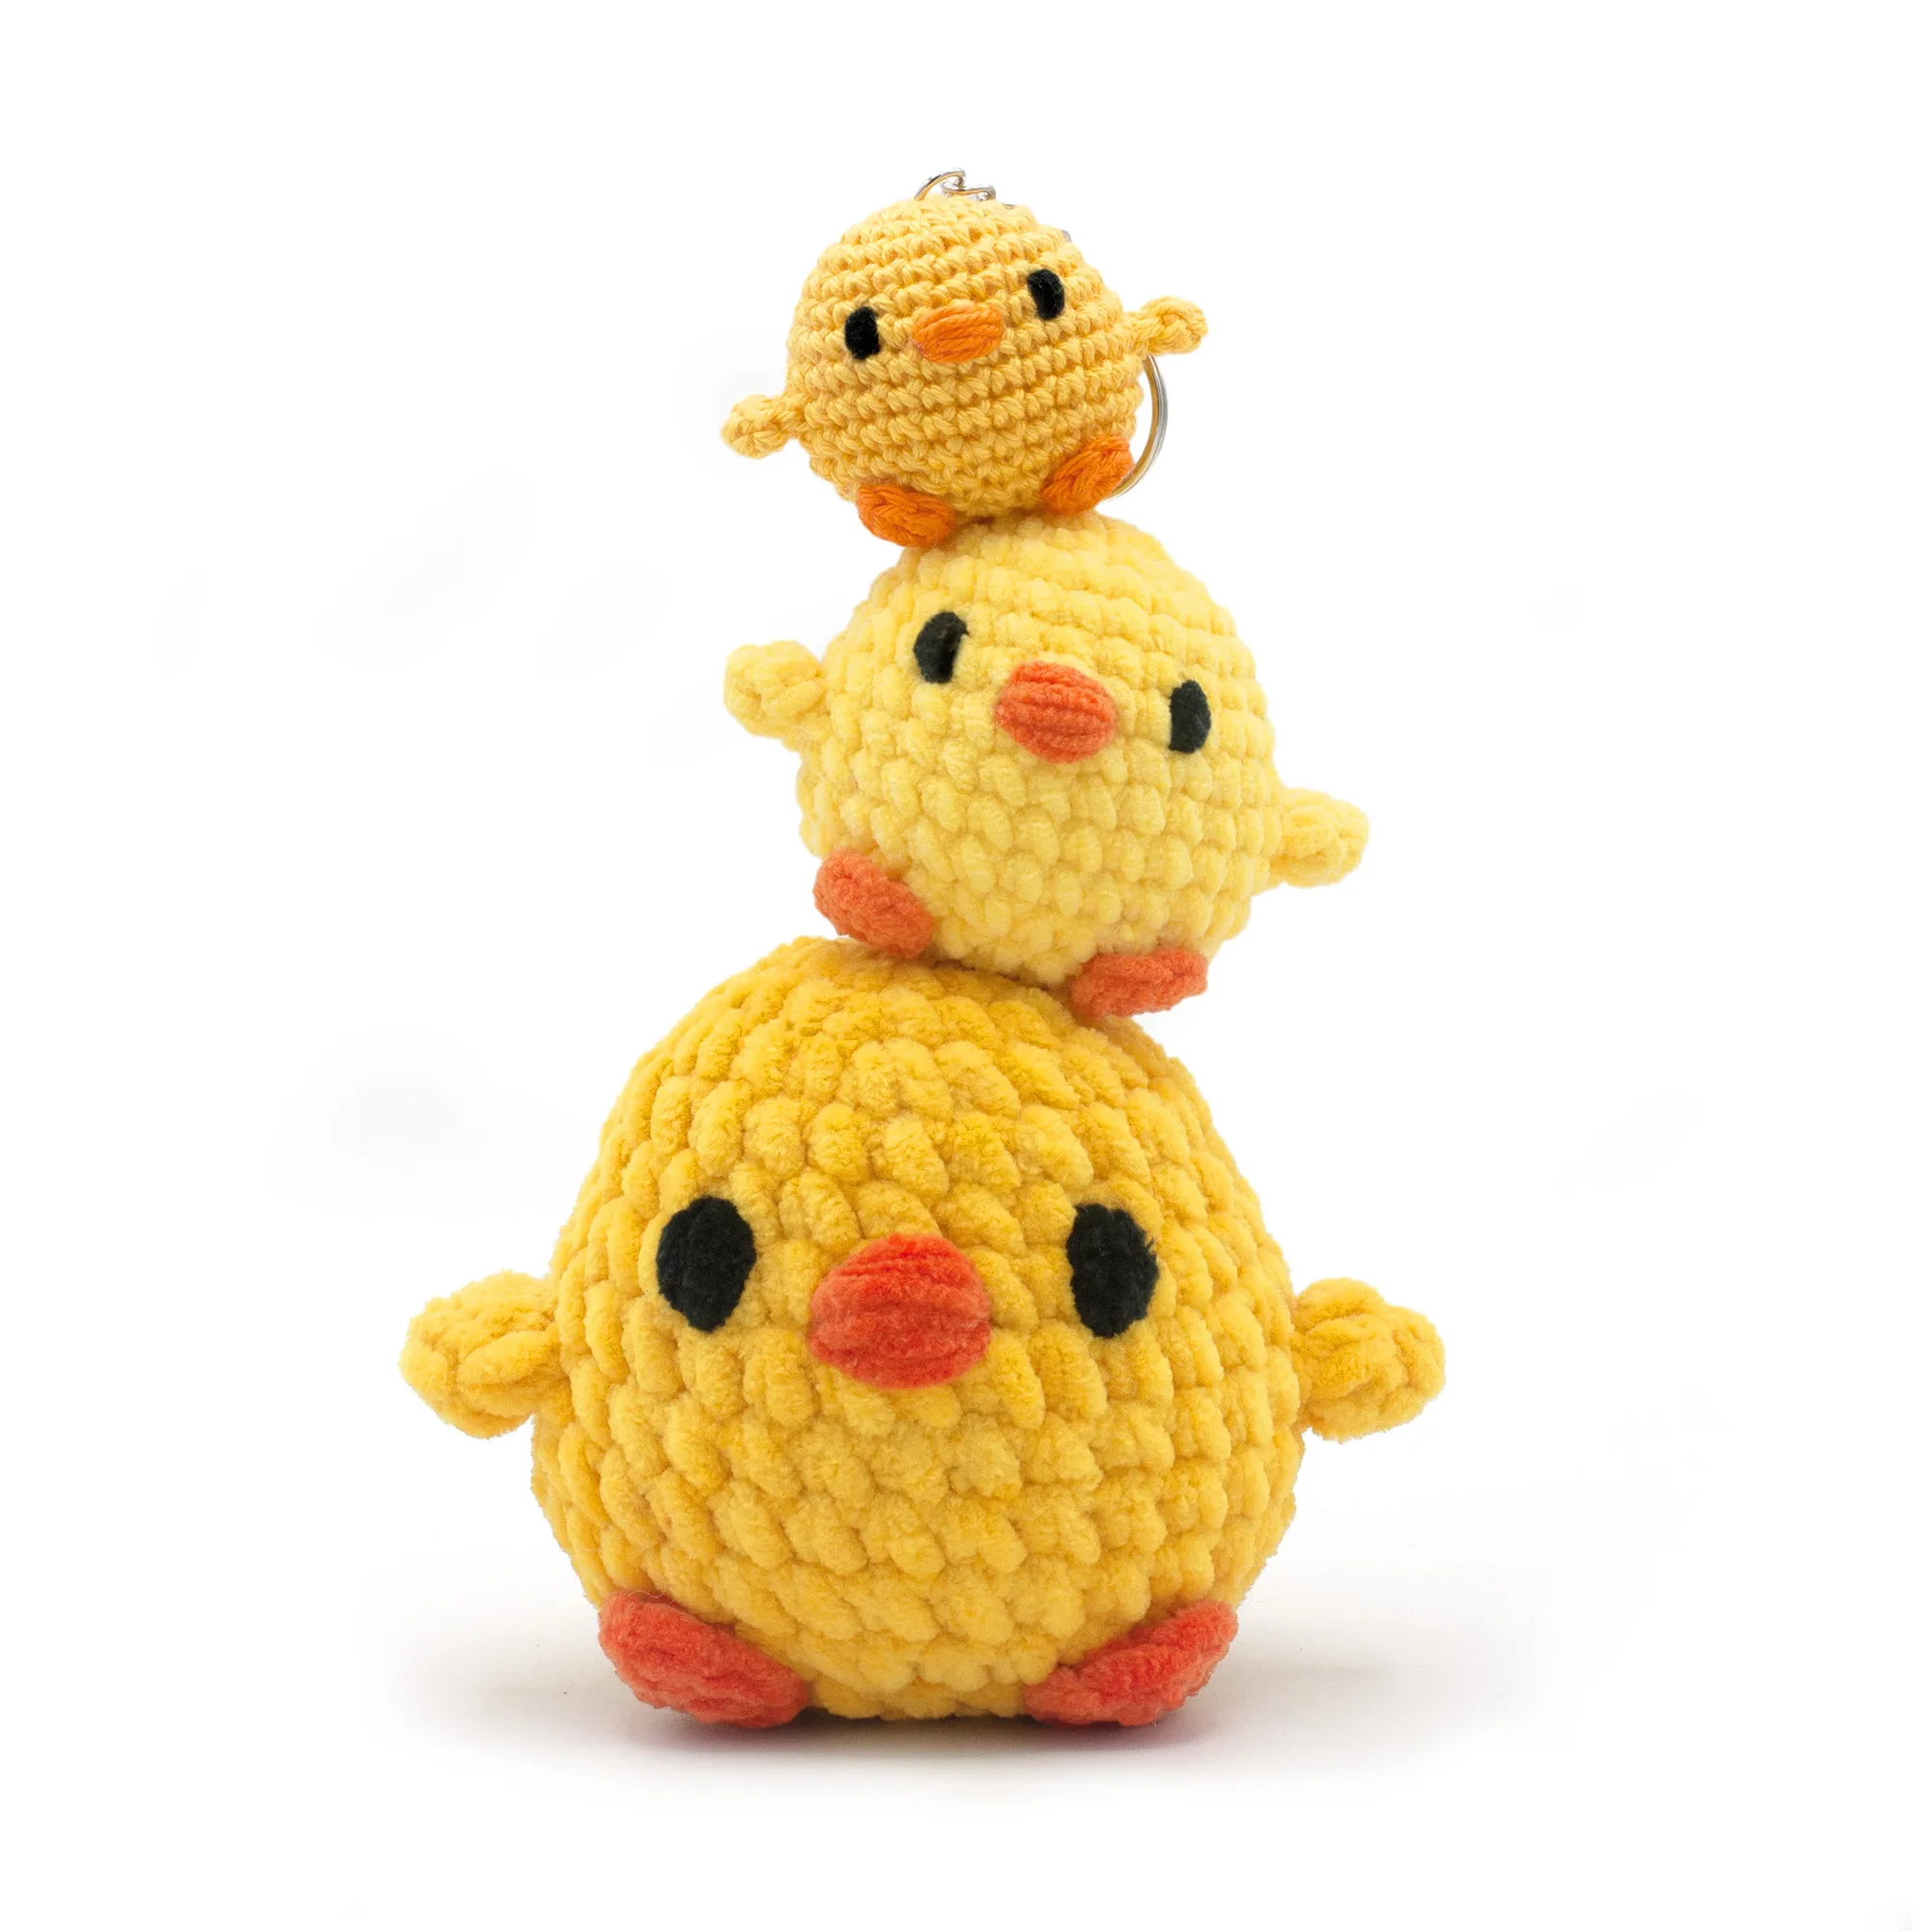
Mini keychain version. Use DK or worsted weight yarn with a 3.5mm hook to create tiny chicks that can be attached to keychains, backpacks, or used as ornaments. These smaller versions also make adorable gift toppers.
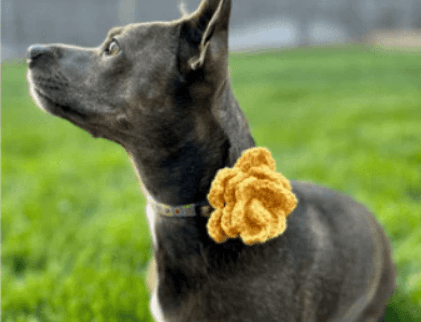
Add accessories. Sew a tiny ribbon bow, a crocheted flower, or a small felt hat onto your chick to give it extra character. You can also embroider rosy cheeks with a strand of pink yarn for an even sweeter look.
For more cute spring projects, browse our collection of easy crochet flower patterns that pair beautifully with this chick for a complete Easter crafting session.
Perfect Pairings for This Chick Crochet Pattern
This chick is part of a bigger set of Easter and spring amigurumi. If you liked it, a few related patterns you might enjoy:
The easy crochet flower pattern is a fantastic companion project that uses similar basic stitches. Crochet a few flowers and arrange them around your chick for a pretty spring display. You can also explore our easy crochet blanket pattern for beginners to create a soft, cozy background for your amigurumi photos.
For those who want to build their amigurumi skills further, the how to crochet for beginners guide covers all the foundational techniques you need to tackle more complex stuffed toys and patterns in the future.
This chick crochet pattern was inspired by amigurumi design principles shared across the crafting community. For more crochet resources and tutorials, the Craft Yarn Council is an excellent reference for standards, yarn weights, and stitch abbreviations. You can also find beautiful pattern inspiration on LoveCrafts.
For more adorable creations, check out our collection of amigurumi toy patterns. If you enjoy small projects, our crochet butterfly pattern is another quick make.
Frequently Asked Questions
How long does it take to complete this chick crochet pattern?
Most crocheters finish this chick in about 2 to 3 hours. Because it uses super bulky chenille yarn and a large 6.5mm hook, the stitches are big and the project moves quickly. Even beginners who work at a slower pace should be able to complete it in a single afternoon.
Can I use a different yarn weight for this chick crochet pattern?
Yes, you can substitute any yarn weight you like. Keep in mind that thinner yarn like DK or worsted will produce a smaller chick, while jumbo weight yarn will make a much larger one. Adjust your hook size to match your yarn, typically one to two sizes smaller than the yarn label recommends for amigurumi, so the stuffing does not show through the stitches.
Is this chick crochet pattern suitable for absolute beginners?
Absolutely. This pattern only uses single crochet, increases, and decreases, all of which are basic techniques covered in our beginner crochet guide. The head and body are worked as one piece, so there is minimal sewing involved. If you have completed a few simple projects before, you will have no trouble with this pattern.
What safety eyes should I use for this chick crochet pattern?
This pattern calls for 14mm safety eyes, which are the perfect size for the finished dimensions of the chick. If you are making the chick for a baby or toddler, consider embroidering the eyes instead using black yarn, as safety eyes can pose a choking hazard for children under three years old.
How do I keep my rounds straight when working in continuous rounds?
Place a stitch marker in the last stitch of every round and move it up as you complete each subsequent round. This simple habit prevents the spiral from drifting and keeps your stitch count accurate. If you lose your place, count the total stitches in the current round and compare it to the pattern to figure out where you are.