Granny Stripe Blanket: 7 Essential Beginner Tips You Need
Quick Answer
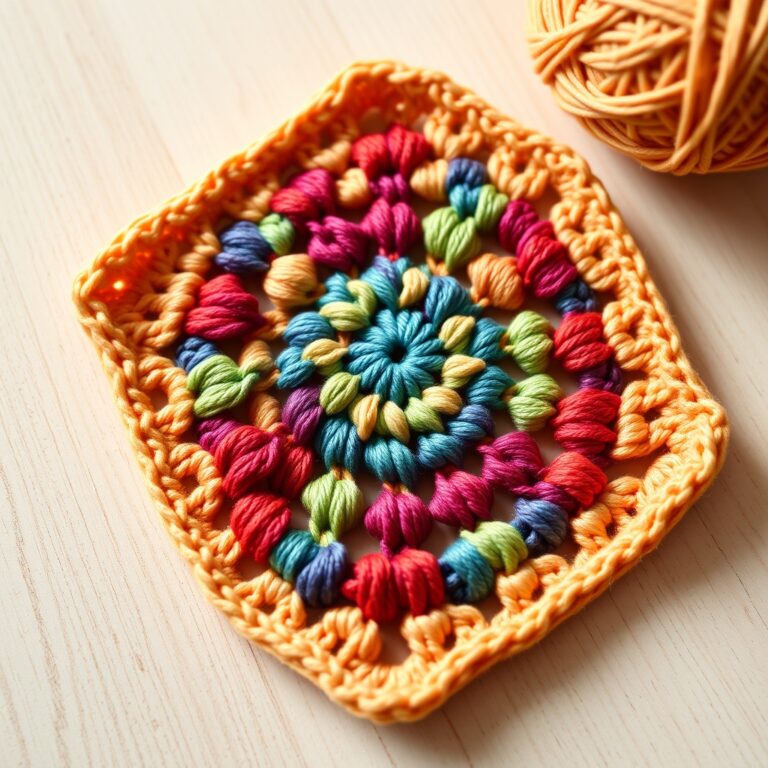
A granny stripe blanket is a crochet blanket made using the granny stripe stitch, a repeating pattern of three double crochet clusters separated by chain spaces, worked in rows instead of rounds. Unlike traditional granny square blankets that require joining multiple motifs, the granny stripe blanket is worked continuously in one piece, making it faster and easier for beginners to complete.
Tip: Change colors every two rows for the classic striped look, this creates clean, defined bands of color without excessive yarn tails to weave in.
At a Glance
- Skill level: beginner (must know chain and double crochet)
- Time needed: 20-30 hours for a throw-size blanket (50″ x 60″)
- Best yarn: worsted weight acrylic or cotton blend (soft and machine washable)
- Hook size: 5.5 mm (I-9) or 6.0 mm (J-10)
Common Mistakes to Quick Fixes
- Blanket getting narrower: count your stitches at the end of every row, missing a chain space is the most common cause
- Wavy or rippled edges: your starting chain is too tight, chain loosely or use a hook one size larger for the foundation chain
- Color changes looking messy: always complete the last stitch of the old color with the new color pulled through both loops
Mini Glossary
Want to try a different approach to blanket-making? Our corner to corner crochet tutorial covers three beginner-friendly methods for creating beautiful textured blankets.
DC (double crochet), CH (chain), SP (space), ST (stitch), SK (skip), RS (right side), WS (wrong side), CH-SP (chain space), BLO (back loop only)

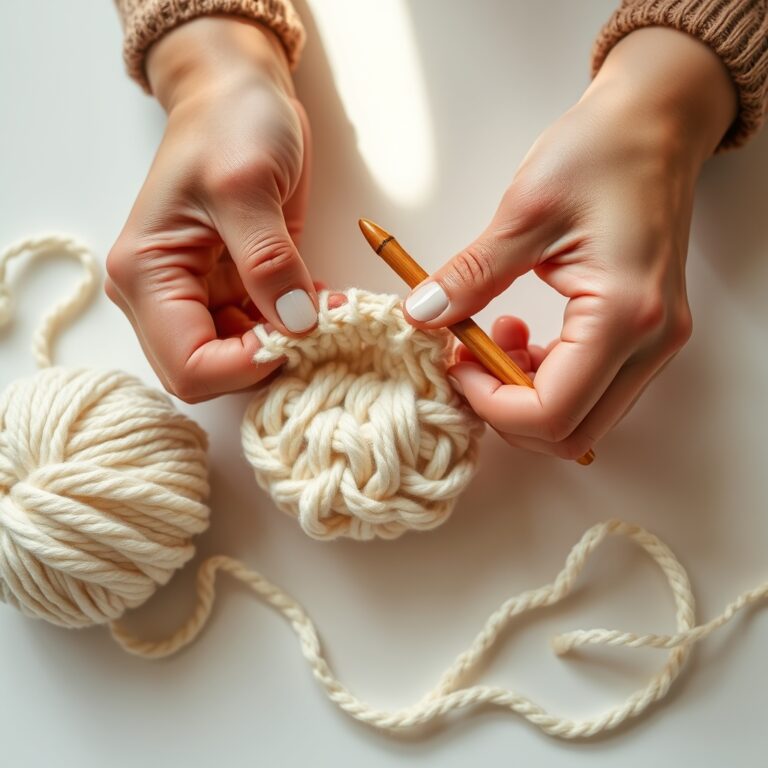
Why the Granny Stripe Blanket Works for Beginners?
The granny stripe blanket is widely considered one of the best first blanket projects once you’ve got the basic stitches down. Unlike a traditional granny square blanket, where you make dozens of squares and join them, this one is worked in a single continuous piece, row after row, from the foundation chain to the border. No seaming, no joining, no piecing at the end. You just work back and forth until it’s as long as you want.
That simplicity makes it incredibly beginner-friendly. The stitch, clusters of three double crochets separated by chain-2 spaces, is repetitive and rhythmic, so you’ll have it memorized after a few rows. Once you find your groove it becomes almost meditative, the kind of thing you can do while watching TV. The rhythm also builds muscle memory, which improves your tension and consistency on every future project.
It also offers instant gratification. Every row adds a visible stripe of color, so you watch the blanket grow with each pass, really motivating for beginners who get discouraged by projects that take hours to show results. Brand new to crochet? Our beginner guide covers all the foundations.
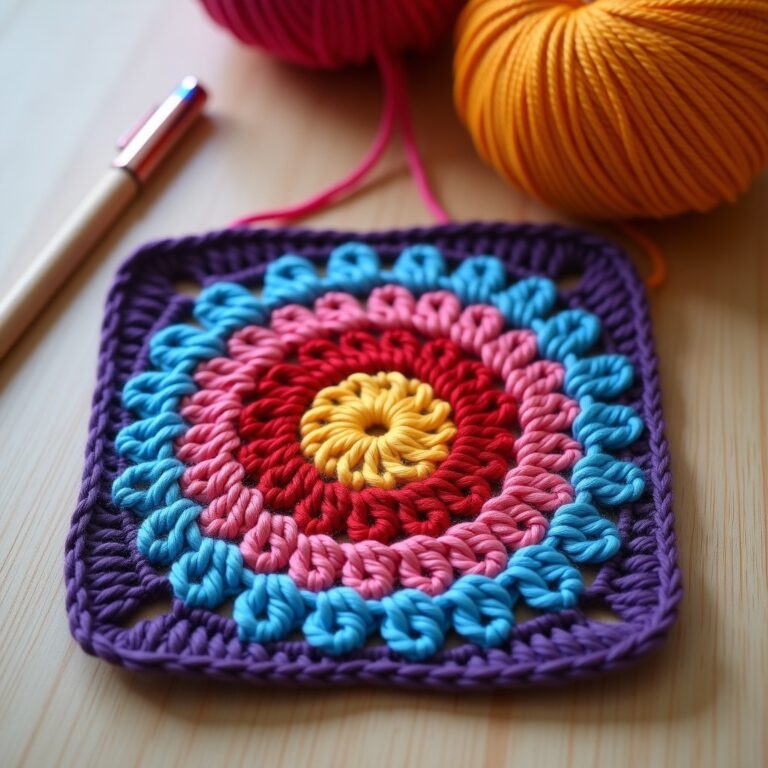
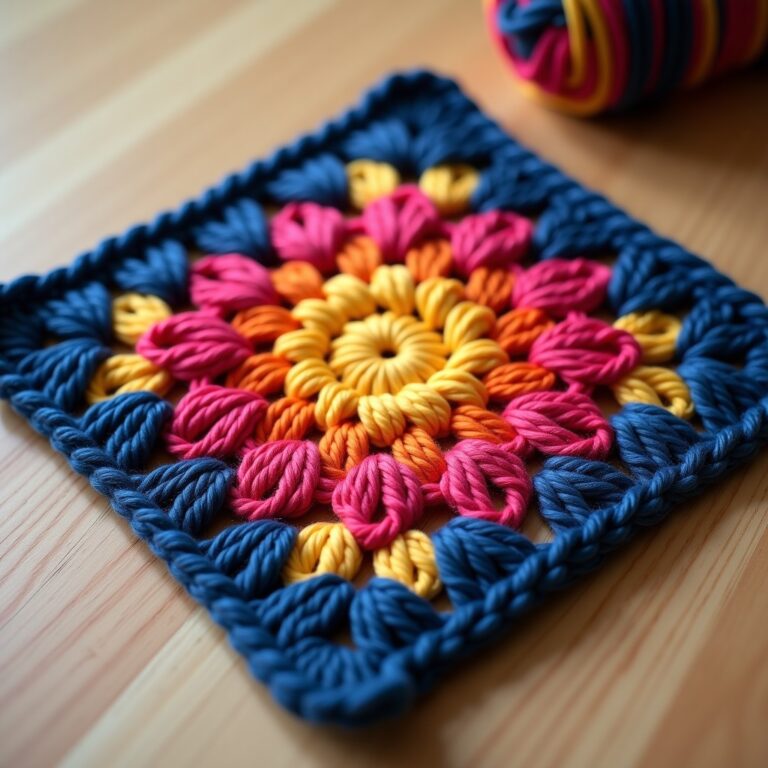
What Makes the motif Different from Granny Squares?
Although the granny stripe and the classic granny square blanket share the same core stitch, the three-double-crochet cluster, they’re built completely differently. A square blanket means making individual squares in the round, then seaming them, with dozens of tails, color planning across squares, and a tedious join at the end.
The stripe version skips all that. You start with one long foundation chain (usually 150 to 200 chains for a throw), work a row of clusters across, chain 2, turn, and repeat. The blanket grows widthwise and you just keep adding rows. Color changes happen at the start of any row, giving you full control of the stripes without planning individual squares.
It’s also much easier to size. Want a baby blanket? Chain 100. A king-size spread? Chain 250. The width comes from your starting chain and the length from how many rows you work. If you want to explore the traditional square approach too, our granny square crochet pattern guide covers it.
7 Essential Tips for Your Granny Stripe Blanket
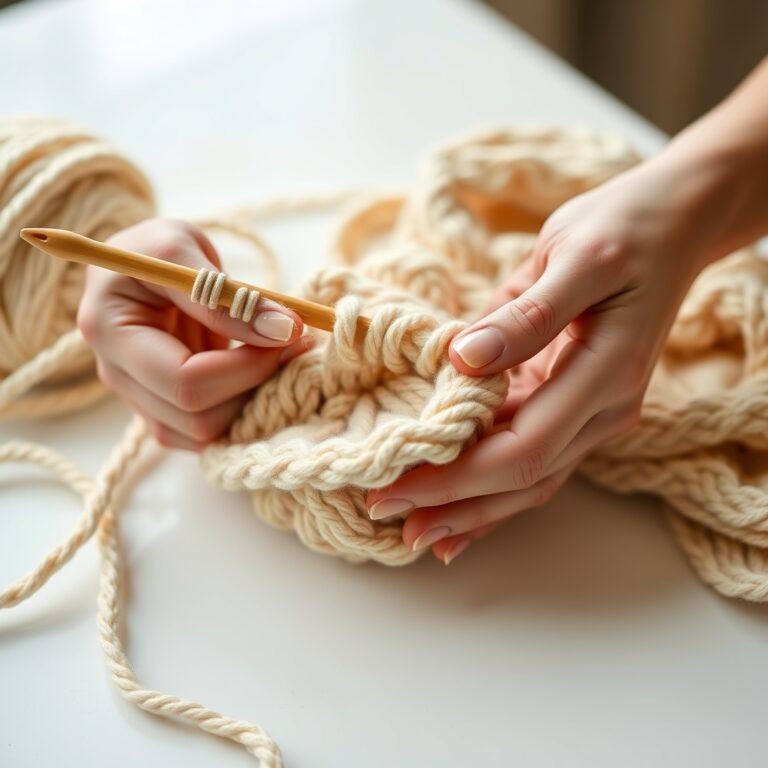
Tip 1: Chain Loosely or Use a Larger Hook for the Foundation
The most common problem beginners face with the motif is a wavy, rippled bottom edge. This happens when the foundation chain is tighter than the rest of the stitches, causing the first row of clusters to bunch up. To prevent this, try chaining with a hook that is one full size larger than the hook you will use for the rest of the blanket. For example, if you plan to work the blanket with a 5.5 mm hook, chain with a 6.0 mm or 6.5 mm hook, then switch back for row one.
Alternatively, you can use the chainless foundation double crochet method (also known as extended single crochet foundation) which creates a starting row that matches the tension of the rest of the work. This technique takes a bit of practice but produces beautifully even edges from the very first row. If you are still getting comfortable with basic chains, our how to start a crochet chain guide covers proper chain tension in detail.
Tip 2: Count Your Stitches at the End of Every Row
The biggest enemy of a neat blanket is an accidentally skipped chain space. When you miss a CH-2 space, your blanket gets narrower by one cluster. When you add an extra cluster, it gets wider. These small errors compound over dozens of rows, turning a rectangular blanket into a trapezoid or a wavy, uneven shape.
The fix is simple: count your clusters at the end of every row. If you started with 30 clusters, you should end every row with 30 clusters. If you have 29, you missed a space, go back and find it. If you have 31, you added an extra cluster, rip back to the mistake. Spending five seconds counting after each row saves hours of frustration later. This habit is one of the most important skills you can develop as a crocheter, and it applies to every project you will ever make. For more essential counting techniques, our crochet abbreviations and pattern reading resources can help.
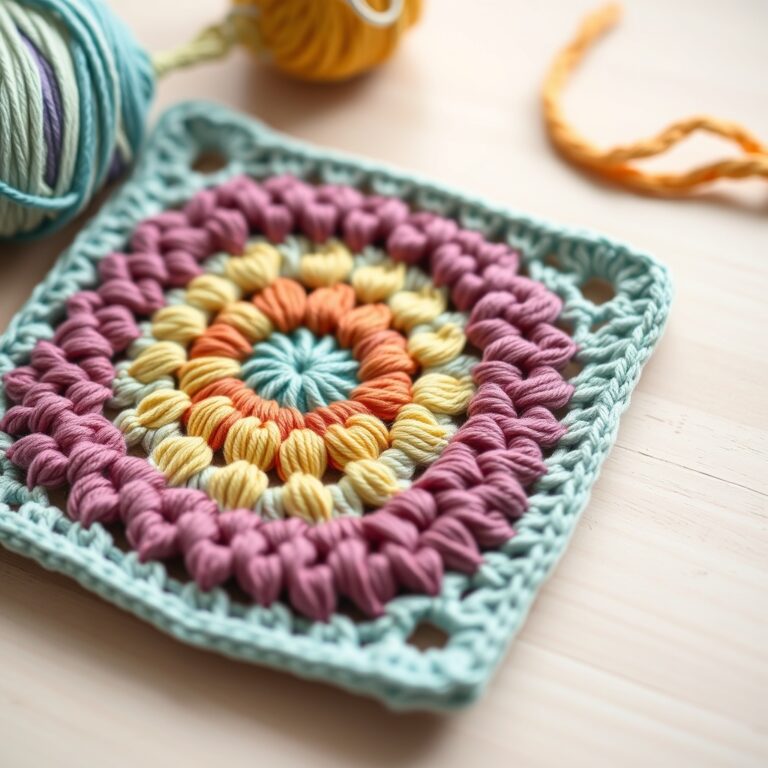
Tip 3: Change Colors Every Two Rows for Clean Stripes
The classic granny stripe blanket look uses two-row stripes, each color gets two rows before switching to the next. This creates defined, even bands of color that look crisp and intentional. Changing colors every single row creates very thin stripes that can look busy, while changing every three or more rows creates wider bands that may not show the stitch pattern as clearly.
To change colors cleanly, work the last double crochet of the second row until you have two loops on your hook. Drop the current color, pick up the new color, yarn over with it, and pull through both remaining loops. This creates a seamless transition that sits perfectly on the edge of the blanket. Do not tie knots or cut yarn between every color change, simply carry the unused color up along the side edge by working the first stitch loosely around the strand. This technique means you only have yarn tails at the very beginning and very end of the blanket, not every two rows.
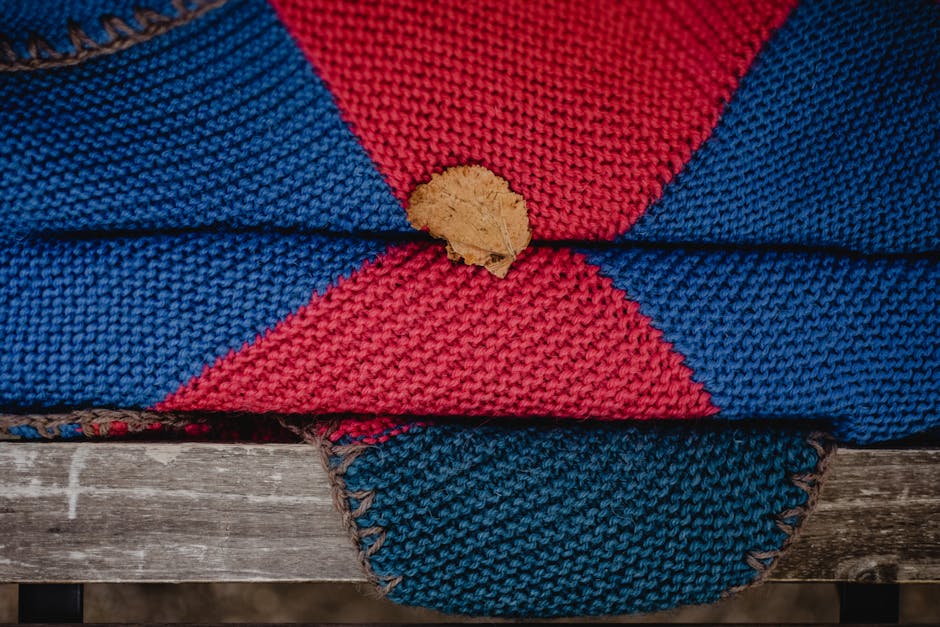
Tip 4: Plan Your Color Sequence Before You Start
One of the best things about the design is the color freedom it offers. However, this freedom can also lead to chaotic, unplanned color combinations that look muddled. Before you begin, lay out your yarn colors in the order you plan to use them and take a photo. This simple step lets you evaluate whether the color flow is harmonious or if any adjacent colors clash.
Popular color schemes include rainbow order (red, orange, yellow, green, blue, purple), ocean tones (navy, teal, seafoam, white, sandy beige), and neutral palettes (cream, gray, charcoal, oatmeal). You can also use a variegated or self-striping yarn for a single-color blanket that still has visual movement without the work of manual color changes. For help choosing quality yarns that work well together, check out our best yarn for beginner crochet recommendations.
Tip 5: Use Stitch Markers for the First and Last Cluster
Keeping your edges straight is critical, and the easiest way to do this is to place a stitch marker in the first and last chain-2 space of every row. These edge spaces are where mistakes happen most often, it is easy to accidentally skip the first space or add an extra chain at the end of a row, which shifts everything off by one cluster.
By marking these positions, you always know exactly where your row should start and end. When you reach the end of a row, your last cluster should land exactly on the marker. If it does not, you know immediately that something is wrong and can fix it before continuing. This small habit prevents the gradual narrowing or widening that ruins so many granny stripe blanket projects. Use a different colored marker for each edge so you can tell them apart at a glance.
Tip 6: Add a Simple Border for a Finished Look
A blanket without a border looks incomplete, the side edges can be uneven, and the top and bottom edges often do not match. Adding a simple one-round or two-round border pulls everything together and gives your blanket a polished, professional finish. The easiest border is a single round of single crochet all the way around, working 3 SC in each corner. For a slightly more decorative finish, add a second round of half double crochet or a shell stitch border.
The key to a good border is working the correct number of stitches along each edge. Along the top and bottom (the foundation chain and the last row), you should have roughly one stitch per chain or cluster. Along the sides, work roughly 3 stitches for every 2 rows of granny stitch. This ratio prevents the border from ruffling (too many stitches) or pulling in (too few stitches). Our crochet border patterns guide has seven beautiful border ideas that work perfectly with the granny stripe pattern.
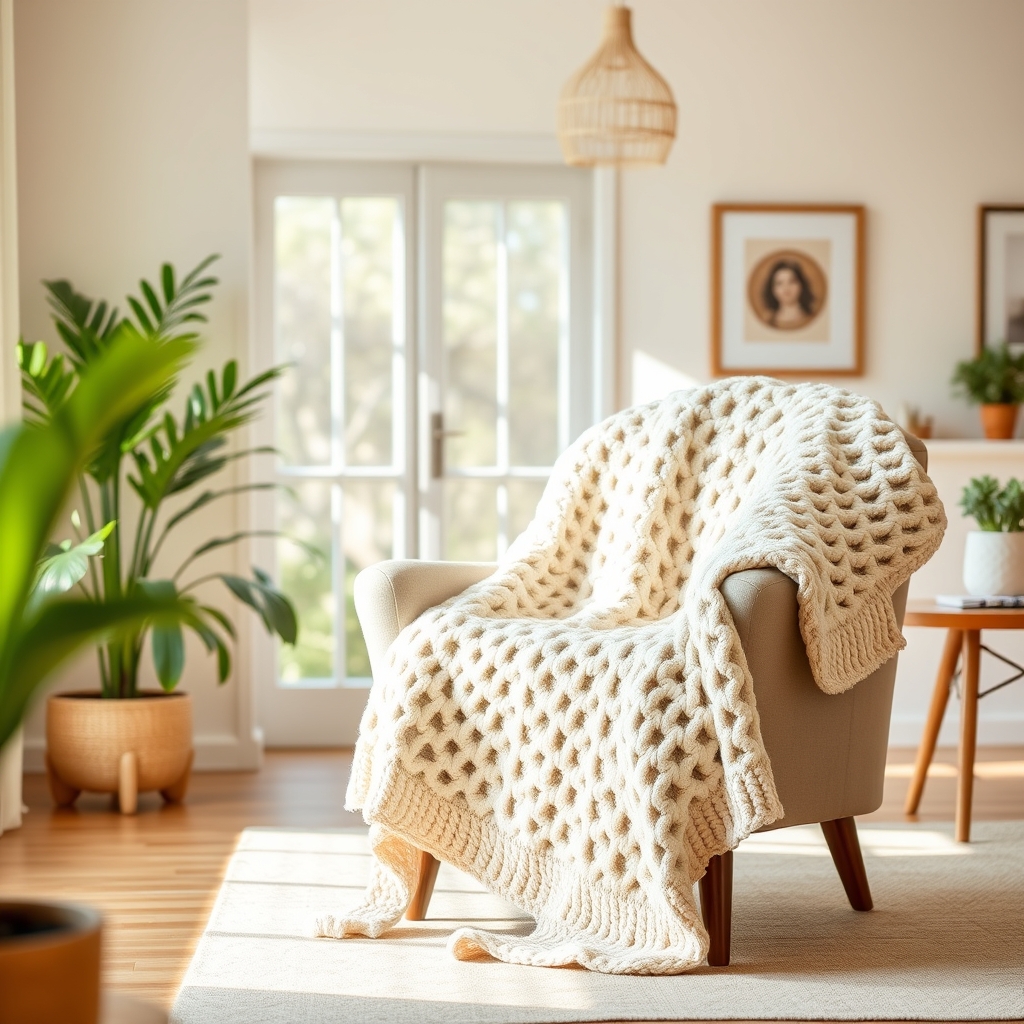
Tip 7: Block Your Finished Granny Stripe Blanket
Blocking transforms a good blanket into a stunning one. After completing your blanket and adding the border, soak it in cool water for 15 to 20 minutes, gently squeeze out the excess water (do not wring or twist), and lay it flat on a clean surface. Pin the corners first, then pin along all four edges every 3 to 4 inches, making sure the sides are straight and the corners form perfect right angles.
Let the blanket air dry completely, this usually takes 24 to 48 hours for a full-size blanket. Blocking does several important things: it evens out your stitch tension, straightens wavy edges, opens up the stitch pattern so you can see the individual clusters clearly, and gives the entire blanket a soft, drapey hand feel. If you have never blocked a project before, this is the perfect one to start with because the improvement is dramatic and immediately visible.
Granny Stripe Blanket Summary
Here is the core granny stripe blanket pattern you will follow for every row after the foundation.
Starting chain: Chain a multiple of 3 + 2 (for example, chain 152 for a throw-size blanket that is about 50 inches wide).
Row 1: 2 DC in the 4th chain from the hook (counts as first cluster). *CH 2, skip 2 chains, 3 DC in the next chain. Repeat from * across to the last 3 chains. Skip 2 chains, 3 DC in the last chain. CH 3, turn.
Row 2 (and all subsequent rows): 3 DC in the first CH-2 space. *CH 2, 3 DC in the next CH-2 space. Repeat from * across. CH 3, turn.
Repeat Row 2 until the blanket reaches your desired length. Change colors every 2 rows for classic stripes.
How Big Should Your Granny Stripe Blanket Be?
Standard sizes vary by purpose. A baby (receiving) blanket is usually about 30 by 36 inches, roughly a 90-stitch starting chain and 80 to 90 rows. A lapghan or throw runs about 50 by 60 inches, about 150 stitches and 130 to 150 rows. A full bed blanket is around 60 by 80 inches, about 180 stitches and 180 to 200 rows.
Yarn needs scale with size. A baby blanket usually takes 800 to 1,000 yards; a throw runs 1,500 to 2,000; a full-size blanket can use 3,000 to 4,000 depending on yarn weight. Worsted is the most versatile, it works up fast and still gives good stitch definition. Our how to crochet a blanket tutorial covers sizing and yarn estimation in more detail.
For more crochet inspiration and stitch standards, see the Craft Yarn Council standards or browse granny stripe blanket patterns on Ravelry.
Frequently Asked Questions
How many skeins of yarn do I need for a granny stripe blanket?
The number of skeins depends on the finished size and yarn weight, but a standard throw usually needs 8 to 12 skeins of worsted. A good rule of thumb is 1,500 to 2,000 yards total for a lap-sized blanket, and buy a little extra for gauge differences and color planning.
Is the granny stripe blanket pattern good for beginners?
Yes, the granny stripe blanket is excellent for beginners since it uses only basic stitches (chains and double crochet) in a simple, repetitive pattern. Because you work in rows rather than joining squares, it’s often easier and faster than a traditional granny square blanket, and it makes a fantastic first blanket.
How do I change colors in a granny stripe blanket?
To change colors, finish the last double crochet of your current color, then start the next stitch with the new color, leaving a tail to weave in. For clean changes, carry the unused yarn along the side edge and crochet over it to cut down on ends. Planning your color sequence ahead keeps the whole blanket looking cohesive.
What is the best border for a granny stripe blanket?
The best border depends on your style, but a simple single crochet round followed by a shell or picot edging works beautifully. Some people use a solid color to frame the stripes; others fade through the blanket’s colors. Either way, a good border gives it a polished, professional finish.