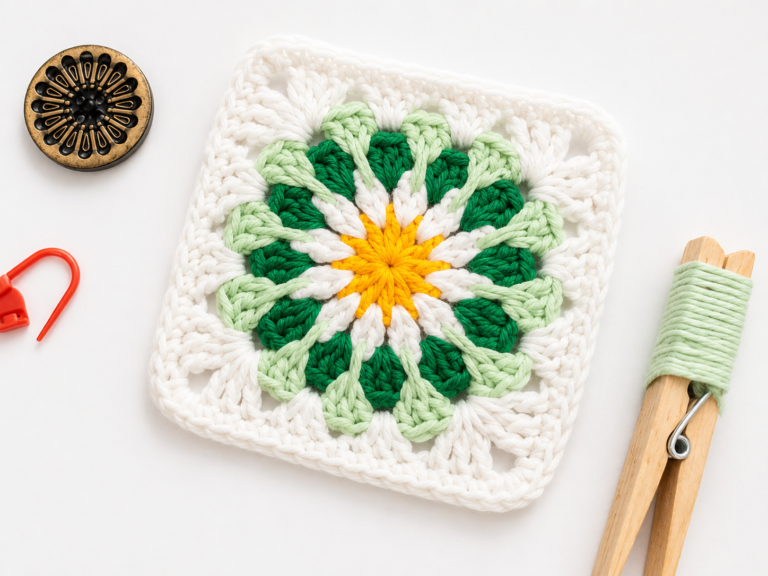
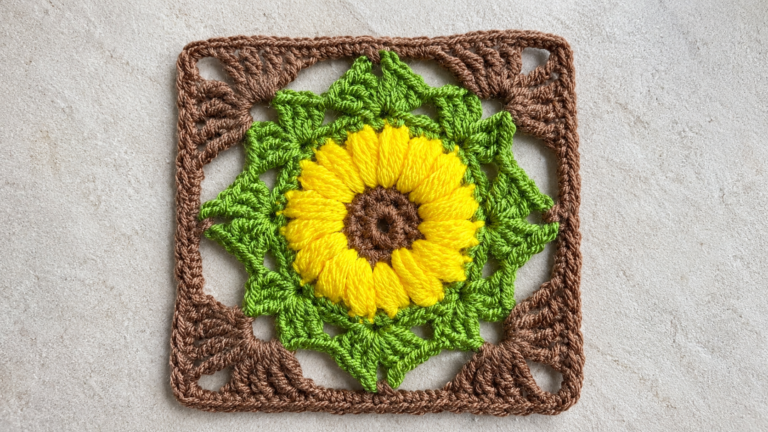
Offset Granny Square: Free 7 steps Crochet Pattern
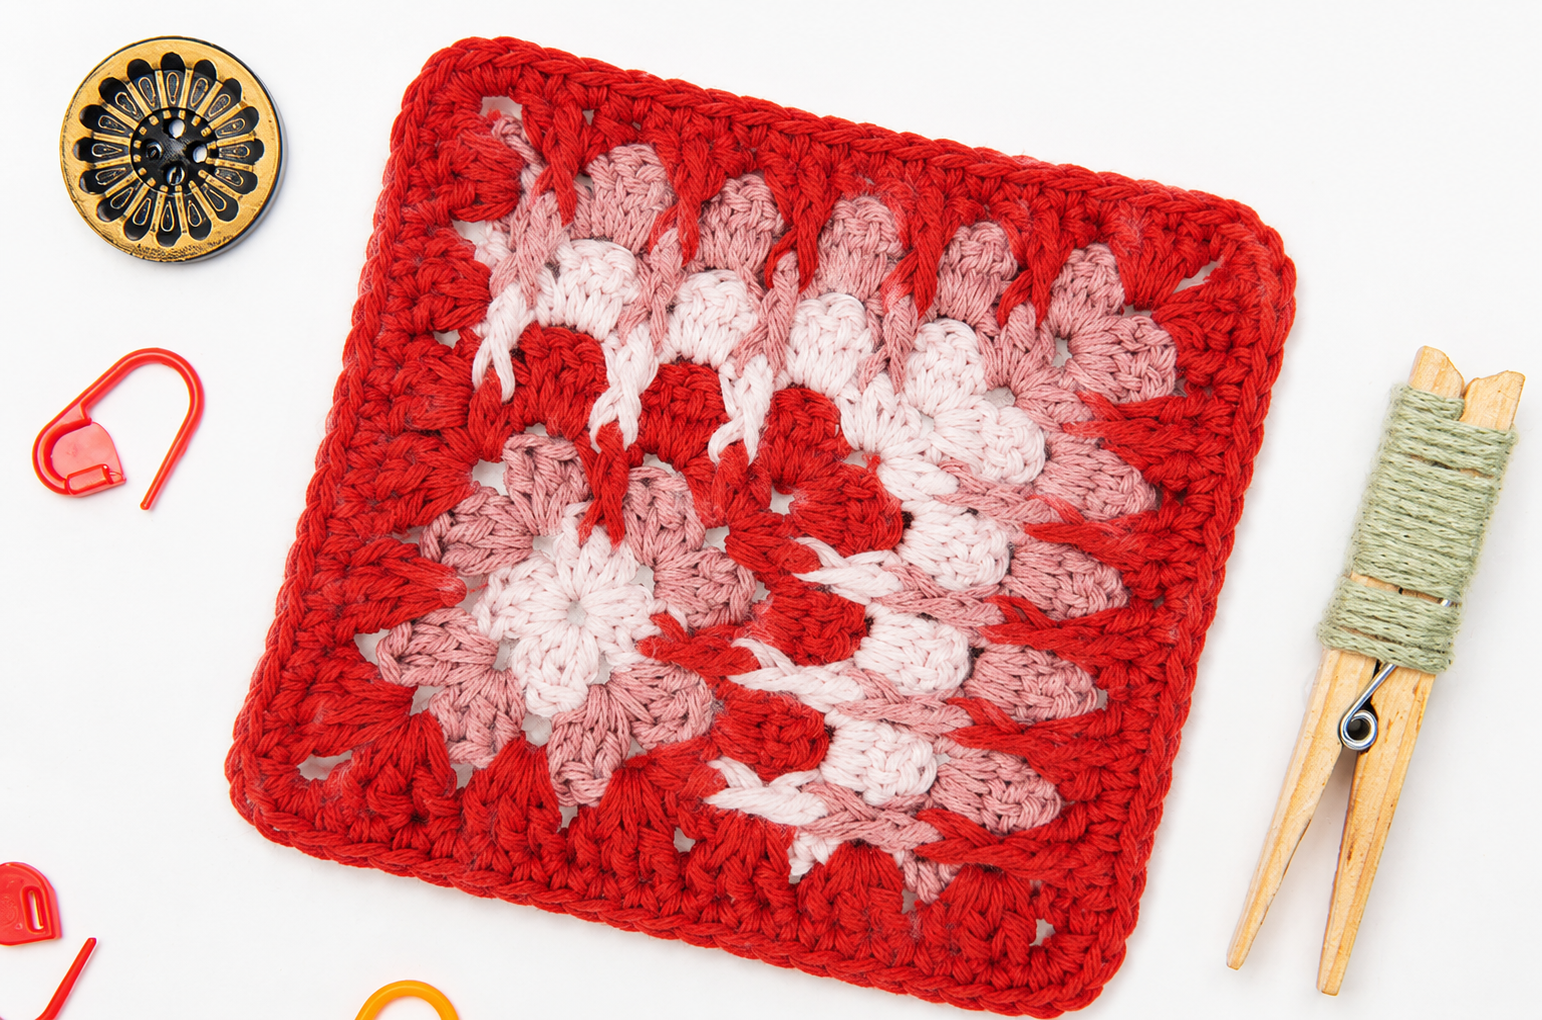
This offset granny square comes from a design by Yeezhee, who shared it with us directly and gave permission for this write-up. Most granny squares grow outward in even, symmetrical rounds. This one doesn’t. It uses back post double crochet and a partial-round turning technique that builds a staggered band of texture, shifting diagonally across the square one round at a time. That’s what gives the finished piece its offset, basket-weave look.
As an Amazon Associate we earn from qualifying purchases: some supply links in this post are affiliate links, at no extra cost to you.
More Granny Squares to Try
Why You’ll Love This Offset Granny Square
Starting in Round 3, each round works partway around with back post double crochet (this is what creates the raised, textured cluster), then turns and works back across the rest of the square in plain double crochet. Each round adds one more cluster to the band and nudges its position over. That’s the part that actually produces the staggered look once you stand back and look at the whole square.
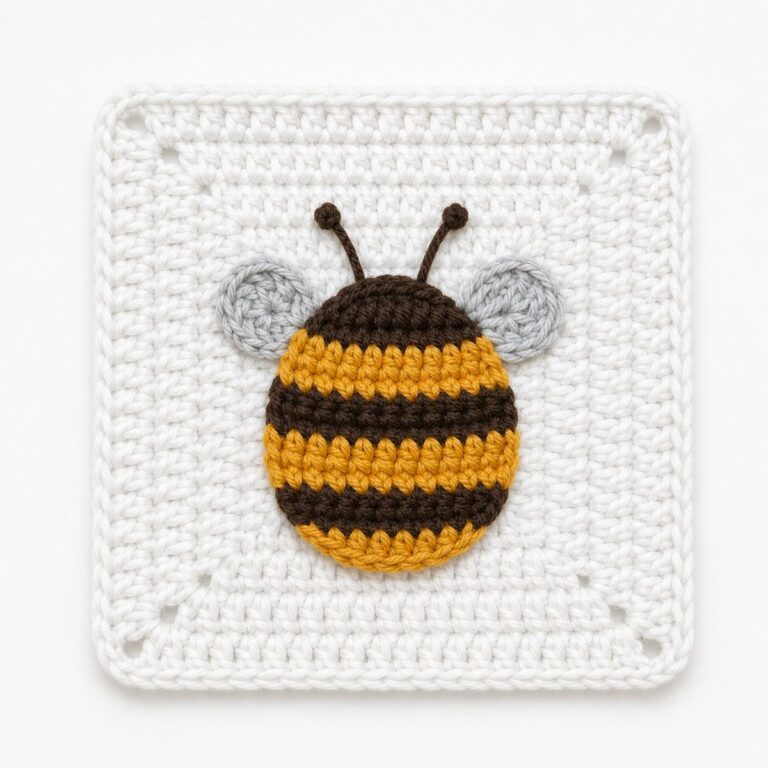
The photographed version uses deep red with soft pink and white in the textured band, which makes the staggered shift easy to spot at a glance. Any two- or three-color combination will work though. Planning a mixed-motif blanket? Our Granny Square Patterns hub rounds up 25+ more motifs, including our diamond, floral, and spade granny squares.
Materials You Will Need
- Yarn: Two to three colors in a light (#3) weight yarn, such as DK weight. Color A (red in the photographed example) frames the square in Rounds 1, 2, and 7. Colors B and C (pink and white in the photographed example) build the textured band in Rounds 3-6.
- Crochet hook: A 3.50 mm hook. Sizing up or down will change your finished square size, so keep your hook consistent if you are making multiples for a joined project.
- Tapestry or darning needle: For weaving in ends between color changes.
- Stitch marker or marking clip: Helpful for keeping track of your first stitch in Rounds 3-6, where the round turns partway through instead of joining all the way around.
- Scissors: For trimming yarn between color changes.
According to the Craft Yarn Council, light (#3) weight yarns are typically recommended with hooks between 3.0 mm and 4.5 mm, so a 3.50 mm hook in the middle of that range gives the back post stitches enough room to sit cleanly without the fabric curling.
Gauge and Finished Size
Worked with light (#3) weight yarn and a 3.50 mm hook, this offset granny square finishes at approximately 5 inches (12.5 cm) across. As with most granny square motifs, exact gauge is not critical as long as your tension stays consistent from square to square. For a larger finished square, switch to a worsted (#4) weight yarn with a 5.00 mm hook, or add an extra solid round in Color A after Round 7.
Abbreviations
- ch: Chain stitch
- sl st: Slip stitch (used to join)
- sc: Single crochet
- dc: Double crochet
- bpdc: Back post double crochet (yarn over, insert hook from back to front to back around the post of the indicated stitch, then complete as a normal double crochet)
- st(s): Stitch(es)
- rep: Repeat the instructions that follow
Step-by-Step Offset Granny Square Instructions
As outlined above, this works in seven rounds. Rounds 1, 2, and 7 go all the way around like a standard granny square. Rounds 3 through 6 turn partway through instead, each one leaving one corner open for the next round to pick up, and that’s what shifts the textured band diagonally across the square.
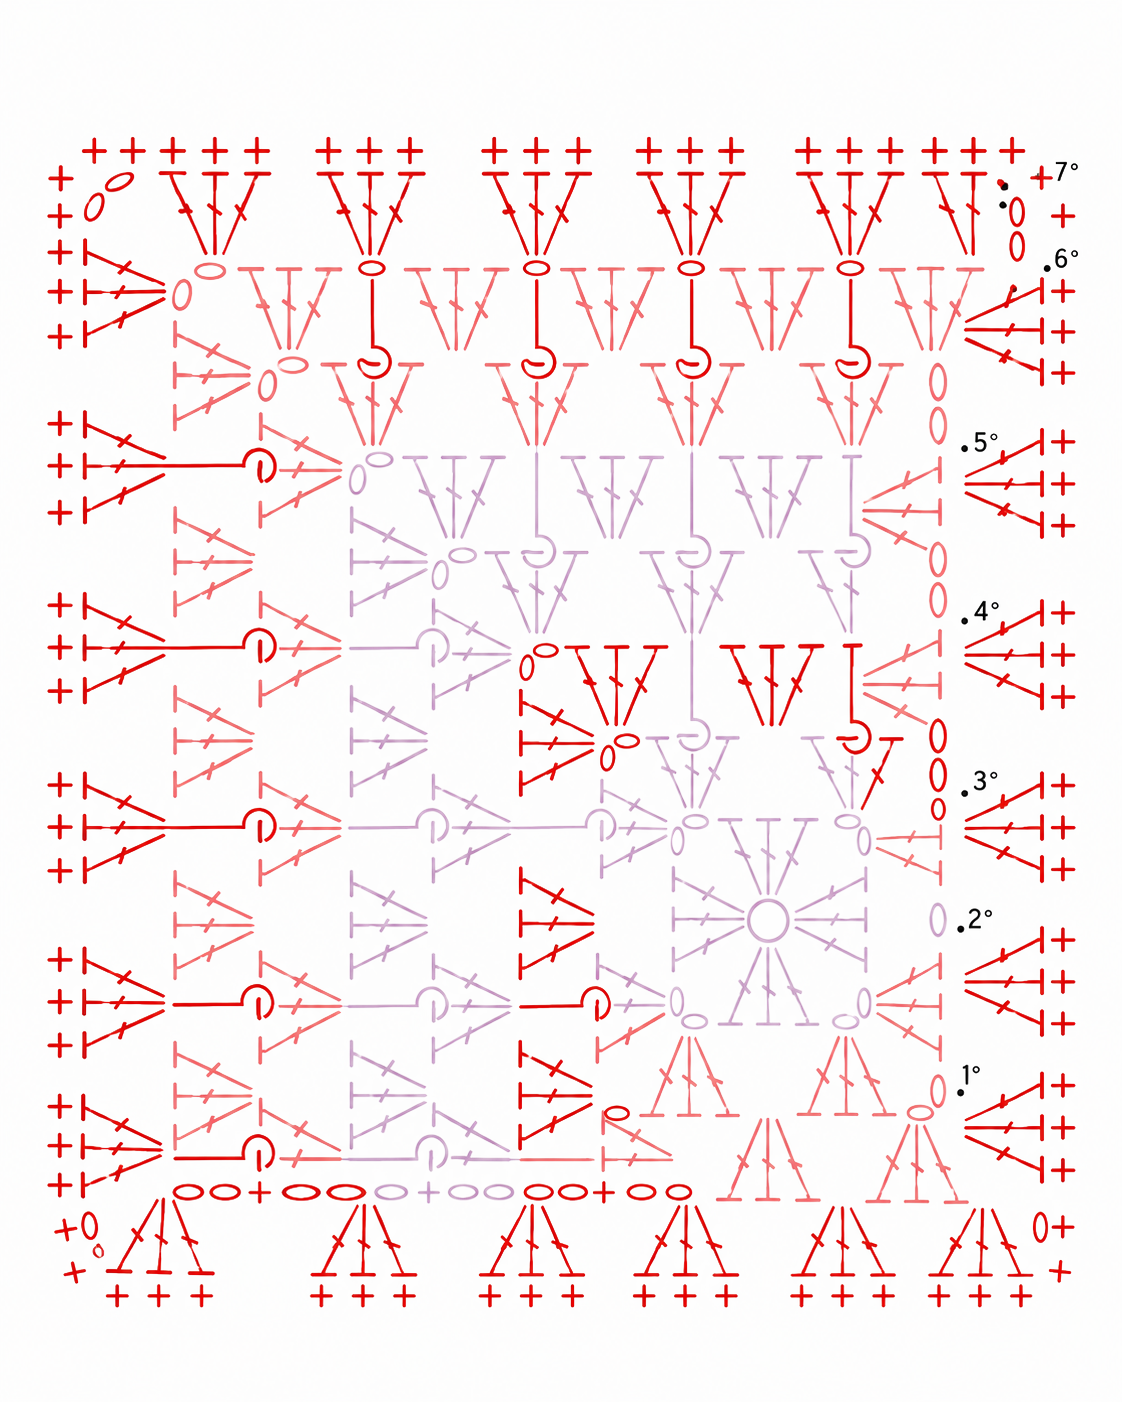
Round 1: Magic Ring Foundation
Start with a magic ring in Color A.
Instructions: Make a magic ring. Chain 3 (counts as your first double crochet), work 2 more double crochet into the ring (3 dc total), chain 2. Work [3 dc, chain 2] three more times into the ring. Join with a slip stitch to the top of the starting chain 3. Pull the ring closed. You should have 4 groups of 3 dc separated by 4 chain-2 corner spaces.
Round 2: Expanding the Corners
Continue in Color A, or fasten off and switch colors here if you want a single-round center.
Instructions: Join in any corner chain-2 space. Chain 3 (counts as your first double crochet), work 2 more double crochet, chain 2, work 3 more double crochet, all in the same space, completing a (3 dc, chain 2, 3 dc) corner shell. Work (3 dc, chain 2, 3 dc) in each of the remaining 3 corner spaces. Join with a slip stitch to the top of the starting chain 3. Fasten off if changing color.
Round 3: Starting the Offset Band
This is the first round where the offset technique kicks in. Read it through once before diving in: you’ll work forward through two corners, turn, and work back through a third, leaving the fourth corner open for Round 4.
Instructions: Join Color B in any corner chain-2 space. Chain 3 (counts as your first double crochet), work 2 more double crochet in the same space (a plain 3-dc group, no new chain-2 here). Work 1 dc in the next stitch, 1 bpdc around the next stitch, 1 dc in the next stitch. Work (3 dc, chain 2, 3 dc) in the next corner chain-2 space. Work another [1 dc, 1 bpdc, 1 dc] cluster. Work 3 dc evenly along the next side.
Chain 3, then turn your work. Work 3 dc, then 3 dc again (2 groups of 3). Work (3 dc, chain 2, 3 dc) in the next corner chain-2 space. Work 3 dc twice more, then 1 more dc. Join with a slip stitch to the top of the turning chain 3, then turn your work again. Fasten off if changing color. The fourth corner is left unworked, Round 4 will start there.
Round 4: Growing the Band
The textured band grows by one cluster on each side this round, and the open corner shifts again.
Instructions: Join Color C (or continue Color B) at the corner left open by Round 3. Chain 3 (counts as your first double crochet), 1 bpdc, 1 dc. Work [1 dc, 1 bpdc, 1 dc] two more times. Work (3 dc, chain 2, 3 dc) in the next corner chain-2 space. Work [1 dc, 1 bpdc, 1 dc] three times.
Chain 3, then turn. Work 3 dc three times. Work (3 dc, chain 2, 3 dc) in the next corner chain-2 space. Work 3 dc three more times, then 1 more dc. Join with a slip stitch, then turn. Fasten off if changing color. One corner is again left open for Round 5.
Round 5: Continuing the Band
Instructions: Join your next color at the open corner. Chain 3 (counts as your first double crochet), 1 bpdc, 1 dc. Work [1 dc, 1 bpdc, 1 dc] two more times. Work (3 dc, chain 2, 3 dc) in the next corner chain-2 space. Work [1 dc, 1 bpdc, 1 dc] four times.
Chain 3, then turn. Work 3 dc four times. Work (3 dc, chain 2, 3 dc) in the next corner chain-2 space. Work 3 dc four more times, then 1 more dc. Join with a slip stitch, then turn. Fasten off if changing color.
Round 6: Closing the Band
This is the last textured round. It closes up normally all the way around instead of turning, since the square is now fully shaped.
Instructions: Join your next color at the open corner. Chain 3 (counts as your first double crochet), 1 bpdc, 1 dc. Work [1 dc, 1 bpdc, 1 dc] three more times. Work (3 dc, chain 2, 3 dc) in the next corner chain-2 space. Work [1 dc, 1 bpdc, 1 dc] five times. Chain 2 (no turn this time). Work 3 dc five times. Work (3 dc, chain 2, 3 dc) in the next corner chain-2 space. Work 3 dc five more times. Chain 2. Join with a slip stitch to close the round. Fasten off.
Round 7: Solid Border
The final round adds a simple single crochet border in Color A, framing the whole motif and squaring off any unevenness left by the turning rounds.
Instructions: Join Color A in any corner space. Chain 1. Work 18 sc evenly along one side, then 3 sc in the corner space. Repeat [18 sc along the side, 3 sc in the corner] three more times to complete all four sides. Join with a slip stitch to the first stitch of the round. Fasten off and weave in all remaining ends.
Tips for Perfect Results
- Mark your first stitch in Rounds 3-6. Since these rounds turn partway through instead of joining all the way around, a stitch marker in your starting stitch makes it much easier to keep track of where each round begins and ends.
- Back post double crochet takes a little practice. If you haven’t worked back post stitches before, try a small swatch first. The hook goes around the post of the stitch from behind rather than under the top two loops, and that feels different until you get used to it.
- High contrast colors show the offset best. Since the whole point of this design is the staggered shift in the textured band, a clear light-against-dark combination will show it off more than a tonal or low-contrast palette.
- Block your finished square. The turning rounds and back post stitches can pull the fabric slightly out of square; a light steam or spray block will even everything out before you join it to other motifs.
Frequently Asked Questions
Did KnotToYarn design this offset granny square?
No, this is Yeezhee’s original design. They gave us permission to write up our own version of the pattern, and we wanted to credit them clearly rather than just post a photo and a link.
Can I make this offset granny square in just two colors?
Yes. Use Color A for Rounds 1, 2, and 7, and a single contrast color for the whole textured band in Rounds 3-6. The diagonal shift will still read clearly, just a bit more subtle than the three-color version.
Why do Rounds 3 through 6 turn instead of joining all the way around?
Turning partway through each round is what lets the back post texture grow and shift position one cluster at a time. If these rounds joined all the way around instead, the textured band would stay in the same spot every round instead of stepping diagonally across the square.