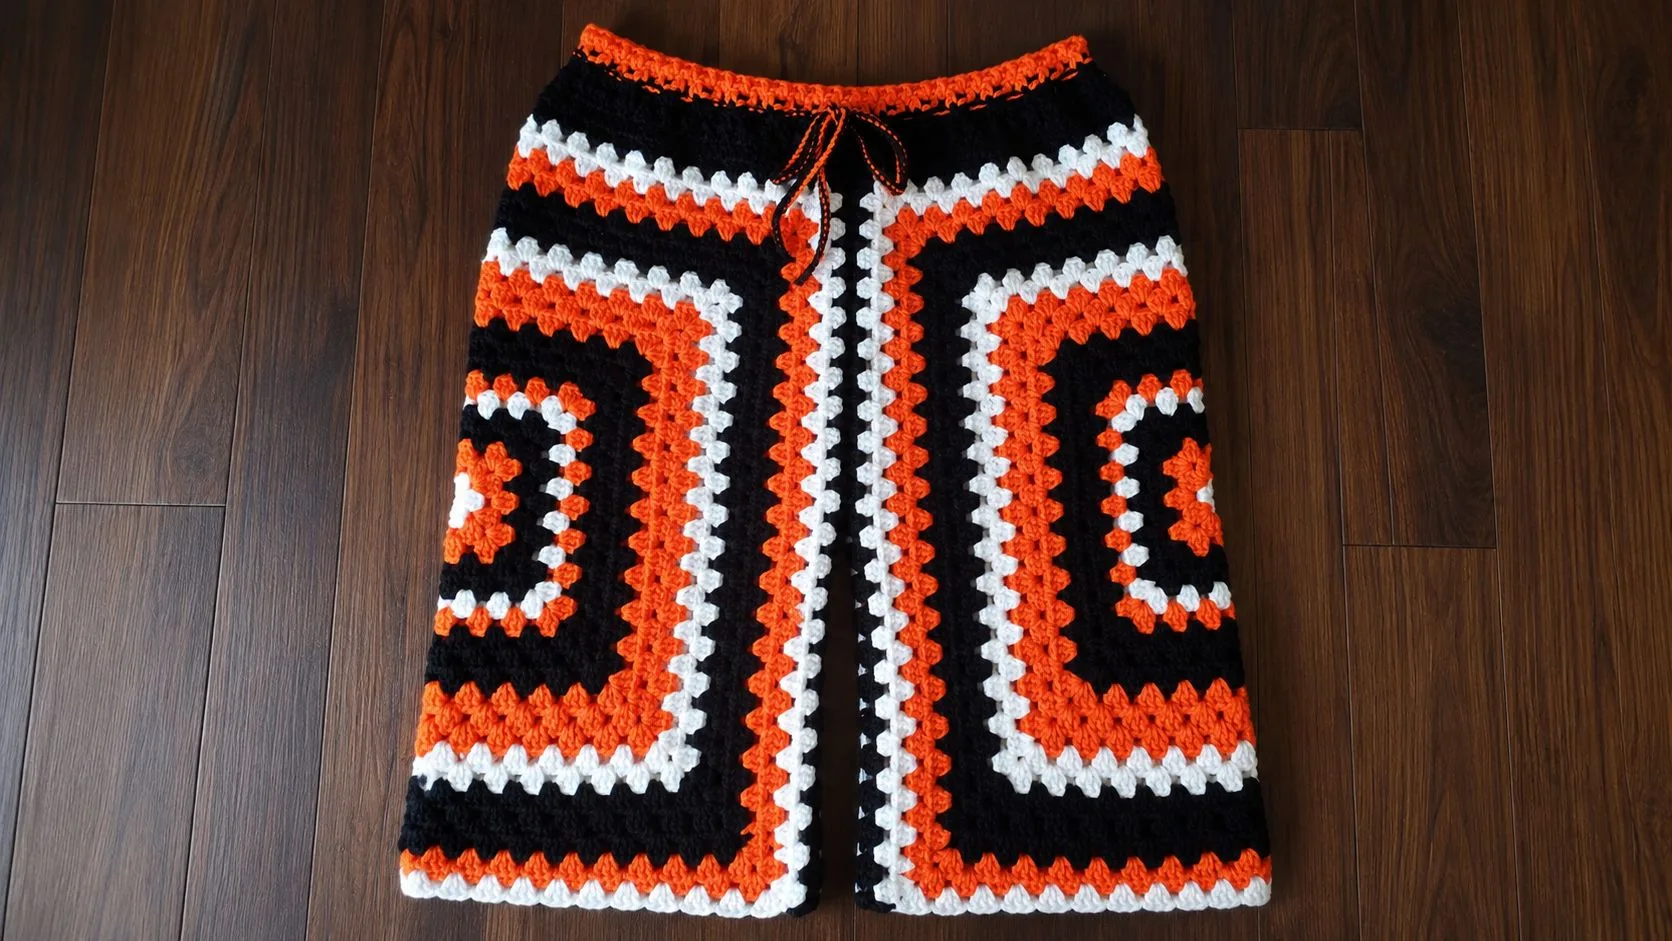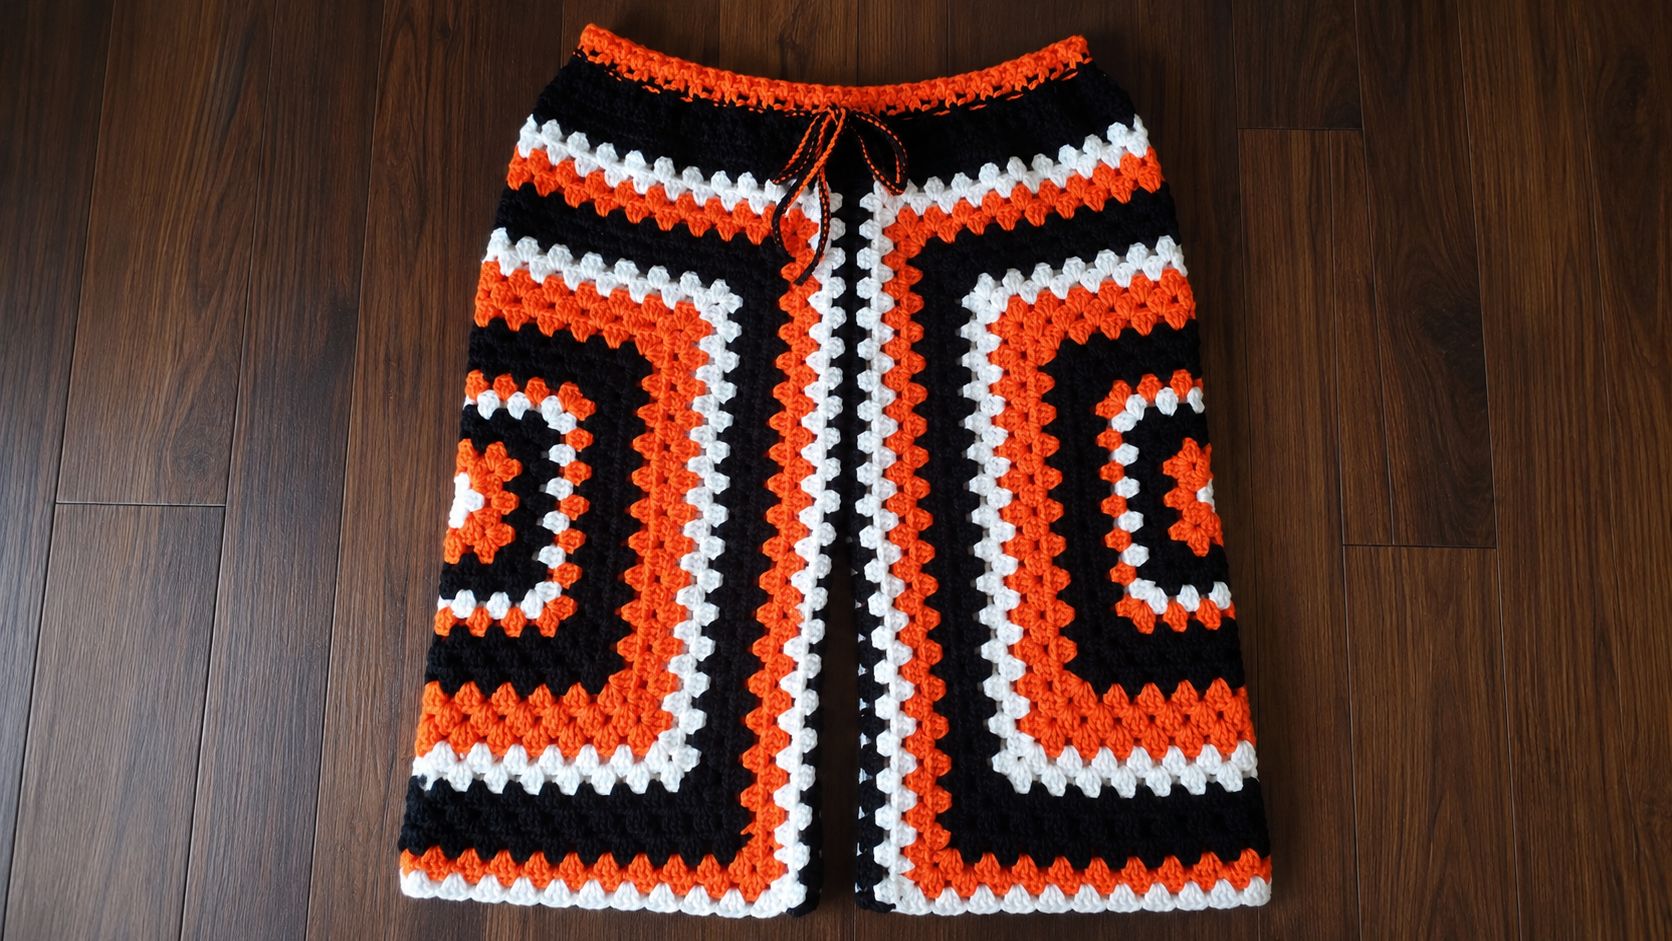
Finished granny square basketball shorts with drawstring

How to Crochet Granny Square Basketball Shorts

These granny square basketball shorts take a familiar technique and put it somewhere you don’t usually see it: two granny square panels, seamed and finished into an actual pair of shorts. The construction is simpler than it looks once you’ve made a few granny squares before, and you can size it up or down for almost any fit. This tutorial walks through the version from Creative Hands by SH on YouTube, broken down step by step so you can follow along at your own pace.

Materials You Will Need

You will need a 4.5 mm crochet hook (keep a 4.0 mm on standby if your tension runs tight), yarn in three colors (black, white, and orange in the original, for the classic basketball look), scissors, a darning needle for weaving in ends, a measuring tape, and a handful of stitch markers. Yarn weight matters more than you’d think here. A worsted or DK weight gives you the best drape while still holding the shape of the shorts. Cotton blends are a nice swap if you want something softer against the skin for summer wear.

Step 1: Crochet the Granny Square Basketball Shorts Panels

Every pair starts with two granny square panels. Begin with a magic ring (or chain four and join with a slip stitch if you’d rather) and work your first round of double crochet clusters separated by chain-two spaces. It’s really the color changes doing the heavy lifting here, that’s what gives the shorts their sporty look.

Work in rounds, alternating your yarn colors. Try white in the center, orange for the next two rounds, then black for the outer rounds. Turn your work at the end of each round so the square stays flat and even. Both granny squares need to end up close to the same size, so keep an eye on your tension the whole way through.

Crocheting a black orange and white granny square in progress

As you build out the rounds, lay the square flat every so often and check that the corners are sharp and the sides are straight. A wavy side usually means your chain spaces between clusters have gotten too loose. Dropping to a smaller hook for a round or two will pull that back in.

Measuring a completed granny square for shorts project

Once both squares are done, measure them against each other. A few millimeters off is fine, you can ease that in during assembly, but anything more and it’s worth adding or removing a round on the smaller square first. For more granny square ideas, check out our cat granny square pattern or the dinosaur granny square tutorial.

Step 2: Assemble the Panels

With two matching squares ready, it’s time to turn them into shorts. Fold each square in half to see how wide the leg openings will be, then hold the folded piece up to your thigh and check the fit. Better to adjust now than after you’ve seamed it.

Measuring and aligning crochet panels for assembly

Place the folded panels side by side, right sides facing each other. Pin the seams at the waist, along the inner leg, and across the crotch with stitch markers so everything stays aligned while you join. A darning needle and yarn works for sewing the seams, or you can slip stitch them with your hook instead. Slip stitching leaves a more visible, textured seam, which honestly looks intentional if you do it in a contrasting color.

Work slowly around the curved crotch area, adjusting your stitch count so the fabric lies flat without bunching or pulling. Once all three seams (two inner legs and the crotch) are joined, try the shorts on or hold them up to check the fit. If the legs feel too wide, you can take in a few stitches on each side seam. If they feel too tight, you may need to add a small panel or edging strip along the outer leg.

Step 3: Crochet the Waistband

The waistband is what makes these actually wearable instead of just two squares stitched together. Attach your yarn at the top edge and work a row of double crochet all the way around. Spread a few decreases (double crochet two together) evenly around the waist as you go. That pulls the top edge in so it sits snugly instead of flaring out the way the raw granny square edge naturally wants to.

For the ribbed effect, switch to alternating front post and back post double crochet stitches. This technique creates vertical ridges that look and feel like a knitted ribbing, giving the waistband some natural stretch. Continue working in this pattern until the waistband is about one to two inches tall, depending on your preference. The post stitches will naturally cause the band to cinch inward, which helps the shorts stay up without needing elastic.

Step 4: Add the Drawstring Tie

No drawstring, no shorts, really. Using leftover yarn (black for the classic look), chain a long strand, roughly 40 to 50 inches depending on your waist size and how long you want the ends to hang. Or work a corded chain instead: a single crochet into each chain gives you a rounder, sturdier tie.

Granny square shorts with drawstring tie being added

Thread the tie through the waistband using your darning needle. You can weave it in and out through the post stitches, or if you left a gap in the waistband (by chaining a few stitches instead of working them), simply thread it through that opening. Leave equal lengths on both sides so you can tie a bow at the front.

Drawstring being positioned on granny square shorts

Step 5: Finishing Up

Last step: make it look finished. Weave in every loose yarn end along the seams and waistband with your darning needle. Don’t rush this part, buried ends hold up through washing and wearing a lot better than ones left dangling. Give the shorts a gentle stretch in all directions to help the stitches settle.

Finished granny square basketball shorts with drawstring

Try them on, adjust the drawstring to your preferred tightness, and tie a neat bow at the center front. If any area feels uneven or too loose, now is the time to add a few reinforcing stitches.

Measuring the finished granny square basketball shorts

Video Tutorial

Watching this one helps more than usual, since seeing how the panels actually come together is hard to get from text alone. Creative Hands by SH walks through every step in real time. Press play, pause and rewind as needed, and crochet right alongside the video.

Customization Ideas

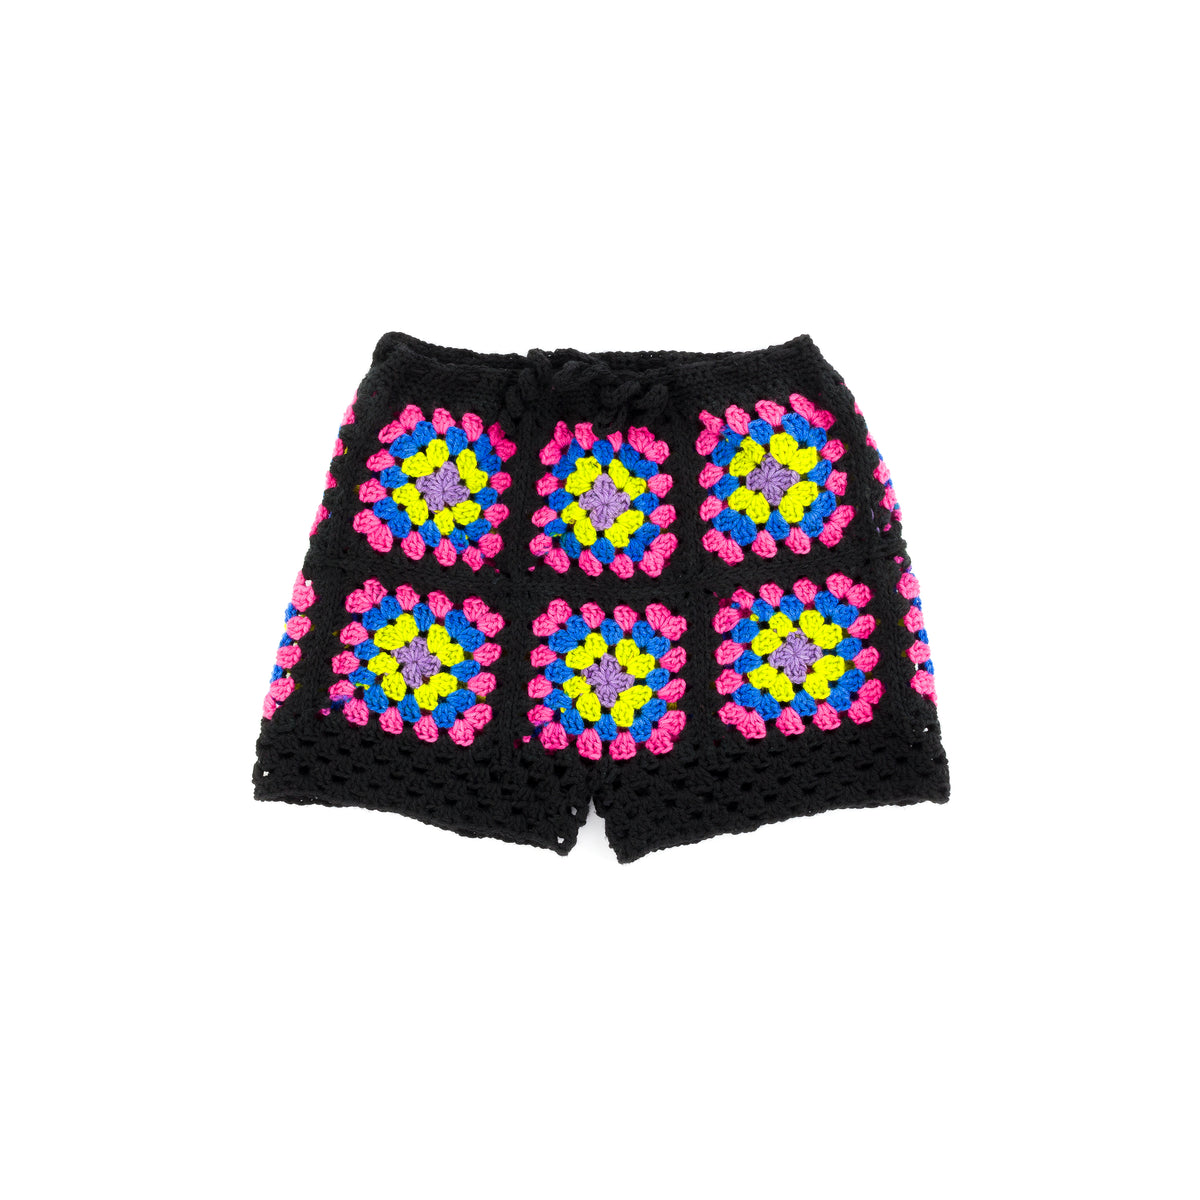
This pattern is easy to make your own. Swap black, white, and orange for your team’s colors, go pastel for something softer, or try variegated yarn for a different look entirely. The size of your granny squares matters too: bigger squares mean fewer seams and a bolder pattern, smaller ones give a more intricate, textured fabric. Once this pair is done, our crochet mushroom amigurumi guide and beginner amigurumi patterns are good next projects if you want to keep building skills.

The waistband height is another easy place to personalize. A taller waistband creates a high-waisted look, while a shorter band gives more of a traditional basketball short silhouette. You could even add a contrasting color stripe to the waistband for extra visual interest. And if you are feeling ambitious, try lining the shorts with a lightweight cotton fabric for extra coverage and comfort during warmer months.

Similar Posts

Leave a Reply

Your email address will not be published. Required fields are marked *