Granny Cluster Stitch: 5 Easy Step-by-Step Photos
What Is Granny Cluster Stitch at a Glance?
- Topic: granny cluster stitch
- Skill level: beginner to intermediate
- Main goal: help you learn and master the granny cluster stitch for textured, dense crochet fabric
- Related topics: granny spike stitch, granny stripe blanket, double crochet stitch, half double crochet
Quick Answer
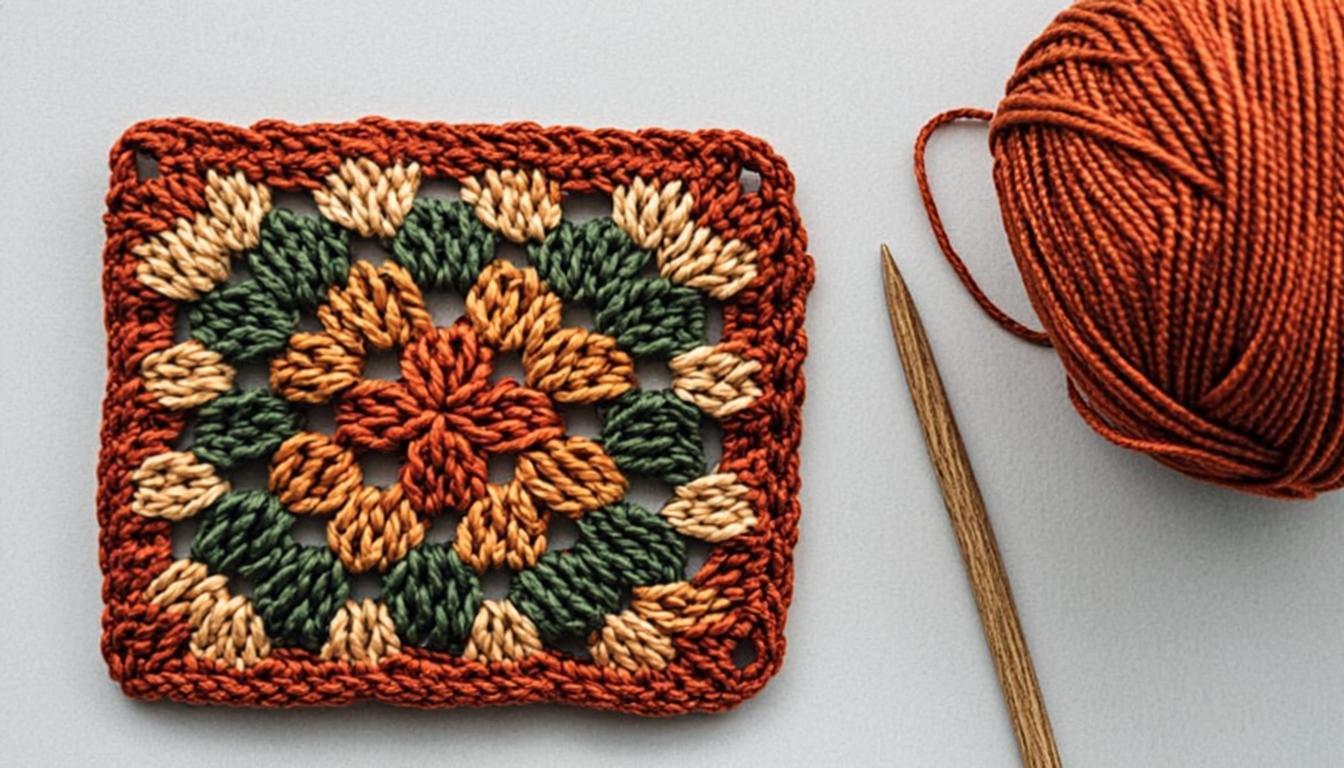
The granny cluster stitch is a textured crochet technique where you work multiple double crochet stitches into the same stitch or space, creating tight, raised groups (clusters) that produce a dense, padded fabric with beautiful visual texture. It is a close cousin of the classic granny stitch and is perfect for warm blankets, cozy scarves, and durable bags.
\nTip: Work your clusters loosely at the base — tight tension at the bottom of each cluster restricts the stitches and makes the fabric stiff instead of soft and drapey.
At a Glance
- Skill level: beginner (must know chain and double crochet)
- Time needed: 2-3 hours for a practice swatch, 12-18 hours for a throw blanket
- Best yarn: worsted weight acrylic or cotton blend
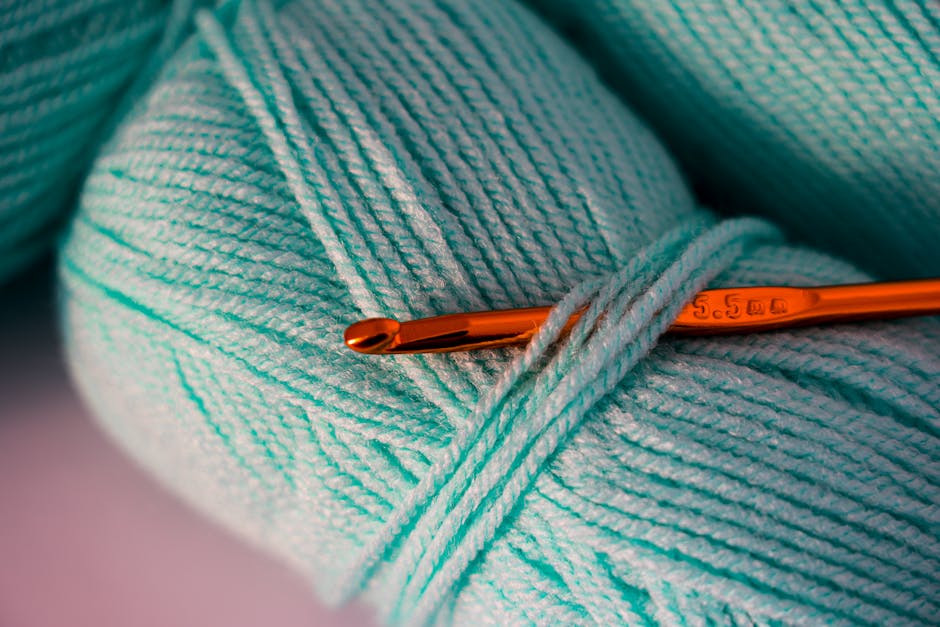
- Hook size: 5.0 mm (H-8) or 5.5 mm (I-9)
Common Mistakes to Quick Fixes
- Fabric too stiff: loosen tension at the base of each cluster — the first yarn-over should not be pulled tight
- Clusters leaning to one side: make sure you are completing each cluster fully before starting the next
- Inconsistent cluster size: count your double crochet stitches per cluster — always use the same number
Mini Glossary
DC (double crochet), CH (chain), CL (cluster), CH-SP (chain space), ST (stitch), SP (space), RS (right side), WS (wrong side), BLO (back loop only)
What Is the Granny Cluster Stitch?
The granny cluster stitch belongs to the same family as the classic granny stitch and the trending granny spike stitch, but it has its own distinct personality and visual character. While a standard granny cluster places three double crochet stitches into a single chain space, the granny cluster stitch takes this concept further by working groups of stitches into the same stitch or space in a way that creates raised, three-dimensional bumps across the fabric surface. These clusters can be made with 2, 3, 4, or even 5 stitches, depending on how pronounced you want the texture to be.
 KnotToYarn
Subscribe to KnotToYarn!
Get the best free crochet patterns, tutorials & tips delivered straight to your inbox. Join our growing community!
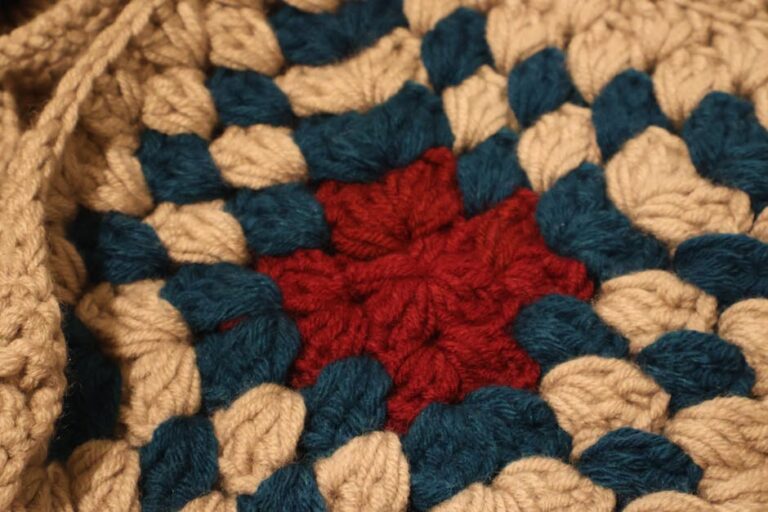
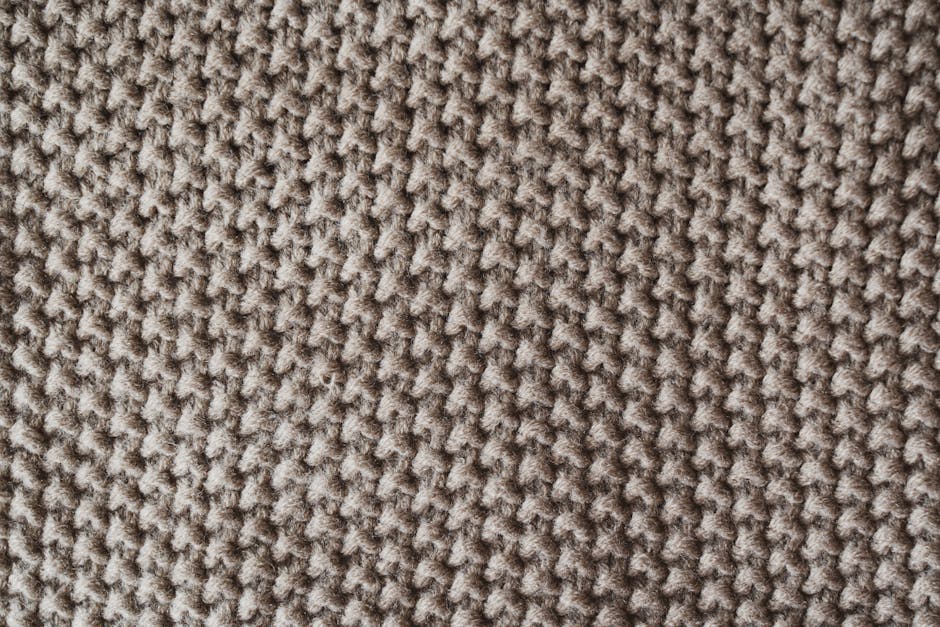
What makes the granny cluster stitch unique is its density. Unlike the traditional granny stitch, which produces a relatively open, lacy fabric with visible gaps between the clusters, the granny cluster stitch creates a thick, padded textile that feels substantial in your hands. This density makes it perfect for projects that need warmth and structure — think winter blankets, cushion covers, market bags, and cozy scarves. The raised clusters also create a beautiful play of light and shadow across the fabric surface, giving even simple color combinations a rich, complex appearance.
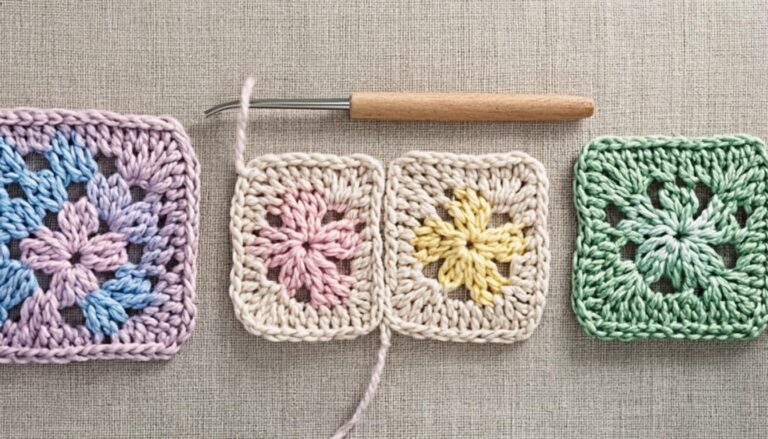
If you already know how to make a granny square crochet pattern or work a basic double crochet stitch, you have all the skills you need to master this technique. The granny cluster stitch is simply a variation on working multiple stitches into the same space — a technique you may have already used in granny squares without realizing it had a specific name.
How the Granny Cluster Stitch Differs from Other Granny Stitches?
Understanding where the granny cluster stitch fits in the granny stitch family helps you choose the right technique for each project. The traditional granny stitch works three double crochet stitches into a chain-2 space, then skips stitches to create the characteristic open clusters separated by gaps. The granny spike stitch reaches down multiple rows to create long diagonal lines of color. The granny stripe stitch works the same cluster pattern in continuous rows for blankets. And the granny cluster stitch focuses on creating tighter, more compact groups that sit closer together.
The key difference is spacing. In a standard granny stitch, the chain-2 spaces between clusters create visible gaps in the fabric. In the granny cluster stitch, you reduce or eliminate those gaps entirely by working clusters directly into adjacent stitches or by using shorter chain spaces (chain-1 instead of chain-2). This produces a fabric that is denser, warmer, and more structured — ideal for items that need to hold their shape. For a comparison of how different stitches look in practice, our single vs double crochet guide explores how stitch choice affects fabric properties.
Another difference is the rhythm of the work. Traditional granny stitch has a loose, flowing feel because of the chain spaces. The granny cluster stitch has a tighter, more rhythmic feel because you are working more stitches into less space. Some crocheters find this more meditative because there is less visual gap to account for. Others find it slightly more challenging because the denser stitching requires more careful tension management. Either way, it is a rewarding technique that produces results unlike any other crochet stitch.
How to Work the Granny Cluster Stitch Step by Step?
Step 1: Create Your Foundation Chain
Start by chaining a multiple of 2 plus 1 for your turning chain. For a practice swatch, chain 31 (which gives you 15 cluster pairs across). The foundation chain for the granny cluster stitch should be worked with the same tension you plan to use for the rest of the project. If your foundation chain is too tight, the first row of clusters will pucker and the bottom edge will wave. If it is too loose, the bottom will look stretched and uneven. For tips on getting your chain tension right, our how to start a crochet chain guide covers proper technique in detail.
Step 2: Work the First Row of Clusters
Chain 3 (this counts as your first double crochet). Work 2 more double crochet stitches into the 4th chain from your hook — this completes your first cluster of 3 DC. Chain 1, then work the next cluster of 3 DC into the same chain stitch where the previous cluster ended (this creates the tight, compact grouping that defines the granny cluster stitch). Continue across the row: chain 1, then work 3 DC into the base of the last DC of the previous cluster. Turn your work.
This technique of placing the next cluster into the same stitch as the previous cluster is what creates the distinctive raised, overlapping texture. Each cluster grows out of the one before it, building a dense, textured fabric row by row. Keep your stitches even and your tension consistent — the crochet tension guide can help if you are struggling with inconsistent stitch size.
Step 3: Build the Second Row and Establish the Pattern
Chain 3 (turning chain), then work 2 DC into the first chain-1 space of the previous row to complete your first cluster. Chain 1. Work 3 DC into the next chain-1 space. Chain 1. Repeat across the row, placing 3 DC in each chain-1 space with a chain 1 between each cluster. End with a chain 1 and 2 DC in the top of the turning chain. Turn your work. This row establishes the repeating pattern that you will follow for the rest of the project.
From the third row onward, the granny cluster stitch becomes almost automatic. The chain-1 spaces from the previous row act as clear targets for each new cluster, making it easy to maintain consistent spacing without counting stitches. This is one of the reasons the stitch is so beginner-friendly — once you complete the first two rows, your hands will naturally find the correct placement for every subsequent cluster.
Step 4: Continue the Repeat Pattern
For every subsequent row, simply repeat the pattern from Step 3: chain 3, work 3 DC in the first chain-1 space, chain 1, work 3 DC in each remaining chain-1 space across the row, and turn. That is the entire pattern. There is no increasing, decreasing, or stitch variation to remember — just clusters and chain-1 spaces, row after row, until your project reaches the desired length.
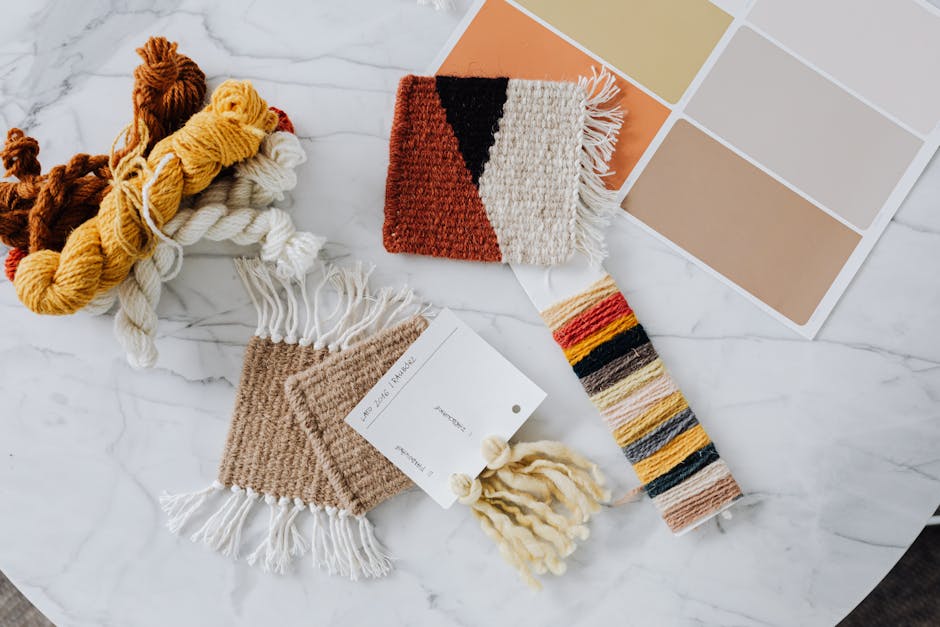
The beauty of this simple repeat is that it allows you to focus entirely on your tension and color changes without worrying about stitch complexity. This makes the granny cluster stitch an excellent project for practicing color work, experimenting with stripe patterns, or simply relaxing with rhythmic, meditative crochet. If you want to add visual interest without changing the stitch pattern, try changing colors every 2 rows for a subtle stripe effect, or every 4 rows for wider bands of color.
Step 5: Finish with a Simple Border
The granny cluster stitch looks best with a simple border that frames the textured fabric without competing with it. A single round of single crochet all the way around is the easiest option — work 3 SC in each corner and roughly 1 SC per chain-1 space along the edges. For a slightly more decorative finish, add a second round of half double crochet or a shell stitch border to complement the cluster texture.
The key to a good border is matching the stitch count to the edge. Too many stitches and the border will ruffle. Too few and the edges will pull in and pucker. Work approximately 3 stitches for every 2 rows of granny cluster along the sides, and 1 stitch per chain-1 space along the top and bottom. Adjust as needed based on your personal tension, and block the finished piece to even out any minor irregularities.
How Do You Best Projects for the Granny Cluster Stitch?
The density and warmth of the granny cluster stitch make it ideal for projects that need substance and structure. Winter blankets and afghans are the most popular choice because the thick fabric provides excellent insulation and the raised clusters create a cozy, tactile surface that feels wonderful against the skin. A throw-size granny cluster stitch blanket (approximately 50 inches by 60 inches) typically takes 12 to 18 hours to complete and uses roughly 1,800 to 2,200 yards of worsted weight yarn.
Beyond blankets, the granny cluster stitch is excellent for cushion covers, tote bags, scarves, cowls, and hat bands. The dense fabric holds its shape well, which makes it particularly suited for items that need structure — tote bags that do not stretch out of shape, cushion covers that maintain their form, and scarves that drape without flopping. The stitch also works beautifully for seasonal items like Christmas stockings and holiday table runners, where the rich texture adds a handcrafted, heirloom quality. For more blanket inspiration, our how to crochet a blanket tutorial covers sizing, yarn estimation, and project planning.
What Is Granny Cluster Stitch FAQ?
Is the granny cluster stitch suitable for absolute beginners?
Yes. If you can chain and double crochet, you can learn the granny cluster stitch in about 15 minutes. The pattern is a simple two-row repeat with no increasing, decreasing, or complex stitch combinations. It is actually one of the easiest textured stitches to learn.
What is the difference between a granny cluster and a granny spike stitch?
The granny cluster stitch works tight, compact groups of stitches into the previous row, creating raised bumps. The granny spike stitch reaches down multiple rows and pulls up long loops to create diagonal lines of color. They are completely different visual effects despite belonging to the same stitch family.
KnotToYarn
Subscribe to KnotToYarn!
Get the best free crochet patterns, tutorials & tips delivered straight to your inbox. Join our growing community!
Why is my granny cluster stitch fabric too stiff?
Stiffness usually comes from pulling the yarn too tight at the base of each cluster. Try loosening your grip on the first yarn-over of each cluster. You can also try going up a hook size — a larger hook creates looser stitches and a softer, more drapey fabric.
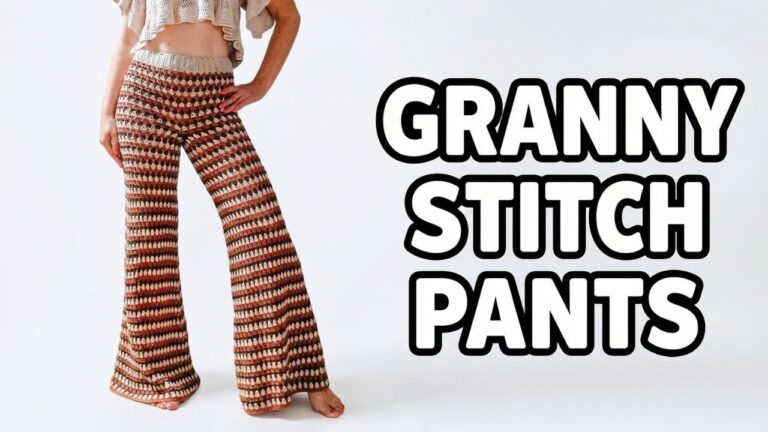
Can I use the granny cluster stitch for clothing?
Absolutely. The dense fabric works well for cardigans, vests, and crop tops. Use a lighter yarn weight (DK or sport weight) for garments to reduce bulk, and go up one hook size from the yarn label recommendation to ensure the fabric has enough drape for comfortable wear.
How many stitches should be in each cluster?
The standard is 3 double crochet stitches per cluster, but you can use 2 stitches for a subtler texture or 4 to 5 stitches for a more pronounced, dramatic effect. Just be consistent — use the same number of stitches in every cluster throughout the project.
For more crochet stitch tutorials and free patterns, visit KnotToYarn. For standardized crochet terminology and hook sizing, the Craft Yarn Council standards page is an essential reference. For more stitch variations, check out these granny stitch variations from The Spruce Crafts.
Frequently Asked Questions
What is the granny cluster stitch?
The granny cluster stitch is a crochet technique that groups multiple double crochet stitches together into a single space or stitch, creating a textured, slightly raised cluster effect. It is commonly used in blankets, scarves, and home decor projects to add visual interest and warmth to the fabric.
Is the granny cluster stitch beginner-friendly?
Yes, the granny cluster stitch is quite beginner-friendly. If you already know how to chain and work a basic double crochet, you can learn this stitch with just a little practice. The key is maintaining even tension across your clusters so the stitches sit neatly together without gaps.
What is the difference between a cluster stitch and a granny cluster stitch?
A standard cluster stitch typically involves working several incomplete stitches together (leaving the last loop of each on the hook before completing them all at once), while the granny cluster stitch is worked as a group of fully completed stitches placed into the same space or stitch. The granny version tends to be easier for beginners and creates a softer, more open texture.
Can I use the granny cluster stitch for blankets?
Absolutely! The granny cluster stitch is one of the best choices for crochet blankets. It works up quickly, creates a warm and cozy fabric with good drape, and uses more yarn per row than single stitches, making the blanket feel substantial. It is also easy to customize with multiple colors for a striped or variegated look.
What yarn works best for the granny cluster stitch?
Medium weight (worsted/aran) yarn in acrylic, cotton, or wool blends works best for the granny cluster stitch. For blankets, a soft acrylic or acrylic-cotton blend gives good drape and warmth. For home decor items like pillows or baskets, cotton yarn holds its shape well and shows stitch definition clearly.
You Might Also Like
You Might Also Like
If you enjoyed this guide, you might also love our tutorials on Granny Stitch Top Pattern, and Granny Spike Stitch. Each one comes with free patterns and step-by-step instructions perfect for crocheters of all skill levels.