How to Crochet in the Round: Easy Join Method
Quick Answer
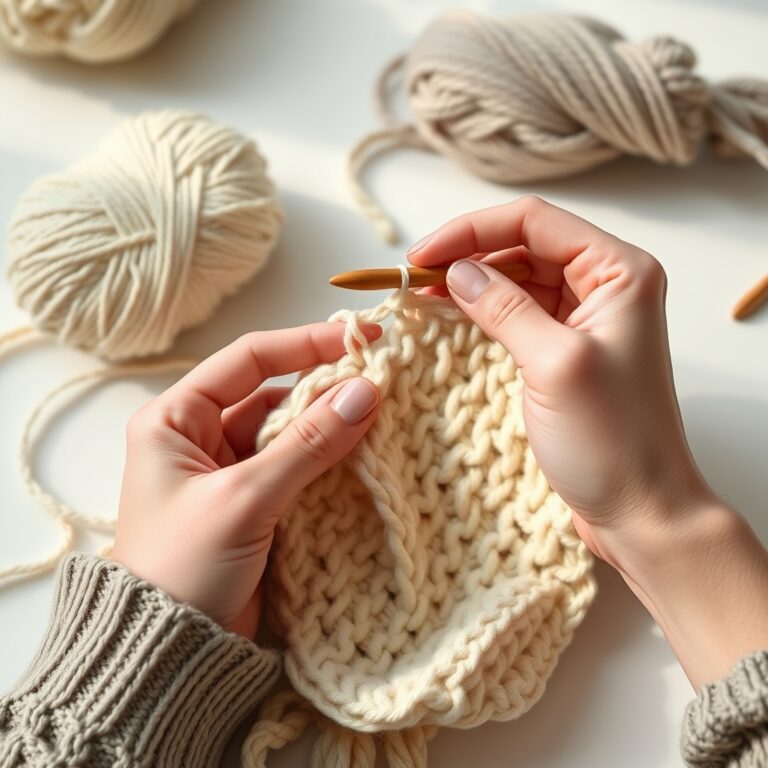
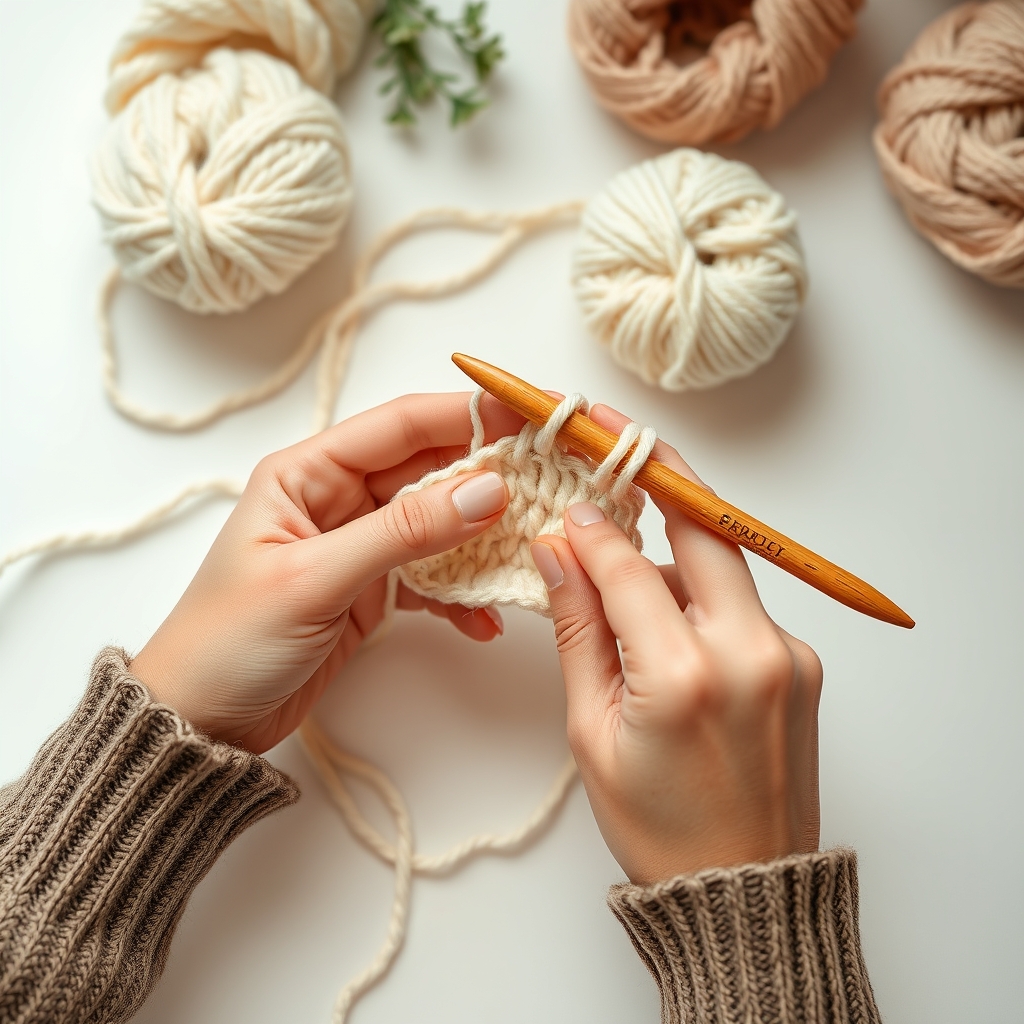
Learning how to crochet in the round opens up a whole new world of crochet possibilities including hats, amigurumi, baskets, and seamless circular designs. The technique involves working in a continuous spiral without turning your work, which creates a smooth, professional-looking fabric with no visible seams. At KnotToYarn.com, we break this essential skill into simple, actionable steps.
Tip: Use a stitch marker to track the start of each round, it is the single most important tool when mastering this circular technique.
At a Glance
- Skill level: beginner
- Time needed: 30-60 minutes for first practice piece
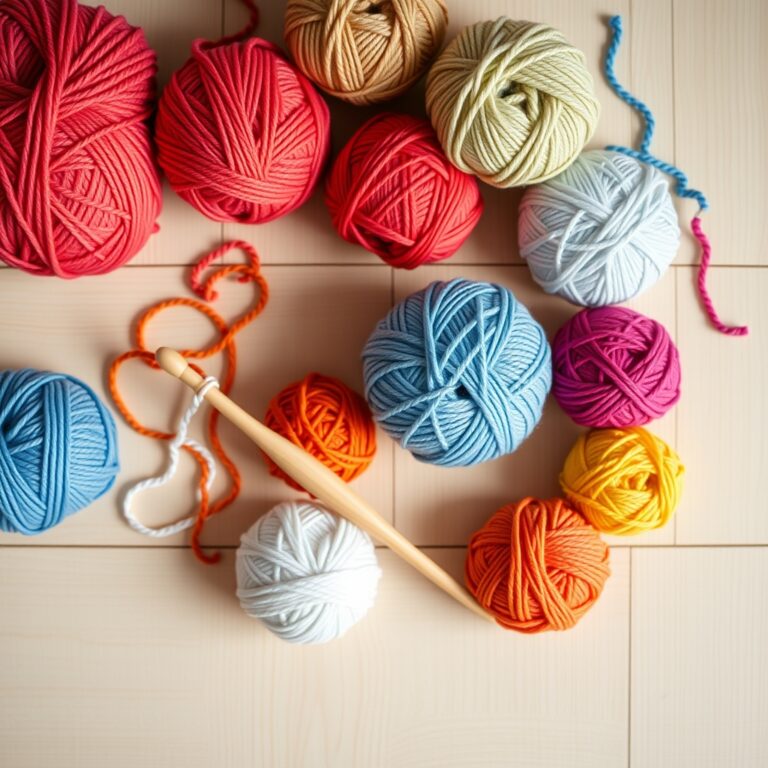
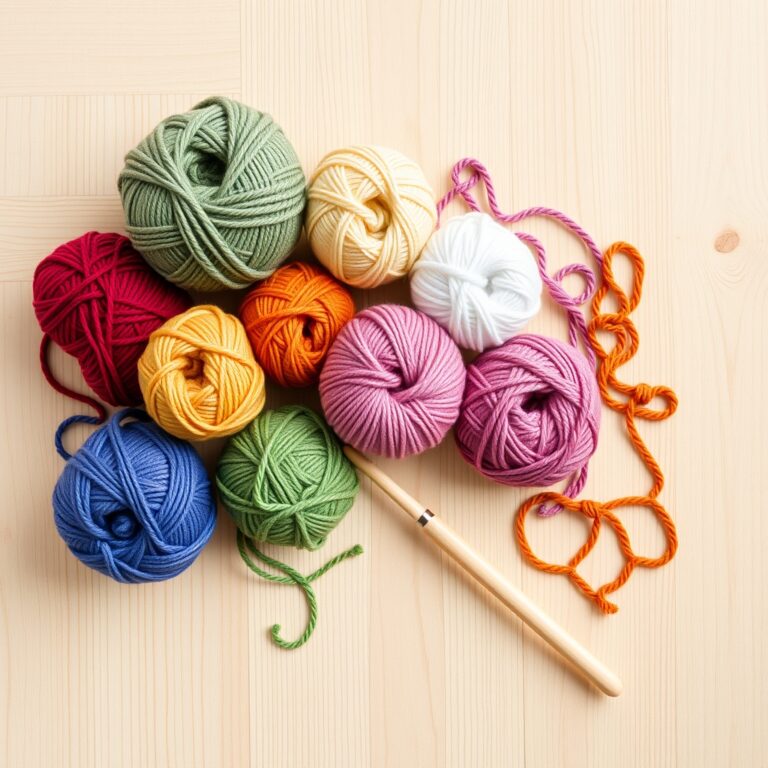
- Best yarn: DK or worsted weight acrylic
- Hook size: 4 mm or 5 mm
Common Mistakes to Quick Fixes
- Creeping spiral: place a stitch marker at the first stitch of every round and move it up each round
- Visible seam when joining: use the continuous spiral method instead of slip stitch joins
- Buckling center: increase evenly in the magic ring (6-8 sc for most patterns)
Mini Glossary
Magic ring (MR), stitch marker (sm), single crochet (sc), increase (inc), slip stitch (sl st), chain (ch), rounds (rnd)
Learning how to crochet in the round is one of the most valuable skills a beginner crocheter can master. Unlike working in rows where you chain and turn at the end of every row, crocheting in the round creates a smooth, seamless fabric that spirals outward from a center point. This technique is essential for making hats, amigurumi toys, baskets, coasters, and countless other popular crochet projects. Understanding the round crochet technique is the foundation you need, whether you want to make a cozy beanie or an adorable stuffed animal.
What Does “Crochet in the Round” Mean?
When you crochet in the round, you work in a circular motion, building stitches outward from a center point rather than back and forth in straight rows. Instead of chaining and turning at the end of each row, you simply keep stitching around and around, either joining each round with a slip stitch or working in a continuous spiral. This fundamental technique is what gives hats their rounded crowns, amigurumi their seamless bodies, and doilies their perfect symmetry.
There are two primary methods for crocheting in the round: joined rounds and continuous spiral rounds. Joined rounds involve making a slip stitch into the first stitch of the round and chaining to begin the next round, which creates a subtle seam line. Continuous spiral rounds mean you simply keep working in a spiral without any joining stitches, producing a completely seamless fabric. Both methods are useful and produce slightly different results, so understanding each one is important for any crocheter.
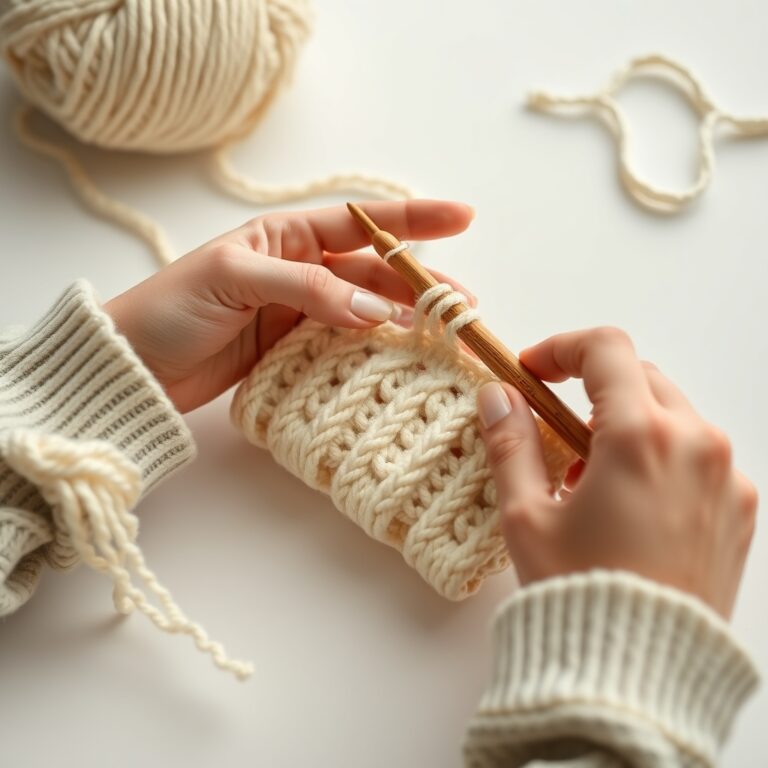
If you are brand new to crochet, make sure you are comfortable with the single crochet stitch before attempting to work in the round, as it is the most common stitch used in circular patterns.
Two Methods for How to Crochet in the Round
Method 1: Magic Ring (Best for Hats, Amigurumi, Bags)
The magic ring, also called a magic circle or magic loop, is the most popular starting method for crocheting in the round. It creates a fully adjustable ring that you can pull tight after working your first round of stitches, leaving virtually no hole in the center. For a detailed walkthrough, check out our magic circle crochet guide.
Step-by-step magic ring instructions:
- Wrap the yarn around your index and middle fingers twice, forming an X shape with the yarn tail on top.
- Insert your hook under both strands of yarn, from front to back.
- Yarn over and pull up a loop (you now have one loop on your hook).
- Chain 1 (this does not count as a stitch for single crochet).
- Work 6 single crochet stitches into the ring, inserting your hook under both strands of the wrapped yarn.
- Gently pull the yarn tail to tighten the ring closed.
- Place a stitch marker in the first stitch of the round.
The magic ring is the preferred method for amigurumi and hats because it eliminates the center hole entirely. With practice, you will be able to create a magic ring in seconds and achieve perfectly closed centers every time.
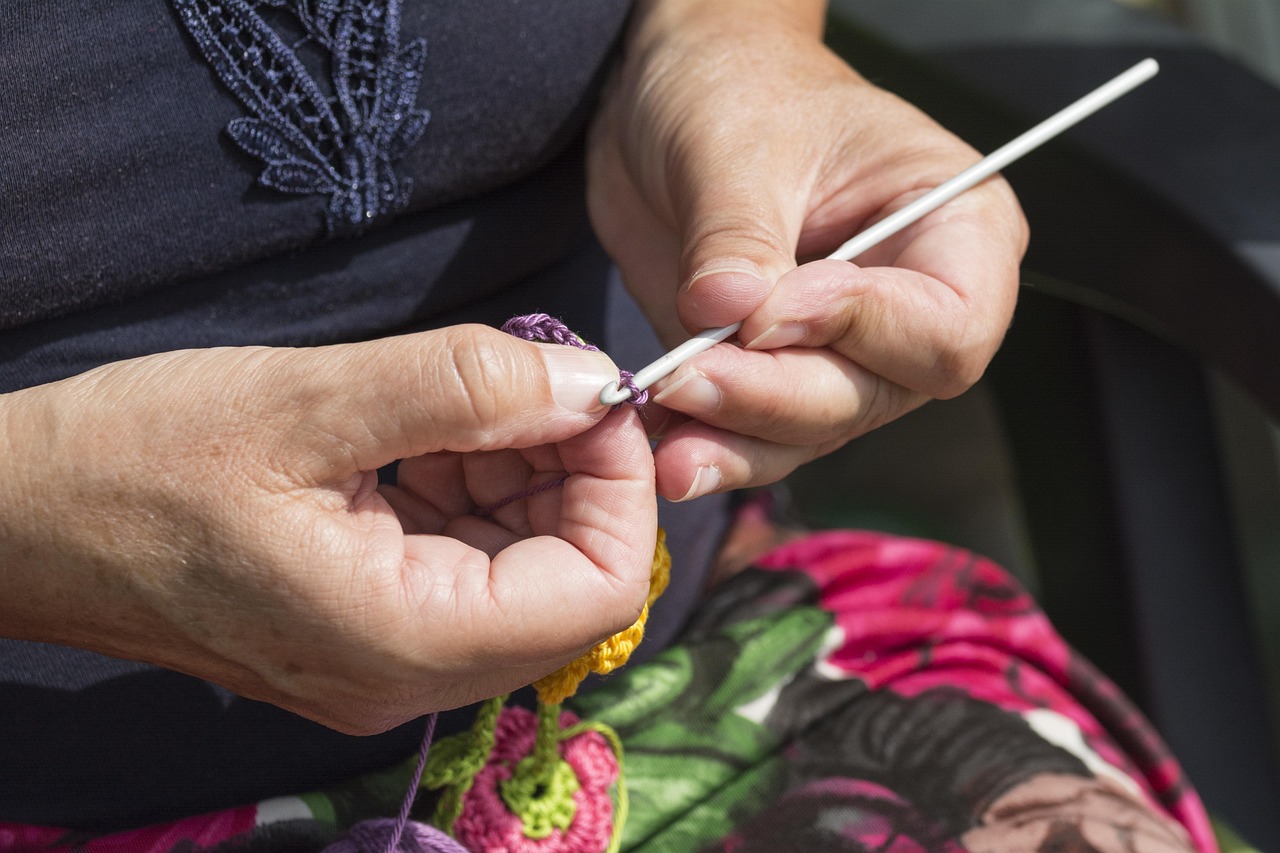
Method 2: Chain Ring (Best for Doilies, Coasters, Lace)
The chain ring method is simpler and is a great option for beginners who are not yet comfortable with the magic ring technique. It involves chaining a few stitches and then joining them with a slip stitch to form a small ring.
Step-by-step chain ring instructions:
- Chain 4 to 6 stitches (4 for a tighter center, 6 for a larger one).
- Insert your hook into the first chain you made and make a slip stitch to join, forming a ring.
- Chain 1 to start your first round.
- Work your stitches into the center of the ring (the hole created by chaining and joining).
This method creates a small hole in the center of your work, which is perfectly fine for doilies, coasters, lace patterns, and decorative motifs where a small opening is acceptable or even desirable. If you want to explore more crochet amigurumi patterns later, you will eventually want to master the magic ring for a cleaner finish.
How to Use This Step-by-Step Guide to Crocheting in the Round?
Now that you know the two starting methods, here is a complete walkthrough for crocheting a basic flat circle using the magic ring and single crochet stitches.
Round 1: Make a magic ring, chain 1, work 6 single crochet stitches into the ring. Pull the ring tight and join with a slip stitch to the first single crochet (if using joined rounds) or simply keep going in a spiral. Move your stitch marker to the first stitch. You should have 6 stitches total.
Round 2: Work 2 single crochet in each stitch around. This is called an “increase” (abbreviated as “inc” in patterns). You will have 12 stitches total.
Round 3: Work 1 single crochet in the first stitch, then 2 single crochet in the next stitch. Repeat this pattern (1 sc, 2 sc) around. You will have 18 stitches total. Understanding how to crochet in the round eliminates the seam line in your work.
Round 4: Work 1 single crochet in each of the first 2 stitches, then 2 single crochet in the next stitch. Repeat (2 sc, 2 sc) around. You will have 24 stitches total.
Round 5: Work 1 single crochet in each of the first 3 stitches, then 2 single crochet in the next stitch. Repeat (3 sc, 2 sc) around. You will have 30 stitches total.
The pattern here is clear: in each round, the number of single crochet stitches between increases grows by one. This creates a perfectly flat circle. When reading patterns, you will see instructions like “6 sc in MR” (6 single crochet in magic ring) or “inc in each st around” (increase in each stitch around). Refer to our guide on crochet abbreviations for beginners if any of these terms are unfamiliar.
5 Common Problems When Learning How to Crochet in the Round
Even experienced crocheters run into issues when working in the round. Here are the five most common problems and their solutions:
1. The spiral seam keeps shifting. This happens when you lose track of where each round begins, especially with the continuous spiral method. The fix is simple: always use a stitch marker in the first stitch of each round and move it up as you complete each new round. A simple loop of contrasting scrap yarn works just as well as a purchased stitch marker.
2. Your circle is buckling or waving. Buckling means you have added too many stitches too fast, the fabric has more stitches than the circumference can accommodate, causing it to ruffle. Waving can also happen if your increases are unevenly spaced. Follow the standard increase formula for single crochet: increase by 6 stitches per round. If your circle still ruffles after a few rounds, try going up a hook size or loosening your tension.
3. There is a hole in the center of your work. This is common when using the chain ring method. To eliminate it, switch to the magic ring technique, which lets you pull the center completely closed. If you must use a chain ring, try making fewer starting chains (chain 3 or 4 instead of 6) and work your first round stitches tightly into the ring.
4. You keep losing count of your rounds. In continuous spiral crochet, there are no joining stitches to mark the end of a round, so it is easy to accidentally add or skip rounds. Use a stitch marker, keep a tally counter or row counter app handy, and count your total stitch count at the end of each round to verify it matches the pattern. The standard counts for single crochet circles are: 6, 12, 18, 24, 30, 36, 42, 48.
5. Your fabric is curling. If your circle starts to curl upward at the edges, it may mean you are not increasing enough. A flat circle needs consistent increases to lay flat. However, some curling is intentional, when making a basket, bowl, hat, or amigurumi piece, you eventually stop increasing so the sides curve upward naturally. If you want a flat piece and it is curling, check that you are following the increase pattern correctly.
Best Projects for Practicing How to Crochet in the Round
The best way to master any technique is through practice projects. Here are five beginner-friendly projects that will help you build confidence with crocheting in the round:
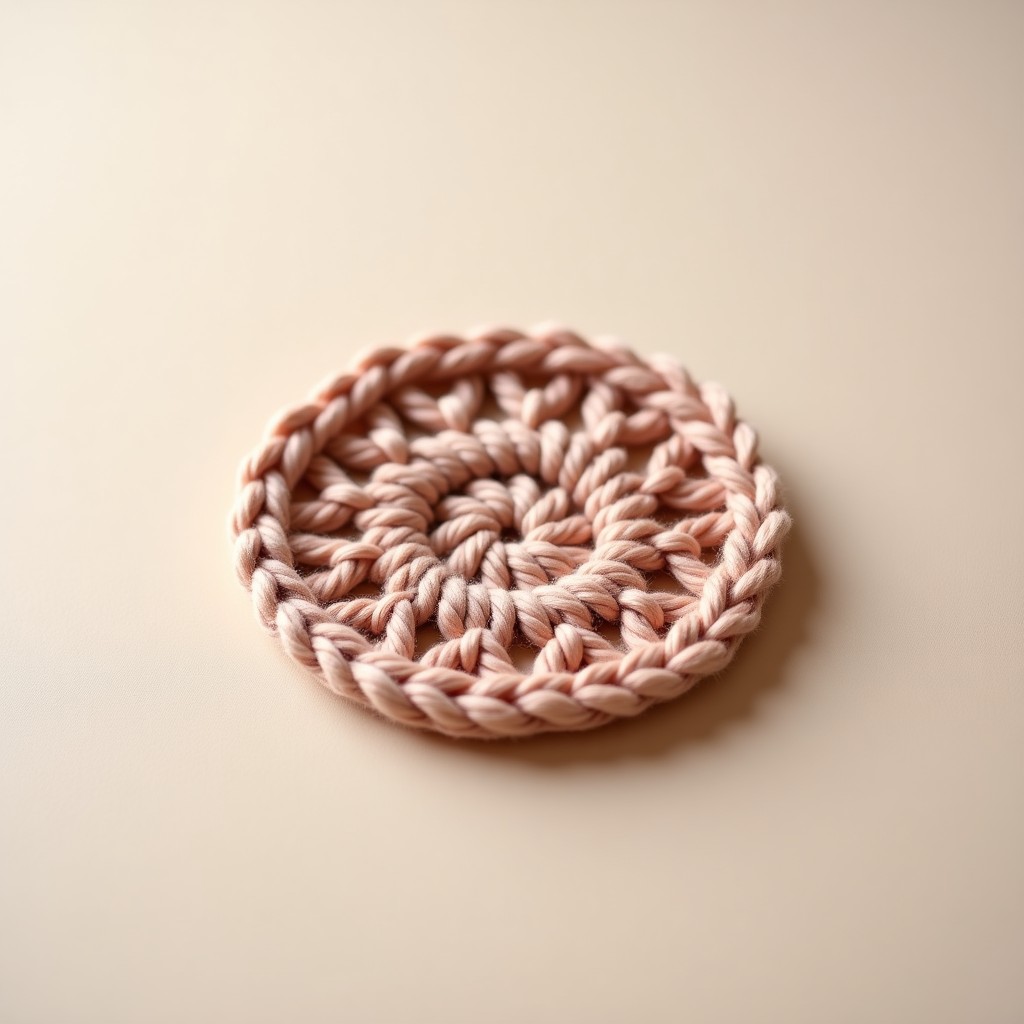
- Coasters: Small, quick, and use a simple increase pattern. A set of coasters is a perfect first project because you get multiple repetitions of the increase formula. See our crochet amigurumi patterns for more practice ideas.
- Mug cozies: Slightly larger than coasters, these teach you how to work in joined rounds and add simple stitch patterns like half double crochet or shell stitches. They are practical gifts and take less than an hour to complete.
- Simple hats: A basic beanie uses the flat circle increase method for the crown, then works even rounds for the sides. This project combines everything you have learned. Check out our guide on how to crochet a hat for a complete tutorial.
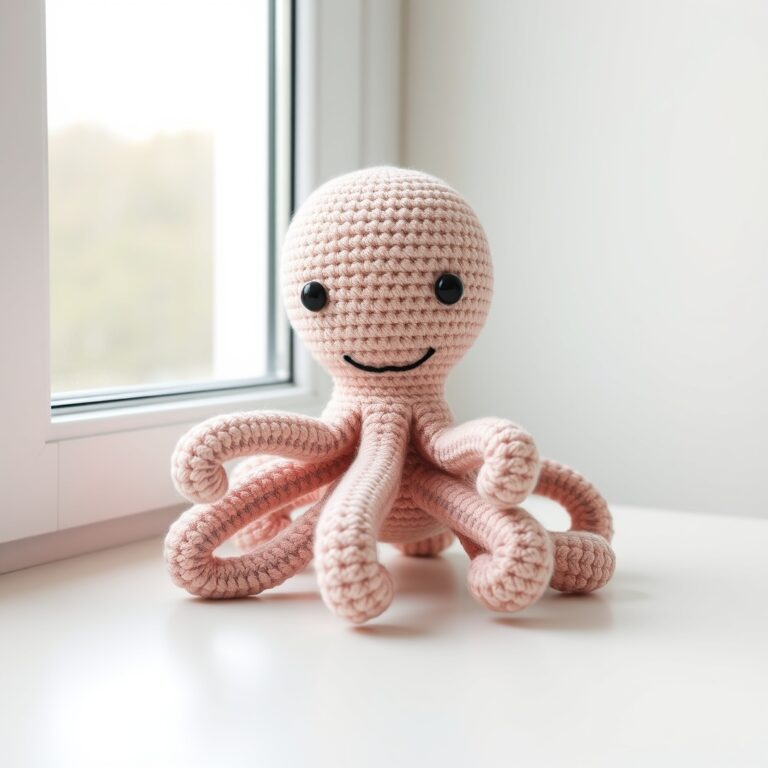
- Amigurumi balls: A simple sphere teaches you how to increase for the first half and then decrease for the second half. This is the gateway to all amigurumi projects and is excellent for mastering consistent tension throughout a piece.
- Granny circles: These use a chain ring start and combine double crochet clusters in the round. They are colorful, fun, and great for practicing with multiple yarn colors while still working in a circular motion.
For standard crochet terminology and abbreviations, the Craft Yarn Council is an excellent authoritative reference. You can also browse thousands of free circular patterns on Ravelry to find your next project.
When to Join Rounds vs. Use Continuous Spiral
Choosing between joined rounds and continuous spiral depends on your project and personal preference. Here is a breakdown to help you decide:
Joined rounds are best when you need a precise, easily countable round structure. Each round ends with a slip stitch into the first stitch, followed by a chain to begin the next round. This creates a visible seam line (often called a “spiral seam” or “stair-step”), but it keeps your round count exact and makes it easy to identify where each round begins. Joined rounds are ideal for garments like sweaters and cardigans where the seam can be positioned at the back or side, and for doilies and lace where precise stitch placement matters.
Continuous spiral is best when you want a completely smooth, seamless fabric. Instead of joining, you simply keep working in a continuous spiral, moving your stitch marker up each round. This eliminates the visible seam line entirely and creates a more polished, professional appearance. The tradeoff is that you must rely on your stitch marker and round counting to stay on track. Continuous spiral is the standard method for amigurumi, hats, baskets, and any project where a seam would be visible or undesirable.
In practice, many crocheters use both methods depending on the project. You might use joined rounds for the brim of a hat and then switch to continuous spiral for the body. The important thing is to understand both techniques so you can choose the right one for any situation.
Frequently Asked Questions About How to Crochet in the Round
Do I need a stitch marker to crochet in the round?
Yes, a stitch marker is highly recommended, especially when using the continuous spiral method. Without one, it is very easy to lose track of where each round begins, which leads to uneven shaping. A simple loop of contrasting yarn or a plastic clip marker works perfectly.
Why does my crochet circle keep buckling?
Buckling usually means you have too many increases for the number of stitches. Follow a standard increase formula: for single crochet, increase by 6 stitches per round (round 2: 12 stitches, round 3: 18 stitches, round 4: 24 stitches, etc.). If your circle still waves, try increasing every other round instead of every round.
Can I use double crochet instead of single crochet in the round?
Absolutely. You can use any stitch in the round, single crochet, half double crochet, double crochet, or even treble crochet. However, taller stitches create fewer stitches per round naturally, so your increase rate will differ. For double crochet in the round, you typically increase by 12 stitches per round instead of 6.
What is the difference between joined rounds and continuous spiral?
Joined rounds involve making a slip stitch into the first stitch and chaining before the next round, which creates a visible seam line but keeps your round count exact. The continuous spiral method has no joining stitch, you simply keep working in a spiral, which produces a smoother, seamless fabric but requires a stitch marker to track rounds.
How do I know when to stop increasing my circle?
For a flat circle, you follow a standard increase pattern until you reach the desired diameter. For a bowl or basket shape, stop increasing at a certain point and continue working even rounds, the sides will naturally curve upward. For hats, you increase until the flat circle matches the crown diameter needed for the head size, then work even rounds to create the sides.
You Might Also Like
- Crochet Bunny: 7 Adorable Free Patterns for Beginners Once comfortable with how to crochet in the round, you will find it faster than rows.
- Crochet Needles: 5 Essential Types Every Crafter Must Know
- Crochet Stitches Guide
More Pattern Ideas
Additional Tips & Ideas
- For hats and flat circles, use the invisible join by pulling the loop through the first stitch instead of slip stitching.
- At KnotToYarn.com, we teach both methods so you can choose the best one for your project.
- That visible jog where each round begins and ends can make even the most beautiful work look messy.
- The good news is that there are simple, reliable techniques to eliminate it entirely.
- Whether you are making flat circles, hats, baskets, or stuffed toys, the method you choose to join rounds makes a huge difference.
- In this guide, we will walk through five essential techniques so you can join crochet in the round cleanly every single time.
- How do you crochet in the round for beginners?
- Why the Join Matters in Round Crochet When you crochet in the round, every round has a starting point and an ending point.