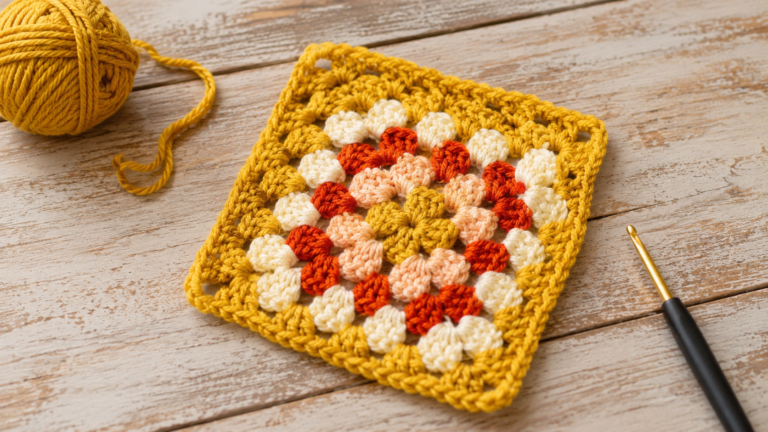
How to Crochet a Devil Eye Granny Square (Free Pattern)
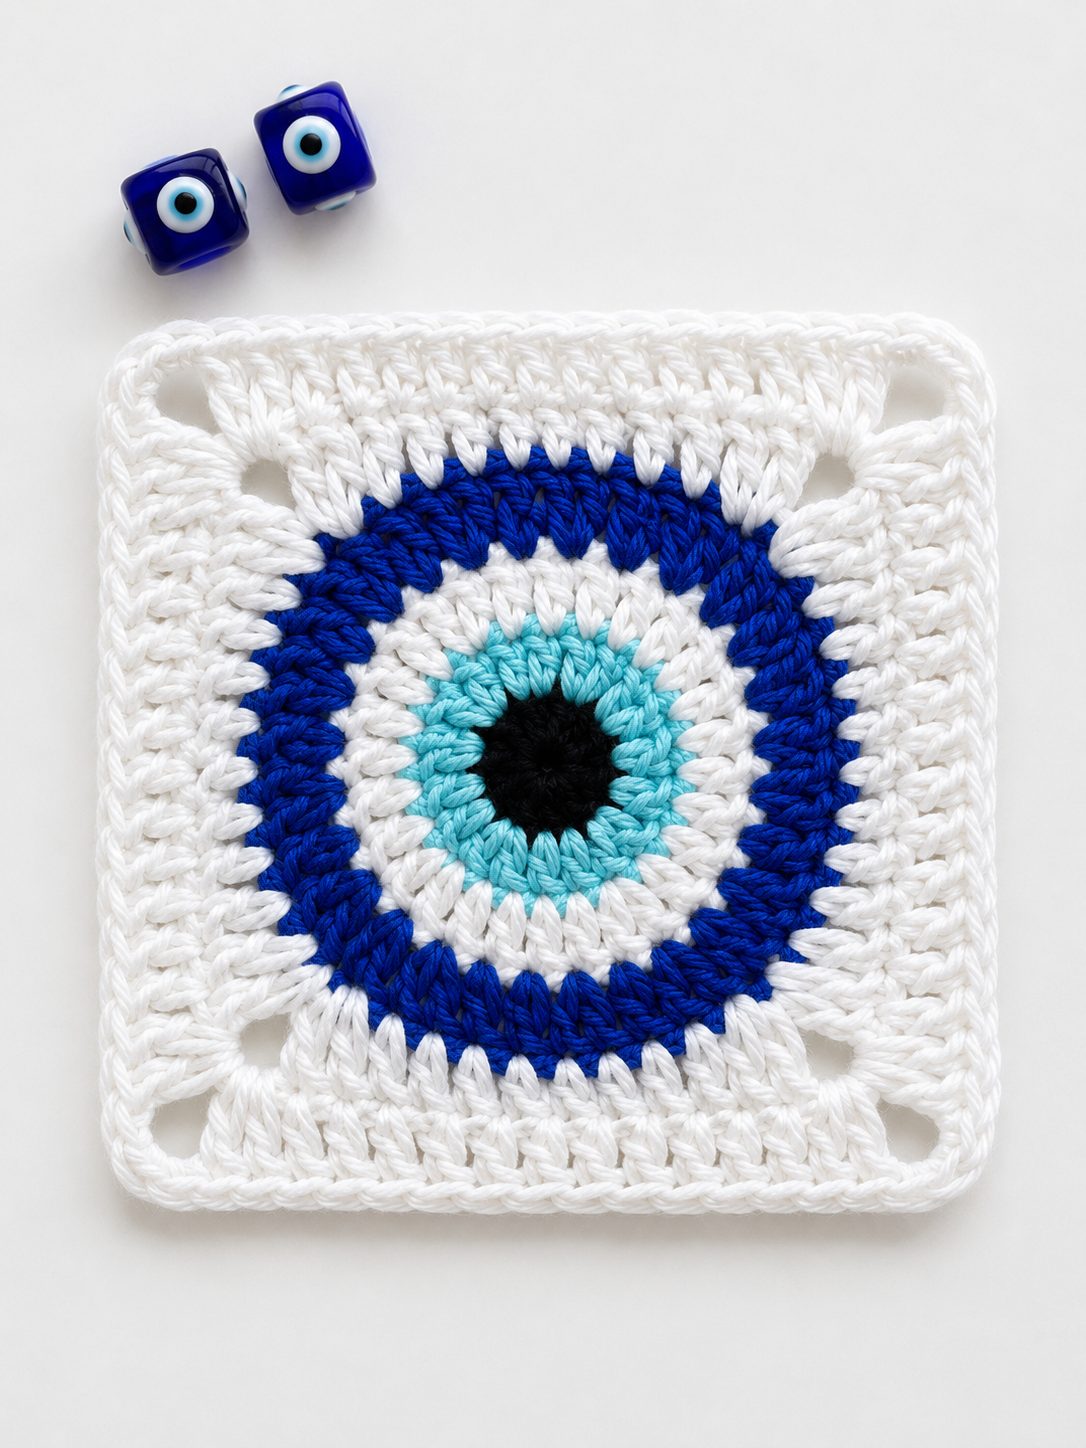
If you want a crochet project that’s equal parts spooky and striking, the Devil Eye granny square is a great one. It’s been a go-to Halloween design the last few years, and it’s easy to see why: the layered colors build a hyper-realistic eye, dark pupil, vivid iris, white sclera, and dramatic red outer rounds, with a genuinely sinister look for the season.
As an Amazon Associate we earn from qualifying purchases: some supply links in this post are affiliate links, at no extra cost to you.
Unlike most granny squares that use chain spaces and open clusters, this one is solid and closed all the way through, no gaps, no holes, no floppy corners, just a tight fabric that shows off the concentric eye. The corners round out naturally in the later rounds, which keeps the square in shape while still reading soft and organic, like a real eyeball. It looks intricate, but the stitching is beginner-friendly: if you can work a double, half double, and single crochet, you have everything you need.
It uses four colors and a 3.00 mm hook, finishing around 4.5 by 4.5 inches, a handy size for Halloween afghans, trick-or-treat totes, pillow covers, or a creepy porch wall hanging. Stitch a bunch together and you’ve got a whole blanket of staring eyes, which is a guaranteed conversation starter.
This tutorial walks through every round with written instructions and progress photos, plus an alternate colorway at the end and a full video if you’d rather watch. Seasoned crocheter after a fun seasonal make or a confident beginner wanting something different, this one’s a good addition to your pattern stash.
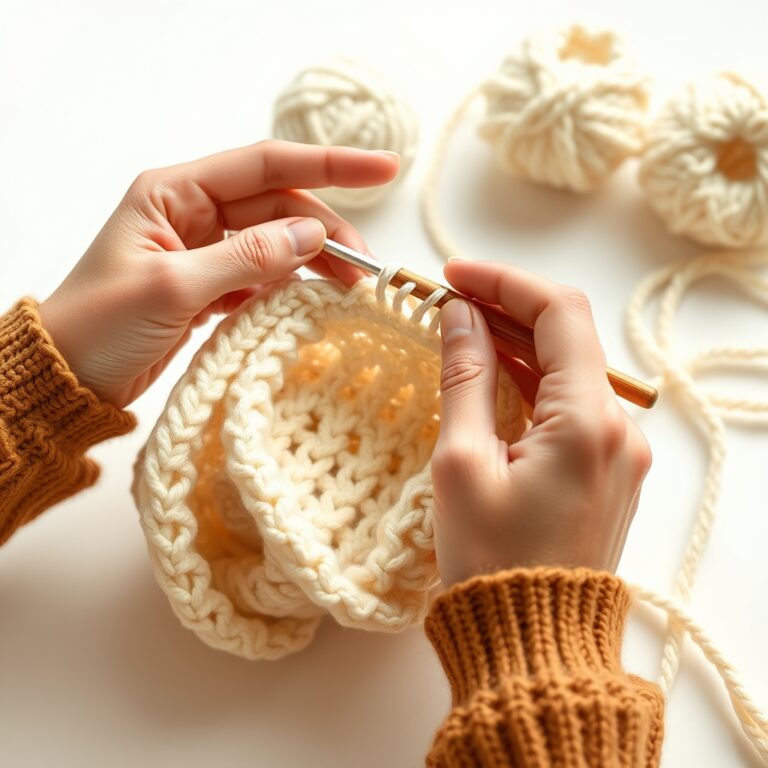
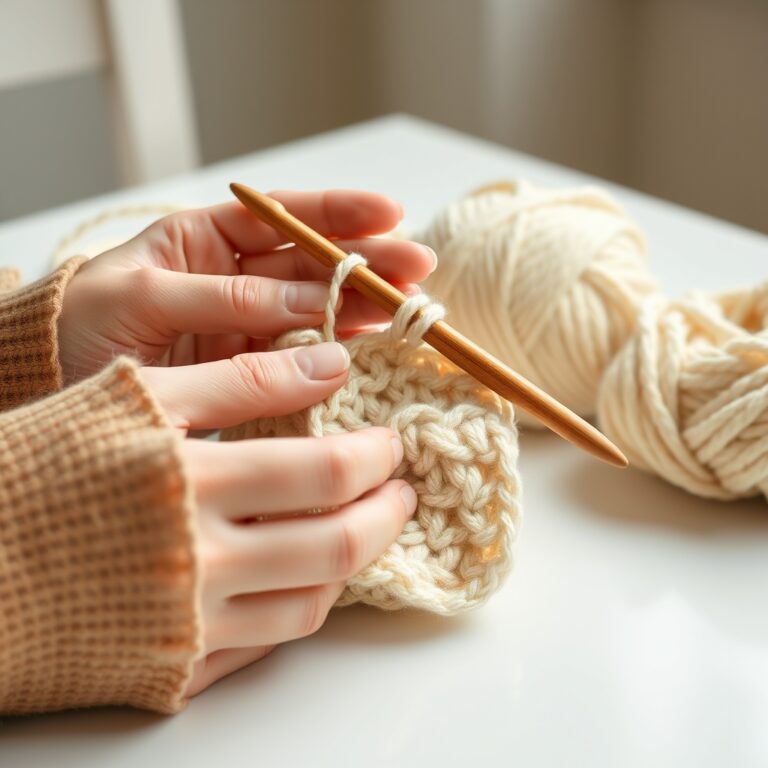
Materials
Before you sit down to begin stitching, take a moment to gather everything you will need for this project. Having all your materials ready and organized will make the process much smoother, especially when it comes to the color changes between rounds:
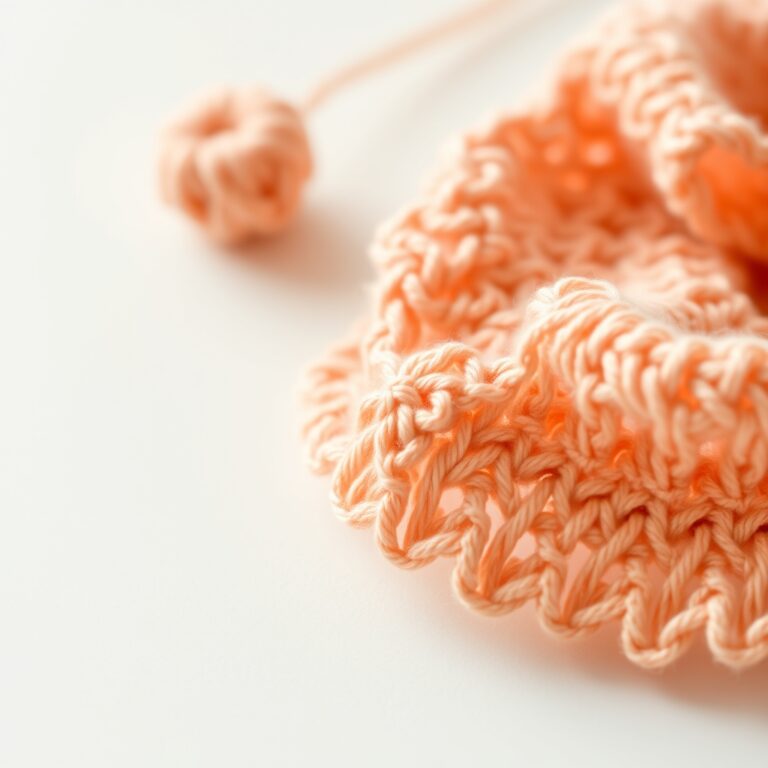
- Yarn (4 colors): Black, deep blue, white, and red, any medium-weight (DK or worsted) yarn will work beautifully for this pattern. We recommend using four skeins from the same yarn brand and product line so that the weight, thickness, and drape are perfectly consistent across all four colors
- Crochet hook: 3.00mm (US size 11/2.5 or D/3), we used a 3.00mm hook throughout to achieve a tight, neat finish that really shows off the stitch detail
- Darning needle: also known as a yarn needle or tapestry needle, for weaving in your loose ends after each color change is complete
- Scissors: for snipping yarn tails cleanly after fastening off each round
Color Combination Suggestions
The classic colorway, black, deep blue, white, and red, gives you that iconic sinister look. But half the fun of granny squares is playing with the palette. A few combinations to try once you’ve made the original:
Gothic Purple: Swap the deep blue iris for a rich amethyst purple and replace the red outer border with a deep charcoal gray or dark burgundy. The purple center gives the eye an almost mystical, enchanted quality while the dark border keeps things moody and dramatically gothic. This combination looks absolutely stunning against a black background.
Toxic Green: Use a neon or lime green for the iris and a bright chartreuse for the outer rounds instead of the traditional red. This creates a radioactive, sci-fi inspired eye that would look incredible as part of a monster-themed blanket, a trick-or-treat bag, or even a fun cosplay accessory for a mad scientist costume.
Ice Blue: Try a pale icy blue iris with a silver or light gray outer border instead of red. This gives the eye a cold, ghostly, almost frosty appearance that works wonderfully for winter-themed projects, a Frozen-inspired collection for children, or a hauntingly beautiful snow queen aesthetic.
Gauge
With the 3.00 mm hook and DK or worsted yarn, your square should land around 4.5 x 4.5 inches (about 11.5 x 11.5 cm). Gauge varies with your tension and yarn, so if it comes out bigger, drop a hook size; smaller, go up one. Tighter tension gives a denser square with crisp stitches; looser gives a slightly bigger, softer one.
When sizing has to match, joining squares into a blanket, making matching pillow covers, make a quick gauge swatch first. Crochet a small circle through Rounds 1 to 4 and measure the diameter against the target.
Abbreviations (US Terms)
Here is the complete list of abbreviations used throughout this pattern, written in standard American crochet terminology. If you are new to reading crochet patterns, keep this list handy as a quick reference while you work through each round:
- ch: chain stitch
- dc: double crochet
- hdc: half double crochet
- sc: single crochet
- sl st: slip stitch
- ch-sp: chain space (the gap or opening created by one or more chain stitches between other stitches)
- st(s): stitch or stitches
- inc: increase (working two stitches into the same stitch to add width to your work)
- FL: front loop only (working through only the front loop of a stitch)
- BL: back loop only (working through only the back loop of a stitch)
Step-by-Step Tutorial for Devil Eye Granny Square
The pattern is seven rounds, worked center outward, each in a different color building on the last to create the layered eye. Watch for where the instructions say to fasten off versus continue with the same yarn, when you fasten off, you’ll rejoin new yarn at the start of the next round. If a progress photo looks small, tap it for a larger view.
Round 1: The Dark Pupil
Color: Black
Begin by creating a magic ring (also known as a magic loop or adjustable ring) with your black yarn. If you are not yet comfortable with the magic ring technique, you can chain 4 stitches and join with a slip stitch to form a small ring instead, just be aware that the center hole will be slightly more visible using this alternative method.
Once your magic ring is prepared, chain 3. This chain-3 counts as your very first double crochet for the round. Now work 10 more double crochet stitches directly into the center of the magic ring. When you have completed all 10 dc stitches, you should have a total of 11 dc stitches around your ring (counting the chain-3 as one dc). Gently but firmly pull the long tail of your magic ring yarn to close the center hole as tightly as possible, you want almost no gap remaining in the middle.
To close the round, make a slip stitch into the top of the initial chain-3 stitch. Then fasten off your black yarn completely and cut the tail, leaving a short length of about 3 to 4 inches so you can weave it in later with your darning needle.
Round 1 stitch count: 11 dc total
Round 2: The Deep Blue Iris
Color: Deep Blue
For this round, you will be attaching your deep blue yarn to any stitch from the previous round. Insert your hook into any dc stitch along the edge of your black circle, grab the blue yarn, and pull up a loop. Then chain 3, this chain-3 again serves as your first double crochet stitch of the new round. Work one additional dc into the same stitch where you just joined. That gives you two dc total in the first stitch.
Now you will work increases evenly around the entire remainder of the round. In each of the remaining 10 stitches from Round 1, work a dc increase (which simply means making two dc stitches into a single stitch, so 2 dc in the next stitch, 2 dc in the stitch after that, and so on). When you reach the end of the round, slip stitch into the top of your beginning chain-3 to close everything neatly. Fasten off the blue yarn and weave in the tail.
Round 2 stitch count: 22 dc total
Round 3: White Sclera Begins
Color: White
Attach your white yarn to any stitch from Round 2 by inserting your hook, grabbing the white yarn, and pulling up a loop. Chain 2, this counts as your first half double crochet of the round. In that very same stitch, work a hdc increase (two hdc stitches in one stitch). Then continue working your way around the entire round by alternating between one regular hdc in the next stitch and one hdc increase in the stitch after that. Repeat this [1 hdc, 1 hdc inc] pattern a total of 10 times as you go all the way around.
Close the round with a slip stitch into the top of the beginning chain-2. Important: do not fasten off after this round, because you will continue crocheting with the same white yarn directly into Round 4.
Round 3 stitch count: 33 hdc total
Round 4: White Sclera Expanded
Color: White (continued, do not fasten off from Round 3)
Still using your white yarn, chain 3 (this counts as your first dc stitch of the round). Work 1 dc stitch in the next stitch, then work a dc increase in the stitch right after that. Now repeat the sequence of [2 dc, then 1 dc inc] ten times total as you work your way around the entire circle. This gradual, consistent increase is what keeps the circle expanding smoothly and maintains the flat, even shape of the eye design without any rippling or cupping.
When you have completed all the repeats and worked your way all the way around, slip stitch into the top of the beginning chain-3 to close the round. Fasten off the white yarn and weave in the loose end.
Round 4 stitch count: 44 dc total
Round 5: Transition to Red with Corner Formation
Color: Red
This is the round where your piece begins to transform from a simple circle into the distinctive square shape. Attach your red yarn to any stitch from Round 4. Chain 3 (counts as dc). Now work the following stitch sequence along the first side: 1 hdc, then 5 sc stitches, then 1 hdc, then 1 dc, then a dc increase (2 dc in one stitch), then chain 1, then another dc increase (2 dc in one stitch). This specific combination of stitch heights creates the contour of one side while the chain-1 space at the end forms your very first corner.
Repeat that entire sequence [1 dc, 1 hdc, 5 sc, 1 hdc, 1 dc, 1 dc inc, ch 1, 1 dc inc] three more times to complete all four sides and all four corners of the emerging square. Close the round by making a slip stitch into the top of your beginning chain-3. The chain-1 spaces at each corner are what define the square shape, and the single crochet section in the middle of each side creates a subtle flat edge that differentiates the sides from the corners.
Round 5 stitch count: 52 total stitches plus 4 ch-1 corner spaces
Round 6: Building Out the Square
Color: Red (continued, do not fasten off from Round 5)
Still working with your red yarn, chain 3 (counts as first dc). Work 10 dc stitches along the first side of the square. When you reach the chain-1 corner space from the previous round, work the following into that space: (1 dc, chain 2, 1 dc). This creates a proper chain-2 corner that will be the foundation for the final round. After completing the corner, work 2 dc stitches into the next stitches to begin the second side.
Now repeat the following around the remaining three sides: work 11 dc stitches along the side, then (1 dc, chain 2, 1 dc) into the next corner space, then 2 dc to begin the next side. When you finish all four sides and corners, close the round by slip stitching into the top of the beginning chain-3.
Round 6 stitch count: 68 dc plus 4 ch-2 corner spaces
Round 7: Final Border and Finishing
Color: Red (continued, do not fasten off from Round 6)
This is the final round of the pattern. Chain 3 (counts as first dc). Work 11 dc stitches along the first side. When you arrive at the ch-2 corner space, work a full corner cluster into it: (2 dc, chain 2, 2 dc). Then work 3 dc stitches to begin the next side.
Repeat around all four remaining sides: 12 dc along the side, then (2 dc, chain 2, 2 dc) into the next corner space, then 3 dc. After completing the final corner and side, slip stitch into the top of the beginning chain-3. Fasten off your red yarn and cut the tail. Use your darning needle to weave in any remaining loose ends from all the color changes throughout the project, and give your finished square a gentle press or block if desired.
Round 7 stitch count: 84 dc plus 4 ch-2 corner spaces
Devil Eye Granny Square Style 2 Variation
One of the best things about this pattern is how much it changes with color. Below is an alternate, Style 2, using a different combination for a whole new mood. The placement shifts so the eye takes on a different character, and you could even make one in each style and pair them in a single project for a dynamic effect.
Style 2 uses the exact same seven rounds and stitch counts as the original, only the color assignments change. Experiment with your own palette and see what character your devil eye takes on; there’s no wrong answer with color.
Devil Eye Granny Square Video Tutorial
If you learn better by watching than reading, there’s a full video walkthrough of the pattern, round by round, with close-ups of every stitch and color change. It’s especially useful for the magic-ring start, how the corner chain spaces grow in Rounds 5 to 7, and keeping your tension even.
Printable Pattern Card
Here is a compact quick-reference summary of the entire Devil Eye Granny Square pattern. You can screenshot this section, print it out, or bookmark this page for easy access while you crochet:
Devil Eye Granny Square, Pattern at a Glance
Hook size: 3.00mm | Yarn weight: DK / Worsted | Colors needed: 4 | Finished size: ~4.5 x 4.5 inches
Round 1 (Black): Magic ring. Ch 3 (counts as dc), 10 dc in ring. Sl st to top of ch-3. Fasten off. [11 dc]
Round 2 (Deep Blue): Join in any st with new yarn. Ch 3 (counts as dc), dc in same st. Dc inc in each of next 10 sts. Sl st to top of ch-3. Fasten off. [22 dc]
Round 3 (White): Join in any st. Ch 2 (counts as hdc), hdc inc in same st. [Hdc, hdc inc] repeat 10 times. Sl st to top of ch-2. Do not fasten off. [33 hdc]
Round 4 (White): Ch 3 (counts as dc), dc, dc inc. [2 dc, dc inc] repeat 10 times. Sl st to top of ch-3. Fasten off. [44 dc]
Round 5 (Red): Join in any st. Ch 3 (counts as dc), hdc, 5 sc, hdc, dc, dc inc, ch 1, dc inc. [Dc, hdc, 5 sc, hdc, dc, dc inc, ch 1, dc inc] repeat 3 times. Sl st to top of ch-3. [52 sts + 4 ch-1 sps]
Round 6 (Red): Ch 3 (counts as dc), 10 dc, (dc, ch 2, dc) in next ch-sp, 2 dc. [11 dc, (dc, ch 2, dc) in next ch-sp, 2 dc] repeat 3 times. Sl st to top of ch-3. [68 dc + 4 ch-2 sps]
Round 7 (Red): Ch 3 (counts as dc), 11 dc, (2 dc, ch 2, 2 dc) in next corner, 3 dc. [12 dc, (2 dc, ch 2, 2 dc) in next corner, 3 dc] repeat 3 times. Sl st to top of ch-3. Fasten off. [84 dc + 4 ch-2 sps]
Recommended Resources
For more crochet inspiration, visit free patterns on Ravelry and check the Craft Yarn Council standards.
Explore more on KnotToYarn: Free Patterns, Granny Squares, Beginner Crochet.
Frequently Asked Questions
How many colors do I need for the devil eye granny square?
This pattern uses 4 colors, a dark pupil, a deep blue iris, white for the sclera, and red for the outer border, giving the classic evil-eye look in just a handful of rounds.
Is the devil eye granny square beginner-friendly?
It is best for confident beginners who already know basic granny square construction, since the color changes and corner shaping happen in quick succession across several rounds.
Can I make the devil eye square a different color palette?
Absolutely. The construction works with any 4-color combination; just keep similar contrast between the pupil, iris, and sclera so the eye shape still reads clearly.
What can I make with devil eye granny squares?
They are popular as bag charms, coasters, keychains, and accent squares in a larger blanket or pillow for a fun, protective motif.