Crochet Slip Stitch: 5 Easy Join & Edge Methods
Quick Answer
Crochet Slip Stitch Tutorial — The slip stitch (abbreviated sl st) is the shortest and most versatile crochet stitch. Whether you are closing a round, seaming panels together, or creating a smooth decorative edge, this stitch is a foundational skill every crocheter needs. At KnotToYarn.com, we break down five essential techniques so you can start using the slip stitch with confidence today.
Tip: Always insert your hook under both loops of the stitch unless the pattern specifically says otherwise.
At a Glance
- Skill level: beginner
- Time needed: 20–30 minutes to practice all five techniques
- Best yarn: medium-weight (worsted) cotton or acrylic for easy visibility
- Hook size: 5.0 mm (H-8)
Common Mistakes → Quick Fixes
- Working slip stitches too tightly: switch to a slightly larger hook for slip stitch rows, or consciously loosen your grip.
- Missing the correct loop: place a stitch marker every 10 stitches to stay on track, especially in the round.
- Confusing slip stitch with single crochet: remember that a slip stitch does NOT add height — you yarn over, pull through, then pull through both loops on the hook in one motion.
Mini Glossary
sl st — slip stitch | ch — chain | sc — single crochet | hdc — half double crochet | FL — front loop | BL — back loop
If you have been searching for a clear, beginner-friendly crochet slip stitch tutorial, you are in the right place. The slip stitch is one of the first stitches most crocheters learn, yet many people only use it to close rounds. In this crochet slip stitch tutorial, we will explore five essential slip stitch techniques that will level up your projects. From seamless seaming to decorative surface details, the slip stitch is a powerhouse. Let us walk through each technique step by step — this crochet slip stitch tutorial is designed for all skill levels.
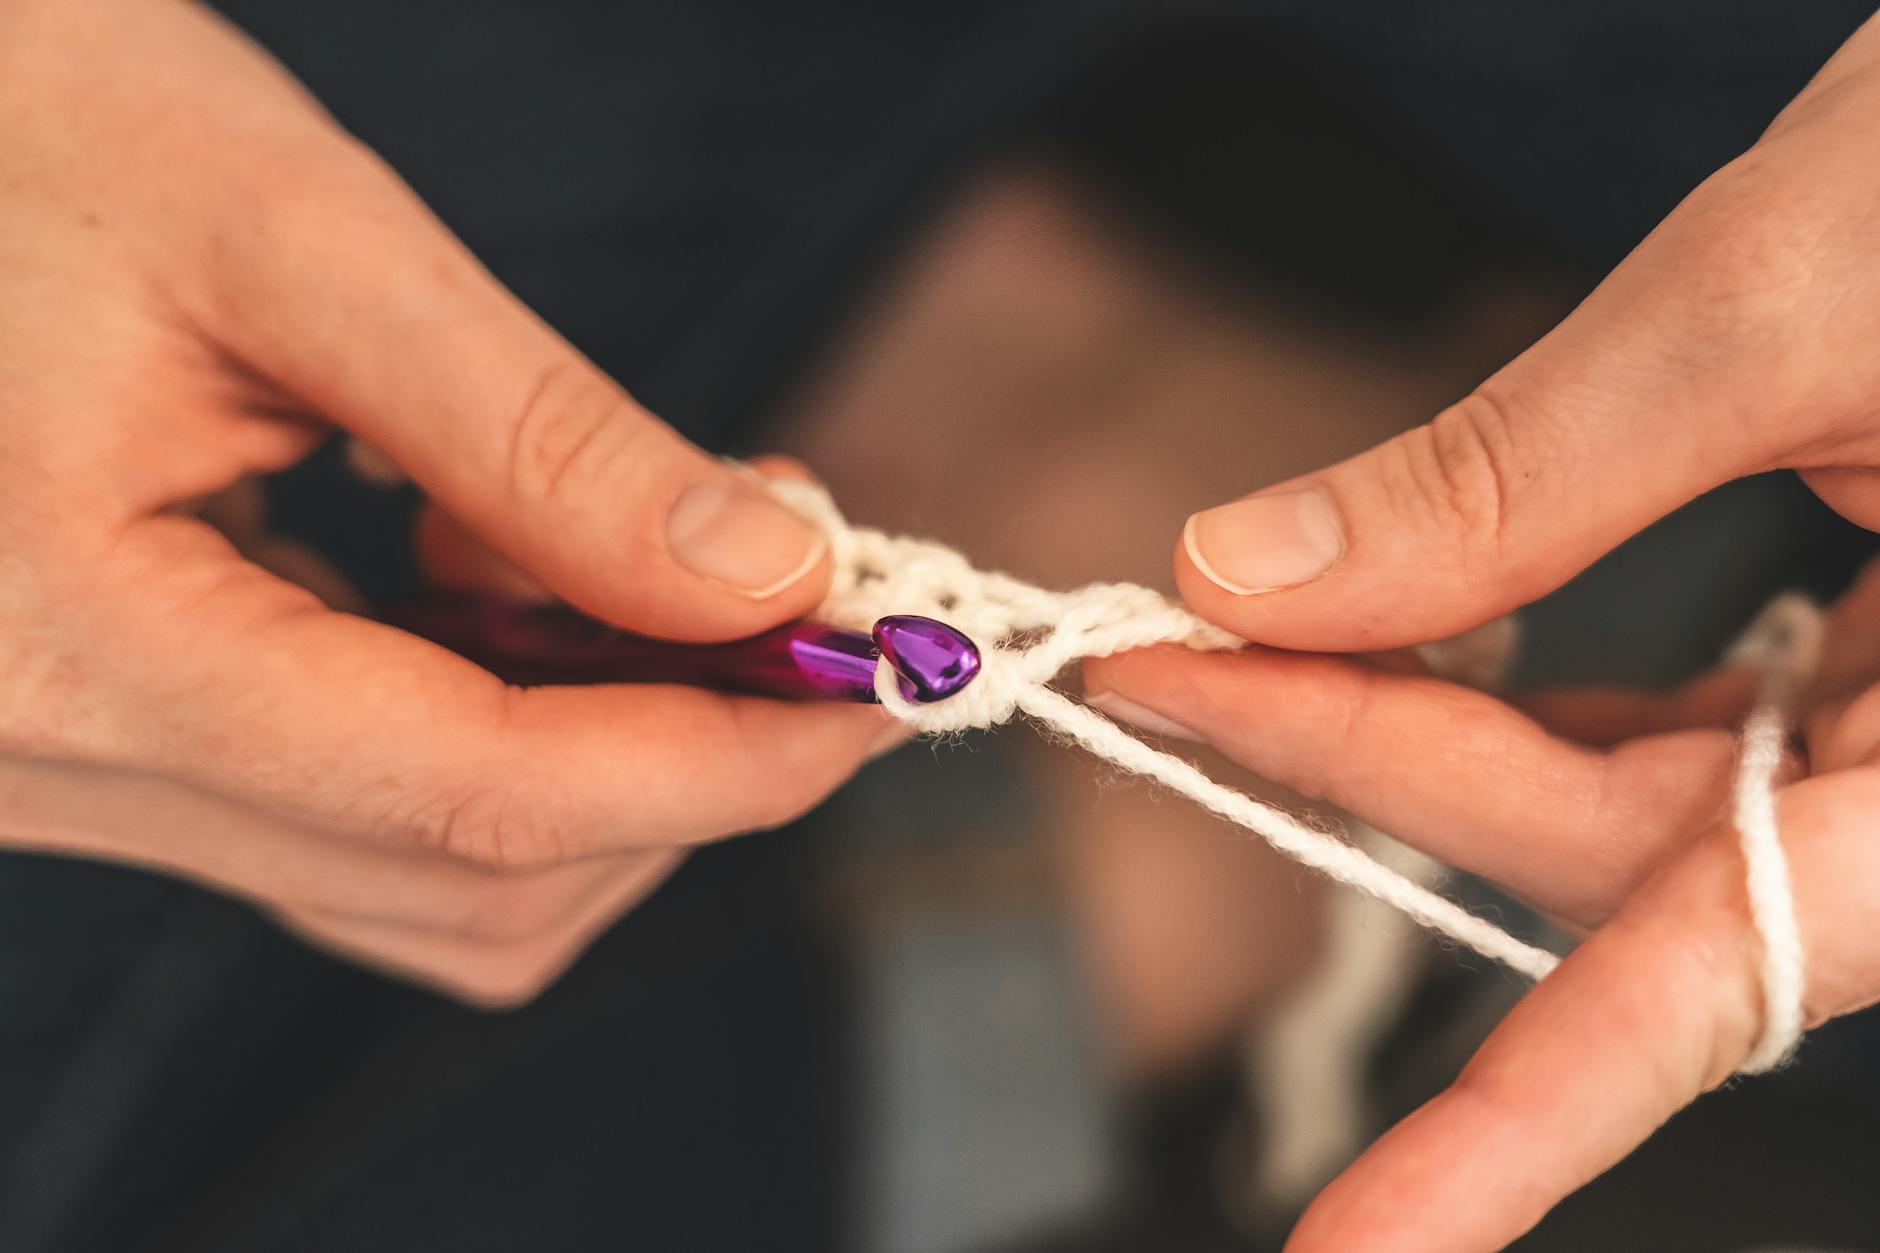
What Is a Slip Stitch?
The slip stitch (sl st) is the shortest crochet stitch. Unlike a single crochet or a half double crochet, the slip stitch does not add any height to your work. You simply insert your hook, yarn over, and pull through both the stitch and the loop already on your hook in a single motion. If you are completely new to crochet, our how to crochet for beginners guide is a great starting point before diving into this tutorial.

According to the Craft Yarn Council, understanding basic stitch anatomy is critical for consistent results, and the slip stitch is at the foundation of that knowledge. A thorough tutorial like this one ensures you understand both the how and the why behind every stitch.
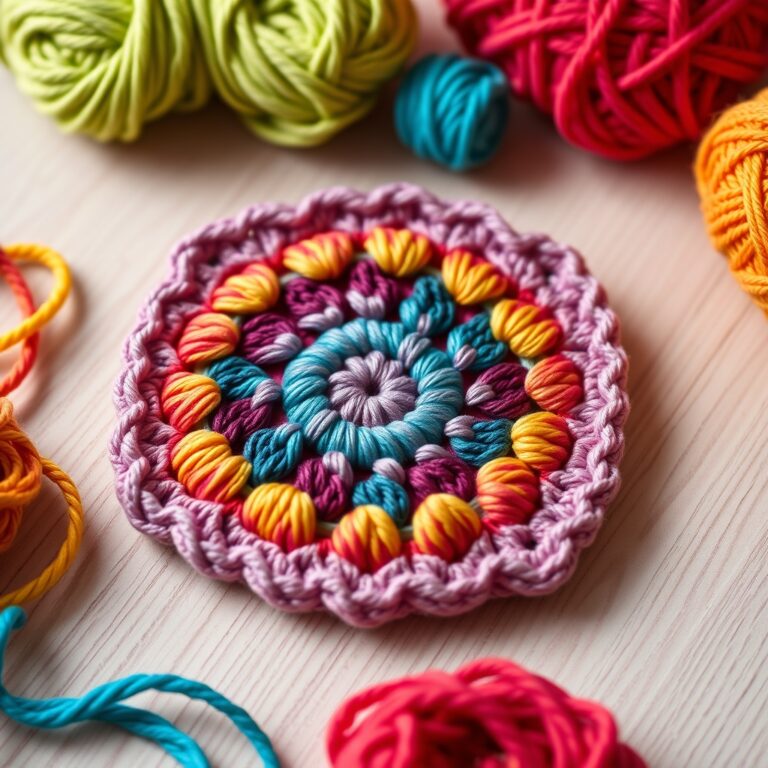
Technique 1: Closing Rounds
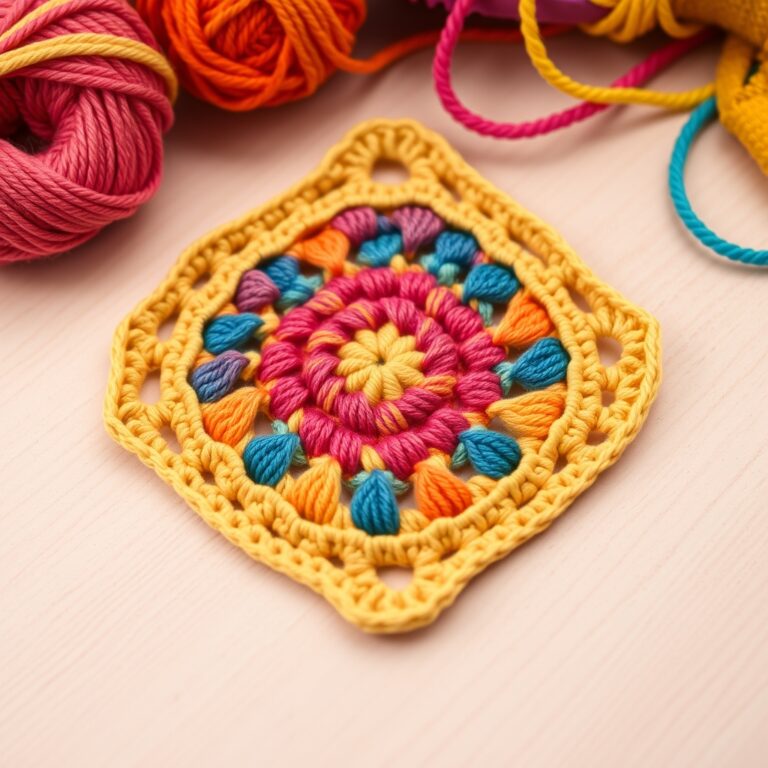
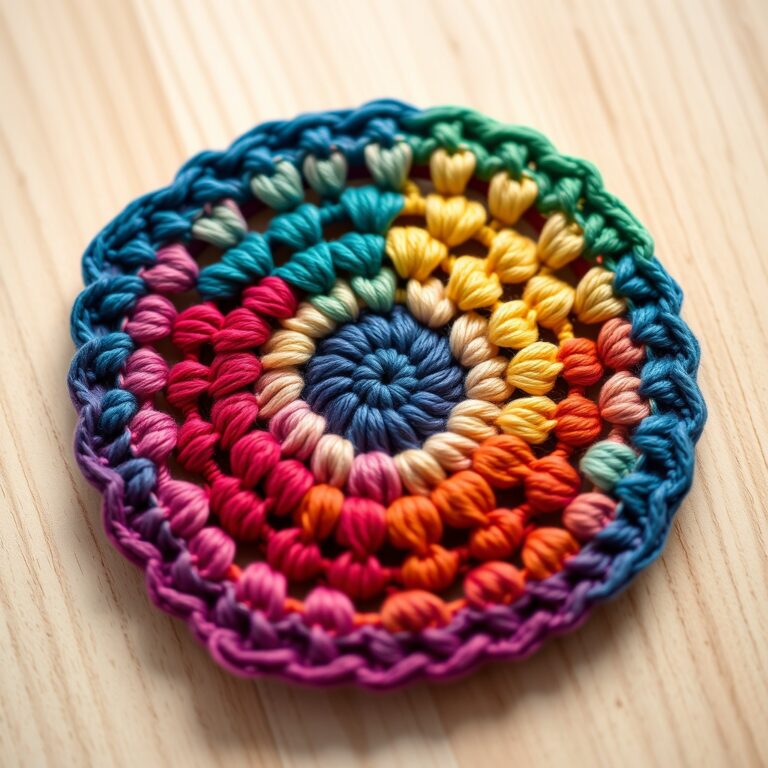
The most common use of the slip stitch is closing a round. When you work in the round — like when making a granny square — you need a way to join the last stitch to the first without adding height. That is exactly what the slip stitch does.
- Complete the last stitch of your round.
- Insert your hook into the first stitch of the round (or into the top of the chain-1 turning chain, depending on the pattern).
- Yarn over and pull through both loops on the hook.
This technique keeps your work flat and even. Practice it a few times with any scrap yarn and you will find it becomes second nature
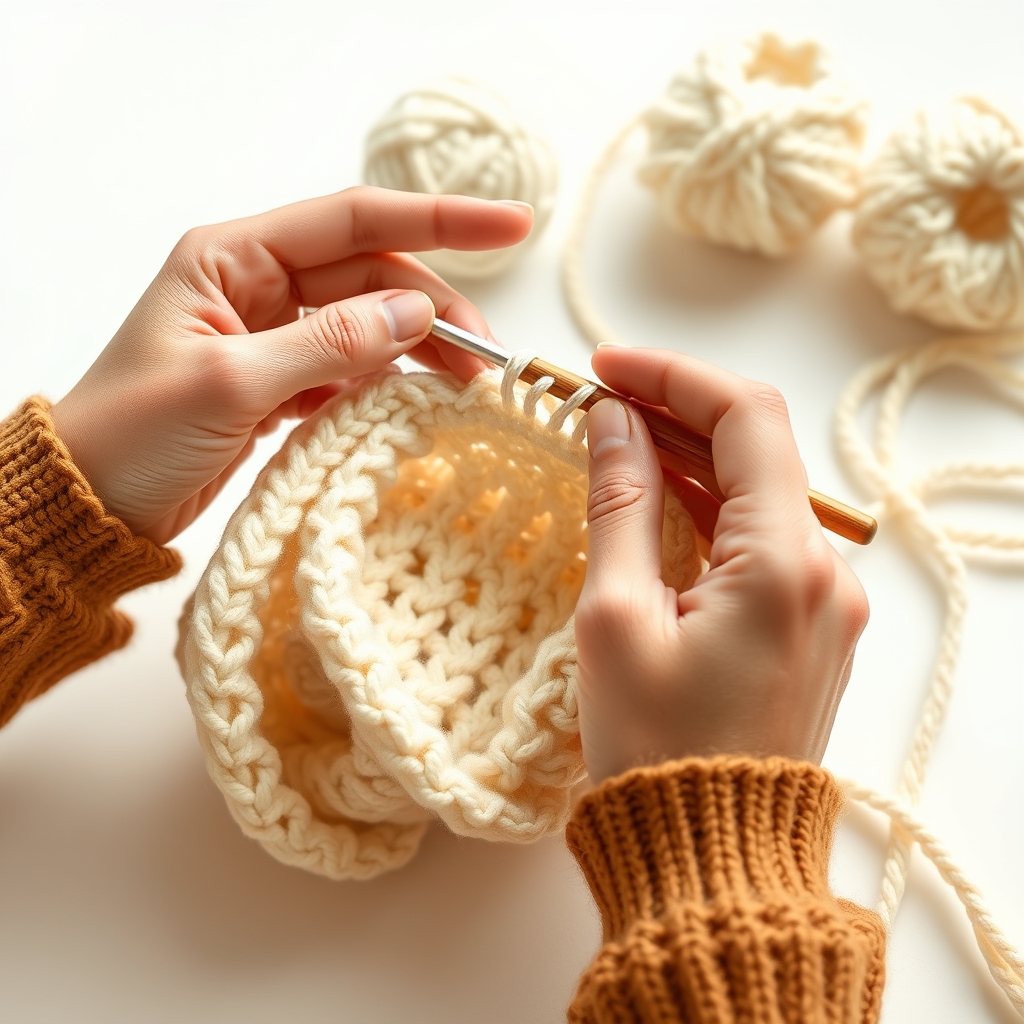
Technique 2: Slip Stitch Seaming
Seaming is one of the most practical skills in any walkthrough. The slip stitch seam creates a nearly invisible join that is stronger than sewing with a yarn needle. Hold your two pieces of crochet together with right sides facing out. Insert your hook through both layers at the corner, yarn over, pull through the layers and through the loop on your hook, then move to the next stitch pair and repeat.
For best results, match your seaming yarn color to the project and keep an even tension. If your seams look wavy, check out our guide on how to fix crochet tension.
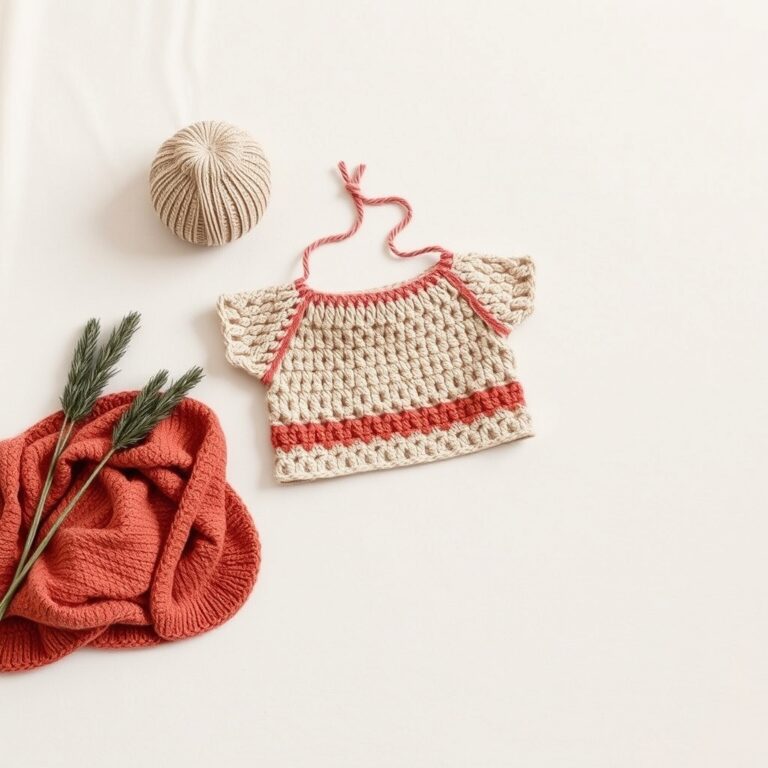
Photo by Castorly Stock via Pexels
Technique 3: Slip Stitch Edge (Crab Stitch)
The crab stitch — also called the reverse single crochet or simply the slip stitch edge — gives your projects a polished, braided-looking border. Instead of working right to left as usual, you work left to right. Insert your hook into the next stitch to the right, yarn over, pull up a loop, and pull through the loop on your hook. This tutorial technique is a favorite among experienced crocheters for finishing blankets and garments.
This creates a neat, rounded edge that looks beautiful on blankets, scarves, and washcloths. It is an easy way to elevate a simple project into something that looks professionally finished.
Technique 4: Surface Slip Stitch
Surface crochet is a decorative technique where you work slip stitches on top of a finished piece of crochet fabric. This is perfect for adding stripes, letters, or freehand designs without having to change colors mid-row. Simply insert your hook through the fabric from front to back, yarn over, pull up a loop, then insert the hook a short distance away and pull through both loops.
Technique 5: Slip Stitch Short Rows (Shaping)
Short rows are used to shape garments and accessories, and the slip stitch is an excellent tool for this purpose. By working a series of slip stitches across a row, you can gently curve fabric or create three-dimensional shapes without increasing or decreasing. This technique is commonly used in amigurumi, hat brims, and sweater bust shaping.
To practice, make a flat swatch of single crochet, then work three to five slip stitches across the center of a row. You will see the fabric naturally cup. Understanding how hook sizes affect shaping is also important — review our crochet hook sizes reference for more detail.
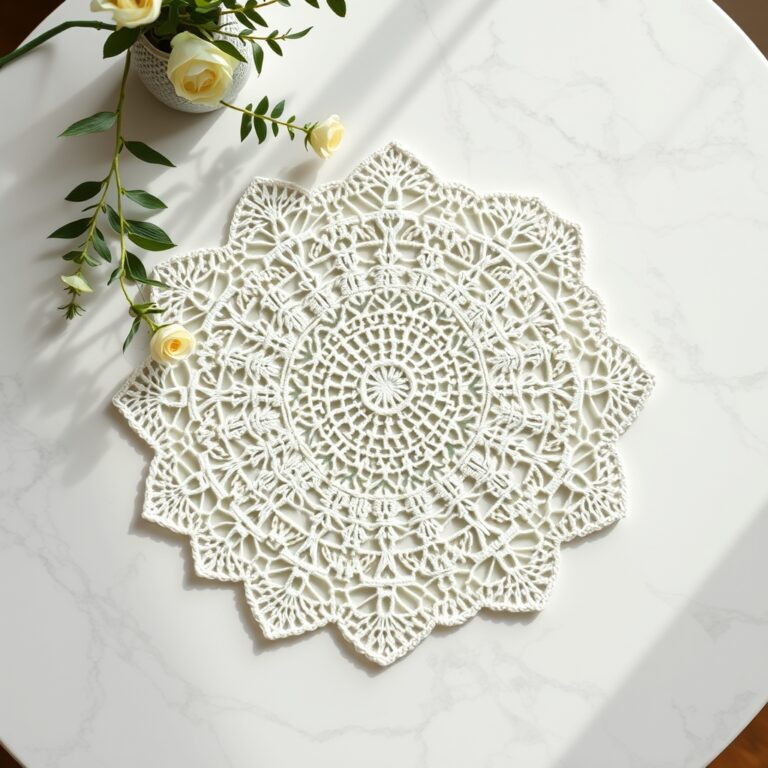
Photo by Miriam Alonso via Pexels
What Are the Best Tips for Perfect Slip Stitches Every Time?
- Choose the right hook: A slightly larger hook can help if your slip stitches are consistently too tight. See our best yarn for beginner crochet guide for yarn-hook pairing tips.
- Count your stitches: Place a stitch marker every 10 stitches to catch mistakes early. This habit is covered in our crochet abbreviations for beginners reference.
- Watch your tension: Even tension is the secret to beautiful crochet. Practice with a smooth worsted-weight yarn until your stitches are consistent.
This guide would not be complete without some practical tips to perfect your technique. Keep these in mind as you practice each of the five methods covered above.
For more stitch guides and free patterns, explore the full library at free crochet patterns for beginners on KnotToYarn.com. We hope this walkthrough has given you the confidence to use the slip stitch in new and creative ways. You can also find additional inspiration from The Spruce Crafts, which offers excellent visual references for slip stitch variations.
Thank you for following along with this tutorial. We hope these five techniques have given you a solid foundation.
Frequently Asked Questions
How do I keep my slip stitches from being too tight?
Try using a hook one size larger than your working hook for slip stitch sections. Also, consciously relax your grip on the yarn as you pull through. Practice on a swatch until your tension feels natural and even.
Is the slip stitch the same as a single crochet?
No. A single crochet adds height to your work and has a distinct V-shaped top, while a slip stitch is the shortest crochet stitch and does not add height. In a slip stitch, you yarn over and pull through both the stitch and the loop on the hook in a single motion.
What yarn works best for practicing slip stitches?
A smooth, light-colored worsted-weight yarn such as cotton or acrylic is ideal. Light colors make it easy to see your stitches, and the medium weight provides good stitch definition for learning. Check our best yarn for beginner crochet guide for specific recommendations.
Can I use the slip stitch to join granny squares?
Absolutely. The slip stitch join is one of the most popular methods for assembling granny squares because it creates a flat, sturdy seam. Place your squares right sides together and work slip stitches through both layers along the edge.