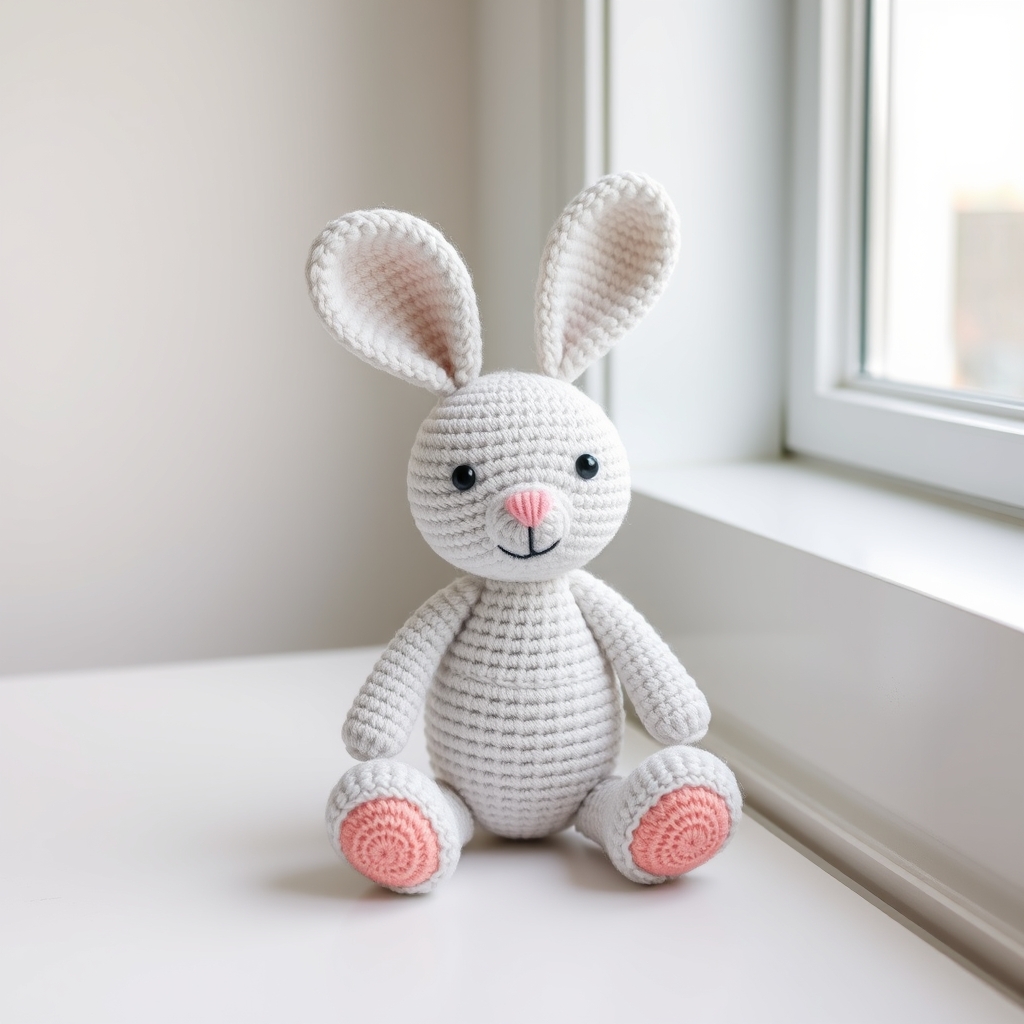
How to Crochet a Bunny: 3 Easter Ideas + a Free Egg Bunny Pattern
Quick Answer
A crochet bunny is a small stuffed toy made using the amigurumi technique. You only need basic stitches like single crochet and a magic ring to get started. At KnotToYarn.com, we love sharing free patterns that make creating your first crochet bunny simple and fun.
Tip: Use tight tension and a smaller hook than your yarn recommends for a firm fabric that keeps stuffing hidden.
At a Glance
- Skill level: beginner
- Time needed: 2-4 hours
- Best yarn: worsted weight cotton or acrylic (see our yarn guide for beginners)
- Hook size: 3.5 mm (E-4) or 4.0 mm (G-6)
Common Mistakes → Quick Fixes
- Loose stitches showing stuffing: go down one hook size and pull each stitch snug
- Bunny leaning to one side: stuff evenly and add a small handful of poly-pellets to the base
- Ears flopping instead of standing: insert a craft wire or pipe cleaner before stuffing
Mini Glossary
Amigurumi ( ami ): the Japanese art of crocheting small stuffed toys; MR ( magic ring ): an adjustable loop used to start rounds in the round; SC ( single crochet ): the most common stitch in amigurumi; INC ( increase ): two single crochets in one stitch; DEC ( invisible decrease ): joining two stitches to shape and close the piece; F/O ( fasten off ): finish and secure the yarn tail.
Featured Free Pattern: Easter Egg Bunny
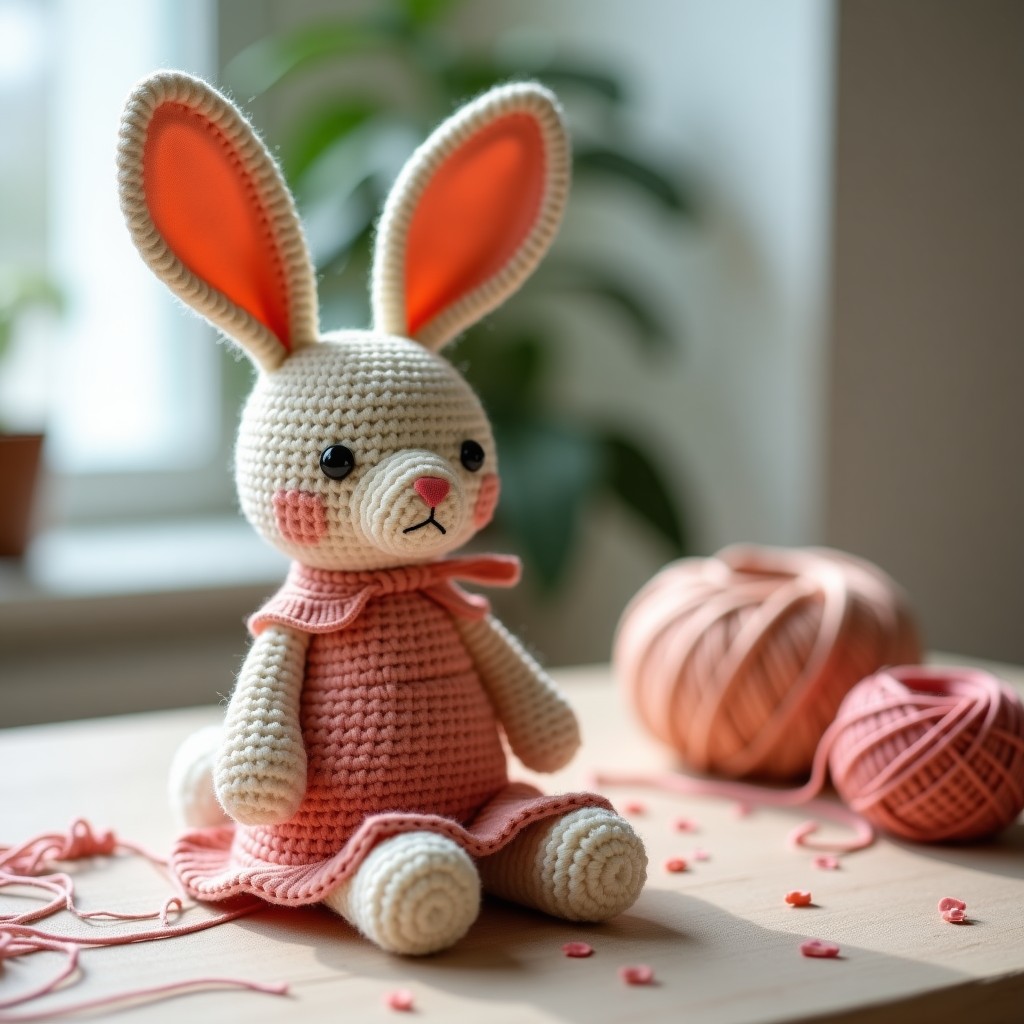
This is KnotToYarn’s own original pattern, free to use, and you’re welcome to sell what you make from it.
The egg bunny is the no-fail rabbit: the same egg body as a spring chick, plus tall ears and a pom-pom tail. No sewn-on head means no wobbly-head heartbreak. Complete pattern below.
Materials
- Worsted weight yarn, 30 g in cream, grey, or any bunny color; pink scraps
- 3.5 mm (US E) crochet hook
- 8 mm safety eyes or embroidery floss
- Fiberfill, stitch marker, yarn needle
Finished size: About 12 cm (4.75 in) tall including ears
Skill level: Beginner
Abbreviations (US terms): ch (chain), sc (single crochet), hdc (half double crochet), dc (double crochet), inc (2 sc in one st), dec (sc 2 together), sl st (slip stitch), st(s) (stitch/es)
Instructions
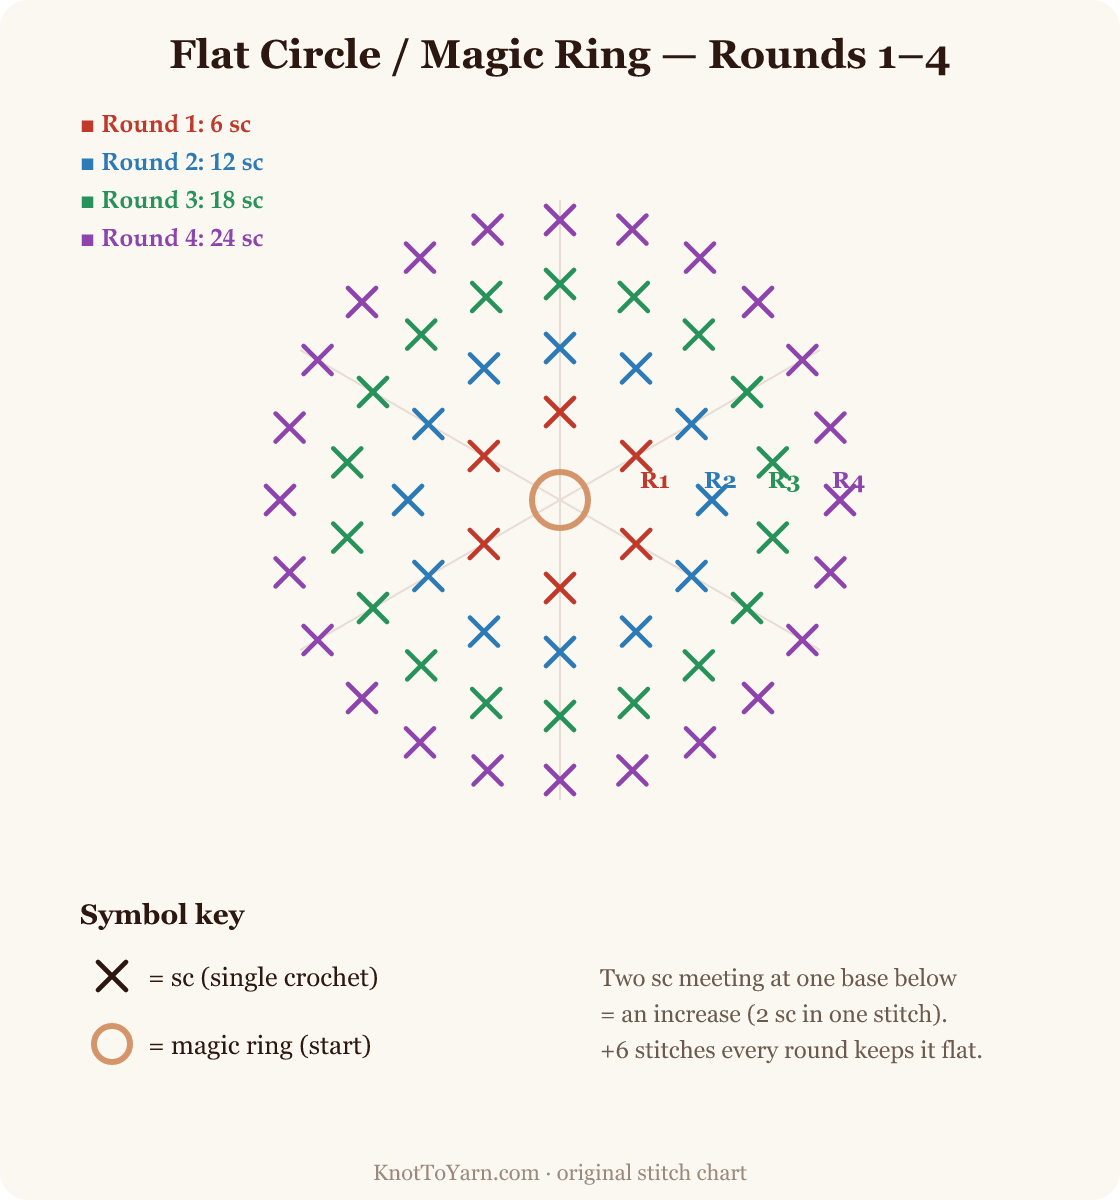
The Body
Work the egg shape exactly as follows, in continuous spirals:
Round 1: 6 sc in a magic ring: 6 sts. Round 2: inc around, 12. Round 3: (sc 1, inc) around, 18. Round 4: (sc 2, inc) around, 24. Round 5: (sc 3, inc) around, 30.
Rounds 6-10: sc around: 30 sts.
Round 11: (sc 3, dec) around, 24. Round 12: sc around. Round 13: (sc 2, dec) around, 18.
Eyes between Rounds 10 and 11, five stitches apart. Embroider a pink Y-shaped nose centered one round below. Stuff firmly.
Round 14: (sc 1, dec) around, 12. Round 15: dec around, 6. Cinch closed.
The Ears (make 2)
Round 1: 6 sc in a magic ring: 6 sts.
Round 2: (Sc 1, inc) x3: 9 sts.
Rounds 3-8: Sc around: 9 sts. Do NOT stuff.
Pinch the opening flat and work 4 sc through both layers to close. Fasten off with a long tail. The flat base makes ears that stand up instead of flopping (unless you want flop, then sew them on sideways).
Finishing
Sew the ears to the top of the egg, two stitches apart, bases vertical. Tail: make a small pom-pom (wrap yarn 40 times around two fingers, tie the middle tight, cut the loops, trim to a 2.5 cm ball) and sew it low on the back. Whiskers: optional three strands of sewing thread pulled through the nose stitch and trimmed.
Made this? We’d love to show off your work, send a photo through our contact page and we’ll feature it here with credit to you.
Tip: Ear placement changes the animal: straight up reads bunny, 45 degrees reads puppy, flat sideways reads lamb. Pin before sewing and look at it from across the room.
Making a crochet bunny is one of the most rewarding projects you can try as a beginner. These tiny stuffed animals are quick to work up, use very little yarn, and make wonderful gifts for friends and family. Whether you are preparing for Easter, decorating a nursery, or simply looking for a relaxing weekend craft, a crochet bunny pattern is the perfect choice.
Why You Will Love Making a Crochet Bunny?
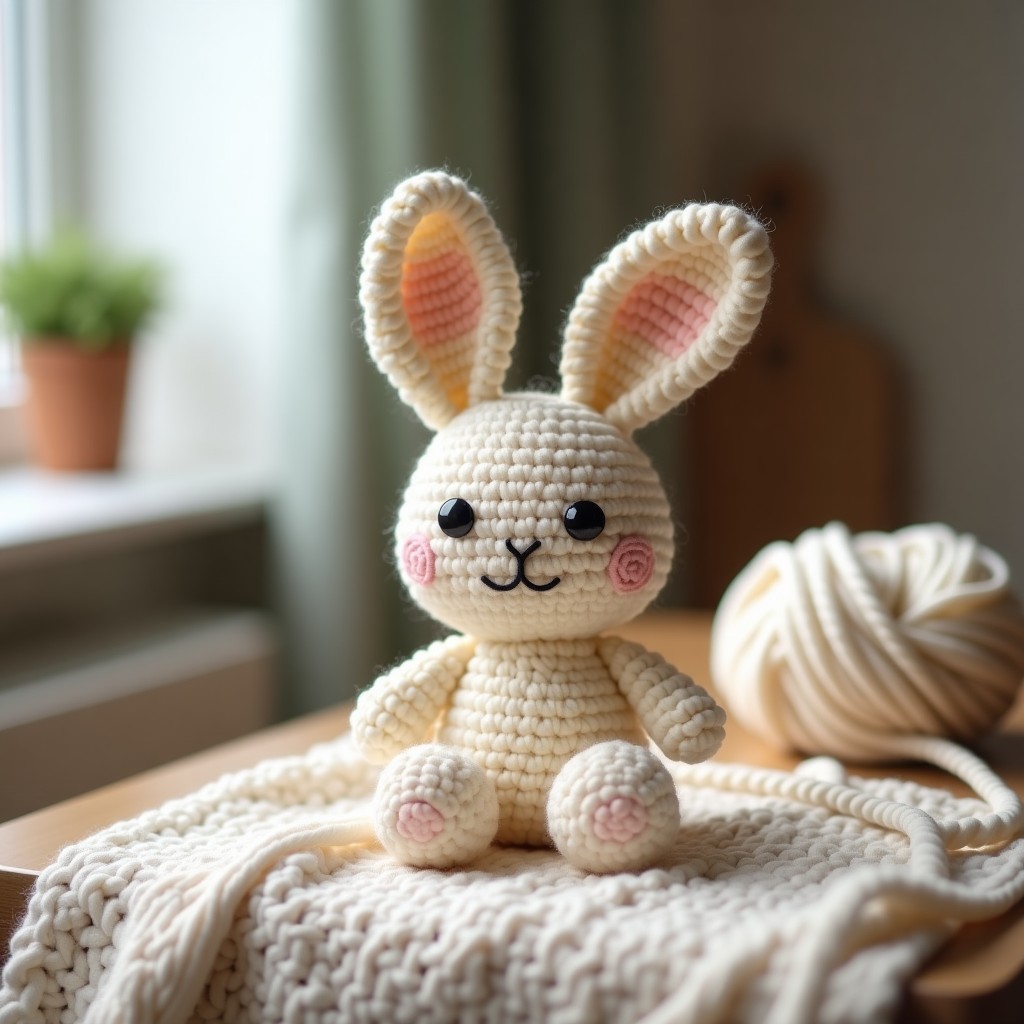
A crochet bunny combines the charm of amigurumi with the simplicity of basic stitches. Unlike large blankets or garments that take weeks, most bunny patterns can be finished in a single afternoon. The small size means you can experiment with fun colors and embellishments without committing to a massive project.
Another reason crafters fall in love with this design is its versatility. You can customize the size, ear shape, facial expression, and clothing to create a one-of-a-kind toy. From tiny keychain versions to huggable nursery decor, there is a crochet bunny pattern for every occasion.
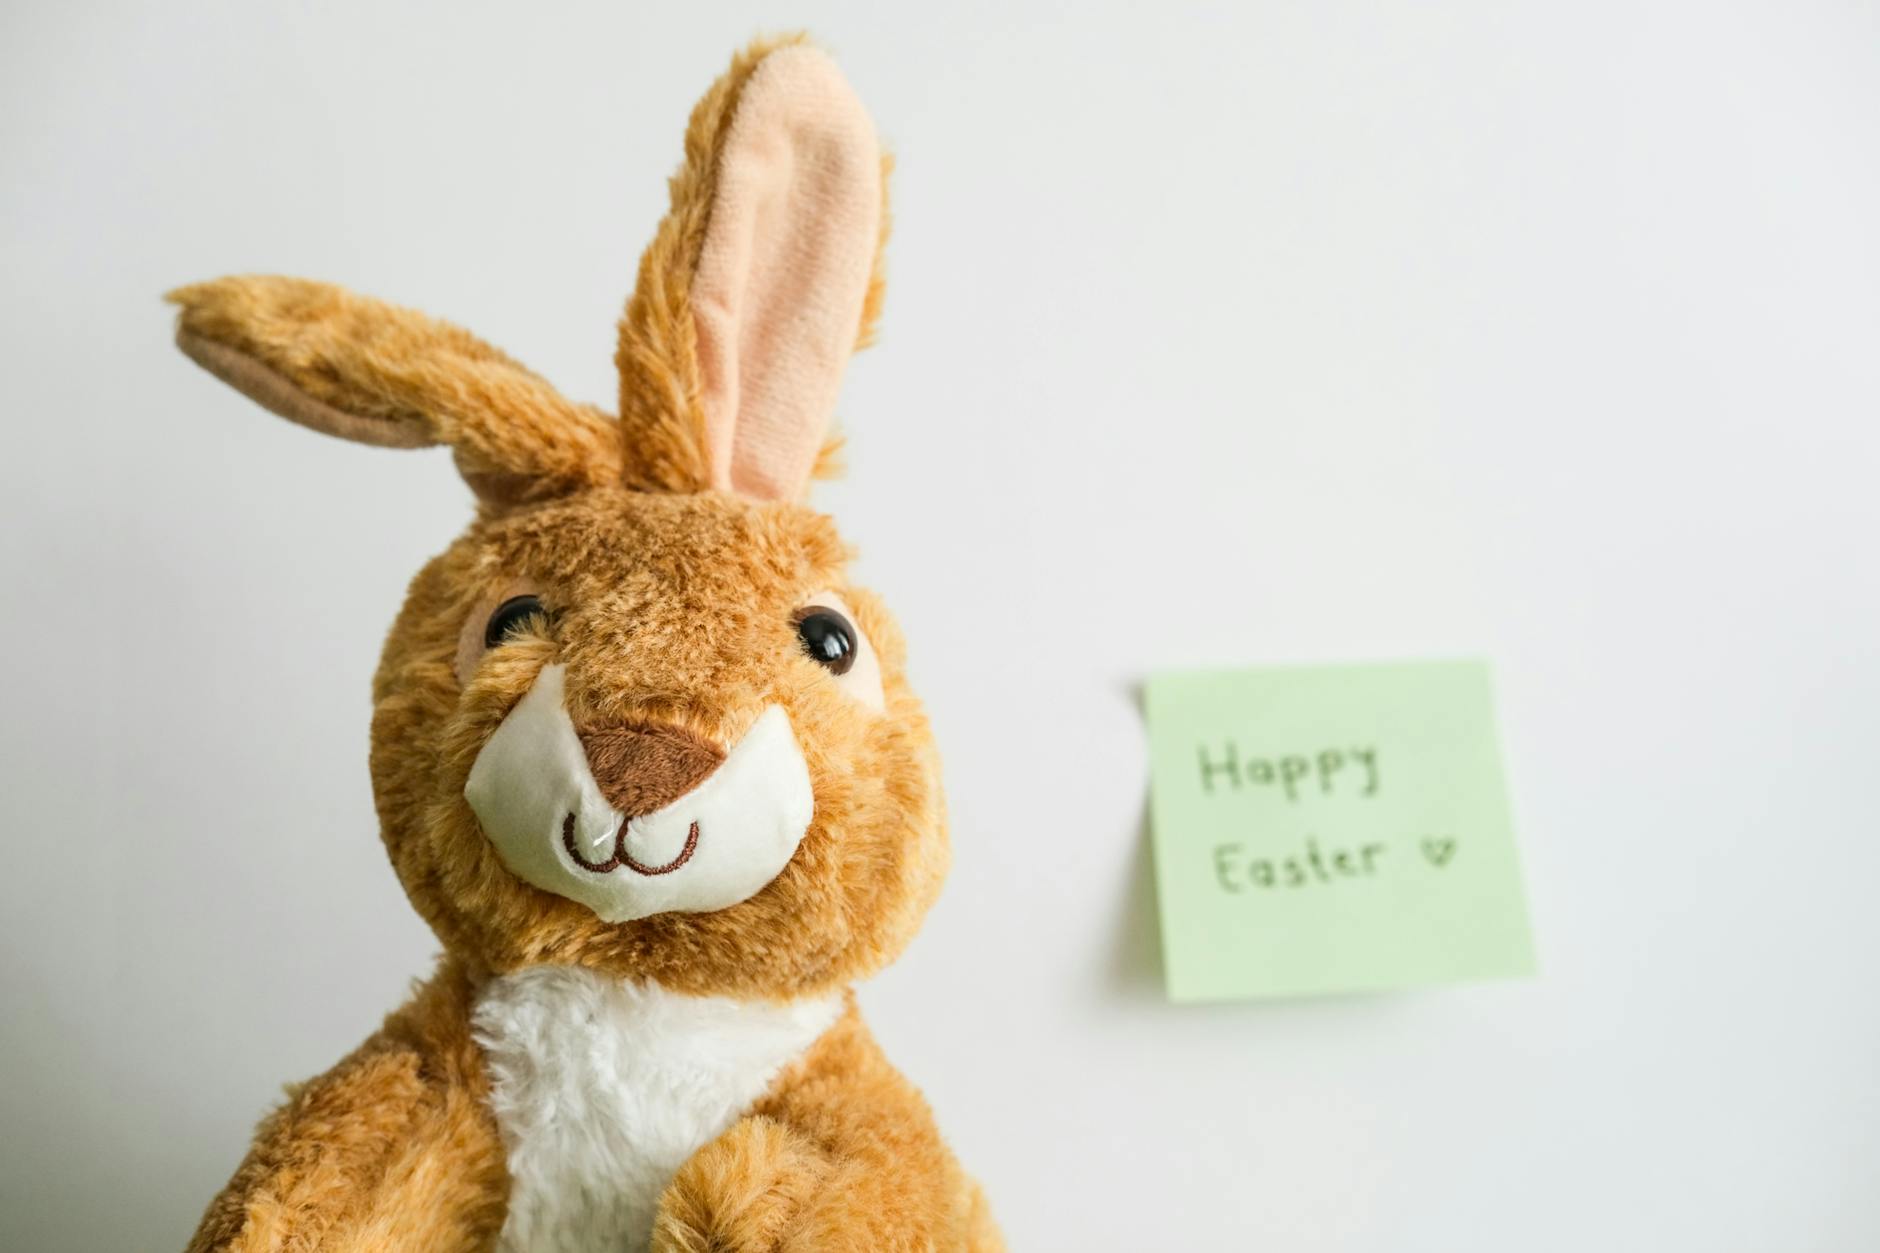
If you are new to amigurumi, the crochet bunny is an ideal first project. It introduces you to working in the round, increasing, decreasing, and stuffing, all essential techniques that transfer to more complex crochet amigurumi projects later on.
What Materials Do You Need for Your Project?
Before you begin your crochet bunny, gather a few basic supplies. Having everything ready will make the process smoother and more enjoyable.
Yarn: Worsted weight (size 4) acrylic or cotton yarn works beautifully. Cotton gives a slightly crisper stitch definition, while acrylic is softer and more affordable. Check out our guide to the best yarn for beginner crochet if you need help choosing. Pastel pinks, creams, and soft grays are classic colors, but feel free to get creative with bright spring tones.
Hook: For most amigurumi patterns, a 3.5 mm or 4.0 mm hook pairs well with worsted weight yarn. The key is to create tight stitches so the stuffing does not peek through. For detailed standards, the Craft Yarn Council offers an excellent hook and yarn sizing reference.
Other supplies: Polyester fiberfill for stuffing, a yarn needle for weaving in ends, safety eyes (or embroidery thread for embroidered eyes), stitch markers, and sharp scissors round out your toolkit.
Step-by-Step Body Construction
The body is the largest piece of your bunny and a great place to practice shaping. You will start with a magic circle and work in continuous rounds of single crochet, increasing evenly to create a rounded shape.
Begin with 6 single crochets into your magic ring. In the next round, increase in every stitch (12 stitches). Continue increasing by placing one increase between regular stitches until you reach the desired width, usually around 30 to 36 stitches for a medium-sized toy.
Once the body is wide enough, work even rounds without increasing. This builds the side walls. After several even rounds, begin decreasing to close the bottom. Leave a small opening, stuff firmly with fiberfill, then close the gap and fasten off. Insert safety eyes between rounds 8 and 10 before the opening gets too small.
Ears, Arms, and Tail
The ears are the most iconic feature of any amigurumi bunny. To make standing ears, crochet a small oval base, then work even rounds for the ear length. For floppy ears, simply crochet a flat rectangle and sew it to the top of the head. Adding a thin strip of inner ear color (usually pink) gives your toy an adorable, realistic touch.
Arms and legs follow a similar tube construction. Start with a magic ring, increase to about 6 or 8 stitches, then work even until the piece reaches the desired length. Pin each limb in place before sewing to ensure the finished piece sits or poses the way you want.
Do not forget the fluffy tail. A quick pom-pom made from white yarn attached to the back of the body is the classic finishing touch for a little bunny. You can use a pom-pom maker or simply wrap yarn around your fingers and tie it tightly in the middle.
What Are the Best Tips for a Perfect Finish?
After completing several amigurumi projects, we have gathered some tips that make a noticeable difference in the finished result.
1. Count your stitches every round. Losing or gaining a stitch is the most common mistake in amigurumi. A simple stitch marker placed in the first stitch of each round helps you keep track. This is especially important for a bunny because uneven stitch counts cause the body to twist or bulge.
2. Stuff as you go. Do not wait until the piece is finished to add stuffing. The project looks best when stuffed evenly throughout, not packed tightly at the end. Small handfuls of fiberfill added every few rounds give a smoother shape.
3. Block your pieces before assembly. Lightly steaming or pinning your pieces into shape before sewing helps them look polished and professional. This is especially helpful for the ears and body.
For more creative amigurumi ideas, browse our collection of crochet heart patterns to pair with your bunny as a sweet gift set. You can also find additional inspiration and patterns on Ravelry, where the community shares thousands of free designs.
5 Frequently Asked Questions
How long does it take to make a crochet bunny?
Most beginners can complete a small amigurumi bunny in about 2 to 4 hours. Larger or more detailed patterns may take closer to 6 hours. Since the pieces are small, a crochet bunny is an excellent weekend project that fits easily into a busy schedule.
What is the best yarn for a crochet bunny?
Worsted weight cotton or acrylic yarn in the #4 weight category is ideal. Cotton holds its shape well for standing toys, while acrylic is ultra-soft for cuddly bunnies meant for young children. Always choose a yarn that is easy to wash.
Can I sell items I make from free patterns?
It depends on the specific pattern license. Many free amigurumi patterns allow you to sell finished items as long as you credit the designer. Always read the terms of use listed on the pattern before selling your bunny creations.
Do I need safety eyes or can I embroider them?
Both options work well. Safety eyes are quick to attach and give a polished look, but embroidered eyes are safer for toys given to babies and toddlers. Use black embroidery floss and a simple satin stitch or French knot for embroidered eyes on your project.
How do I make my bunny stand up?
To help your amigurumi stand on its own, stuff the body firmly and add a small amount of poly-pellets at the base for weight. You can also flatten the bottom slightly before fastening off or attach a small circular base made from cardboard covered in fabric.
What Are the Best Yarn Colors for Crochet Bunnies?
Color choices bring personality to your amigurumi bunny and can completely change the character of the finished piece. Whether you are making an Easter decoration, a baby gift, or a shelf companion, the right color combination makes all the difference.
Classic white bunnies are timeless and elegant. Pure white yarn creates a clean, fluffy look that resembles a real rabbit. Add pink inner ears and a pink nose for contrast. White bunnies look beautiful as nursery decor and coordinate with any color scheme.
Soft gray bunnies have a realistic, woodland feel that many crafters prefer. Light gray for the body with a slightly darker gray for the inner ears and paws creates a natural, subtle color scheme. This palette works especially well for bunnies meant as year-round decorations rather than seasonal Easter items.
Brown and tan bunnies resemble real cottontail rabbits and are a warm, earthy option. Use a medium brown for the body, a lighter tan for the belly patch, and dark brown for the ear tips and nose. This colorway is popular with children and makes a wonderful gift for nature lovers.
For Easter-themed bunnies, pastel colors like lavender, mint green, baby blue, and soft yellow are festive and cheerful. A pastel bunny holding a tiny crochet carrot or egg makes an adorable addition to any Easter basket.
Embroider the Perfect Bunny Face
The face is the most important detail of any little bunny. A few well-placed embroidery stitches bring your amigurumi to life and give it character. Here is how to get it right.
Eyes: For a sweet, simple look, use two small French knots placed symmetrically on either side of the nose. Space them approximately 3 to 4 stitches apart, centered about 3 rounds below the top of the head. If you prefer larger eyes, fill in small circles with satin stitches. Use black yarn for the most realistic look, or dark brown for a softer appearance.
Nose: A small pink triangle or inverted V-shape makes a perfect bunny nose. Place it centered between and slightly below the eyes, about 2 rounds down. Use a bright pink yarn for a cute, cartoonish look or a soft dusty rose for something more subtle and realistic.
Mouth: A simple Y-shape below the nose creates a sweet bunny smile. The two arms of the Y curve downward and outward, giving the bunny a gentle, happy expression. Use a single strand of yarn in pink or a slightly darker shade than the nose.
Whiskers: Three whiskers on each side of the nose add a delightful detail. Use a single strand of white or light gray yarn. Thread it through the face and knot it on the inside of the head, then trim to about one inch long. Keep the whiskers symmetrical for the best result.
What Are the Most Common Mistakes When Making Crochet Bunnies?
- Ears are too long and floppy: The ears are the defining feature of a bunny, and getting their size right is important. If your ears flop forward or look disproportionately long, try working fewer rows or switching to a smaller hook for the ear panels. Stiffening the ears with a small piece of craft wire inserted before closing also helps them stand upright.
- Face features are placed crookedly: Asymmetric eyes or a tilted nose can make an otherwise well-made bunny look off. Always mark eye and nose positions with pins before embroidering. Measure the distance from the center top of the head to each feature to ensure perfect symmetry.
- Body is overstuffed: Too much stuffing makes the bunny feel hard and loses the soft, squishy quality that makes amigurumi so appealing. Add stuffing gradually, pausing to squeeze the bunny and check the firmness. The finished piece should be firm enough to hold its shape but still soft enough to be cuddly.
- Tail is the wrong size: A bunny’s cotton tail should be small, round, and prominent. If the tail is too large, it looks like a balloon attached to the back. If it is too small, it gets lost. A good size is roughly one-third the diameter of the head, made with 6 to 8 rounds of single crochet in a continuous spiral.
How Can You Customize Your Crochet Bunny?
Customization turns a basic bunny into a genuinely unique creation. Here are some fun ideas to try:
Dress your bunny in tiny crochet clothes. A simple dress, overalls, or a tiny scarf adds character and makes the bunny feel like a complete character rather than just a stuffed animal. Patterns for miniature doll clothes work beautifully on amigurumi bunnies of standard sizes.
Add a theme to match a holiday or occasion. Give your bunny a crochet Santa hat for Christmas, a witch hat for Halloween, or a flower crown for spring. These seasonal touches make the bunny a perfect decorative piece for any time of year.
Create a bunny family by making the same pattern in different sizes. A large parent bunny with one or two tiny baby bunnies makes an incredibly charming display piece. Vary the colors slightly within the family for visual interest while keeping a cohesive color scheme.
How Do You Care for a Crochet Bunny?
Handmade amigurumi bunnies need gentle care to stay looking their best. Keep your crochet bunny out of direct sunlight to prevent fading. If displayed on a shelf, position it away from windows where UV rays can bleach the yarn colors over time.
For light cleaning, use a lint roller or soft brush to remove dust. If the bunny needs a deeper clean, hand wash it in cool water with a gentle detergent. Squeeze out excess water without wringing, reshape the bunny, and lay it flat to dry. Complete drying may take 24 to 48 hours depending on the thickness of the yarn and the amount of stuffing.
If you are giving the bunny as a gift to a child, consider adding a small embroidered label with washing instructions. Include a gentle reminder to spot clean only and keep the bunny away from pets that might chew on it.
If you enjoyed this guide, you might also love our tutorial on Crochet Shrug Pattern. For each design below you’ll find an overview of the construction, the stitches it uses, and tips to make your own version.