How to Crochet a Bee: Easy Amigurumi Pattern
What Is Crochet Bee at a Glance?
- Topic: crochet bee
- Skill level: beginner
- Main goal: help readers create adorable crochet bee amigurumi for keychains, nursery decor, and gifts
- Related topics: amigurumi toy patterns, crochet flower pattern, crochet heart, single crochet stitch
Quick Answer
A crochet bee is a delightful and quick amigurumi project perfect for beginners looking to create adorable handmade gifts or nursery decorations. With just basic stitches and a few yards of yellow and black yarn, you can whip up an adorable bumblebee in under an hour. Visit KnotToYarn.com for more free crochet bee patterns and tutorials.
\nTip: Work with a tight tension when making the bee body — loose stitches will cause the stuffing to show through.
At a Glance
- Skill level: beginner
- Time needed: 30-60 minutes per bee
- Best yarn: smooth acrylic worsted weight in yellow and black
- Hook size: 3.5mm (E/4) or 4.0mm (G/6)
Common Mistakes → Quick Fixes
- Stripes looking uneven: carry the unused yarn along the inside and crochet over it for cleaner color transitions
- Wings too big or floppy: use a smaller hook for wings and fewer stitches to keep them proportional
- Bee not standing upright: add a small amount of poly-pellets to the bottom before stuffing with fiberfill
Mini Glossary
MR (magic ring), sc (single crochet), hdc (half double crochet), inc (increase), dec (decrease), sl st (slip stitch), FO (fasten off), sc2tog (single crochet two together)
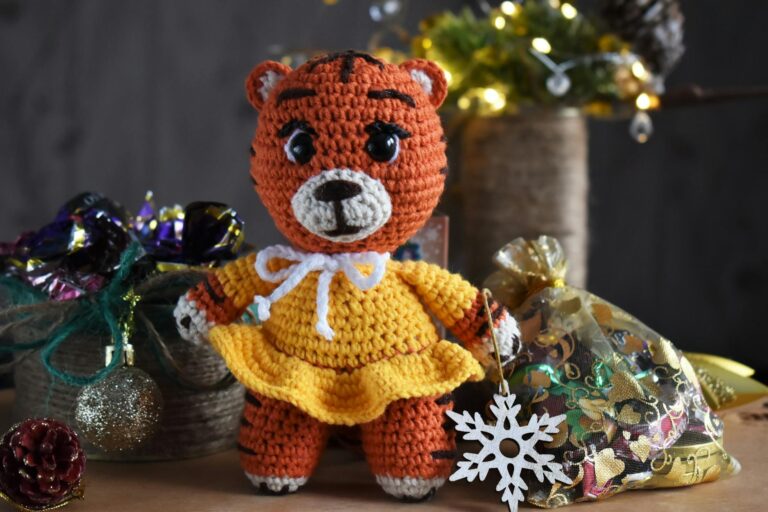
Creating a crochet bee is one of the most rewarding and delightful projects you can take on as a fiber artist. These tiny, striped creatures bring instant cheer to any space, and they are surprisingly simple to craft once you understand the basic techniques. Whether you want to make an adorable amigurumi toy, a cute keychain, or a decorative appliqué for a blanket, this trending pattern is the perfect starting point for your next creative adventure.
 KnotToYarn
Subscribe to KnotToYarn!
Get the best free crochet patterns, tutorials & tips delivered straight to your inbox. Join our growing community!
Why You Should Make a Crochet Bee?
There is something truly magical about transforming a simple ball of yarn into a recognizable, lovable creature. A crochet bee project combines the timeless art of amigurumi with a universally beloved insect theme. Bees symbolize hard work, community, and the sweetness of life, which makes them a thoughtful handmade gift for friends, family members, and fellow crafters alike.
Beyond their symbolic meaning, bee-themed projects are incredibly versatile. You can attach them to hats, bags, and scarves. You can display them on a shelf as charming decor pieces. You can even turn them into functional items like bookmarks, coasters, and holiday ornaments. The possibilities are virtually endless, and that is precisely why this adorable insect has become such a trending design in the crafting community.
If you are brand new to the craft, be sure to check out our full guide on how to crochet for beginners before diving into your first project. It covers all the foundational stitches and techniques you will need.
What Materials Do You Need for Your Project?
Before you begin, gather the right materials to ensure your finished piece turns out beautifully. Here is what you will need:
- Yarn: Choose a high-quality worsted-weight cotton or acrylic yarn in bright yellow and deep black. We recommend reviewing our best yarn for beginner crochet guide for specific brand suggestions that work wonderfully for amigurumi projects.
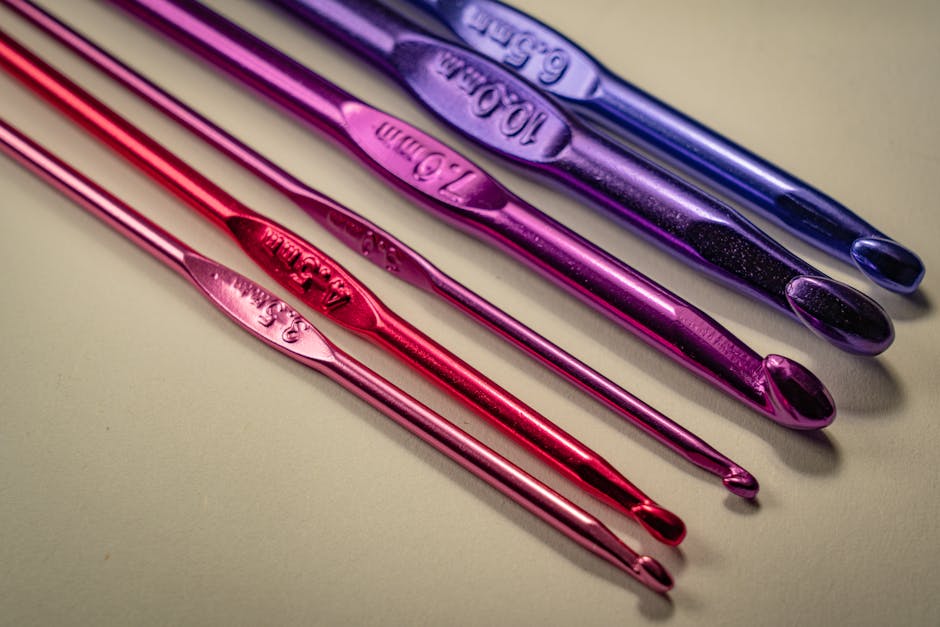
- Crochet hook: A size 3.5mm (E/4) or 4.0mm (G/6) hook works best for most patterns to keep the stitches tight enough that stuffing does not show through.
- Safety eyes: 6mm or 8mm black safety eyes give your little insect an adorable, professional look.
- Polyester fiberfill: For stuffing the body of your amigurumi creation.
- Tapestry needle: For weaving in ends and sewing pieces together.
- Scissors and stitch markers: Essential tools for any crafting project.
Pro Tip for Perfect Results
When working on your crochet bee, use a stitch marker at the beginning of each round. Amigurumi is worked in continuous spirals, and it is remarkably easy to lose your place. A simple stitch marker will save you countless hours of frustration and ensure your stitch count stays accurate throughout the entire project.
How Do You Mastering the Yellow and Black Stripe Technique?
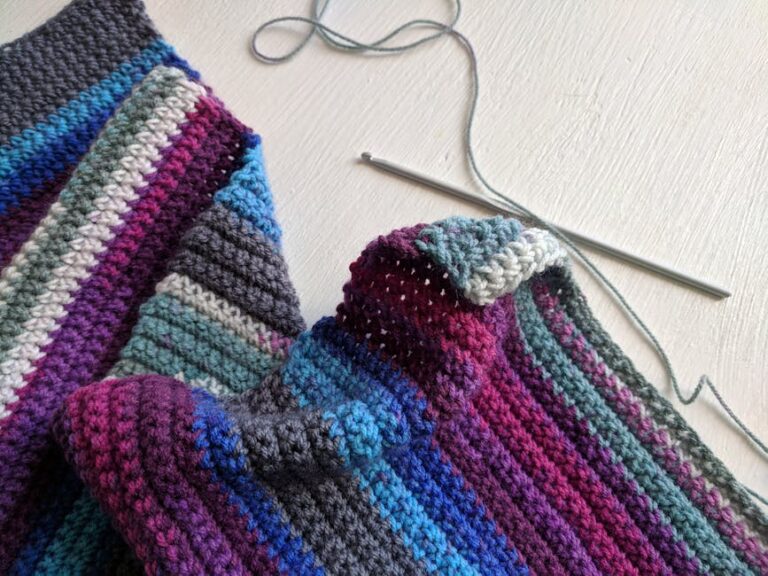
The most iconic feature of any crochet bee is the bold yellow-and-black striping. Getting clean, even stripes is one of the biggest challenges for beginners, but it becomes second nature with a little practice. The technique involves alternating between your yellow and black yarn at regular intervals, usually every two to four rounds depending on the size of your project.

For the smoothest color transitions, carry the unused yarn along the inside of your work rather than cutting and rejoining at every color change. This method reduces the number of loose ends you need to weave in later and creates a neater overall appearance. If you need a refresher on the building blocks, our single crochet stitch tutorial is an excellent resource for tightening your tension and creating consistent, uniform stitches.
Another helpful approach is the “join-as-you-go” method, where you complete each stripe section separately and then seam them together. This works particularly well for flat appliqué designs and larger decorative pieces. For those interested in expanding their skills with more colorwork, the easy crochet flower pattern is a fantastic companion project that also teaches color-changing fundamentals.
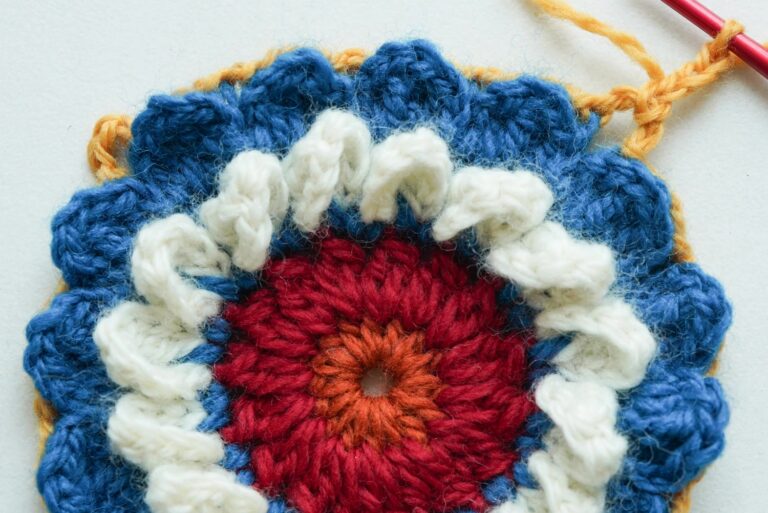
The image above illustrates this pattern step in detail.
Here you can see how the stitch work comes together in this section.
This close-up shows the texture and technique used for this design.
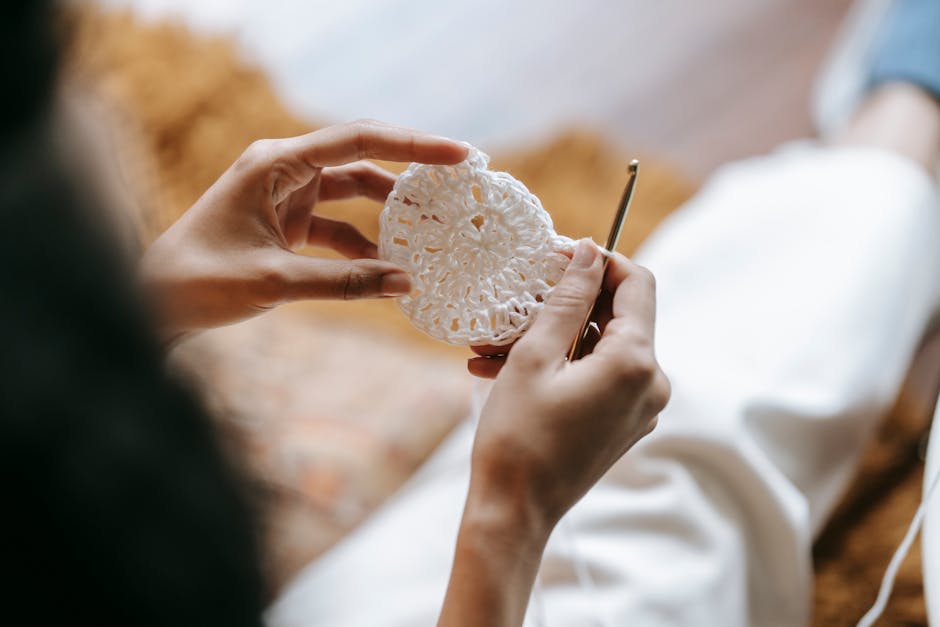
Notice the color transitions and stitch definition shown above.

How Do You 7 Crochet Bee Pattern Ideas to Try?
Here are seven delightful variations that range from beginner-friendly to intermediate level. Each one offers something unique, so you can pick the style that best matches your skill level and creative vision.
1. Classic Amigurumi Bee
The classic amigurumi bumblebee is a round, three-dimensional toy with a plump body, tiny wings, and a sweet smiling face. This is the most popular style and an ideal first project because it uses only basic stitches: single crochet, increase, and decrease. You can find beautiful inspiration for this style on crafting platforms like Ravelry, which hosts thousands of free and paid patterns from talented designers worldwide.
2. Keychain Version
Transform your mini creation into an adorable keychain by adding a metal lobster clasp and a short chain before finishing the head. Keychain bees make wonderful handmade favors for birthday parties, baby showers, and wedding welcome bags. They are small enough to complete in a single evening, making them perfect for last-minute gifts.
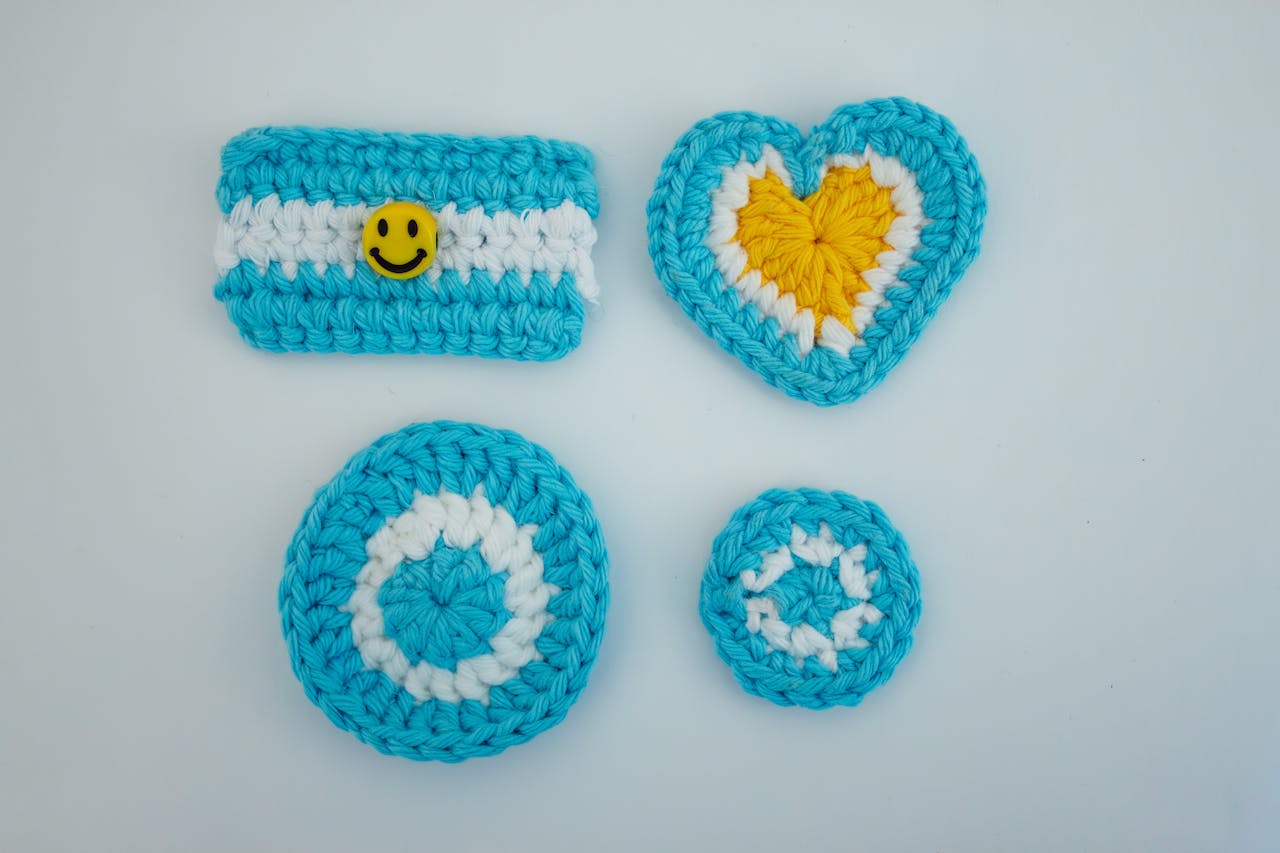
3. Flat Appliqué Bee
A flat appliqué crochet bee is worked in rows rather than rounds, creating a two-dimensional design that can be sewn onto blankets, pillows, hats, and tote bags. This variation is excellent for practicing increases and decreases in a row-based context. Appliqué designs are also fantastic embellishments for children’s clothing and nursery decor.
4. Bumblebee Square
Combine your bee motif with a granny square base to create a charming bumblebee square. These squares can be joined together to make blankets, pillows, or even wearable items like cardigans and ponchos. The hexagonal shape of a honeycomb pairs beautifully with geometric granny square designs.
5. Lovey Blanket
A lovey is a hybrid between a blanket and a stuffed toy, and a crochet bee lovey is one of the sweetest baby gifts you can make. The flat blanket body features the insect’s face and stripes, while the head is stuffed for a cuddly, huggable texture. Babies and toddlers adore these comforting transitional objects.
6. Honey Jar Companion
This creative pattern features a tiny bee perched on top of a miniature honey jar. It makes an adorable desk accessory, a playful kitchen decoration, or a unique housewarming gift. The honey jar portion gives you a chance to practice shaping techniques while the striped insect provides a fun, colorful contrast.
7. Pocket-Sized Mini Bee
A pocket-sized version is a miniature take on the classic amigurumi style, small enough to fit in the palm of your hand or tucked into a child’s pocket. These tiny treasures are wonderful for sensory play, storytelling props, or as charming additions to a nature-themed display shelf. You can browse more handmade bee inspiration on platforms like Pinterest and Etsy.
What Is Step-by-Step Overview: Making Your First Bee?
While each pattern will have its own specific instructions, the general process for creating a crochet bee follows these core steps:
- Start with a magic ring: Most amigurumi patterns begin with a magic ring (also called a magic circle) to create a tight, closed center for the body.
- Work in continuous rounds: Single crochet in the round, increasing evenly to shape the body, then working even for the middle section, and finally decreasing to close the top.
- Add stripes: Switch between yellow and black yarn at predetermined round intervals to create the characteristic striping pattern.
- Attach wings: Crochet two small oval or teardrop shapes in white or translucent yarn and sew them onto the back of the body.
- Embroider details: Add facial features like a smile and rosy cheeks using embroidery floss, and insert safety eyes if desired.
- Stuff and close: Fill the body firmly with fiberfill, then close the opening with a tapestry needle using an invisible decrease stitch.
Remember that patience is key when working on your first amigurumi insect. The shaping may feel unfamiliar at first, but each round builds on the last, and before you know it, you will have a finished piece that looks absolutely adorable. For a fascinating look at the real creatures that inspire these patterns, you can read more about bee biology and behavior on Wikipedia’s bee article.
KnotToYarn
Subscribe to KnotToYarn!
Get the best free crochet patterns, tutorials & tips delivered straight to your inbox. Join our growing community!
What Are the Most Common Mistakes to Avoid?
Even experienced crafters run into occasional issues when making amigurumi insects. Here are the most common pitfalls and how to prevent them:
- Loose stitches: If your stuffing peeks through the gaps between stitches, switch to a smaller hook size. Tight stitches are essential for a polished piece that holds its shape over time.
- Uneven stripes: Inconsistent tension when changing colors leads to wavy or uneven stripes. Practice maintaining the same grip pressure throughout your color transitions.
- Stuffing lumps: Add fiberfill in small, gradual amounts rather than one large clump. This ensures your finished piece has a smooth, even shape without awkward bulges.
- Wings placed incorrectly: Pin the wings in position before sewing to ensure symmetrical placement. Removing and repositioning pinned wings is much easier than unpicking sewn ones.
What Is Caring for Your Finished Creation?
Once your project is complete, proper care will keep it looking fresh and vibrant for years to come. If you used acrylic yarn, hand wash in cool water with a gentle detergent and lay flat to dry. Cotton yarn can typically withstand a gentle machine wash on a delicate cycle, but always air dry to maintain the shape of your stuffed creation.
Avoid exposing your finished piece to direct sunlight for extended periods, as this can cause the yellow yarn to fade over time. Store your creations in a cool, dry place, and consider adding a sachet of lavender to the storage container to keep moths and pests away naturally.
Frequently Asked Questions
How long does it take to make a crochet bee?
Most beginner-friendly patterns can be completed in two to four hours. Simpler designs like keychains and appliqués may take as little as one hour, while more detailed patterns with multiple color changes and embellishments could take an evening or a weekend. Your speed will naturally improve as you become more comfortable with the stitches and shaping techniques.
What is the best yarn for a crochet bee?
Worsted-weight cotton yarn is generally considered the best choice because it holds its shape well, shows crisp stitch definition, and is durable enough for everyday handling. Acrylic yarn is a more affordable alternative that also works beautifully, especially for decorative pieces that will not be washed frequently. Avoid very fuzzy or fluffy yarns, as they can obscure the clean stripes that make the design recognizable.
Can I sell crochet bees I make from free patterns?
This depends entirely on the specific pattern license. Many free patterns allow you to sell finished items made from the design, provided you credit the original designer. Always read the pattern’s terms of use carefully before selling your finished pieces at craft fairs, online marketplaces, or through any other sales channel.
Do I need safety eyes for my crochet bee?
No, safety eyes are optional. While they give a polished, professional look, you can absolutely embroider the eyes instead using black embroidery floss or yarn. Embroidered eyes are actually recommended if the piece is intended for a baby or young child, as safety eyes could pose a choking hazard if they become detached.
What size hook should I use for a crochet bee?
The ideal hook size is typically one or two sizes smaller than the yarn label recommends. For worsted-weight yarn (which usually calls for a 5.0mm hook), a 3.5mm or 4.0mm hook will produce the tight, dense stitches needed for amigurumi. This tighter gauge prevents the stuffing from showing through the finished piece.
You Might Also Like
You Might Also Like
If you enjoyed this guide, you might also love our tutorials on , and How To Change Yarn Color In Crochet Mid Row. Each one comes with free patterns and step-by-step instructions perfect for crocheters of all skill levels.