7 Cute Crochet Tiger Amigurumi Ideas
Quick Answer
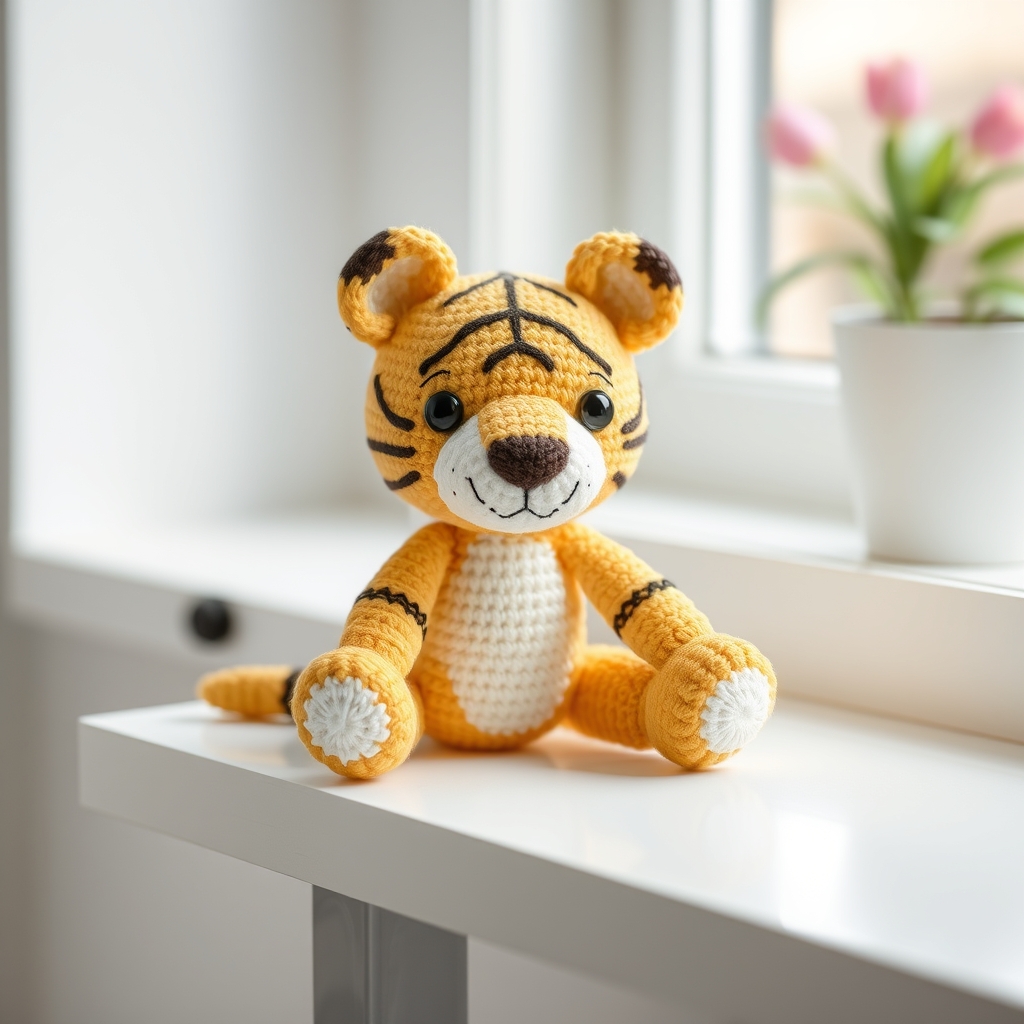
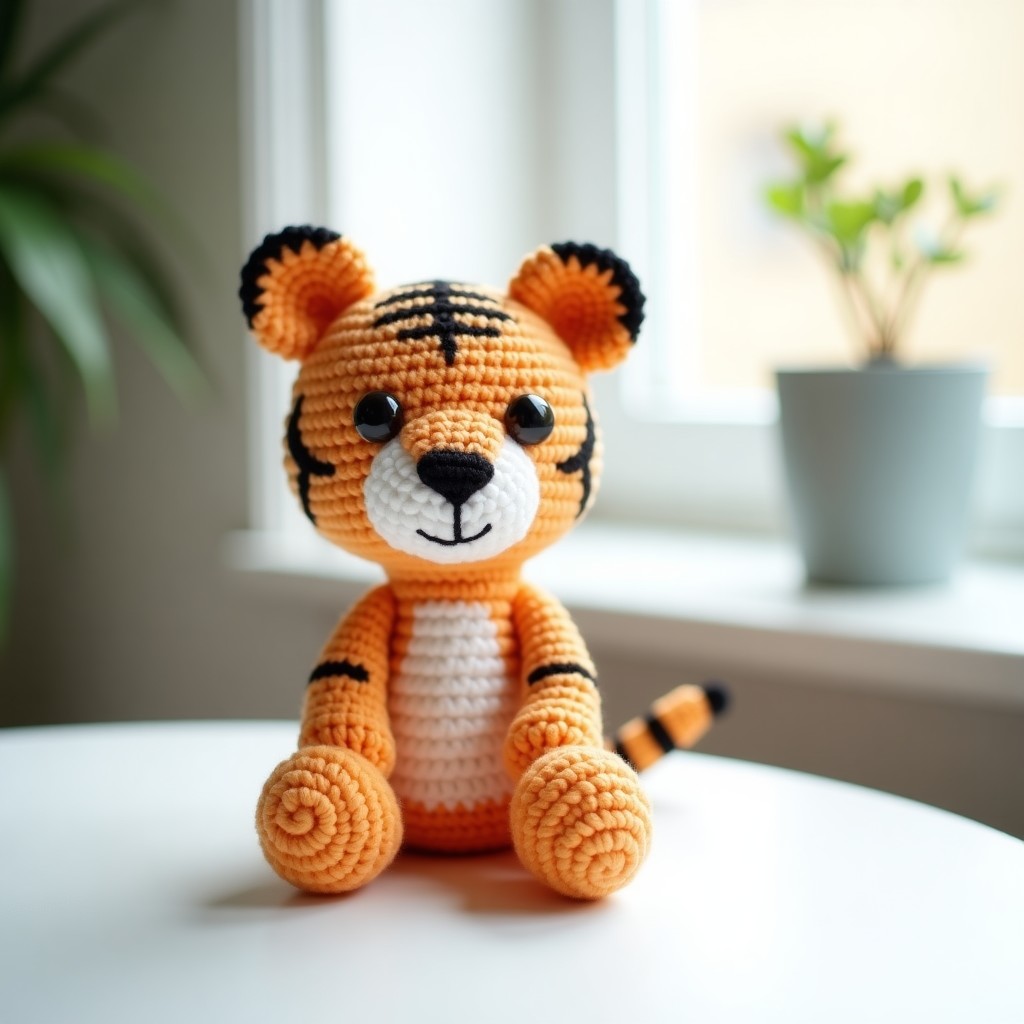
Crochet tiger amigurumi are fun projects that pair basic stitches with striking orange-and-black stripes to make realistic or cartoon-style stuffed tigers. Most are beginner-friendly, using simple single crochet with color changes for the signature stripes.
If you enjoy making animal amigurumi, our how to crochet an axolotl guide is another crowd-pleasing pattern that works up in just a few hours.
Tip: Use the carried yarn method for stripe color changes to reduce the number of ends you need to weave in later.
At a Glance
- Skill level: Beginner to intermediate
- Time needed: 4-10 hours per tiger
- Best yarn: Worsted weight acrylic or cotton in orange, black, white, and cream
- Hook size: 3.5mm to 4.0mm (US E-4 to G-6)
Common Mistakes to Quick Fixes
- Sloppy color changes showing through: Carry the unused color along the inside of the piece and crochet over it to keep transitions neat.
- Stripes not lining up on body parts: Plan your stripe repeat and count rows carefully before starting each body part to ensure they match up during assembly.
- Over-stuffing causing shape distortion: Stuff in small increments, testing the shape frequently. Stop before it feels rock-hard.
Mini Glossary
Amigurumi: the Japanese art of knitting or crocheting small stuffed toys and creatures. Carrying yarn: a technique where the unused color is laid along the top of the previous row and worked over. Bobble stitch: a textured stitch that creates a raised bump, often used for tiger paws or noses. Mattress stitch: an invisible seaming technique used to join amigurumi pieces.
Why Crochet Tiger Amigurumi Makes an Amazing Crochet Project?
There’s something universally appealing about handmade stuffed animals, and a crochet tiger is one of the most charming you can make. Tigers are loved worldwide for their striking look, and turning that into a soft, huggable version is genuinely rewarding, plus the bold orange-and-black stripes are one of the more fun colorwork challenges in amigurumi.
One nice thing about tiger patterns is the range, from very simple to quite detailed. Beginner versions use minimal shaping with embroidered or appliquéd stripes, while advanced ones bring in intarsia colorwork, textured bobble stitches for the nose and paws, even posable wire armatures. So there’s a pattern for your current level with room to grow.
Tiger amigurumi also makes wonderful gifts for all ages. Children love them as cuddly companions, while adults appreciate them as unique desk decor or collectible items. If you are looking for more ideas for handmade crochet gifts, a tiger is a standout choice that shows real thoughtfulness and craftsmanship.
How Do You Choose the Right Yarn for Your Crochet Tiger Amigurumi?
The yarn is one of your most important decisions. It determines how the finished tiger looks, feels, and holds up over time. A few things to weigh:
Fiber type: Acrylic yarn is the most popular choice for amigurumi tigers because it is affordable, widely available, and comes in every shade of orange you could want. It is also soft enough for children to cuddle. Cotton yarn creates a firmer, more durable fabric with excellent stitch definition, which is ideal if you want crisp, clean stripes. A cotton-acrylic blend offers a nice middle ground with both durability and softness. For more guidance, see our best yarn for beginner crochet recommendations.
Color selection: A classic tiger needs three main colors: orange for the body, black for stripes and features, and white or cream for the muzzle, belly, and inner ears. Look for yarns from the same brand and product line to ensure consistent weight and texture across all colors. Using mismatched yarn weights can create subtle size differences between striped sections that disrupt the overall look.
Hook size: For amigurumi, always use a hook one to two sizes smaller than your yarn recommends. This creates a tight, dense fabric that prevents stuffing from peeking through the stitches. For standard worsted weight yarn, a 3.5mm or 4.0mm hook works perfectly. If you find your crochet tension tends to be loose, go down another half size for even tighter stitches.
Mastering Color Changes for Tiger Stripes
The most distinctive feature of any tiger is the stripes, and getting them clean and even is what separates an average tiger from a really professional one. There are three main ways to do stripes in amigurumi, each with its own advantages.
Technique 1: Carrying the yarn. This is the most common method for amigurumi stripes. When you are ready to switch colors, simply drop the current color, pick up the new color, and crochet over the strand of the old color that runs along the inside of your work. This method is fast, reduces the number of ends to weave in, and creates a neat appearance on the outside. The downside is that the carried yarn adds slight bulk inside the piece.
Technique 2: Cutting and joining. For each color change, cut the old color leaving a short tail, and join the new color with a slip stitch or by simply pulling it through the last loop of the previous stitch. This produces the cleanest possible stripes with no bulk, but it means you will have many more ends to weave in at the end. This method works best for pieces with few color changes or where the inside will be visible.
Technique 3: Surface slip stitch stripes. Instead of changing colors while working the piece, you complete the entire piece in orange and then add black stripes afterward using surface slip stitches. This is the easiest method for beginners because it requires no in-round color changes at all. The stripes sit on top of the fabric, creating a slightly raised texture that can look very stylish and modern. If you want to learn more about color techniques, our guide on how to change yarn color in crochet covers the full process.
Assembly Tips for a Polished Crochet Tiger
How you assemble the tiger can make or break the result, even perfectly stitched pieces look amateurish if they’re attached badly. Here are the key techniques for a polished finish.
Pin before you sew. Before attaching any piece, legs, arms, tail, ears, or muzzle, pin it in place with sewing pins. Step back and look at the tiger from all angles to check that everything is symmetrical and positioned correctly. This is especially important for the eyes and ears, which need to be perfectly aligned. Only once you are satisfied with the positioning should you thread your yarn needle and begin sewing.
Use the mattress stitch for invisible seams. The mattress stitch creates a nearly invisible join between two pieces by working through the horizontal bars of stitches on each piece. This is ideal for joining the head to the body or closing the bottom of a piece after stuffing. For a detailed tutorial on joining techniques, see our guide on how to join crochet seamlessly.
Shape while stuffing. The way you distribute stuffing affects the final shape of your tiger. Use small amounts of fiberfill and pack it firmly into small areas like the muzzle and paws. For the body, stuff firmly but leave a little give so the tiger remains soft and huggable. If your tiger looks lumpy, gently massage and squeeze the piece to redistribute the stuffing evenly before closing the opening.
Frequently Asked Questions About Crochet Tiger Amigurumi
Is crochet tiger amigurumi suitable for beginners?
Yes, many tiger patterns are made specifically for beginners. Look for ones labeled beginner-friendly that use basic single crochet with simple stripes, and start with a small, simple tiger with few separate pieces. The key skills are single crochet, working in the round, increasing, decreasing, and basic color changes, all covered in our free patterns for beginners.
How do I make the tiger stripes look even?
Even stripes come down to consistent row counting and clean color changes. Count each row as you go, using a counter or paper tally to track the stripe pattern. Finish the last stitch before a change in the old color and start the first stitch after in the new color, and carry the unused yarn along the inside to keep the edges neat.
What safety considerations apply to tiger amigurumi for children?
If the tiger is intended for a child under three years old, embroider the eyes, nose, and mouth instead of using safety eyes or plastic buttons. Safety eyes can pull out with enough force and become a choking hazard. Use 100% cotton yarn for embroidered features to keep them secure. Also avoid any small embellishments like beads, sequins, or wire armatures that could come loose. Make sure all ends are woven in securely with knots for extra safety.
Can I sell crochet tiger amigurumi that I make from free patterns?
This depends on the specific license of the pattern you are using. Many free amigurumi patterns allow you to sell finished items made from the pattern as long as you credit the designer. However, some designers restrict commercial use or require you to purchase a commercial license. Always read the pattern terms carefully before selling finished items. When in doubt, reach out to the designer directly, most are happy to grant permission with proper attribution.
Additional resource: For hundreds of free amigurumi patterns including tigers and other animals, visit AllFreeCrochet’s Amigurumi Patterns collection for inspiration and tutorials.
Frequently Asked Questions
Is a crochet tiger amigurumi suitable for beginners?
Many tiger patterns are made with beginners in mind, using simple shapes like spheres and tubes for the body, head, and limbs. Look for ones rated easy that use single crochet with basic increases and decreases, a small keychain-size tiger is a great first project.
What yarn is best for making a crochet tiger amigurumi?
Worsted-weight cotton or acrylic in orange, white, and black works best. Cotton holds its shape and shows stitch definition clearly. Choose a smooth yarn without fuzz, textured yarns blur the facial features and stripe details that make a tiger recognizable.
How long does it take to crochet a tiger amigurumi?
A small tiger (about 4 to 6 inches tall) usually takes 3 to 6 hours for an intermediate crocheter. Larger or more detailed ones with striped bodies and embroidered features can run 8 to 12, and beginners should expect closer to 8 to 10 on a simple pattern.
Can I sell finished tiger amigurumi from free patterns?
It depends on the specific pattern’s license. Many free amigurumi patterns allow you to sell finished items made from the pattern as long as you credit the designer. However, some designers restrict commercial use or require you to purchase a commercial license. Always read the pattern terms carefully before selling finished items.
What safety eyes should I use for a child-safe tiger amigurumi?
For children under three, use embroidered eyes instead of safety eyes, as plastic eyes can become a choking hazard if they detach. For older children, use safety eyes with locking washers that snap onto the back of the eye post. Choose eyes sized proportionally to your tiger’s head, typically 6mm for small amigurumi and 9mm to 12mm for medium to large projects.