No-Sew Crochet Pig Pattern in 5 Easy Parts (Free)
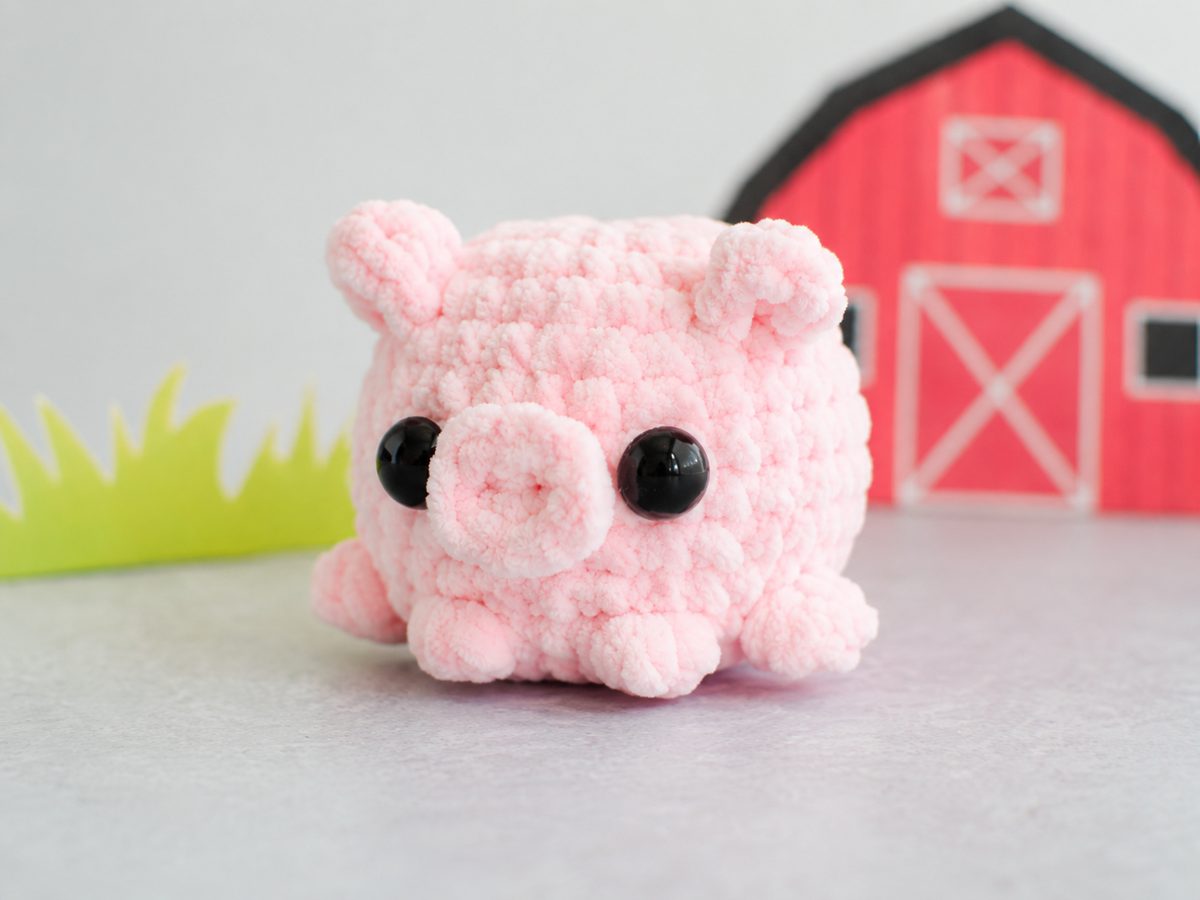
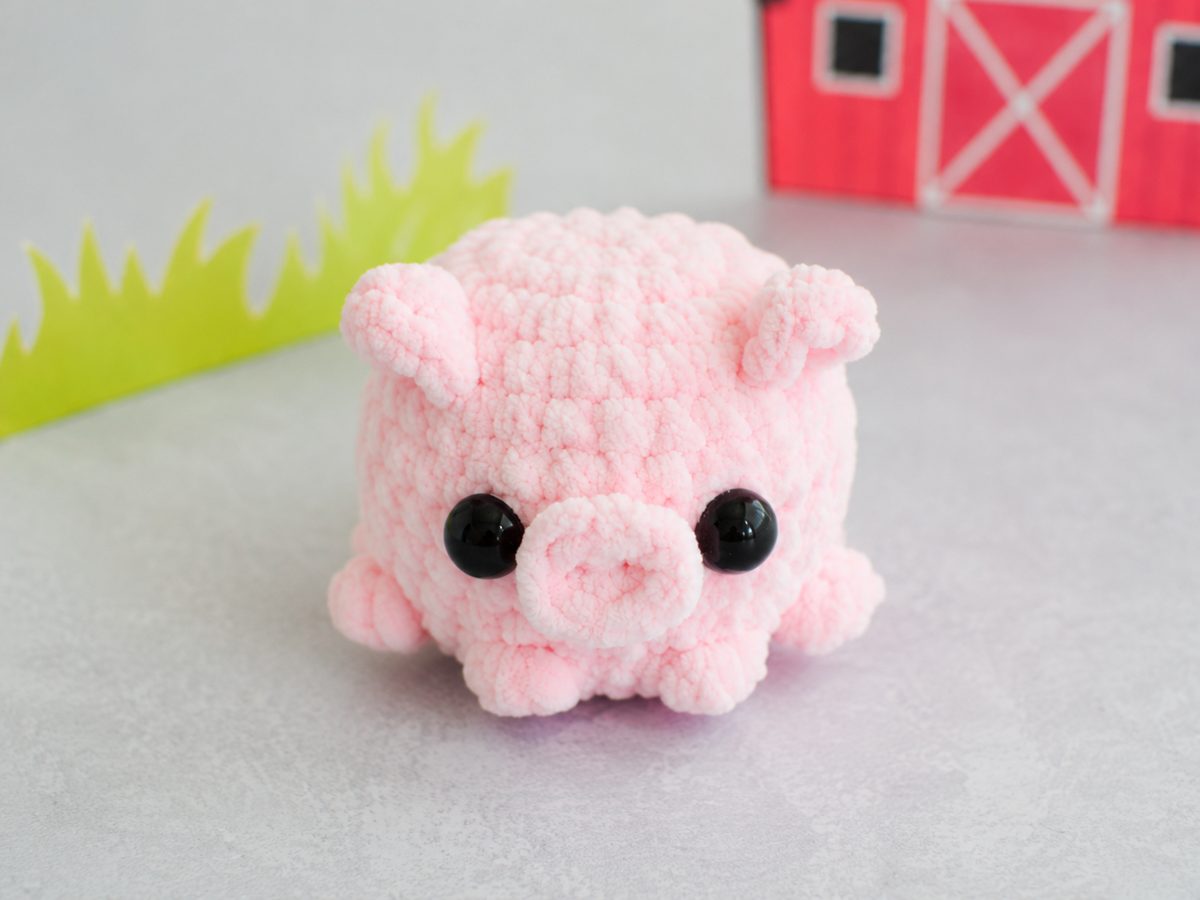
This no-sew crochet pig pattern makes a palm-size piggy that fits in a coat pocket, hangs off a bag zipper, or sits on a desk looking pleased with itself. The head and body are one continuous egg shape, the feet and arms pop out as bobble stitches while you crochet past, and the snout, ears and curly tail are all worked straight onto the body afterward. There is no assembly session at the end – when you weave in the last tail, the pig is done.
As an Amazon Associate we earn from qualifying purchases: some supply links in this post are affiliate links, at no extra cost to you.
If you’ve ever finished all the pieces of an amigurumi and then abandoned the project rather than sew a snout on straight, this construction was designed for you.
Why You’ll Love This Crochet Pig Pattern
- Truly no-sew. One egg-shaped body, popcorn limbs, and a snout, ears and tail crocheted onto the surface. The needle only comes out for weaving ends.
- Pocket-size and quick. Two hours of relaxed hooking, often less in chunky yarn.
- Tiny yarn appetite. Made almost entirely from one small ball – a great scrap-buster.
- 5 short parts. Body, snout, ears, tail, finishing. Each one is a few minutes of work.
Crochet Pig Pattern at a Glance
- Skill level: Confident beginner
- Time needed: about 2 hours
- Finished size: about 8 cm tall in smooth worsted, a chunky 10-11 cm in super bulky chenille
Materials
- About 30 g of pink yarn – super bulky chenille for the squishy plush look, or a smooth worsted weight (#4) for a smaller, crisper pig
- 3.5 mm (US E/4) hook for worsted, or 4.5 mm (US 7) for chenille
- Pair of 8-10 mm safety eyes for chenille (6 mm suits worsted) – oversized eyes are what make this face (or black yarn to embroider them for baby-safe toys)
- Fiberfill stuffing, a small handful
- Stitch marker and yarn needle
Whichever yarn you pick for this crochet pig pattern, go down a hook size from the Craft Yarn Council recommendation so the stuffing can’t show between stitches.
Abbreviations (US Terms)
- MR – magic ring
- sc – single crochet
- inc – 2 sc in the same stitch
- dec – invisible decrease (2 stitches worked together)
- pc – popcorn: 5 dc in one stitch, remove hook, pull the loop through the first dc
- dc – double crochet
- ch – chain
- sl st – slip stitch
- (…) xN – repeat the bracket N times
The pig is worked in a continuous spiral – don’t join rounds, just move the stitch marker up as you go.
Crochet Pig Pattern: Step by Step
Part 1 – The Egg (body and head in one piece)
Start at the bottom of the pig and work up. The wide half is the body, the narrowing top is the head – there is no neck round to sew.
R1: MR, 6 sc. (6)
R2: inc x6. (12)
R3: (1 sc, inc) x6. (18)
R4: (2 sc, inc) x6. (24)
R5: (3 sc, inc) x6. (30)
R6-R7: sc around. (30, 2 rounds)
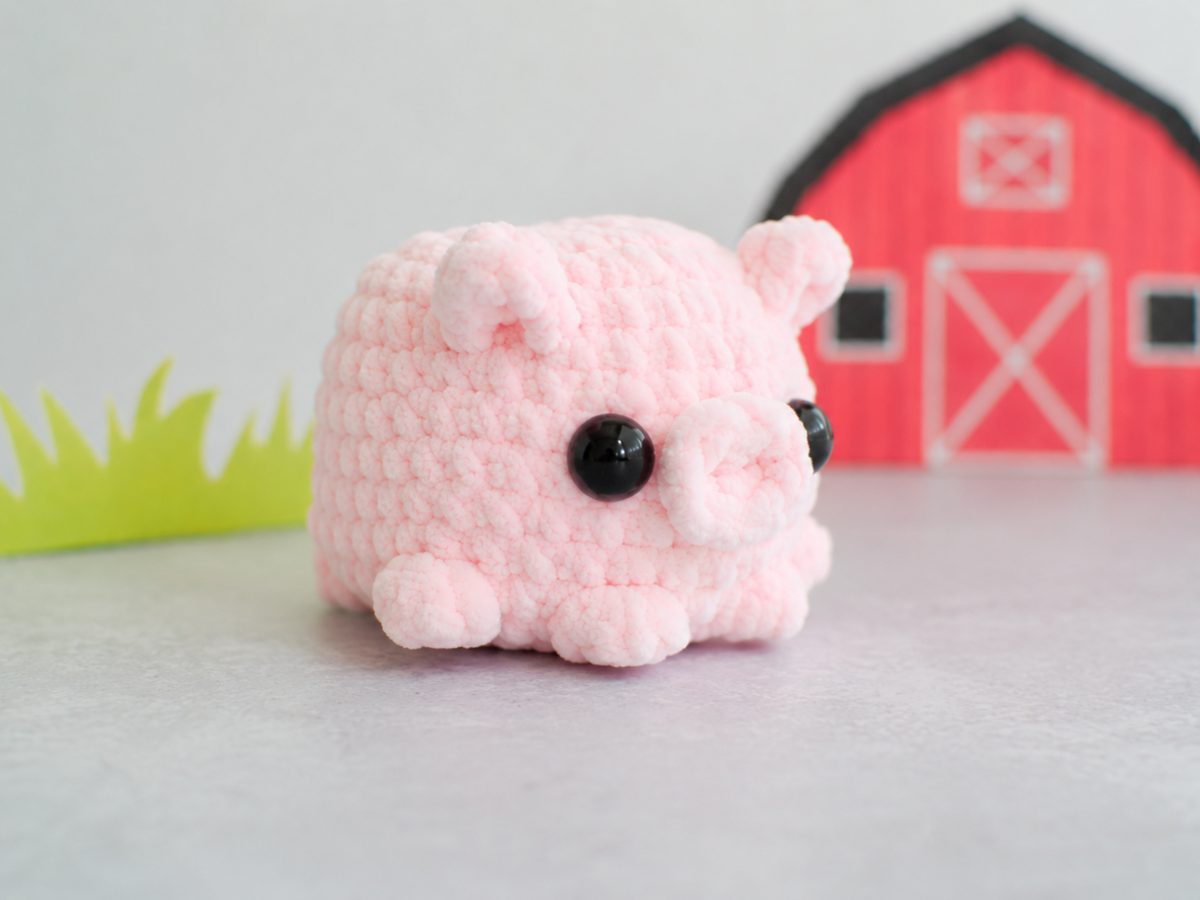
R8 (all four feet): sc 5, pc, sc 4, pc, sc 9, pc, sc 4, pc, sc 4. (30) The first pair of popcorns are the front feet – they mark the front of your pig from here on. The second pair are the back feet, sitting on the opposite side of the round at the same low height.
R9-R11: sc around. (30, 3 rounds)
R12: (3 sc, dec) x6. (24)
R13: sc around. (24)
Place the safety eyes between rounds 12 and 13, about 7 stitches apart – wider than feels right is correct, because the snout fills the space between them. Snap the backs on now.
R14: (2 sc, dec) x6. (18) Stuff the pig firmly, pushing fiberfill behind the popcorn limbs so they bump outward.
R15: (1 sc, dec) x6. (12)
R16: dec x6. (6) Top up the stuffing, fasten off, thread the tail through the front loops of the last 6 stitches and cinch closed.
Part 2 – The Crocheted-On Snout
Set-up: With your main pink, surface slip stitch a small ring of 6 stitches on the face, centered exactly between the eyes. Each surface stitch grabs one body stitch.
R1: Work 6 sc into the ring. (6)
R2: inc x6, keeping each stitch flat against the face rather than letting the disc stand up. (12) Sl st into the next stitch, fasten off and weave the end in.
Worked flat like this, the two rounds read as a little spiral coil – exactly the cinnamon-roll snout in the photos. No stuffing, no nostril embroidery needed.
Part 3 – The Ears
The ears are little flat triangles worked in rows directly on the head – no sewing, and they flop forward exactly the way pig ears should.
Set-up: Surface slip stitch a line of 4 stitches above one eye, angled slightly outward.
Row 1: Ch 1, sc 4 into the surface stitches, turn. (4)
Row 2: Ch 1, dec, dec, turn. (2)
Row 3: Ch 1, dec. (1) Ch 1, then sc evenly down the side of the triangle to the head, sl st into the head fabric and fasten off.
Repeat above the other eye, mirroring the angle. Give each ear a gentle tug forward so the tip folds over – in chenille the little triangle reads as a soft rounded flap, just like the photos.
Part 4 – The Curly Tail
Join yarn with a sl st at the center back, one round below the cinched top. Ch 8, then work 2 sc into the second chain from the hook and 2 sc into every chain back toward the body. It corkscrews on its own. Sl st into the body and fasten off.
Part 5 – Finishing
Weave every end into the body. Roll the pig between your palms to even out the stuffing, check the snout spiral sits centered between the eyes, and bend the tail curl to taste. If you skipped safety eyes, embroider two small black dots or sleepy line-eyes now.
Tips for a Better Pocket Pig
- Mark the front early. After round 8 the two feet popcorns define the front – place eyes, snout and ears relative to them, not to the round seam.
- Pop the popcorns out. Push each limb outward with your thumb from inside before you stuff – chenille popcorns especially like to hide inward.
- Center the snout ring before crocheting it. Count stitches from each eye so the 8-stitch ring sits symmetric – it’s ten seconds to redo the surface stitches now, annoying after.
- Chenille tip: if you lose your place in fluffy yarn, squeeze the fabric – popcorns and increases are easier to feel than to see.
Line your pig up next to the rest of the pocket zoo: the no-sew triceratops uses the same popcorn-limb and surface-crochet tricks, the wire-frame amigurumi snake is another quick no-fuss make, the Lala Fanfan duck roundup covers the internet’s favorite plush waterfowl, and the ocean toys collection handles the sea creatures.