How to Finger Crochet a Bag: No Hook, No Problem
Quick Answer
A finger crochet bag pattern is a simple crochet project that uses your fingers instead of a crochet hook to create a trendy, textured bag in under two hours. All you need is super bulky yarn, scissors, and your hands. This technique works well for absolute beginners because it eliminates the learning curve of handling a hook.
Tip: Use super bulky yarn made of a cotton tube with polyester fiber filling: it holds its shape beautifully and makes the finger crochet bag pattern even easier to work with.
At a Glance
- Skill level: beginner (no crochet hook needed)
- Time needed: under 2 hours
- Best yarn: super bulky cotton tube yarn with polyester filling
- Hook size: none, use your fingers!
Common Mistakes → Quick Fixes
- Loose corner stitches: pay extra attention to the turning stitch where you switch sides, keep it the same tension as other loops
- Uneven loop height: use two or three fingers as a gauge to keep every loop the same size
- Work curling inward: totally normal, this is the wrong side; you will turn it right side out at the end
Mini Glossary
Chain (ch), Loop, Slip Knot, Working Yarn, Tail, Wrong Side (WS), Right Side (RS), Super Bulky Yarn (weight 6), Joining Yarn
What Is a Finger Crochet Bag Pattern?
A finger crochet bag is exactly what it sounds like, a bag you make using only your fingers, no hook. It’s taken off with beginners because it strips away the most intimidating part of crochet: managing a hook. You just use your fingers to pull loops of super-bulky yarn through each other, building rows into a rectangular bag.
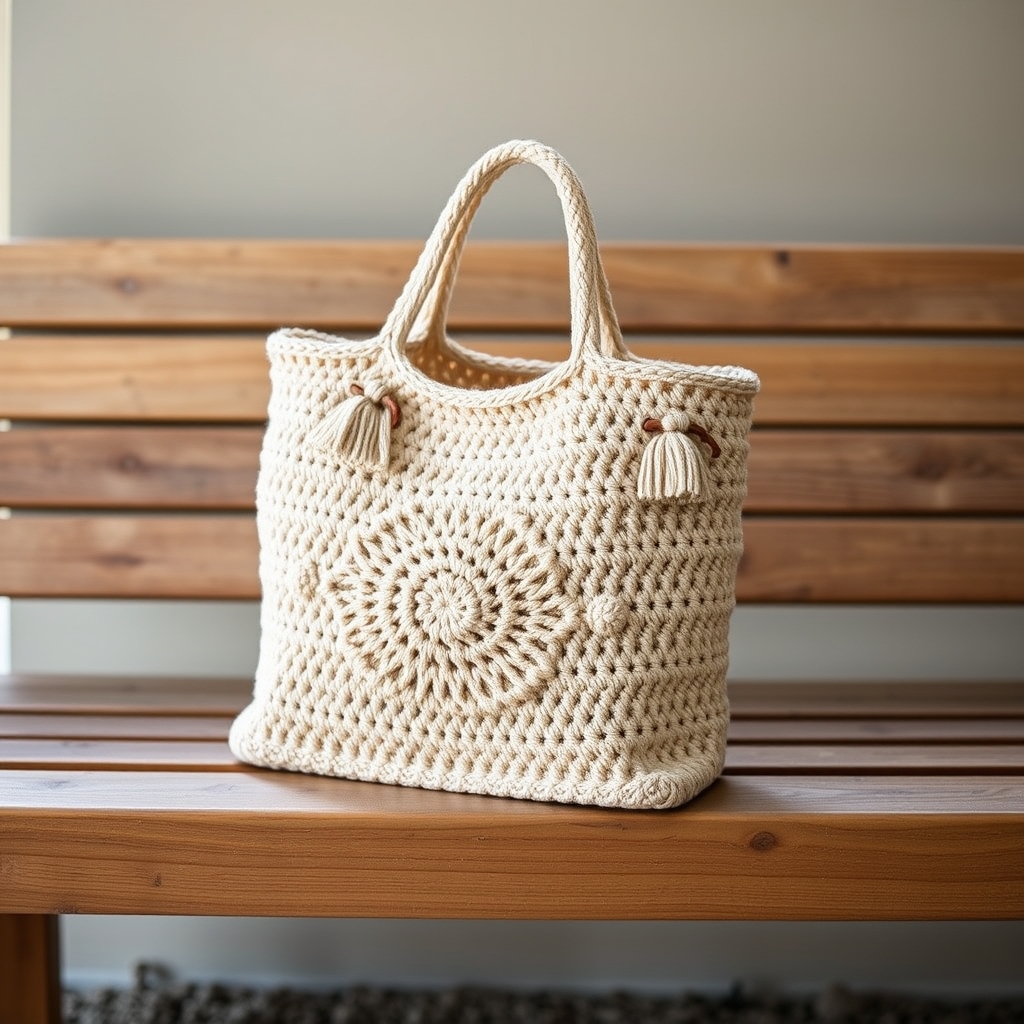
The nice thing here is that you can finish it in under two hours, one of the fastest bag projects you’ll ever try. Unlike traditional bags that take weeks and complex stitch memorization, this is a simple loop-and-pull technique anyone can master on the first attempt. The finished bag has a chunky, boho look that reads stylish and expensive despite the beginner-friendly method.
Never picked up yarn before, or an experienced crocheter wanting a relaxing hook-free project, this one delivers impressive results with minimal effort. It’s also great to do with kids, on a road trip, or while watching your favorite show, since it needs no tools beyond yarn and scissors.
Materials You Will Need
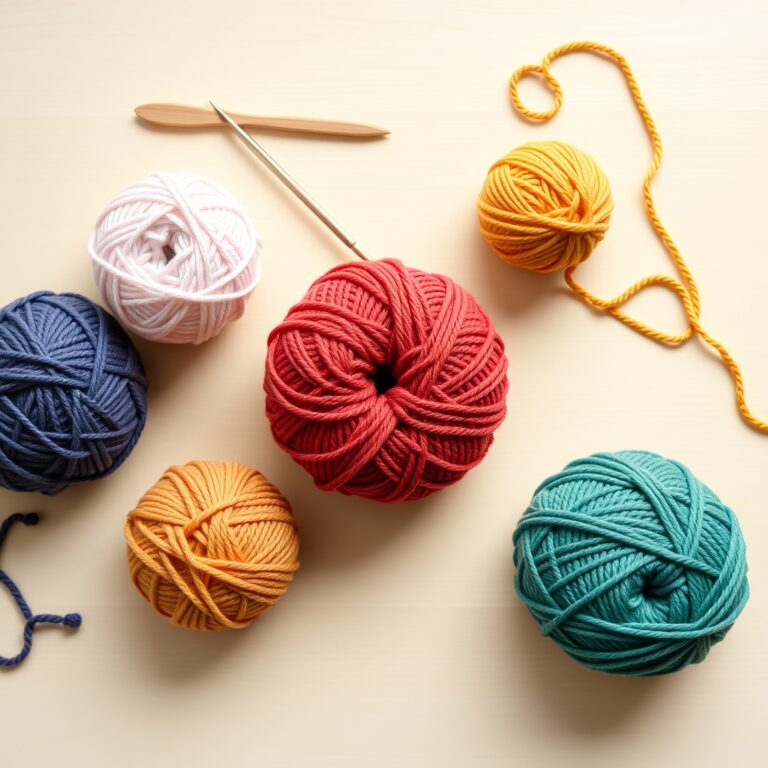
One of the best things here is the very short materials list. No full crochet toolkit needed, just two things and you’re ready:
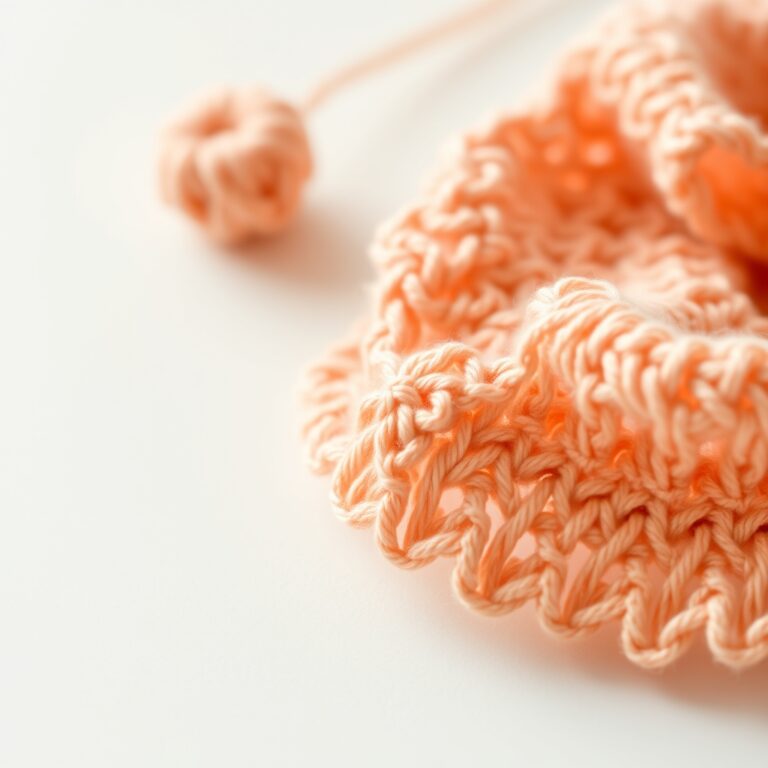
Super Bulky Yarn (Weight 6): The ideal choice for this finger crochet bag pattern is a cotton tube yarn filled with polyester fiber. This type of yarn has a wonderful structure that holds its shape and produces clean, defined stitches. The cotton outer layer gives the bag a soft, natural look while the polyester filling provides the bulk and stiffness needed for a structured bag. You will need approximately 2 to 3 balls depending on how large you want your finished bag. Check out the Craft Yarn Council’s yarn weight standards for more details on weight 6 yarn classifications.
Scissors: A pair of sharp scissors for cutting yarn tails and trimming ends when joining new balls of yarn. That is genuinely the only tool you need besides your hands.
For a deeper understanding of choosing the right materials, our guide on the best yarn for beginner crochet covers everything from fiber types to weight categories. If you are curious about traditional crochet tools and want to explore hook-based patterns later, the best crochet hooks for beginners article is a great next read.
How to Make a Finger Crochet Bag Step by Step?
This bag uses a simple rectangular construction worked in continuous rows. You make a flat rectangle, then gather the top to form the bag shape. Here’s every step in detail so you can follow along confidently.
Step 1: Make the Slip Knot
Every finger crochet bag pattern begins with a slip knot. Hold the short tail of your yarn in your right hand and drape it over your left hand. Take your two fingers and pull the longer strand (the working yarn) through the loop to create a slip knot. Pull it snug but not too tight, you need to be able to insert your fingers through it later. This slip knot counts as your first loop and is the foundation of the entire project.
Step 2: Chain 6 Stitches
Using your two fingers, pull the working yarn through the slip knot loop to create your first chain. You will see a letter “V” shape, that is your first chain stitch. Continue making chains by pulling the yarn through each new loop until you have a total of 6 chains. Count them carefully: one, two, three, four, five, six. These six chains form the width of your the bag and determine how wide the final bag will be. A six-chain foundation produces a medium-sized bag well suited to everyday use as a tote or pouch.
Step 3: Work the First Row of Loops
Turn your chain to the left and locate the fifth chain from your hook (your fingers). Insert your two fingers into that chain, grab the working yarn, and pull it through to create a loop. Control the height of this loop by using two or three fingers as a guide, consistency here is what makes your finger crochet bag look polished and professional. Continue pulling loops through each chain until you reach the end. You should have 6 loops total along this side.
Now turn your work and repeat the same process on the other side, creating another 6 loops. At this point you have completed one full round with 6 loops on each side (12 loops total). The this bag is worked in continuous rows going counterclockwise, so always move in the same direction around the rectangle.
Step 4: Continue Building the Bag Body
Keep working rows in the same manner, always moving counterclockwise around your rectangle. Each row consists of pulling a loop through each existing loop along both sides of the work. For a standard-sized bag, work approximately 7 rows total. As you build height, your work will naturally start to curl inward, this is completely normal and actually desirable because the curling side is the wrong side (inside) of the bag.
An important tip for this finger-crochet project: pay close attention to the stitches at the corners where you turn from one side to the next. These turning stitches have a tendency to become loose, especially in the first few rows, which can create gaps in your finished bag. Consciously tighten these corner loops to match the tension of the rest of your stitches. As you gain more rows and the bag structure becomes more defined, maintaining even tension throughout becomes much easier.
Step 5: Add the Gathering Border
Once you have completed 7 rows (or your desired height), it is time to add the border that gathers the top of the bag. Instead of making a normal row of loops, you will thread your yarn tail through each loop around the entire top edge of the bag. Thread through the first loop and leave it as is, then continue threading through all remaining loops around the opening. Once you have gone all the way around, gently pull the yarn to gather the top edge tighter. You can adjust the gathering to create a wider or narrower opening depending on how you want the bag to look. This gathering technique is what gives the the bag its distinctive structured shape.
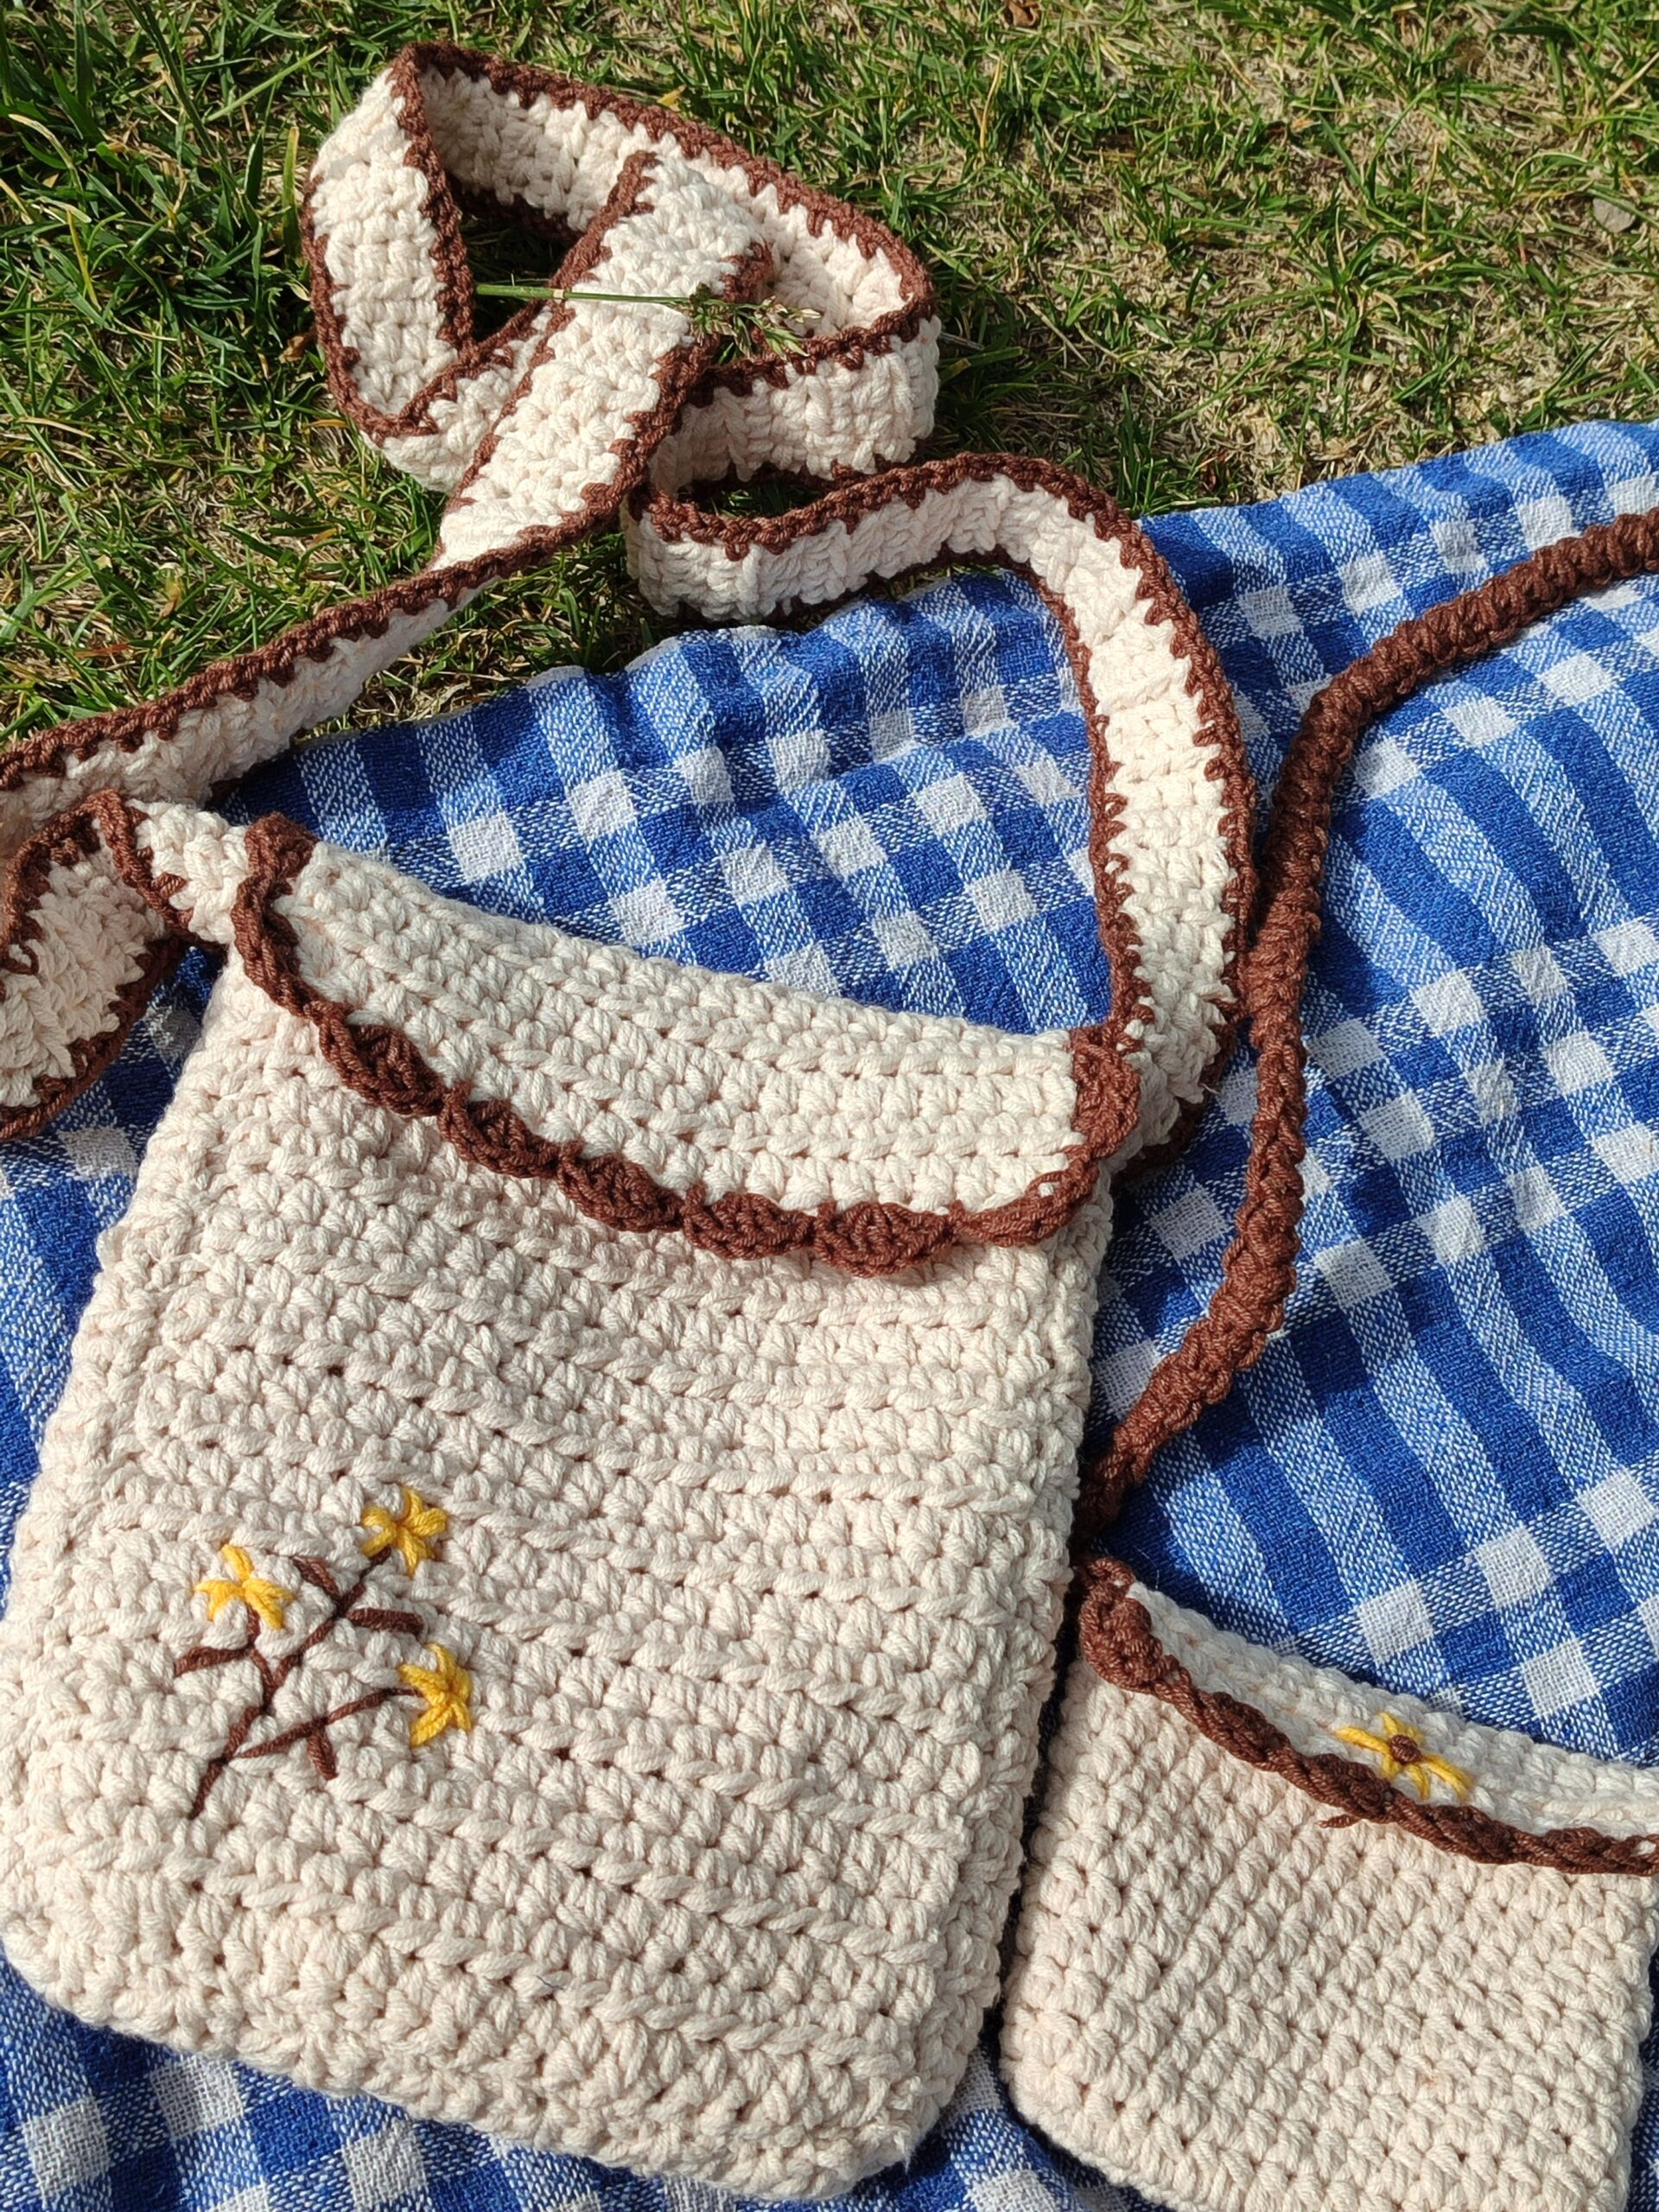
Step 6: Create and Attach the Strap
Cut the tail from the border (it will not be long enough for a strap) and start a new ball of yarn from the last loop of the border. Now create chains going away from the bag to form the strap. Continue chaining until you reach your desired strap length, approximately 15 chains produces a comfortable shoulder strap length. Hide the seam by turning the yarn as you chain, just like you did with the body rows.
To attach the strap, count 6 stitches from the starting point along the side of the bag to find the center attachment point. Cut the yarn, leaving a generous tail. Thread the tail through the strap’s last loop and the bag stitch, replicating the V pattern. Secure it with a double knot and hide all tails inside the bag. If you need help understanding crochet terminology in this finger crochet bag, our crochet abbreviations for beginners guide explains every term.
Step 7: Joining Yarn and Weaving in Ends
If you run out of yarn mid-project (which is likely with a super bulky weight), here is how to join a new ball. When you reach the end of your current ball, make two stitches with the new ball, then take both short tails and tie a double knot to secure. For this special cotton tube yarn, peel back the outer cotton layer and cut the inner polyester filling shorter before tying the second knot. This creates an invisible join that is incredibly strong. Hide both tails on the wrong side (inside) of your work by weaving them through several stitches.
Finger Crochet Bag Tips for Beginners
These tips will help your bag look like it was made by an experienced crafter, even if it’s your very first project:
Control your loop height consistently: Use two or three fingers as a spacer every single time you pull a loop. This is the single most important technique in this this bag because inconsistent loop heights create a wavy, uneven fabric. After a few rows, you will develop muscle memory and this will become second nature, but in the beginning, consciously check every loop.
Hide your seams as you go: When turning from one row to the next or from one side to another, twist the working yarn slightly before pulling the next loop. This technique hides the seam line and makes the finger-crochet project look seamless and professional on the right side.
Keep corner stitches tight: The corners where you turn from one side to the other are the weakest points of the bag. Loose corner stitches create visible gaps and can make the bag feel flimsy. Pay extra attention to these stitches, especially in rows one through three before the fabric has enough structure to support itself. By rows four and five, the bag will have a more defined shape and maintaining even corner tension becomes much easier.
Do not worry about the curling: Your work will curl inward as you build rows, and many beginners panic thinking they are doing something wrong. This is 100 percent normal, you are looking at the wrong side of the fabric. The right side with the clean V-stitch texture faces outward, and you will push the bag inside out at the end to reveal it.
If you are new to crochet entirely and want to understand the fundamentals, our comprehensive how to crochet for beginners guide covers all the basics from holding yarn to reading patterns. For troubleshooting common issues like tension problems or curling edges, check out our articles on how to fix crochet tension and why your crochet is curling.
How to Customize Your Finger Crochet Bag?
Once you’ve got the basic bag down, there are endless ways to personalize it. The obvious one is size: use fewer foundation chains (4 or 5) for a small pouch, or 8+ for a large market tote. Height is just as adjustable, fewer rows for a short cosmetic bag, more for a tall carrier.
You can also experiment with different yarn colors and textures. Try making a two-tone bag by switching to a contrasting color halfway through, or use self-striping super bulky yarn for a gradient effect. Adding a lining fabric sewn inside the bag gives it extra structure and a professional finish, while adding a button, toggle clasp, or drawstring closure keeps your belongings secure. Some crafters even add tassels, pom-poms, or leather tags to their the bag for a trendy boutique look.
For more bag inspiration, browse our collection of crochet market bag patterns and crochet handbag patterns. If you love the granny square motif, our granny square bag pattern is another fantastic project that combines classic technique with modern style. For additional pattern inspiration from around the web, Spruce Crafts has a wonderful curated collection of bag designs.
Frequently Asked Questions
Can you really crochet without a hook?
Absolutely, finger crochet is a legitimate technique that’s been around for generations. Your fingers act as the hook: you pull loops of yarn through other loops by hand instead of with a tool. This is actually one of the easiest projects to start with, since the super-bulky yarn is large enough to handle comfortably.
What kind of yarn is best for a finger crochet bag pattern?
The best yarn is super-bulky weight 6, specifically the cotton-tube style filled with polyester. It makes defined stitches, holds its shape, and is easy to grip. Regular super-bulky acrylic or wool works too, but the cotton-tube kind gives the cleanest results because the tube structure resists splitting.
How long does it take to make a finger crochet bag?
You can finish this in under two hours, even as an absolute beginner. Finger crochet is faster than hook crochet because there’s no constant gripping and releasing of a hook, your hands move more naturally, and once you find a rhythm the rows fly by.
Can I make this bag bigger or smaller?
Yes! To make the bag wider, simply start with more foundation chains (8 or 10 instead of 6). To change the height, work more or fewer rows before adding the border. You can also use thinner or thicker yarn to scale the entire project up or down. Keep in mind that using thinner yarn will require more rows to achieve the same fabric density, which increases the total time needed.
Is finger crochet easier than regular crochet?
For most beginners, yes, finger crochet removes the need to learn how to hold and maneuver a hook, which is often the biggest barrier. It’s more intuitive because your fingers have more dexterity than a rigid hook, making this a great first project before moving on to hook-based patterns.