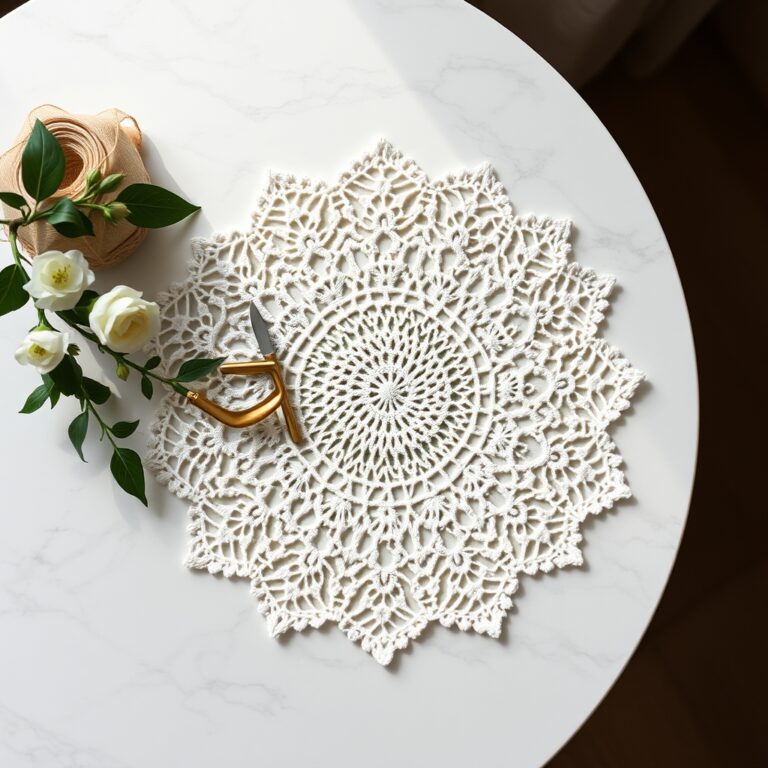
Crochet Border Patterns: 7 Edgings + 2 Free Written Out
Featured Free Pattern: Crab Stitch & Block Edging Set
This is KnotToYarn’s own original pattern, free to use, and you’re welcome to sell what you make from it.
Two workhorse edgings, fully written: the crab stitch rope edge (for modern, structured finishes) and the block edge (for bold two-color geometry). Between them and the shell border in our other guide, you can finish anything.
Materials
- Yarn matching your project, plus a contrast color for the block edge
- The project’s hook
- Yarn needle
Finished size: Any edge, both patterns are count-agnostic or multiple-of-3
Skill level: Beginner (crab stitch feels weird for exactly ten minutes)
Abbreviations (US terms): ch (chain), sc (single crochet), dc (double crochet), sl st (slip stitch), crab st (reverse sc, sc worked left to right), st(s) (stitch/es)
Instructions
Edging 1: Crab Stitch Rope Edge (2 rounds, any stitch count)
Round 1: Sc evenly around the project edge, 3 sc in corners, join.
Round 2: Ch 1, then crab stitch in each st around: insert the hook into the stitch to the RIGHT of your hook (backwards), yarn over, pull up a loop, yarn over, pull through both. Do not turn, do not overthink the twist, the awkward motion creates the rope.
It feels wrong for a full side and then clicks forever. The result: a firm corded edge that stops blankets stretching and bags slouching.
Edging 2: Two-Color Block Edge (3 rounds, multiple of 3)
Round 1 (color A): Sc evenly around to a multiple of 3, corners get 3 sc, join.
Round 2 (color B): Ch 3, dc in the next 2 sts, *ch 1, skip 1? No, work dc in each of the next 3 sts but change the rhythm: dc 3 in B, then drop B, pick up A loosely behind, dc 3 in A;* alternate 3-stitch blocks of each color around, carrying the idle color inside the stitches. Join.
Round 3 (color A): Sc in each st around, join, the sc frame locks the blocks straight.
Carrying the idle yarn INSIDE the dc stitches (lay it along the top of the row and crochet over it) means no floats, no tangles, and a reversible edge.
Finishing
Crab stitch needs nothing, it is born finished. The block edge benefits from a steam so the color changes settle into clean verticals. Weave ends inside same-color blocks.
Made this? We’d love to show off your work, send a photo through our contact page and we’ll feature it here with credit to you.
Tip: Pick by purpose: crab stitch for things that must hold shape (bags, rugs, garment hems), blocks for things meant to be seen flat (blankets, runners, pillows). When in doubt on a blanket: shells for romance, blocks for modern, crab for restraint.
Quick Answer
Crochet borders are the decorative edgings you add around blankets, scarves, and other projects to give them a polished, finished look. The right one can take a simple project and turn it into something you actually want to show off.
Tip: Always work your border with the same yarn weight you used for the main project to keep the gauge consistent.
At a Glance
- Skill level: beginner to intermediate
- Time needed: 30 minutes to 2 hours depending on project size
- Best yarn: same weight as your main project (worsted, DK, or bulky)
- Hook size: same size used for main project or one size smaller for tighter edging
Common Mistakes → Quick Fixes
- Wavy borders: add fewer stitches per inch, skip every few stitches along the edge
- Curled edges: switch to a larger hook or add an extra chain between stitches
- Uneven spacing: place stitch markers evenly around the edge before starting your border
Mini Glossary
SC (single crochet), DC (double crochet), HDC (half double crochet), CH (chain), SL ST (slip stitch), SCALLOP (shell-shaped arc), PICOT (tiny decorative loop), SP (space), ST (stitch)
The right edging can turn an ordinary blanket or scarf into something special. Finishing a granny square blanket or adding the last touch to a cozy wrap, the border you pick makes all the difference. This guide walks through seven designs that work on just about any project.
Why does Crochet Border Patterns matter?
A good border does more than frame your work, it hides uneven edges, adds structure, and gives the whole thing a clean finish. A lot of crocheters pour hours into the body of a piece and then rush the edging, and it shows. A few reliable edgings keep your finished projects looking polished.
If you are new to finishing techniques, start by reviewing the basics of the single crochet stitch and the double crochet stitch, since these two stitches form the foundation of most edging designs.
How to Prepare Your Edges Before Adding a Border?
Before any decorative edging, prep your edges. Uneven stitch counts along the sides of a blanket or scarf are the number-one reason borders come out wavy or ruffled.
Start by working a single round of single crochet evenly around the entire edge of your project. Place approximately one single crochet stitch for each row along the sides and one stitch for each stitch across the top and bottom. This base round acts as a foundation and makes it much easier to attach any decorative border on top.
For detailed guidance on reading pattern instructions that accompany many edging designs, check out our guide on how to read a crochet pattern. The Craft Yarn Council also offers excellent resources on standard abbreviations and stitch techniques.
7 Stunning Crochet Border Patterns to Try
1. Simple Single Crochet Border
The simplest edging is a basic single crochet edge, just one or two rounds around the perimeter for a clean, neat frame. It works well for beginners who want a quick finish without anything complicated.
For a slightly more polished look, try working one round of single crochet followed by a round of reverse single crochet (also called the crab stitch). The reverse single crochet creates a corded, twisted edge that looks professional on crochet blankets and scarves alike.
2. Shell Stitch Border
The shell stitch border is popular for good reason. It makes a pretty scalloped edge from groups of double crochet worked into the same stitch or space, a typical shell is five double crochets together, with a chain or two between shells.
This border works especially well on half double crochet blankets and afghans. The flowing, rounded shape of the shells softens the straight lines of geometric patterns and adds a lovely feminine touch.
3. Picot Edging
Picot edging is the delicate, lacy option. A picot is just chain three (or more), then slip stitch back into the first chain to form a tiny loop, repeat it along the edge for a dainty finish.
Picot borders look stunning on baby blankets, shawls, and delicate accessories. They add visual interest without bulk, making them ideal for lightweight projects made with DK or sport-weight yarn.
4. Scallop (Fan) Border
Like the shell stitch, the scallop border uses clusters of stitches to make arc shapes along the edge, the difference is scallops are usually wider and more dramatic. Work them in half double or double crochet clusters for a bolder look.
Scallop crochet border patterns are versatile and work well on blankets of all sizes. They also look beautiful on the edges of crochet scarves and table runners.
5. Lace Trim Border
For an elegant, vintage feel, try a lace trim border. These use openwork, chains, doubles, and trebles arranged in patterns, for a delicate, airy edge. Lace borders look especially good on solid-color blankets where the stitchwork stands out.
Browse thousands of free lace border designs on Ravelry for inspiration and downloadable charts.
6. Bobble Border
The bobble border adds playful 3D texture. Bobbles are several incomplete double crochets worked into one stitch and then closed together; spaced evenly around the edge they make a fun, popcorn-like trim that kids and adults both love.
This is one of those crochet border patterns that looks especially impressive on baby items and throw pillows. Use a contrasting color for the bobble round to make the texture pop even more.
7. Granny Stripe Border
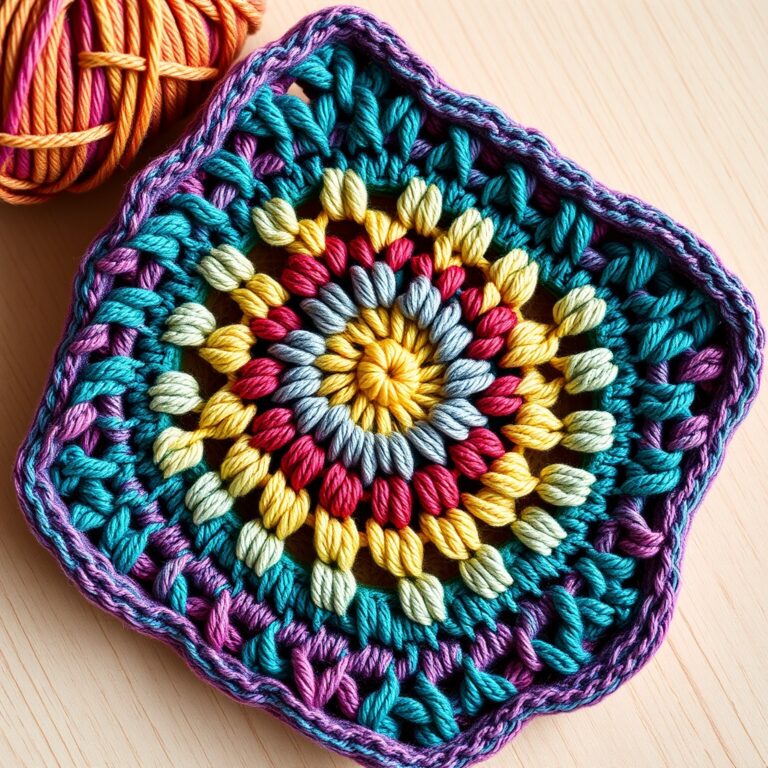
If you love the classic granny look, a granny stripe border is the perfect finish. Work three-dc clusters separated by chain spaces along the edge, just like the side of a traditional granny square, it ties granny-motif projects together for a coordinated look.
The granny stripe is one of the easiest crochet border patterns for beginners because it uses only the double crochet stitch and chain stitches, which most crocheters already know.
What Are the Best Tips for Perfect Crochet Border Patterns Every Time?
Whichever edging you go with, these tips will help it look its best:
Count your stitches: Before starting a decorative border, divide your edge into four equal sections and mark each corner. This ensures your pattern repeats evenly all the way around.
Block your project first: Blocking your blanket or scarf before adding the border evens out the stitches and gives you a clean, flat edge to work with.
Use stitch markers: Place markers at regular intervals along the edge to keep your stitch count consistent, especially on long projects like large afghans.
Match your gauge: If your border stitches are much tighter or looser than your main project, the border will pucker or ripple. Adjust your hook size as needed to maintain consistent tension throughout.
Frequently Asked Questions
How do I keep my crochet border from being wavy?
A wavy border usually means you have too many stitches per inch. Try skipping every few stitches along the edge, or switch to a larger hook size. Working a foundation round of single crochet first can also help distribute stitches more evenly across the entire perimeter.
What is the easiest crochet border for beginners?
The single crochet border is the easiest option for beginners. Work one or two rounds of single crochet around the entire edge of your project. For a slightly fancier look, try the reverse single crochet (crab stitch) as a second round.
Can I add a border to any crochet project?
Yes, you can add a border to almost anything: blankets, scarves, shawls, dishcloths, even garments. Just pick a style that suits the weight and feel of the main piece.
How many rounds should a crochet border have?
Most borders run one to four rounds. A simple single crochet edge might need just one or two; a lace or shell border could use three or more. Follow your specific pattern for the best result.
Should the border match the main project color?
Not necessarily. Using a contrasting color for your border can create a bold, eye-catching finish. Alternatively, a border in a lighter or darker shade of the same color family gives a subtle, sophisticated look. Both approaches work beautifully depending on your personal style preference.
Calculate the Right Number of Stitches for Your Border
One of the trickiest parts of adding a border is getting the stitch count right. Too many stitches and it ruffles; too few and it puckers and pulls the edge in. A flat, even border takes a little math, but it’s straightforward once you know the basics.
Start by measuring the total perimeter of your project in inches using a flexible measuring tape or a ruler. Then work a small test swatch with your chosen border stitch using the same yarn and hook. Measure how many stitches fit into one inch of the test border. Multiply the perimeter measurement by your stitches-per-inch to get your target stitch count.
For example, if your blanket edge measures 180 inches around and your border stitch works up at four stitches per inch, you need approximately 720 stitches total. In practice, you will want to adjust this number slightly to land on a clean stitch multiple for your chosen crochet border pattern. If your border pattern repeats every eight stitches, round your total to the nearest multiple of eight, such as 720 or 728.
When working along the sides of rows, the general rule is to work one border stitch into the end of each row. However, if your rows are tall stitches like double or treble crochet, you may need to work two or three border stitches into the side of each row to prevent the border from pulling. Always crochet a foundation round of single crochet evenly around the entire piece first, adjusting stitch placement as needed, then begin your decorative border on top of that foundation round. This approach gives you a consistent base to work from and makes stitch counting much easier.
What Are the Best Tips for Flawless Crochet Borders?
These tips will help your border come out polished and even, whichever design you pick:
- Use stitch markers at the corners: Place a stitch marker at each corner of your foundation round so you always know exactly where to place increases. This prevents the common mistake of accidentally adding too many or too few stitches near corner turns, which causes the border to twist or cup.
- Block before and after: Block your main project before adding the border to ensure the edge is even and flat. After completing the border, block again to set the stitches and create clean, crisp lines. Double blocking is the professional secret to borders that look perfectly tailored.
- Match your hook size: If your border looks looser or tighter than the main fabric, switch to a different hook size for just the border rounds. A hook that is a half-millimeter smaller can tighten up a border that is too loose, while a slightly larger hook can relax a border that is pulling.
- Change colors cleanly: When adding a contrasting color border, work the last stitch of the previous round in the new color to create a smooth transition. This technique eliminates the awkward jog that appears when you simply tie on a new color at the beginning of a round.
- Weave in ends as you go: For multi-color borders, weave in the tails from each color change before starting the next round. Working over the tails as you crochet can create visible bumps on the right side of the work, so taking the time to weave them in separately produces a much cleaner result.
For more crochet edging ideas and finishing techniques, visit our crochet stitches guide and expand your repertoire of border and trim options.