How to Crochet a Blanket: 3 Easy Beginner Styles
How to Crochet a Blanket at a Glance?

- Topic: how to crochet a blanket
- Skill level: beginner
- Main goal: help the reader learn how to crochet a blanket from start to finish with clear, actionable steps
- Related topics: crochet stitches, granny square blankets, beginner crochet patterns, yarn selection
Quick Answer
Learning how to crochet a blanket is one of the most rewarding projects a beginner can take on. You only need a few basic supplies — yarn, a crochet hook, and a pair of scissors — to create a cozy, handmade blanket that you will treasure for years. Start with a simple stitch like single or double crochet, work in rows, and keep consistent tension throughout your piece for the best results. Visit KnotToYarn.com for more detailed guides and free patterns to support your crochet journey.
Tip: Choose a worsted-weight yarn in a light color for your first blanket — it is easier to see your stitches and correct mistakes as you go.
 KnotToYarn
Subscribe to KnotToYarn!
Get the best free crochet patterns, tutorials & tips delivered straight to your inbox. Join our growing community!
At a Glance
- Skill level: beginner to intermediate
- Time needed: 15–30 hours (depending on size)
- Best yarn: worsted-weight acrylic or cotton blend
- Hook size: 5.0 mm (H/8) or 5.5 mm (I/9)
Common Mistakes → Quick Fixes
- Uneven edges: Count your stitches at the end of every row and add or remove as needed before turning.
- Blanket curling: Make sure your foundation chain is loose — try going up one hook size for the chain only.
- Tension too tight: Relax your grip on the hook and yarn; practice making a gauge swatch before starting.
Mini Glossary
sc (single crochet), dc (double crochet), hdc (half double crochet), ch (chain stitch), sl st (slip stitch), FO (fasten off), gauge (number of stitches per inch), worsted weight (medium-thickness yarn), tension (how tightly you hold the yarn while crocheting).
If you have ever wondered how to crochet a blanket, you are in the right place. Crocheting a blanket is one of the most popular and satisfying projects for crafters of all skill levels. Whether you want a chunky throw for your living room or a lightweight baby blanket for a gift, learning how to crochet a blanket follows a straightforward pattern once you understand the basics.
In this guide, we will walk you through everything you need to know about how to crochet a blanket — from picking the right materials to finishing your edges like a professional. Even if you have never held a crochet hook before, these seven proven steps will help you complete a beautiful how to crochet a blanket project with confidence and pride.
Before diving in, make sure you check out our how to crochet for beginners guide if you need a refresher on the foundational stitches. Having those basics down will make any how to crochet a blanket project much smoother and more enjoyable.
What You Need Before Learning How to Crochet a Blanket?
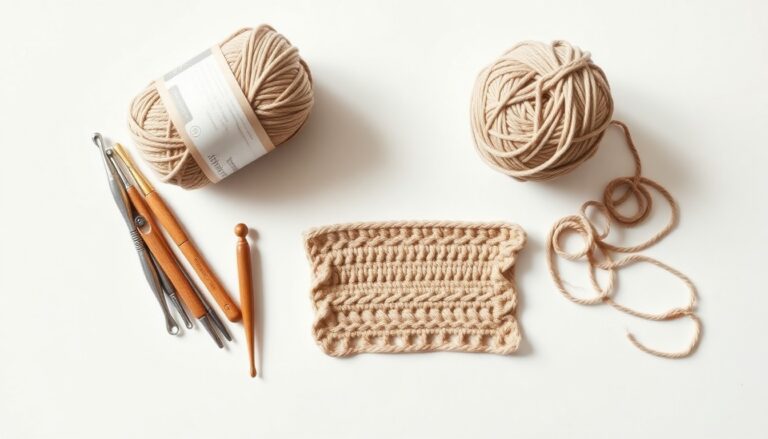
Before you make your first chain stitch, gathering the right supplies is essential. Having everything ready will save you time and frustration later. Here is what you will need to start your how to crochet a blanket project:
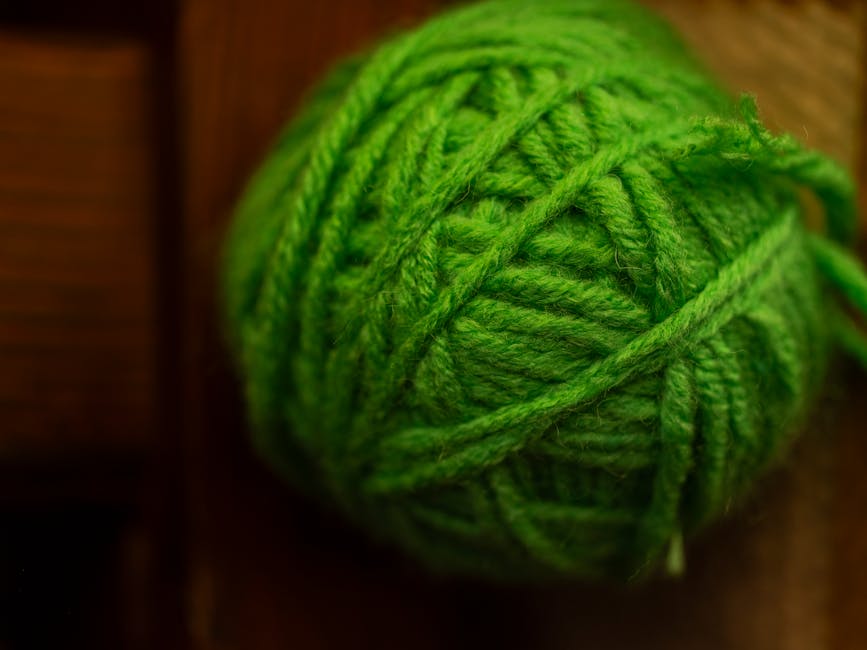
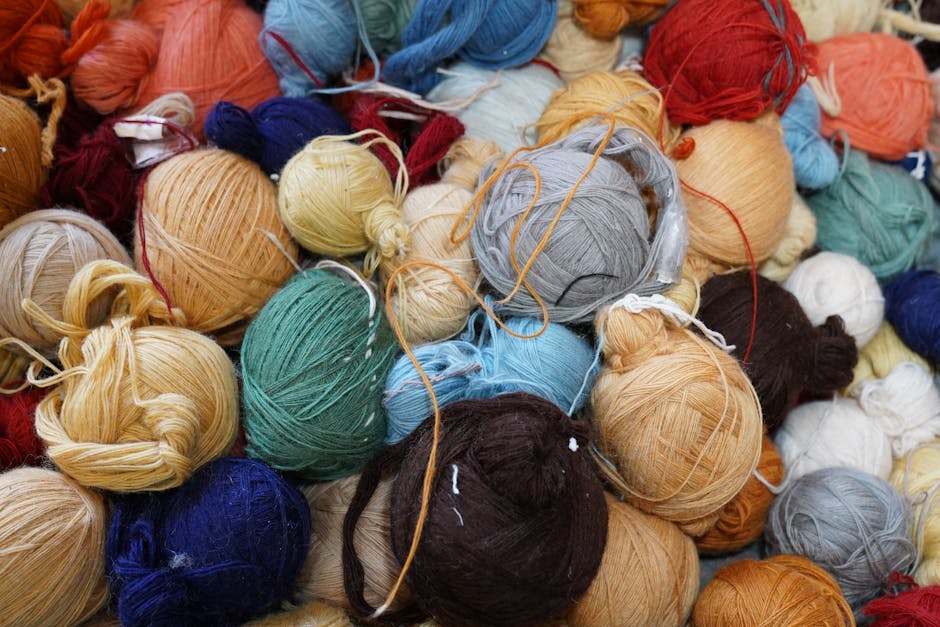
Yarn: For your first blanket, choose a best yarn for beginners option like worsted-weight acrylic. It is affordable, soft, and comes in hundreds of colors. A medium-weight yarn (category 4) works well for most blanket patterns because it provides good coverage without being too heavy or too thin.
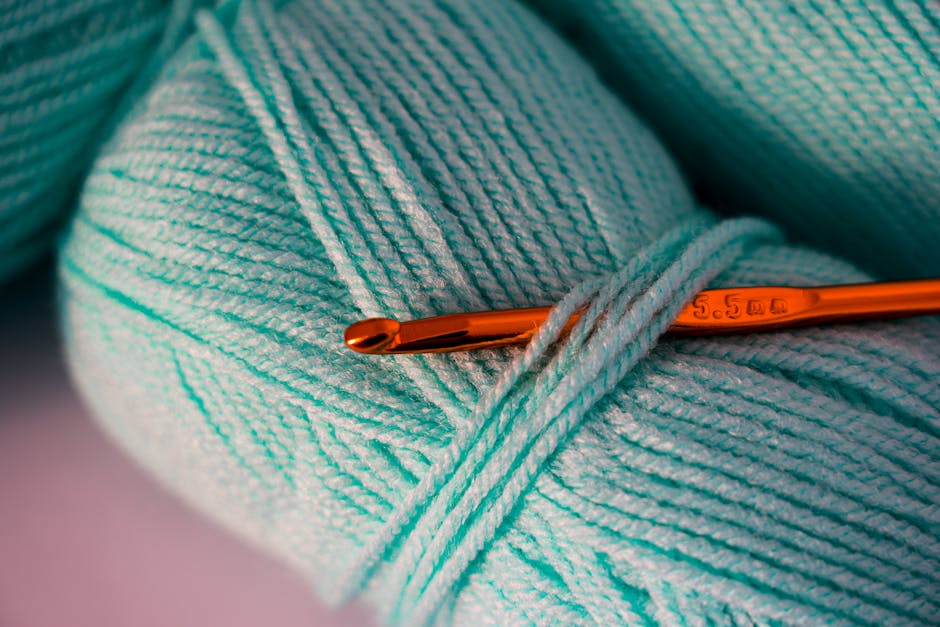
Crochet Hook: Match your hook to your yarn weight. For worsted-weight yarn, a 5.0 mm (H/8) or 5.5 mm (I/9) hook is ideal. If you are not sure which hook to use, our crochet hook sizes guide breaks it all down for you.
Scissors and Tapestry Needle: A good pair of scissors for cutting yarn and a blunt-tipped tapestry needle for weaving in ends are must-haves when you learn how to crochet a blanket. These small tools make a big difference in how polished your finished blanket looks.
Stitch Markers: These are optional but highly recommended for beginners who want to master how to crochet a blanket without frustration. Place a stitch marker at the start of each row so you always know where to stop — this single habit prevents most uneven-edge problems.

What Are the 7 Easy Steps: How to Crochet a Blanket from Scratch?
Step 1: Choose Your Blanket Size
Deciding how big you want your blanket to be is the first step in any how to crochet a blanket project. Common sizes include lovey blankets (30″ x 30″), baby blankets (35″ x 45″), throw blankets (50″ x 60″), and full-size afghans (60″ x 80″). Start with a smaller size like a baby blanket if this is your first time — you will finish faster and gain confidence for larger how to crochet a blanket projects.
Step 2: Make a Gauge Swatch
A gauge swatch is a small sample piece (usually 4″ x 4″) that tells you how many stitches and rows you get per inch. This step might feel tedious, but it prevents your blanket from ending up too small or too wide. Crochet about 20 stitches using your chosen yarn and hook, work 15–20 rows, then measure. If your swatch is too small, go up a hook size. If it is too big, go down one.
According to the Craft Yarn Council, matching gauge is one of the most important steps for achieving consistent results in any crochet project. Skipping this step is the number one reason beginners struggle when learning how to crochet a blanket.
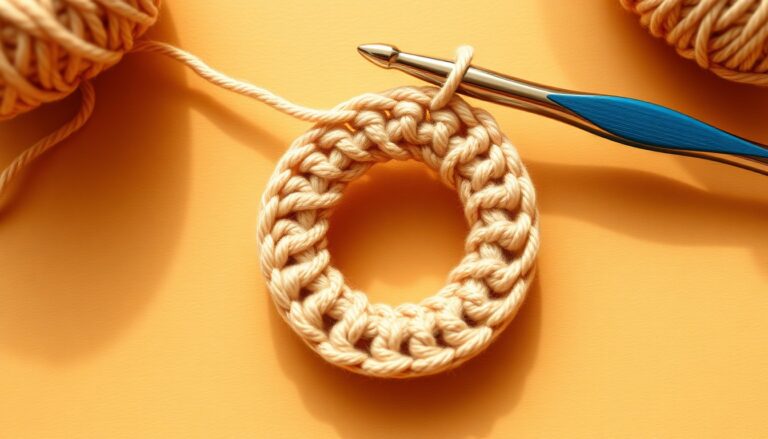
Step 3: Create Your Foundation Chain
Your foundation chain sets the width of your entire blanket. For a standard baby blanket using worsted-weight yarn and a 5.5 mm hook, you will typically chain between 100 and 120 stitches. Count carefully — miscounting here means your blanket will be wider or narrower than planned. Use a stitch marker in the first and last chain so you can verify your count easily.
Pro tip: Chain loosely. Many beginners naturally tighten their tension on the foundation chain, which causes the bottom edge to pucker and curl inward. If you struggle with tight chains, try using a hook one size larger just for the foundation row of your how to crochet a blanket project.
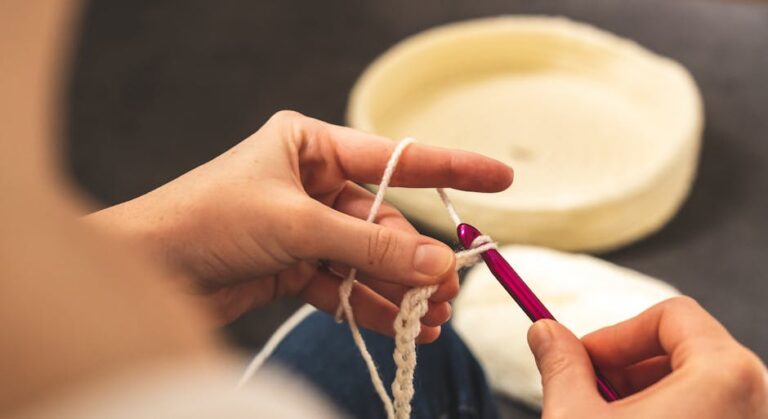
Step 4: Work Your First Row
After your foundation chain, it is time to start building the body of your blanket. For a simple, classic look, single crochet or double crochet are the best stitches to use when learning how to crochet a blanket. If you are unsure which to pick, our single crochet vs double crochet comparison will help you decide.
Insert your hook into the second chain from the hook (for single crochet) or the third chain (for double crochet), yarn over, pull through, and complete the stitch. Continue across the entire row, working one stitch into each chain. When you reach the end, chain one (for sc) or chain three (for dc), then turn your work and start the next row.
Step 5: Repeat Rows Until Desired Length
This is where the magic of how to crochet a blanket really happens. Simply repeat the same stitch pattern row after row until your blanket reaches the desired length. For a baby blanket, this usually means working 45–55 rows. For a throw, you might need 60–75 rows depending on your gauge.
The key to beautiful, even rows is counting your stitches at the end of every single row. This habit takes only a few seconds and saves you from the heartbreak of discovering uneven edges after hours of work on your how to crochet a blanket project. If you have too many or too few stitches, adjust in the next row to get back on track.
Step 6: Add a Border
A border gives your blanket a polished, finished look. The easiest option for beginners who are just learning how to crochet a blanket is a simple single crochet border worked all the way around the edges. Work one round of single crochet around the entire perimeter, placing three single crochet stitches in each corner so the edges lay flat. For a more decorative look, try a shell stitch border or a crab stitch (reverse single crochet) edge.

Borders are also a great way to use up leftover yarn from your main project, and they help hide minor tension inconsistencies along the raw edges of your blanket.
Step 7: Fasten Off and Weave in Ends
The final step in learning how to crochet a blanket is finishing your work properly. Cut your yarn, leaving a tail of about 6 inches, and pull it through the last loop on your hook. Thread the tail onto your tapestry needle and weave it through several stitches along the back of your work. This secures the end so your blanket will not unravel with use or washing.

Repeat this for every yarn tail along the edges and wherever you changed colors. Take your time with this step — neatly woven ends are the difference between a blanket that looks handmade and one that looks homemade.
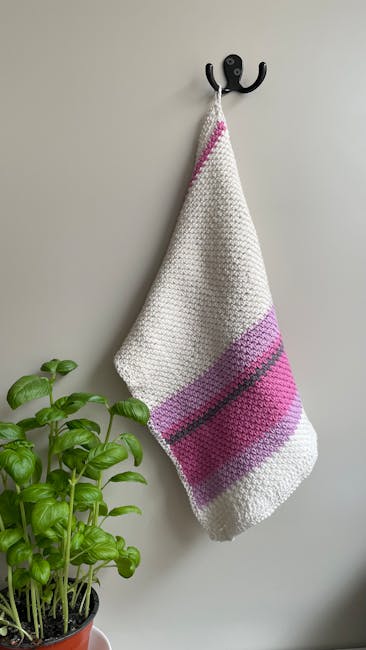
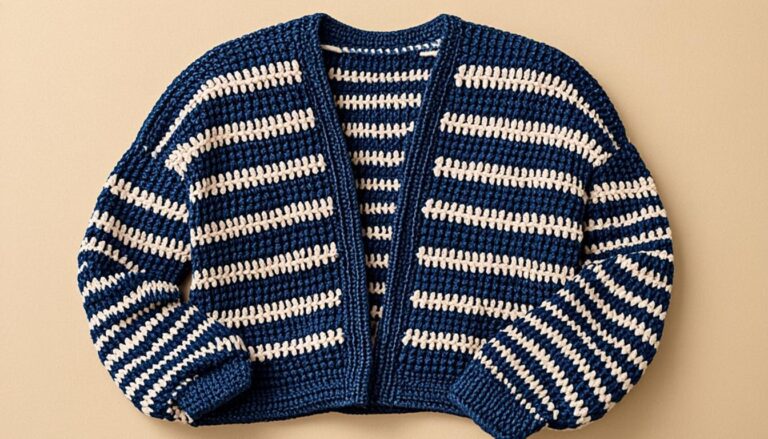
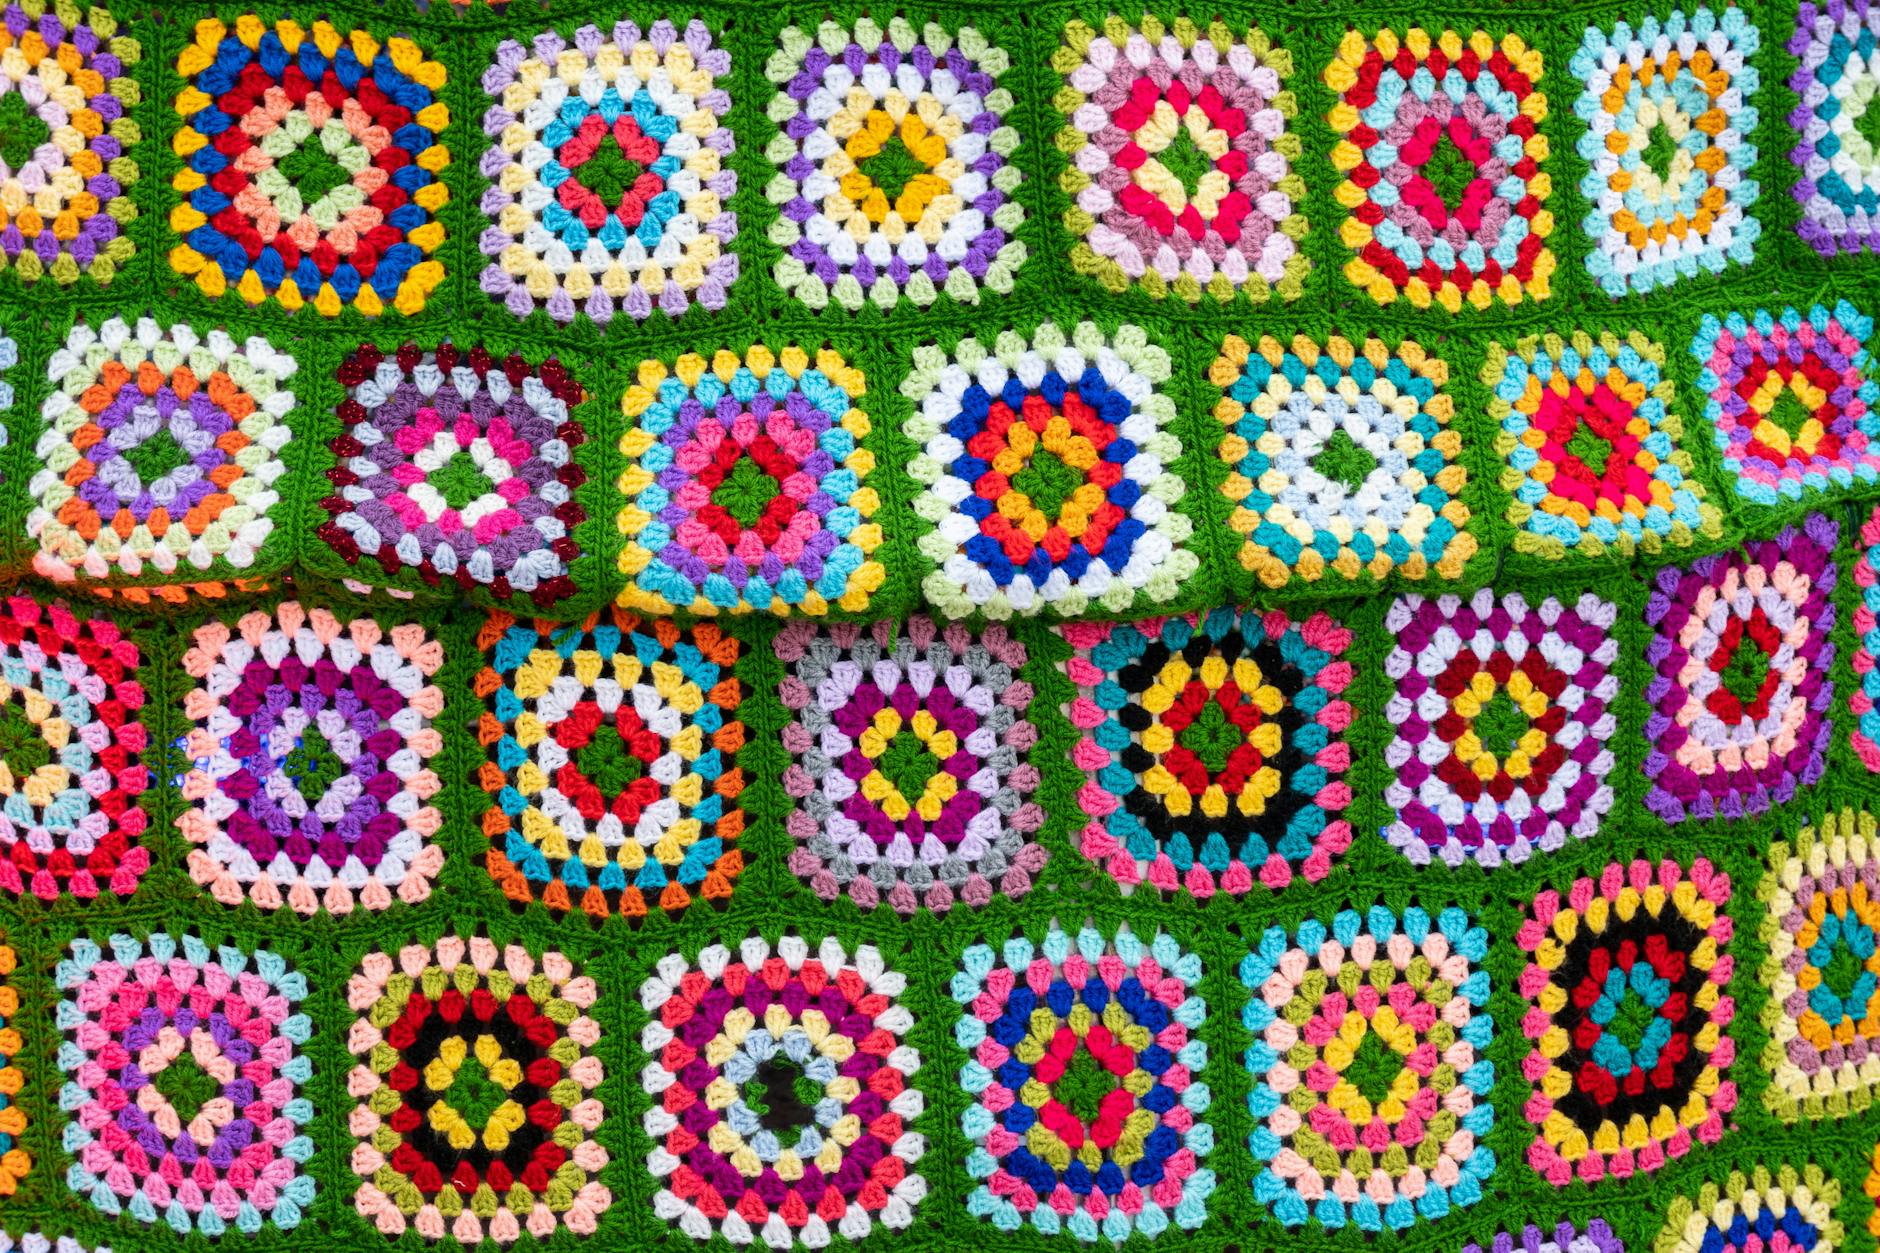
The image above illustrates this pattern step in detail.
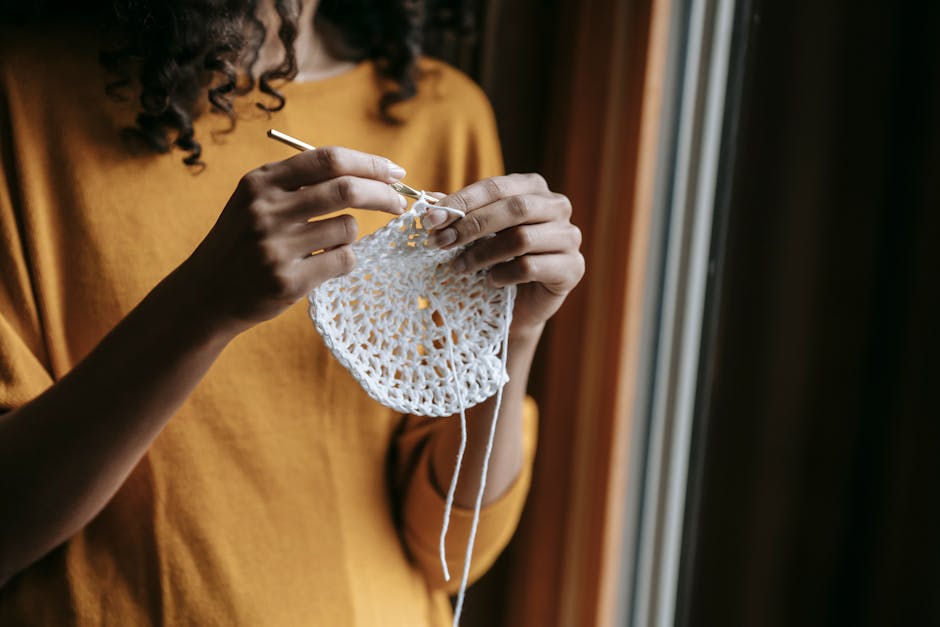
Here you can see how the stitch work comes together in this section.
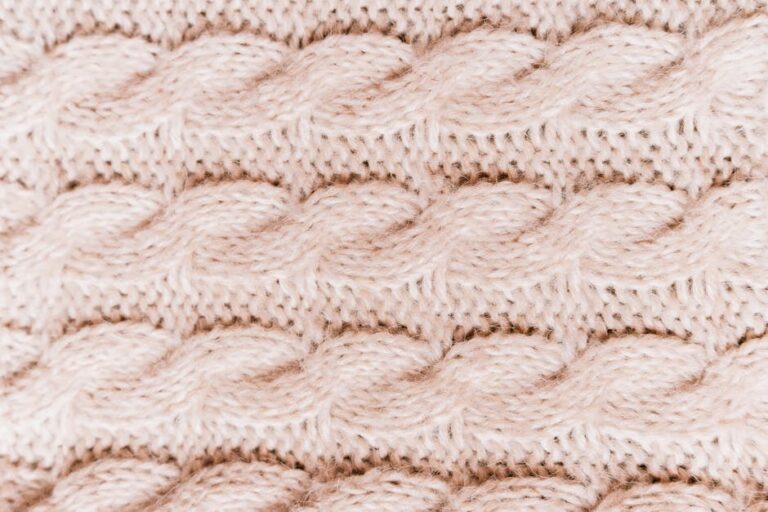
This close-up shows the texture and technique used for this design.
Notice the color transitions and stitch definition shown above.
What Are the 3 Best Stitches for Your How to Crochet a Blanket Project?
Choosing the right stitch pattern makes a huge difference when you are figuring out how to crochet a blanket. Here are three beginner-friendly options, each with its own character:
Single Crochet: The simplest and densest stitch. Single crochet creates a tight, warm fabric that is perfect for baby blankets. It uses less yarn than other stitches but produces a slightly stiffer drape. If you want a sturdy, warm blanket, single crochet is a reliable choice for your how to crochet a blanket journey.
Double Crochet: Twice as tall as single crochet, this stitch works up much faster and creates a softer, more drapey fabric. It is the go-to choice for most how to crochet a blanket tutorials because it balances speed and texture beautifully. One row of double crochet covers roughly the same height as two rows of single crochet.
Half Double Crochet: The sweet spot between single and double crochet in terms of height, density, and drape. If you want something that is not too tight and not too loose, half double crochet is an excellent middle-ground option. For a detailed walkthrough, check out our half double crochet stitch guide.
What Are the Most Common Mistakes to Avoid?
Even experienced crocheters run into issues with blanket projects. Here are the most common problems and how to fix them so your how to crochet a blanket experience goes smoothly from start to finish.
Curling edges: If your blanket curls at the corners or along the sides, your tension is likely too tight. Try relaxing your grip or going up one hook size. Blocking your finished blanket (pinning it to a flat surface and lightly misting with water) can also fix minor curling issues.
KnotToYarn
Subscribe to KnotToYarn!
Get the best free crochet patterns, tutorials & tips delivered straight to your inbox. Join our growing community!
Uneven stitch count: This happens when you accidentally skip a stitch at the end of a row or add an extra one. The fix is simple: count your stitches at the end of every row. Use stitch markers at both ends if you find yourself losing track frequently.
Yarn running out mid-project: Always buy more yarn than you think you need. A good rule of thumb is to purchase 10–15% extra yarn beyond what the pattern calls for. Dye lots vary between batches, so buying all your yarn at once ensures consistent color throughout your blanket.
For more troubleshooting tips, the Spruce Crafts blanket guide is an excellent external resource with detailed photo tutorials for common problems.
How to Make Your Blanket Look Professional?
The difference between a beginner blanket and a professional-looking one often comes down to a few small details. First, block your blanket after finishing it. Blocking involves pinning your blanket to a flat surface in the desired shape and either steaming or misting it with water. As the blanket dries, it sets into a perfectly flat, even shape.
Second, pay attention to your yarn tails. Every place where you started a new ball of yarn or changed colors creates a tail that needs to be woven in. Take the time to weave each tail through at least 8–10 stitches so it stays secure through washing and use.
Third, consider adding a decorative border. Even a simple two-round border in a contrasting color can elevate the entire look of your blanket. If you want more inspiration, browse our collection of free crochet patterns for beginners which includes several border-only patterns.
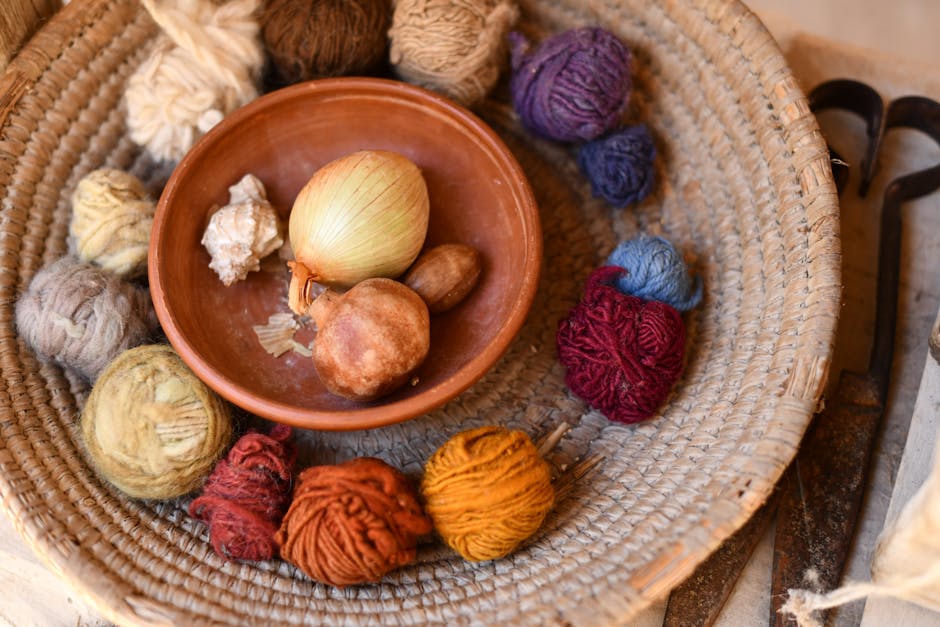
Finally, choose the right yarn for the occasion. A baby blanket calls for soft, washable fibers like premium acrylic or organic cotton. A living room throw looks best in chunky wool or a luxurious blend. The best yarn for beginner crochet is not always the cheapest — sometimes investing a little more in quality yarn makes the finished blanket feel dramatically better.
Frequently Asked Questions
How long does it take to crochet a blanket?
A baby blanket typically takes 10–20 hours, while a throw-sized blanket can take 25–40 hours depending on the stitch pattern, your skill level, and how much time you spend per session. Simple stitches like double crochet work up much faster than complex patterns when you are learning how to crochet a blanket.
What is the easiest stitch for a crochet blanket?
Double crochet is widely considered the easiest and fastest stitch for blankets. It creates a soft, flexible fabric with good drape and works up quickly because each stitch is tall. Single crochet is also easy but produces a denser, stiffer fabric.
How many skeins of yarn do I need for a blanket?
For a standard baby blanket using worsted-weight yarn, you will need approximately 1000–1500 yards, which is about 6–8 skeins. A throw blanket requires 2000–3000 yards, or roughly 10–15 skeins. Always buy 10–15% extra to account for gauge differences and tails.
Can I wash my finished crochet blanket?
Yes, but always follow the care instructions on your yarn label. Most acrylic blankets can be machine-washed on a gentle cycle and tumble-dried on low heat. Wool blankets should be hand-washed in cool water and laid flat to dry to prevent shrinking and felting.
For a beautiful home project, try our granny square table runner patterns with seasonal designs.
Learning how to crochet a blanket is a journey that gets easier and more enjoyable with every project you complete. Start simple, be patient with yourself, and before long you will have a collection of handmade blankets to share with family and friends. Happy crocheting!
You Might Also Like
You Might Also Like
If you enjoyed this guide, you might also love our tutorials on , and Granny Stripe Blanket. Each one comes with free patterns and step-by-step instructions perfect for crocheters of all skill levels.