Crochet Amigurumi: 5 Easy Patterns for Beginners
What Is Crochet Amigurumi at a Glance?
- Topic: crochet amigurumi
- Skill level: beginner to intermediate
- Main goal: help the reader learn and create adorable amigurumi toys
- Related topics: crochet octopus, crochet bee, single crochet stitch, magic circle crochet
Quick Answer
Crochet amigurumi is the Japanese art of crocheting small, stuffed yarn creatures and objects. It uses basic stitches worked in continuous rounds with a small hook to create tight, gap-free fabric. Discover more adorable patterns at KnotToYarn.com.
\nTip: Use a hook size smaller than your yarn recommends to create the tight, firm fabric amigurumi requires.
At a Glance
- Skill level: beginner to intermediate
- Time needed: 2-6 hours per project
- Best yarn: worsted weight acrylic or cotton
- Hook size: 3.0mm – 4.0mm (one size smaller than usual)
Common Mistakes to Quick Fixes
- Gaps between stitches: use a smaller hook and keep consistent tension
- Stuffing shows through: add more stuffing or use a tighter stitch pattern
- Pieces don’t line up: use stitch markers to count rounds and pin pieces before sewing
Mini Glossary
MR — magic ring, SC — single crochet, inc — increase, dec — decrease (invisible decrease preferred), BLO — back loop only, FO — fasten off, ch — chain, sc2tog — single crochet two together
Crochet amigurumi has taken the crafting world by storm, and it is easy to see why. These adorable stuffed creatures and objects are fun to make, perfect for gifts, and a wonderful way to practice your crochet skills. Whether you are picking up a hook for the first time or looking for your next creative challenge, amigurumi projects offer something special for everyone.
 KnotToYarn
Subscribe to KnotToYarn!
Get the best free crochet patterns, tutorials & tips delivered straight to your inbox. Join our growing community!
What Is Crochet Amigurumi?
The word amigurumi comes from two Japanese words: ami (meaning crocheted or knitted) and nuigurumi (meaning stuffed doll). So crochet amigurumi literally translates to crocheted stuffed toys. This art form originated in Japan and has grown into a global crafting phenomenon.
Unlike traditional crochet projects like blankets or scarves, crochet amigurumi is worked in continuous spirals rather than joined rounds. This technique creates a seamless, stuffed three-dimensional shape. Most patterns rely heavily on the single crochet stitch, which makes it one of the most approachable craft styles for beginners. If you are brand new to crochet, be sure to check out our how to crochet for beginners guide first.
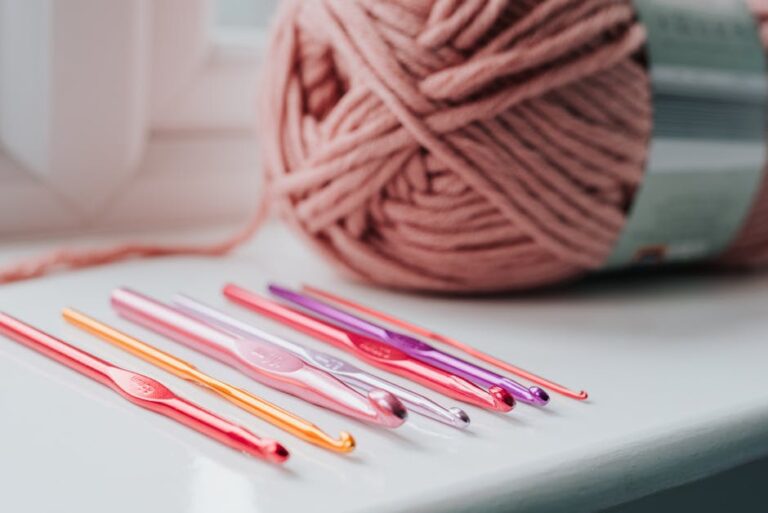
What Materials Do You Need for Crochet Amigurumi?
Getting started with crochet amigurumi does not require a huge investment. Here is what you need:
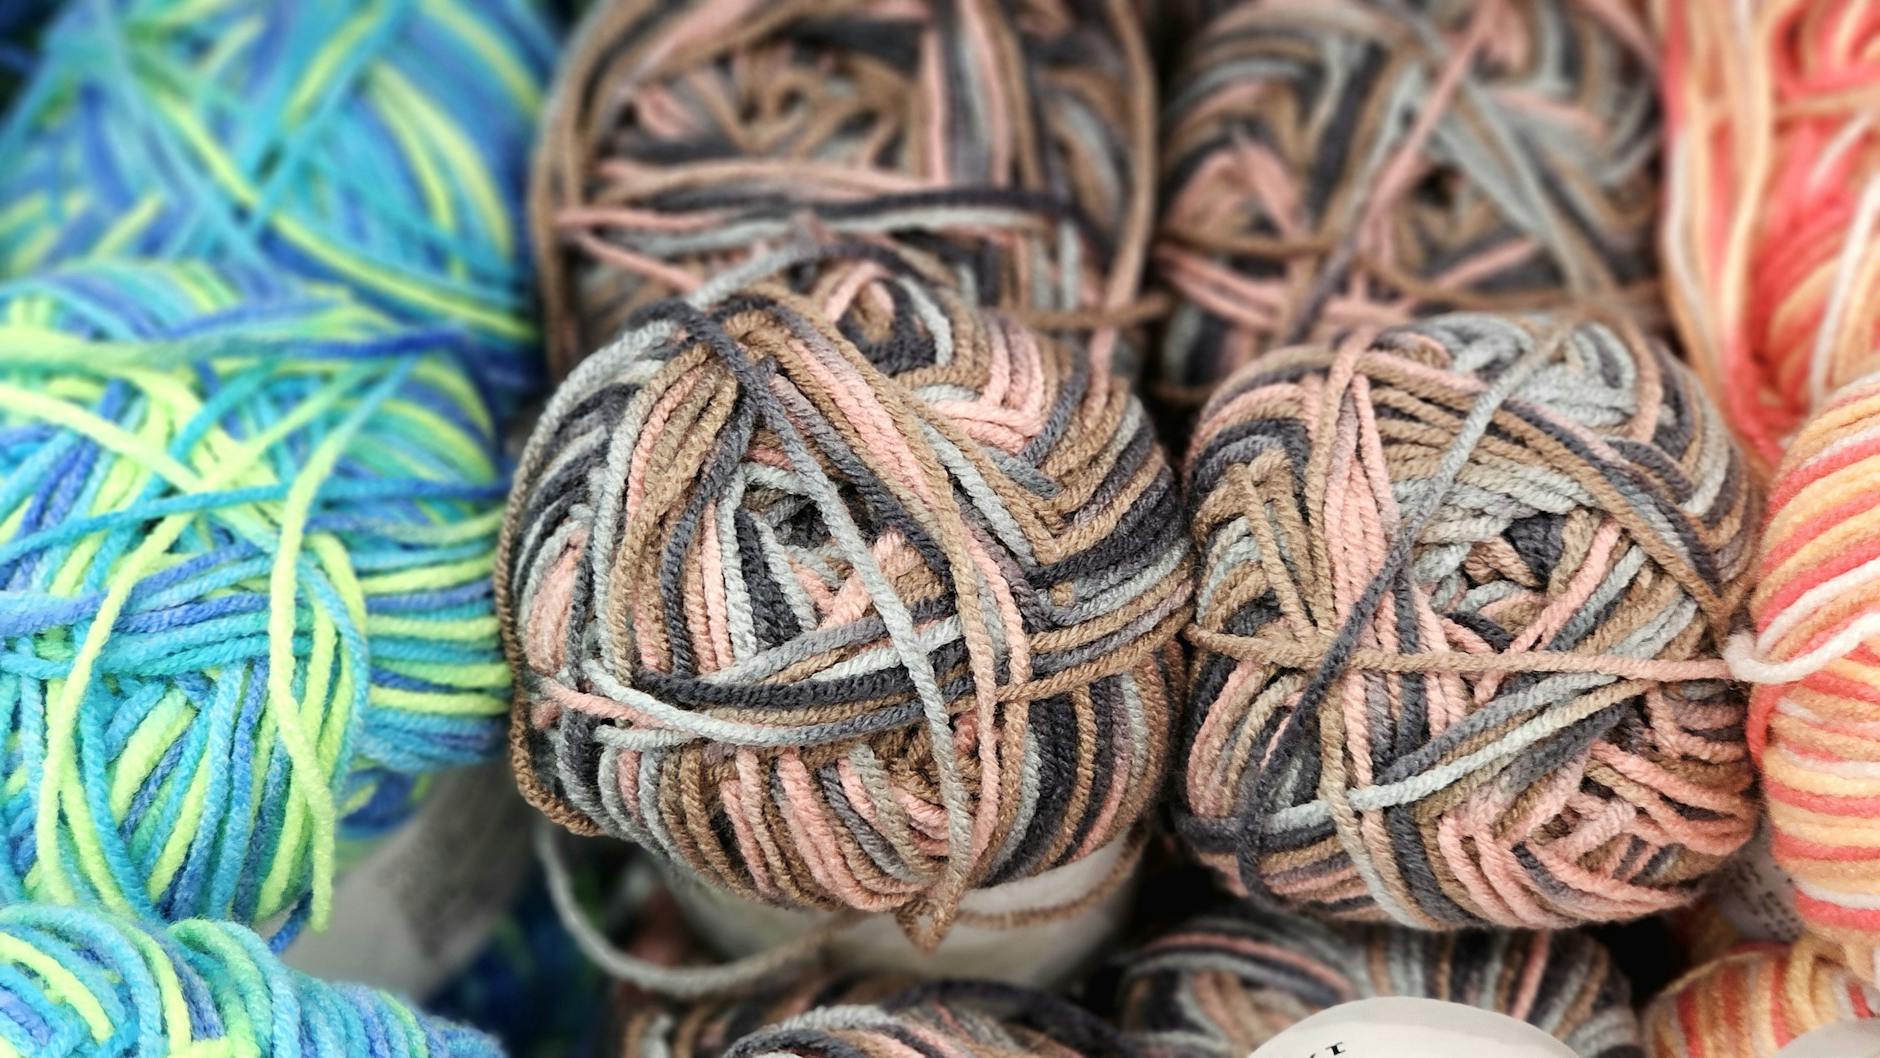
- Yarn: Worsted weight acrylic or cotton yarn is ideal. It is affordable, comes in hundreds of colors, and creates a sturdy fabric. Check out our guide on the best yarn for beginner crochet projects for specific recommendations.
- Crochet hook: Use a hook that is one size smaller than what your yarn label suggests. For worsted weight, a 3.5mm or 4.0mm hook works beautifully.
- Stuffing: Polyester fiberfill is the gold standard for crochet amigurumi because it is lightweight, washable, and holds its shape.
- Stitch markers: Since amigurumi is worked in continuous spirals, stitch markers are essential for tracking the start of each round.
- Safety eyes: Plastic safety eyes give your creations that classic amigurumi look. For baby toys, use embroidered eyes instead.
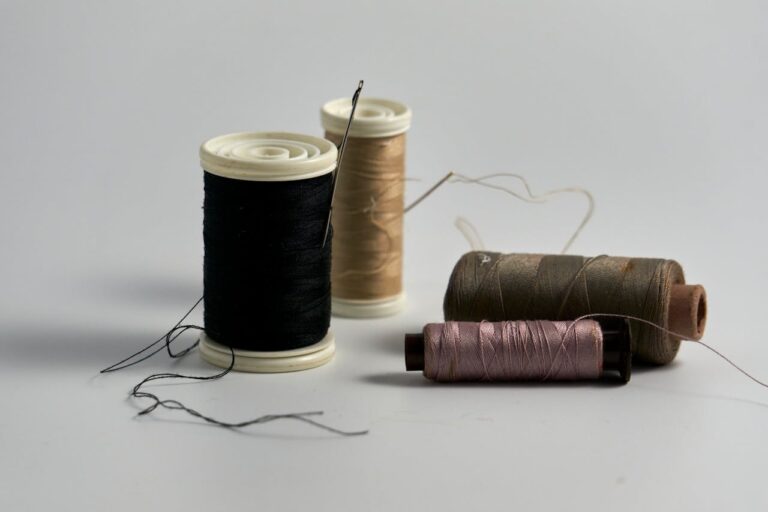
- Tapestry needle: A blunt-tipped needle is needed for sewing pieces together and weaving in ends.
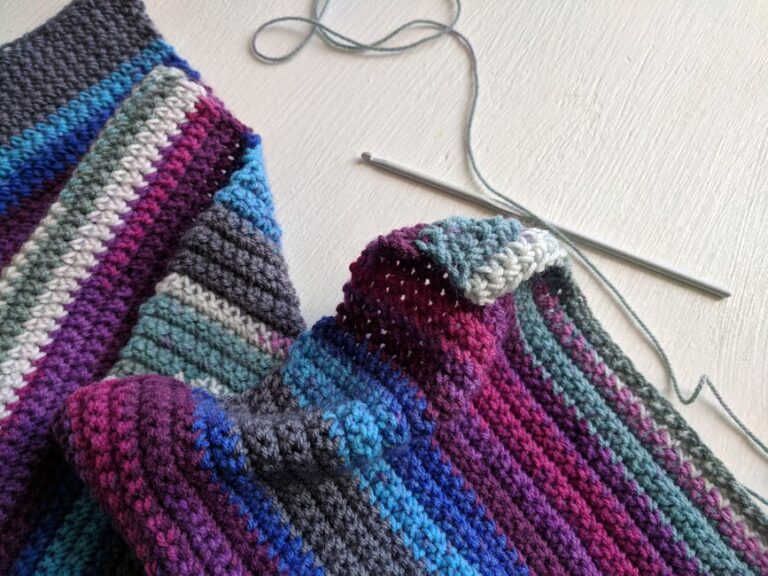
How Can Beginners Master Key Techniques Every Beginner Should Know?
Mastering a few core techniques will make your amigurumi journey much smoother. Here are the most important ones:
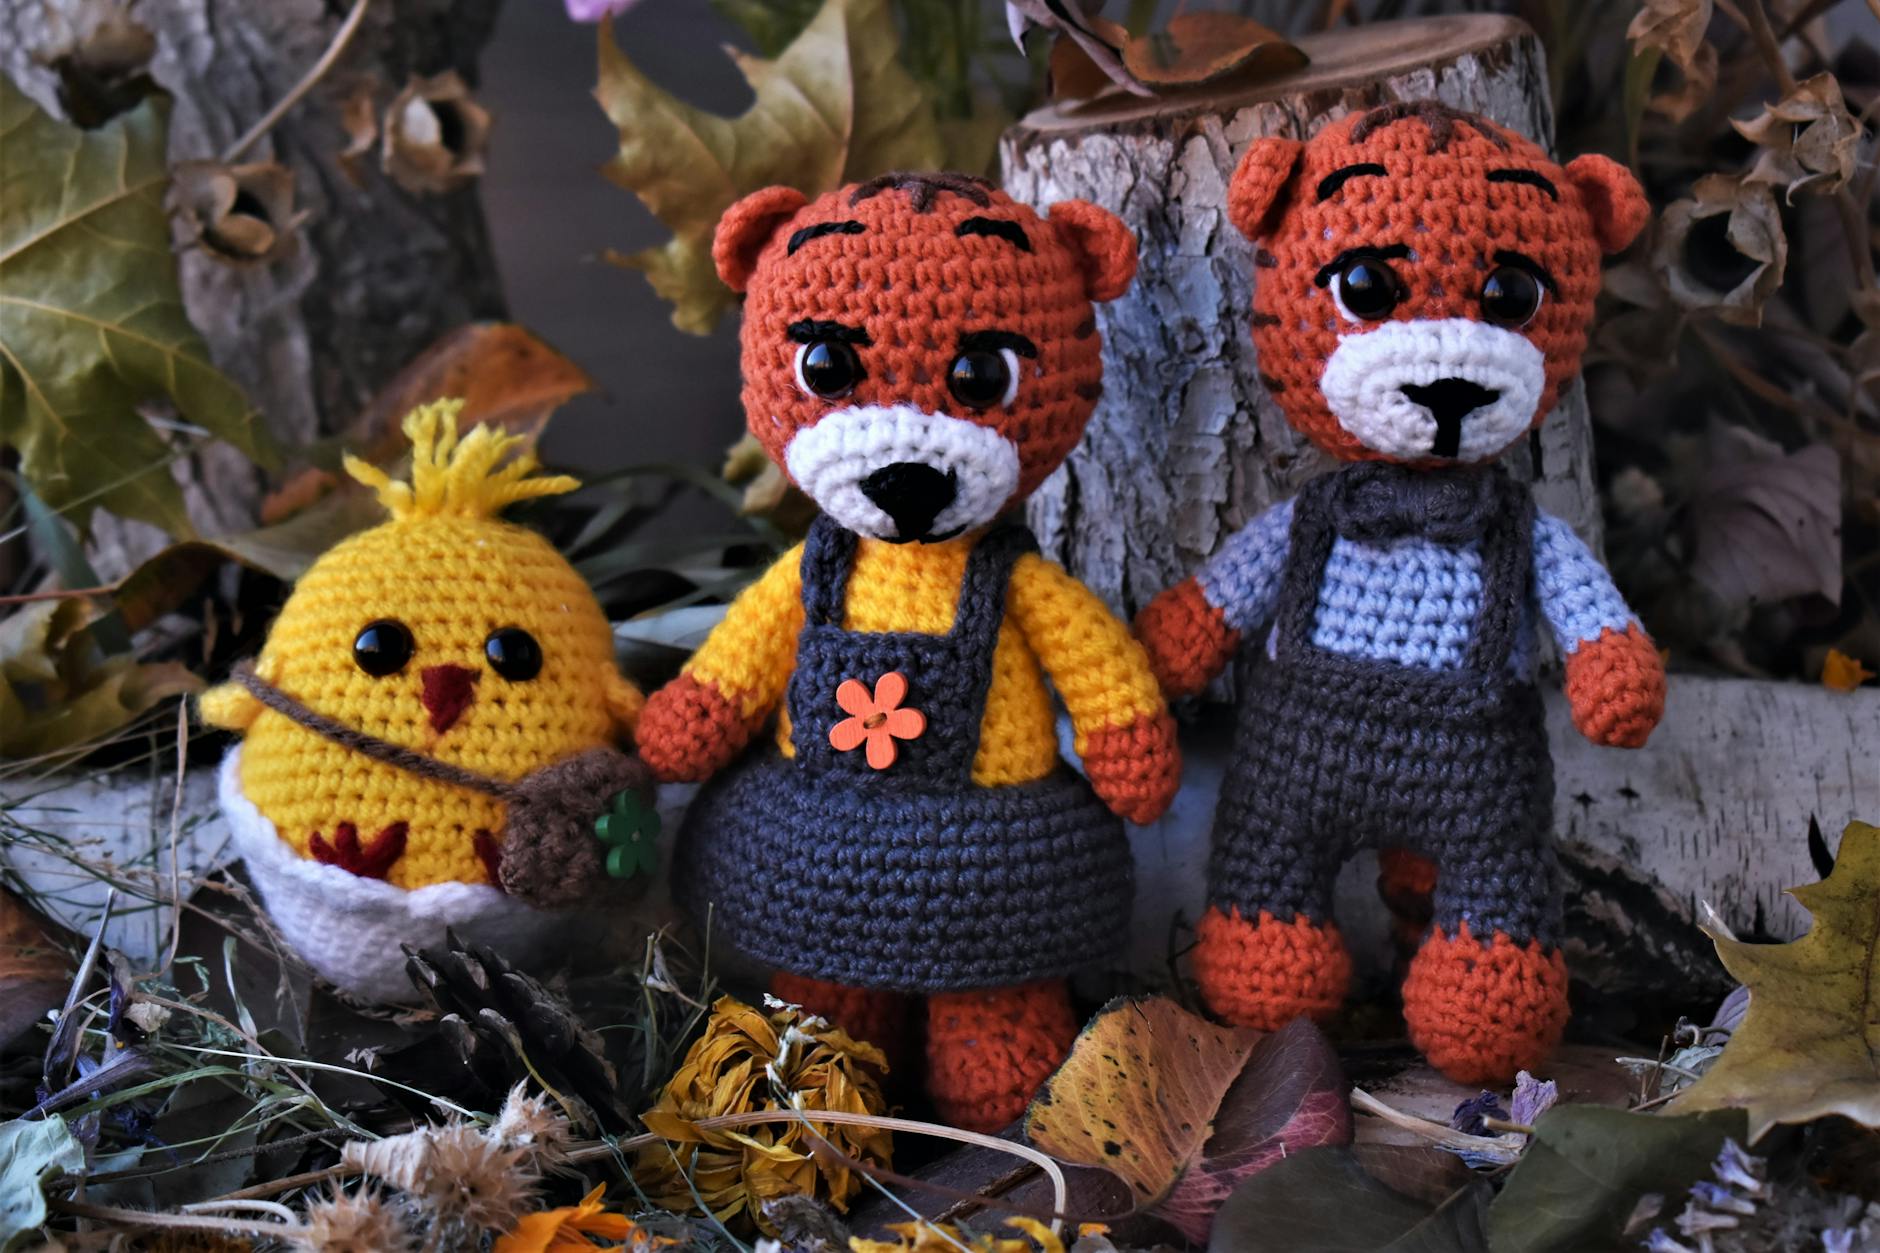
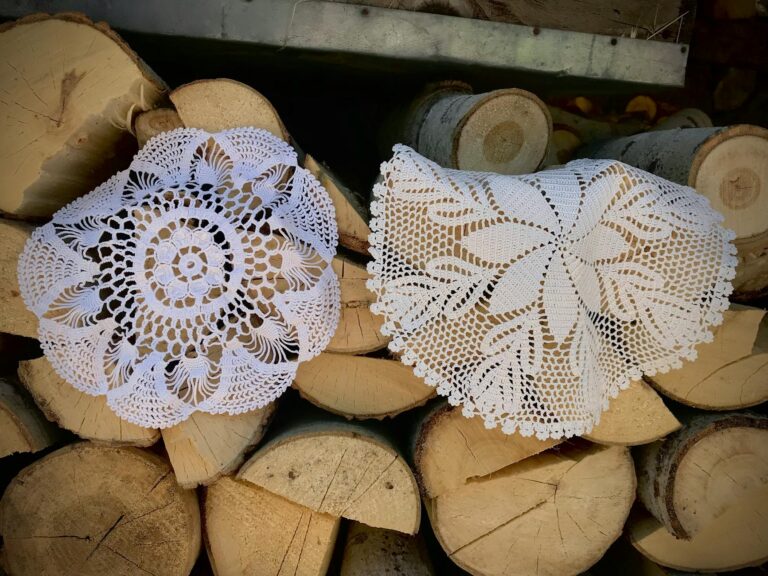
The image above illustrates this pattern step in detail.
The Magic Ring (Magic Circle)
The magic ring is the foundation of most crochet amigurumi patterns. It creates a tightly closed center, which is crucial for stuffed pieces like heads and bodies. Unlike chaining and joining, the magic ring lets you pull the center completely shut with no visible hole. Learn this technique in our magic circle crochet guide.
Invisible Decrease
Standard decreases can leave visible bumps in your work. The invisible decrease method creates a much smoother finish, which is especially important for the rounded shapes common in amigurumi. To work an invisible decrease, insert your hook into the front loop of the first stitch, then into the front loop of the next stitch, yarn over, and pull through both loops before completing the stitch.
Consistent Tension
Keeping your tension even is perhaps the single most important skill in crochet amigurumi. Loose stitches create gaps that let stuffing poke through, while overly tight stitches can make the fabric stiff and difficult to work with. Practice working at a steady pace, and do not be afraid to pull each stitch snug after completing it.
5 Easy Crochet Amigurumi Projects to Try First
Ready to start creating? Here are five beginner-friendly crochet amigurumi projects that will help you build confidence:
- Crochet Ball: The simplest amigurumi shape. It teaches you the magic ring, increasing, and decreasing in a perfect circle. Great for understanding the basic construction method.
- Crochet Octopus: A classic first project with an adorable result. The tentacles add a fun textural element, and the rounded head is simple to shape. Check out our crochet octopus pattern for step-by-step instructions.
- Crochet Bee: Tiny, quick, and irresistibly cute. A bee project introduces you to color changes, striped sections, and small wing attachments.
- Crochet Heart: A flat amigurumi piece that makes a wonderful appliqué, garland decoration, or small gift. It is an excellent project for practicing increases and decreases.
- Crochet Baby Blanket with Amigurumi Edging: Combine a simple blanket with small amigurumi accents for a gorgeous baby shower gift that showcases both skills.
What Are the Best Tips for Professional-Looking Crochet Amigurumi?
Even simple crochet amigurumi projects can look polished and professional with the right techniques. Here are expert tips that will level up your work:
- Pin before you sew: Always use sewing pins to position arms, legs, ears, and other attachments before stitching them in place. This prevents crooked or uneven results.
- Count your rounds: Losing track of your round count is the most common cause of asymmetrical pieces. Place a stitch marker at the start of every round and move it up as you go.
- Stuff firmly but evenly: Understuffed amigurumi looks flat and lifeless, while overstuffing can distort the shape. Add stuffing gradually, pressing it into small areas like limbs first.
- Weave in ends as you go: Crochet amigurumi projects involve many color changes and attached pieces. Weaving in ends as you finish each section saves time at the end.
- Block your pieces: Lightly steaming or pressing your finished pieces helps them hold their shape and gives them a more polished appearance.
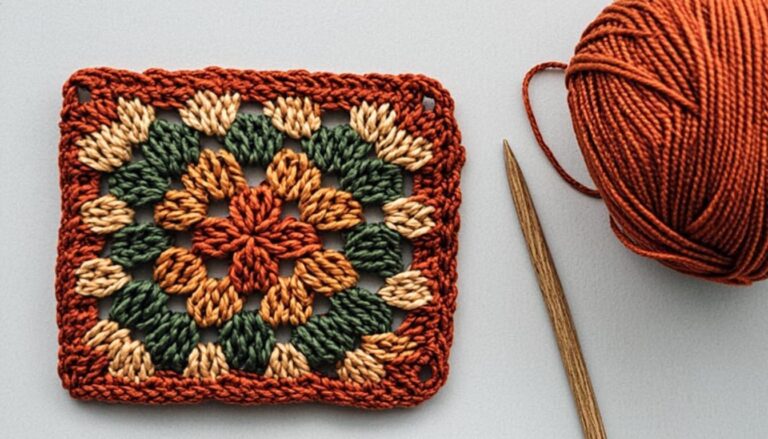
How Do You Choose the Right Yarn for Amigurumi?
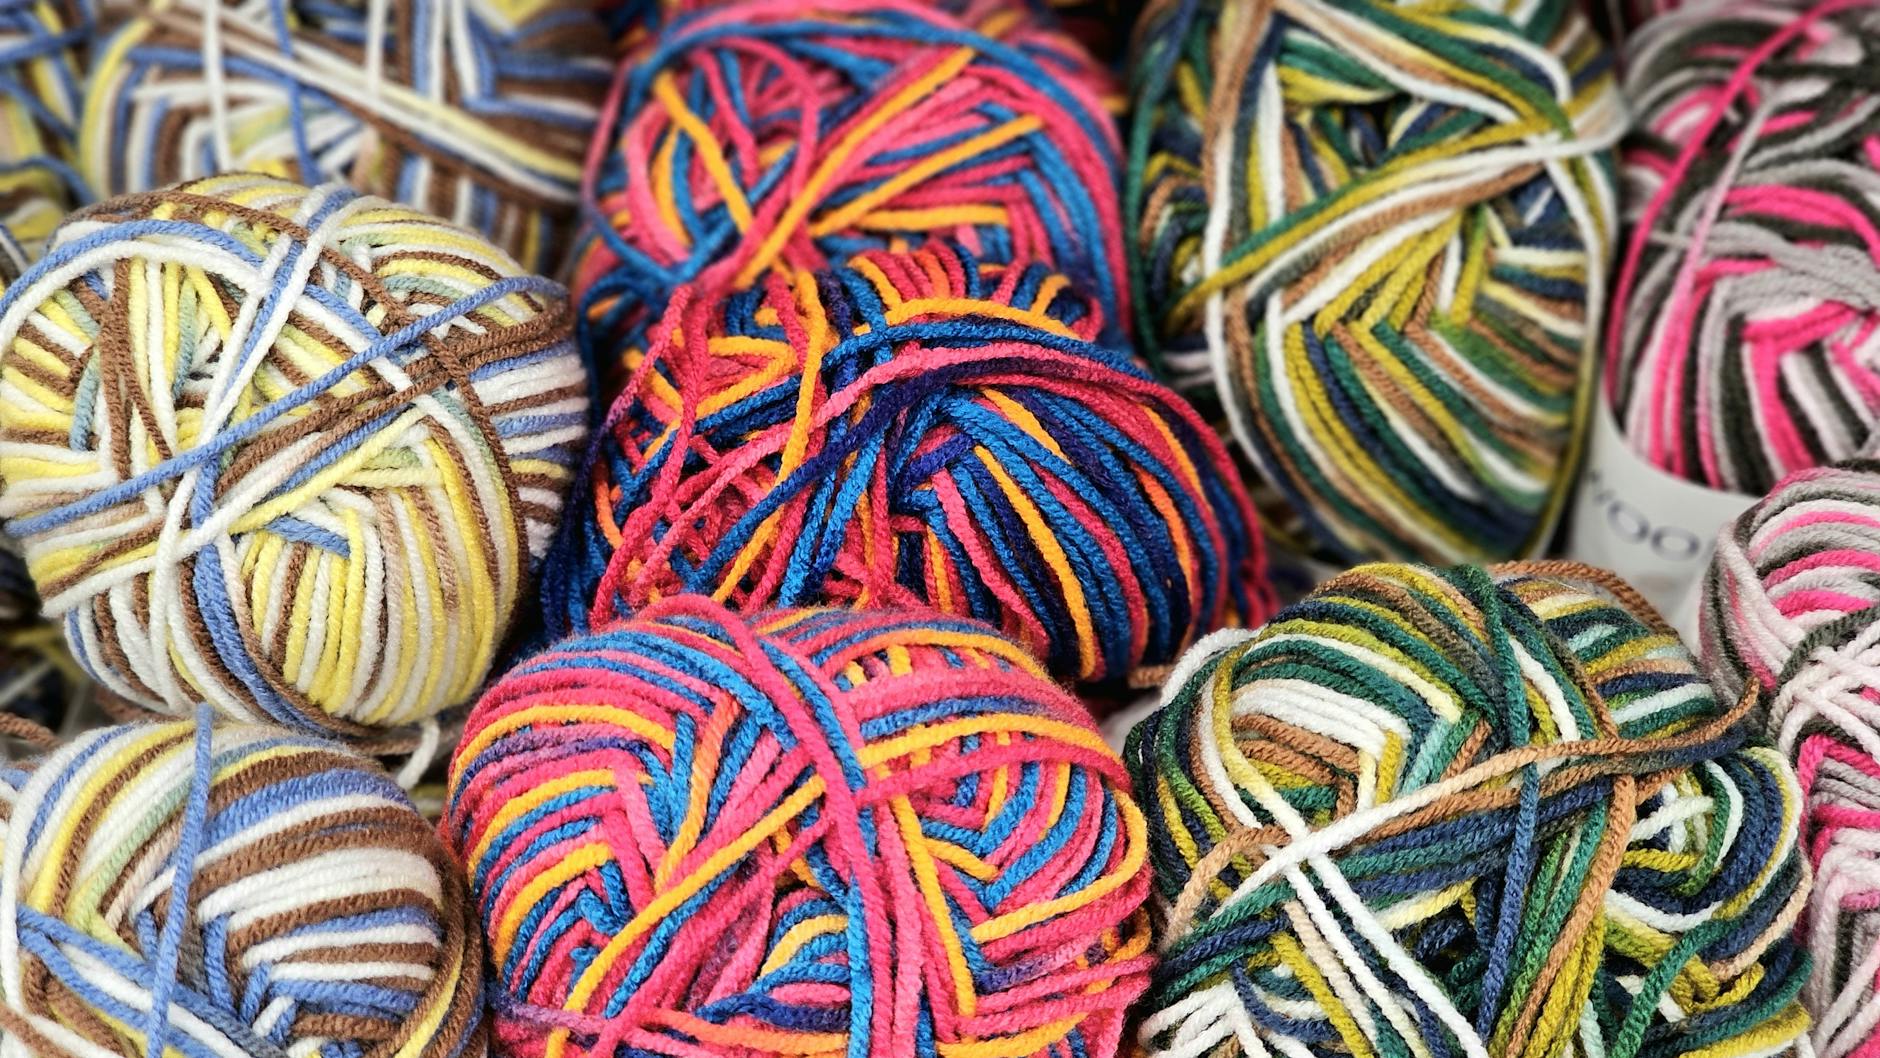
The yarn you choose can make or break your crochet amigurumi project. Here is a quick comparison of the most popular options:
- Acrylic yarn: Budget-friendly, widely available, and easy to care for. It creates a smooth, even fabric that works well for most amigurumi projects. Brands like Red Heart Super Saver and Caron Simply Soft are popular choices.
- Cotton yarn: Produces a crisp, defined stitch texture that is perfect for detailed amigurumi. It holds its shape beautifully but can be slightly stiffer to work with. The Craft Yarn Council provides helpful information on yarn weight standards to guide your selection.
- Blended yarns: Wool-acrylic or cotton-acrylic blends offer the best of both worlds, combining softness with stitch definition and durability.
For more detailed yarn recommendations, explore our guide on the best yarn for beginner crochet projects to find your perfect match.
How Do You Common Crochet Amigurumi Mistakes and How to Avoid Them?
Even experienced crafters run into challenges with crochet amigurumi. Here are the most common pitfalls and how to fix them:
Visible stuffing through stitches: This happens when your stitches are too loose. Switch to a smaller hook, work with tighter tension, or try using a lighter colored yarn where gaps are less noticeable.
Crooked or wobbly pieces: This usually results from losing your place in the round. Always use a stitch marker and count your stitches at the end of every round.
Uneven color changes: When switching colors in crochet amigurumi, complete the last stitch of the old color but do not pull through the final loops. Instead, yarn over with the new color and pull through to finish. This creates a cleaner transition.
Poorly attached limbs: Rushing through the sewing process leads to floppy or misaligned pieces. Take your time, use plenty of pins, and sew through multiple stitches on both the limb and body for a secure attachment.
KnotToYarn
Subscribe to KnotToYarn!
Get the best free crochet patterns, tutorials & tips delivered straight to your inbox. Join our growing community!
For additional tips on mastering your stitches, the Ravelry community is an excellent resource with thousands of free crochet amigurumi patterns and helpful forums.
How Do You Crochet Amigurumi: From Hobby to Handmade Business?
Many crafters turn their love of amigurumi into a thriving small business. Finished amigurumi toys sell well at craft fairs, online marketplaces, and on social media platforms. If you are interested in selling your creations, focus on developing a signature style, using high-quality materials, and photographing your work in natural lighting. Building a portfolio of well-made amigurumi pieces is the first step toward turning your hobby into income.
Frequently Asked Questions
Is crochet amigurumi hard for beginners?
Not at all! Most crochet amigurumi patterns use only the single crochet stitch, which is one of the easiest crochet stitches to learn. Start with simple shapes like balls or hearts, then gradually move on to more complex projects like animals. The key is to master the magic ring and practice maintaining even tension.
What is the best yarn for crochet amigurumi?
Worsted weight (medium weight #4) acrylic or cotton yarn is the best choice for most crochet amigurumi projects. Acrylic is soft, affordable, and comes in a huge range of colors. Cotton provides excellent stitch definition and holds its shape well. Both create the tight, firm fabric that amigurumi requires.
Why do I need a smaller hook for amigurumi?
Using a hook one size smaller than what your yarn label recommends ensures that your stitches are tight enough to prevent the polyester stuffing from showing through the gaps. This is the golden rule of crochet amigurumi and makes a noticeable difference in the quality of your finished piece.
How long does it take to make a crochet amigurumi toy?
Most beginner crochet amigurumi projects take between two and six hours to complete. Simple shapes like balls or hearts can be finished in under an hour, while detailed animals or larger pieces may take an entire weekend. The time depends on the complexity of the pattern and your skill level.
Can I sell crochet amigurumi toys I make from free patterns?
It depends on the specific pattern license. Many free crochet amigurumi patterns allow you to sell finished items as long as you credit the designer. Always read the pattern terms carefully before selling finished pieces. Creating your own original designs gives you full freedom to sell without any restrictions.
What Is Final Thoughts on Crochet Amigurumi?
Crochet amigurumi is one of the most rewarding and enjoyable crochet disciplines you can explore. With just a few basic supplies and techniques, you can create charming stuffed toys, decorative objects, and thoughtful handmade gifts. Start with a simple project, be patient with yourself as you learn, and enjoy the creative process. Browse more free patterns and tutorials right here on KnotToYarn.com to continue your amigurumi adventure!
You Might Also Like
You Might Also Like
If you enjoyed this guide, you might also love our tutorials on , and Amigurumi Toy Patterns. Each one comes with free patterns and step-by-step instructions perfect for crocheters of all skill levels.