How to Crochet in the Round: Foundation Rings, Magic Rings, and Flat Circles
Crocheting in the round covers two different skills that get lumped together: how you start the circle, and how you keep it flat as it grows. Get either one wrong and the project cups like a bowl or ruffles at the edge.
Starting with a chain ring or a magic ring
A standard foundation ring is a short chain (usually 4–6 stitches) joined into a loop with a slip stitch, then worked into round one. It leaves a small permanent hole in the center, which is fine for a granny square motif but visible on something like an amigurumi head.
A magic ring (also called an adjustable ring) starts as a loop of working yarn that you crochet into and then pull closed after the first round, cinching the center hole shut completely. Use a magic ring any time the center needs to disappear: stuffed toys, hats worked from the crown, anything closed. Use a plain chain ring when an open center is part of the design, like a granny square, or when you’re working with a slippery yarn that won’t hold a magic ring’s loop reliably.
Why your circle ripples, cups, or won’t lie flat
Cause: the increase rate doesn’t match the stitch height. Taller stitches need more increases per round to keep the circumference growing at the same rate as the stitch itself grows outward; too few increases and the circle cups upward like a bowl, too many and it ruffles at the edge.
Fix: match your increases to stitch height. As a starting formula, increase by the same number of stitches you started round one with, every round: for single crochet, that’s roughly 6 new stitches per round; for half double crochet, around 8; for double crochet, around 10–12. If your circle is cupping, add more increases the following round; if it’s rippling, back off a few. Lay the work flat on a table every few rounds to check, rather than waiting until the whole piece is done.
Spiral rounds vs. joined rounds
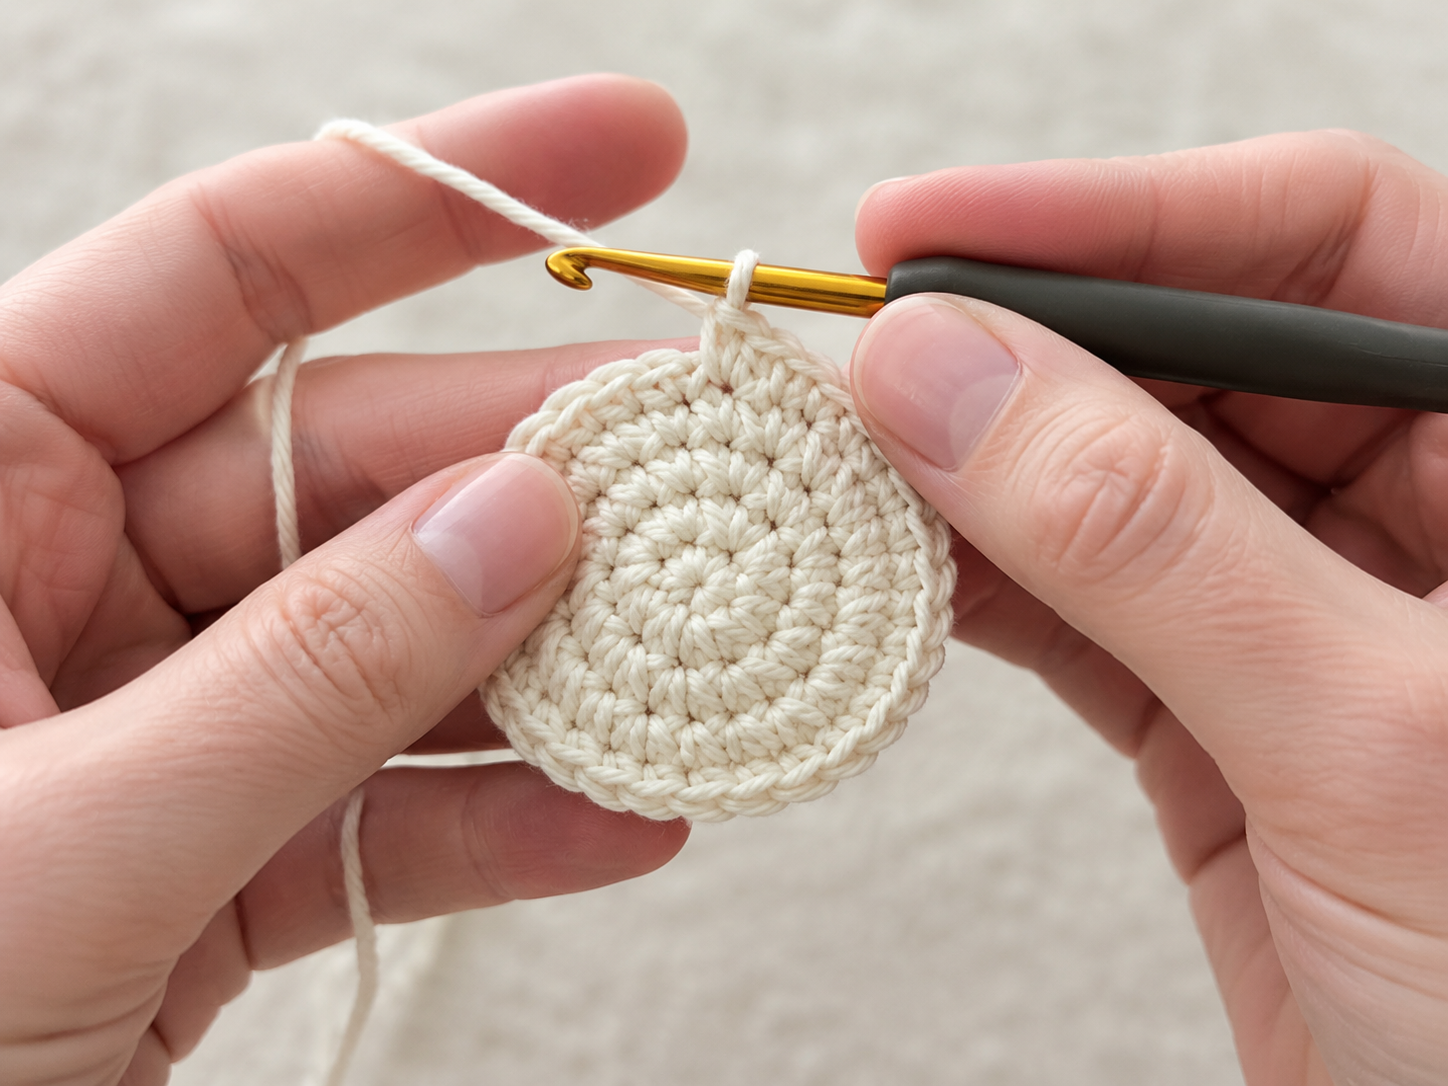
A spiral round never joins. You just keep working around and around, and each round’s start point creeps slightly. That’s normal and expected, not a mistake. It’s the standard method for seamless amigurumi because it avoids a visible seam line running up the piece.
A joined round ends with a slip stitch into the first stitch of that round, then usually a chain to start the next one. This creates a small step or seam where the round closes, but it also means you always know exactly where a round starts and ends, which matters for patterns with a defined stitch count per round (most flat motifs and many hat crowns). Use spiral construction for amigurumi and other seamless shapes; use joined rounds when the pattern needs you to track round boundaries precisely, like a granny square or a striped hat.
Reading your round count without losing your place
Rounds don’t have the obvious start/end markers that rows do, so it’s easy to lose count, especially past round 10 or so. Clip a stitch marker or a scrap of contrasting yarn into the first stitch of each round (or the join point, for joined rounds) and move it up as you go. For spiral work specifically, a marker is the only reliable way to know where one round ends and the next begins, since there’s no join to look for.