Crochet Tips: 15 Small Fixes That Make Your Projects Look Expensive
Crochet Tips is the focus of this guide, with a practical answer first and the most useful next steps right after.
Most crochet projects don’t look “expensive” because of the yarn brand or a complicated stitch. They look expensive because the stitches are consistent, the edges are clean, the fabric lays flat, and the finishing is intentional. The good news: those are all skills you can learn quickly. This guide is packed with crochet tips you can use immediately.
Below are my favorite crochet tips for getting a cleaner, more professional result—especially if you’re a beginner. You’ll see a theme: small habits matter. If you’re just getting started and want a step-by-step path, begin with Start Here and the Beginner Crochet hub.
The “expensive crochet” mindset (what to focus on first)

Before we get into techniques, here’s the simplest way to level up your results: focus on one improvement at a time. If you try to change your hook size, yarn, stitch tension, join method, and finishing all in one project, it’s hard to know what helped.
A beginner-friendly order:
- First: consistent stitch count (straight edges)
- Next: consistent tension (even stitches)
- Then: clean joins/seams
- Finally: finishing (weaving ends + blocking)
If you want a standard reference, use Craft Yarn Council crochet abbreviations.
Even one of these improvements can make a project look dramatically better.
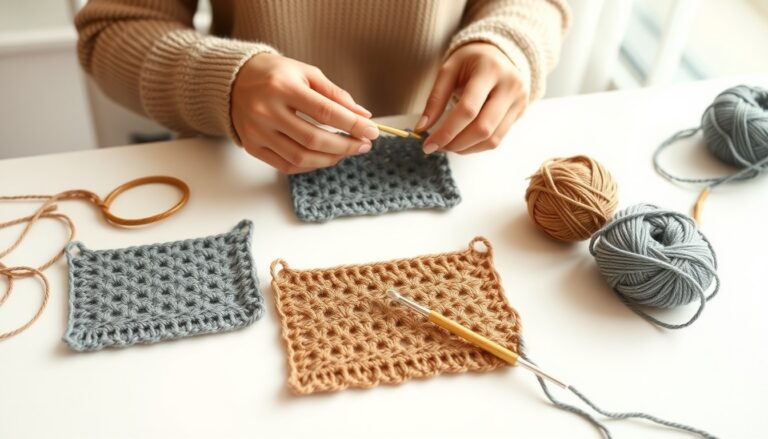
1) Use the right hook size (not just what the label says)
The hook size on the yarn label is a suggestion for a typical crocheter. Your tension might be tighter or looser—and that changes everything.
Try this simple test: crochet a small swatch (about 4 inches / 10 cm square) with the recommended hook. Then ask:
- Do the stitches look airy and loose, with big gaps? Try a hook 0.5 mm smaller.
- Does the fabric feel stiff, tight, or hard to insert your hook into? Try a hook 0.5 mm larger.
This single adjustment often makes beginner work look more “store-bought,” because your stitches sit neatly and the fabric has a consistent density.
2) Count your stitches (yes, even when it’s boring)
Counting is the difference between a rectangle and a trapezoid. Most uneven edges happen when you accidentally add or skip stitches at the ends of rows.
Two easy ways to make counting less painful:
- Use stitch markers: place one in the first stitch of the row and one in the last stitch. Then you can confidently work to the marker instead of guessing where the edge is.
- Count in small chunks: for example, count 10 stitches at a time and mark the 10s with a removable marker or scrap yarn.
Once your edges are straight, your projects instantly look more polished—even if your tension isn’t perfect yet.
3) Learn to recognize the last stitch (the sneakiest beginner problem)
The last stitch of the row often hides next to the turning chain. Many beginners stop one stitch early, which makes the piece shrink over time. Other beginners crochet into the turning chain by accident, which makes the piece grow.
A practical fix: for the first 5–10 rows of any project, use a stitch marker in the last stitch. Your eyes will learn the shape and location of that stitch much faster.
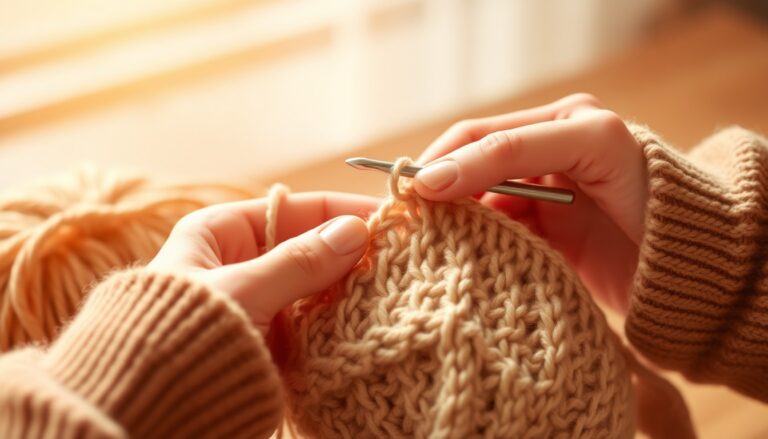
4) Tension tip that works: keep your loop height consistent
“Fix your tension” is vague advice. Here’s a specific habit that helps: make the loops on your hook the same height every time.
For taller stitches like double crochet, beginners often pull some loops taller than others. That creates a lumpy look. Try this:
- After you yarn over and pull up a loop, pause for half a second.
- Adjust the loop to a consistent height before finishing the stitch.
It’s a small change, but it makes stitches look even without you needing years of practice.
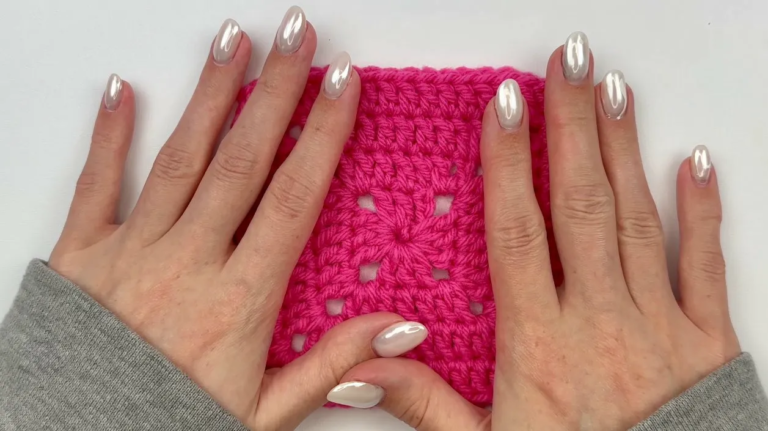
5) Block everything that needs blocking (especially motifs and wearables)
Blocking is not “extra.” It’s the finishing step that makes crocheters say, “Oh wow.” Blocking relaxes stitches, improves drape, and sets the shape.
Blocking matters most for:
- Granny squares and motifs (edges become crisp and square)
- Lace (openwork becomes clear and intentional)
- Wearables (drape improves and sizing becomes accurate)
For a simple block: lightly mist your piece, shape it flat, pin corners if needed, and let it dry completely. If you’re making granny squares, you’ll love how much easier joining becomes after blocking. (Need a refresher on the square itself? See How to Make a Granny Square and browse Granny Squares.)
6) Weave ends the boring way (and your project will survive washing)
Fast weaving-in looks fine until the first wash, the first stretch, or the first time someone actually uses the item. Secure weaving-in is what keeps your hard work intact.
A secure method:
- Weave the tail through the wrong side for several stitches.
- Change direction and weave back through different stitches.
- Change direction again if the yarn is slippery.
Changing direction locks the yarn. If you only weave straight once, the tail can slip out over time.
7) Choose a clean seam or join method—and use it consistently
Seams and joins are where handmade items can look either charmingly rustic or intentionally polished. Even if your stitches are perfect, a messy join can drag the whole project down visually.
Beginner-friendly join options:
- Whip stitch: easy, flat, neat (great for granny squares)
- Slip stitch join: sturdy with a small ridge
- Mattress stitch: excellent for seaming rectangles and garment pieces
The key “expensive” move is consistency: the same tension, the same loops, the same direction across the whole project.
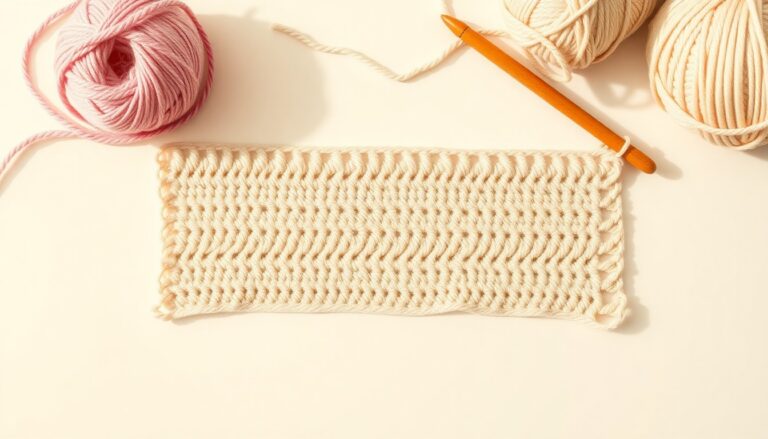
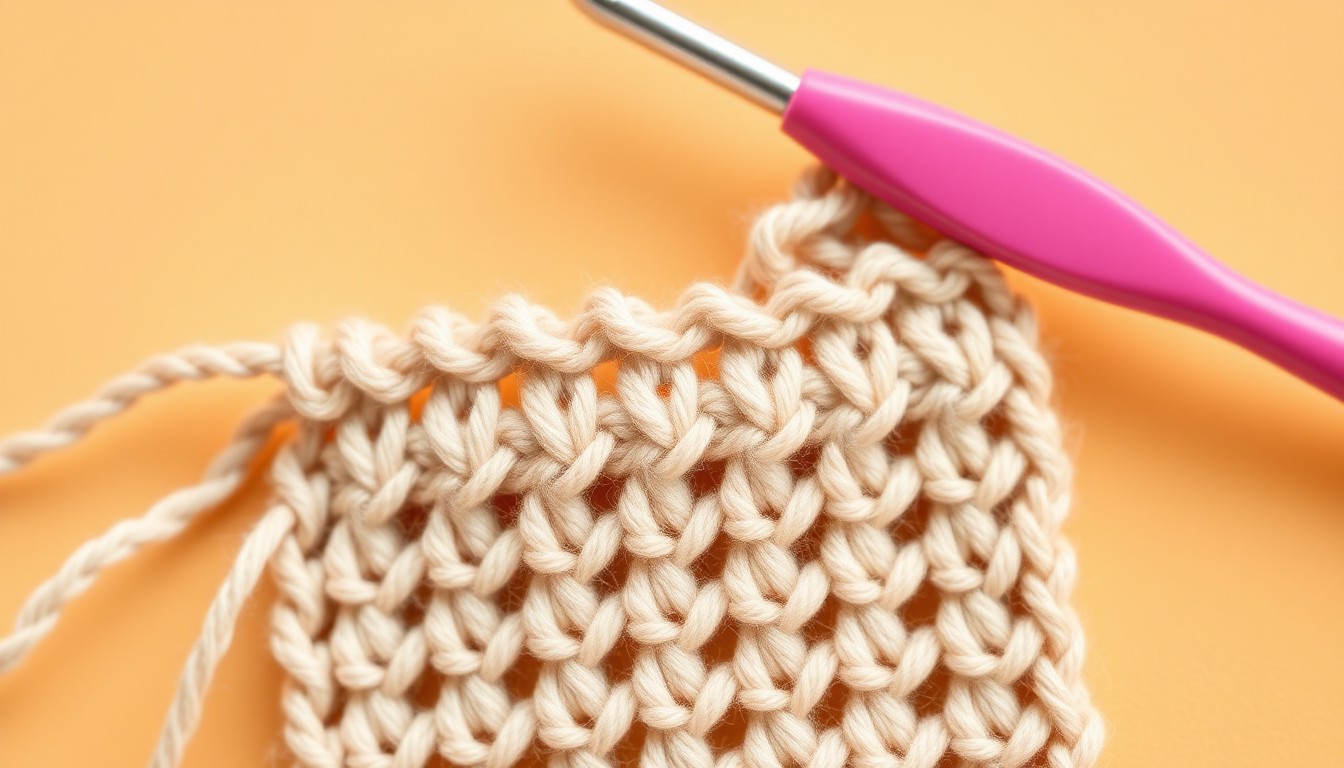
8) Use yarn that shows your stitches (at least while you’re learning)
Textured yarns can be beautiful, but they hide the structure of stitches. If you can’t clearly see your stitch anatomy, it’s harder to count, harder to fix mistakes, and harder to keep edges clean.
For beginners, choose a yarn with clear stitch definition. Once your hands feel confident, you can experiment with fuzzy yarns, multi-strands, and novelty textures.
9) Make your color changes look intentional
Messy color changes can make a project look unfinished. Clean color changes make it look designed.
A reliable method: change color on the last yarn-over of the last stitch before the new color begins. That way the final “pull through” is the new color, and you avoid a little stripe of the old color sneaking into the new section.
This matters a lot for granny squares and striped scarves. If you’re making squares, you can practice color changes while you learn how to make a granny square.
10) Learn the difference between joined rounds and continuous rounds
Many patterns in the round use one of two systems:
- Joined rounds: you end each round with a join (often a slip stitch), then begin the next round.
- Continuous rounds (spiral): you keep crocheting without joining; a stitch marker shows where the round starts.
Using the wrong system can create a visible seam, make stitch counts drift, or change the shape. If a pattern says “join,” join. If it says “do not join, work in continuous rounds,” use a marker and keep going.
11) Start in the round cleanly: magic ring vs chain ring
When you start projects like hats, amigurumi, or granny squares, the center start shows. A loose center hole can look less polished—especially in amigurumi where stuffing peeks through.
The crochet magic ring is a method that lets you tighten the center closed. If you dislike it at first, that’s normal. It feels awkward until your hands learn the motion, but it’s worth practicing because it makes round starts look much neater.
12) Take a “finisher’s pause” before you call it done
Professional-looking crochet often comes down to what you do in the last 10 minutes. Before you cut the yarn and put everything away, pause and do a quick quality check:
- Are the edges straight?
- Are the ends woven in securely (and hidden on the wrong side)?
- Does it need blocking to lay flat?
- Are seams and joins consistent?
This is the difference between “I made something” and “I made something that looks finished.”
A quick “polish checklist” (save this for every project)
If you want your work to look expensive, repeat these habits:
- Choose a hook size that gives clean stitch definition.
- Use markers to protect stitch count at edges and in rounds.
- Keep loop height consistent for even tension.
- Weave ends back and forth and change direction.
- Block motifs and wearables.
And if you’d like a project that teaches a lot of these skills at once, granny squares are perfect. Start with How to Make a Granny Square, then pick a project from Free Patterns.
Bonus crochet tips (small details that make a big visual difference)
The tips above are the big, high-impact upgrades. The ones below are smaller, but they’re often what separates a “good” project from a “wow, did you buy that?” project.
13) Keep your turning method consistent
When you crochet in rows, you turn at the end of each row. That turning moment is where a lot of edge issues begin. Some patterns use turning chains (ch 1 for sc, ch 2 for hdc, ch 3 for dc). Other patterns use alternatives like a chainless turning stitch or a standing stitch.
You don’t need to master every method. For a polished look, pick the method the pattern recommends and do it the same way every row. If you change methods mid-project, you can get uneven edges and visible “steps.”
14) Use a border to “frame” beginner edges
A simple single-crochet border can hide small inconsistencies and make a piece look intentional. This is especially helpful for blankets and washcloths. Work evenly around the edge, add extra stitches in corners (usually 3 sc in each corner), and keep the tension relaxed so the border doesn’t curl.
15) Prevent yarn splitting (and the messy look it creates)
Yarn splitting happens when your hook catches only part of the yarn plies instead of the whole strand. It can make stitches look fuzzy and uneven. To reduce splitting:
- Use a hook with a smoother head (some hooks catch yarn more than others).
- Slow down on the “insert hook” step and aim for the center of the stitch.
- If a yarn splits constantly, consider switching yarn—some are just split-prone.
16) Make your slip stitches neat (they’re more visible than you think)
Slip stitches are often used for joining rounds or moving into position. If your slip stitches are too tight, they can pucker the fabric. If they’re too loose, they can look like sloppy loops.
A good rule: make slip stitches at the same tension as your normal stitches, and don’t yank them tight “to be secure.” Security comes from weaving ends, not from over-tight slip stitches.
17) Control your yarn twist and keep the strand feeding smoothly
Sometimes uneven tension isn’t your hands—it’s the yarn twisting or snagging. If your yarn ball rolls under the couch or the strand catches on something, your tension changes without you noticing. Keep the yarn feeding smoothly (a yarn bowl helps, but a simple container works too), and occasionally let your work dangle so the yarn untwists.
18) Learn to “frog” without frustration
Frogging means ripping out stitches. Beginners often avoid it and try to “fix” everything while continuing forward, which usually makes the fabric look messy. Frogging is not failure—it’s a normal part of crochet.
If you spot a mistake that changes the shape (missing a stitch, wrong corner, wrong increase), it’s often faster to frog back to the mistake and redo it cleanly than to patch it later.
19) Secure magic ring tails properly
The magic ring start looks clean, but it needs good finishing. After you tighten the ring, crochet a few more rounds, then weave the tail back and forth firmly on the wrong side. This prevents the center from loosening over time—especially for toys and hats. If you’re learning this technique, follow Crochet Magic Ring for the full step-by-step.
20) Wash and care matters (and affects the “expensive” look)
Even perfect stitches can look tired if the piece is washed poorly. Check your yarn label for washing instructions. As a general rule:
- Acrylic often washes well on gentle cycles and can be reshaped while damp.
- Cotton can relax and stretch; reshape and dry flat if needed.
- Wool can felt if agitated; hand-wash when in doubt.
Good care keeps edges crisp, fabric smooth, and wearables fitting well.
Blocking methods (wet block vs steam block) and when to use each
Blocking sounds fancy, but it’s just shaping your crochet so it dries in the shape you want. Different fibers respond differently, so choose the method that matches your yarn.
- Wet blocking: soak or thoroughly dampen the piece, gently squeeze out water (don’t wring), shape and pin, then dry. Great for cotton and wool (follow yarn care instructions).
- Spritz blocking: mist lightly with water, shape and pin, then dry. Good for small motifs like granny squares.
- Steam blocking: hover steam above the fabric (don’t press hard), shape and pin, then let cool. Useful for acrylic, but use gentle heat—too much can “kill” the fiber and permanently change texture.
If you’re unsure, start with spritz blocking. It’s low-risk, and it often gives enough improvement to make corners crisp and edges straight.
FAQ: Crochet tips
Does blocking really matter for simple projects?
It depends on the project. For dishcloths and simple scarves, blocking can help but it’s not always essential. For granny squares, lace, and wearables, blocking makes a big difference in shape, drape, and overall polish.
Why do my stitches look uneven even when I’m using the same yarn?
Uneven stitches are almost always tension-related. Focus on consistent loop height and try not to pull the working yarn tighter on some stitches than others. Also check that you’re inserting the hook into the same part of the stitch each time.
What’s the fastest way to make my crochet look more professional?
Weave in ends neatly and block when needed. Finishing steps have an outsized impact on how polished a project looks.
Should I size down my hook to make crochet look tighter?
Sometimes, yes—but only if your fabric still has good drape and your hands don’t strain. If going down makes the fabric stiff or painful to crochet, the “professional” look won’t be worth it. Try a small swatch and compare.
Where should I go next if I’m still a beginner?
Start with Crochet Patterns for Beginners and the Beginner Crochet hub. Then practice one classic technique like Crochet Magic Ring or How to Make a Granny Square.
Related guides on KnotToYarn
More tutorials and patterns to keep going:
Next steps
- New here? Go to Start Here.
- Build skills at Beginner Crochet.
- Pick a beginner project from Free Patterns.
- Try a classic: browse Granny Squares.
One last reminder: your work doesn’t have to be perfect to be beautiful. But if you apply just a few of these crochet tips—counting, consistent tension, and good finishing—your projects will look noticeably more polished, faster than you expect.
Crochet Tips tips
This quick section keeps the article focused on crochet tips while giving the reader one more practical checkpoint.