Crochet Plant Pot Cover: 7 Ideas + a Free Ribbed Cozy Pattern
Quick Answer
A crochet plant pot cover is a handmade sleeve or cozy that fits around a potted plant to add texture, color, and personality to your indoor garden. These covers are simple to make, even for beginners, if you are new to crochet, our crochet patterns for beginners are a great starting point, and they protect pots from scratches while letting excess moisture escape. You only need basic stitches, a few skeins of yarn, and the right pot measurements to get started.
Tip: Always measure your pot circumference at its widest point before starting your crochet plant pot cover project.
At a Glance
- Skill level: beginner to intermediate
- Time needed: 1-3 hours per cover
- Best yarn: cotton or cotton-blend worsted weight
- Hook size: 5.0 mm (H) to 6.0 mm (J)
Common Mistakes → Quick Fixes
- Cover is too tight around the pot: Add 2-3 more increase rounds or switch to a larger hook size.
- Cover stretches and sags after watering: Use cotton yarn instead of acrylic for your crochet plant pot cover, it holds shape better around damp pots.
- No room for drainage: Leave the bottom open or chain fewer stitches in the base round so water can drain freely.
Mini Glossary
SC (single crochet), HDC (half double crochet), DC (double crochet), CH (chain), SL ST (slip stitch), MR (magic ring), FO (fasten off), BLO (back loop only), FLO (front loop only)
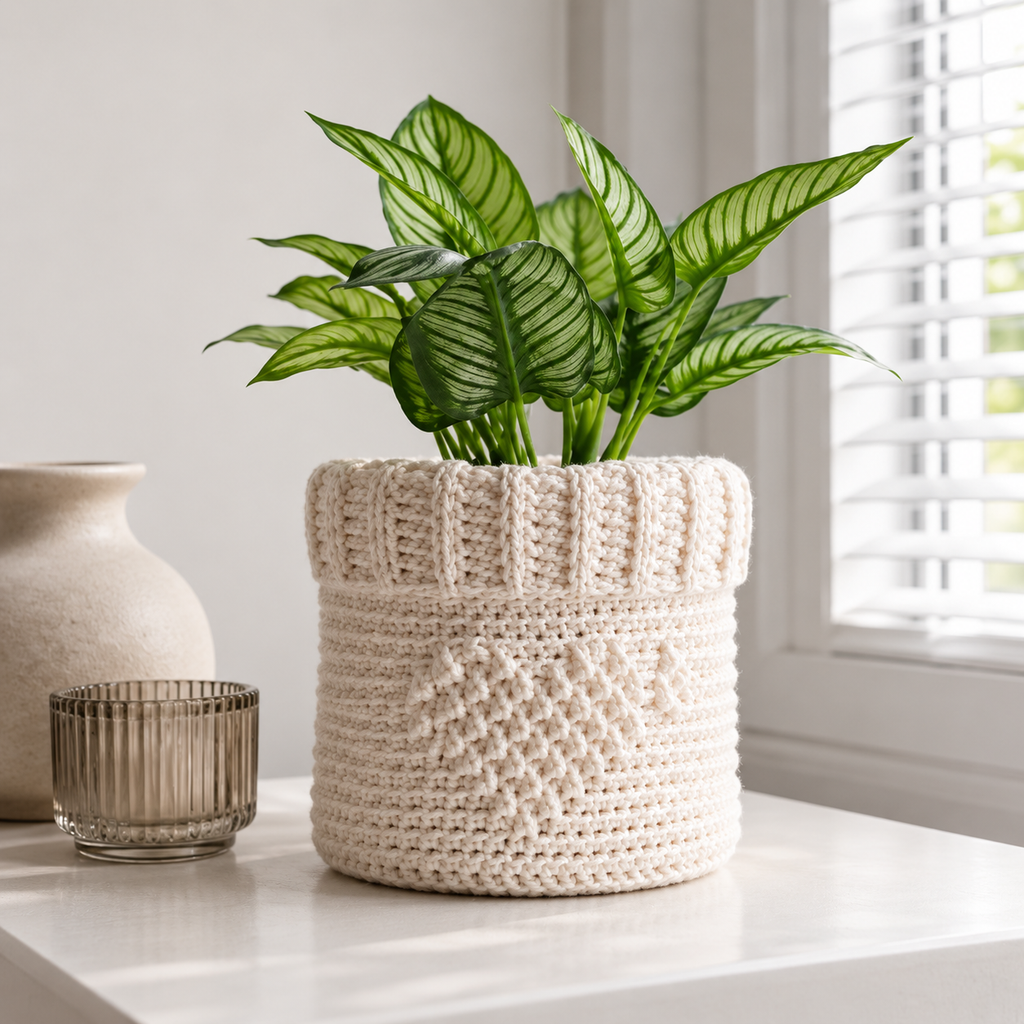
Featured Free Pattern: Ribbed Plant Pot Cover
This is KnotToYarn’s own original pattern, free to use, and you’re welcome to sell what you make from it.
This pot cozy fits a standard 10 cm (4 in) nursery pot, the size supermarket herbs and most houseplants come in. A flat circle base, textured ribbed sides, and a fold-over rim. The ideas below restyle the same cylinder seven ways.
Materials
- Worsted weight cotton or jute-blend yarn, about 50 g
- 4.5 mm (US 7) crochet hook
- Stitch marker, yarn needle, scissors
Finished size: Fits pots 10 cm (4 in) in diameter and up to 10 cm tall; sizing notes included for bigger pots
Skill level: Beginner
Abbreviations (US terms): ch (chain), sc (single crochet), dc (double crochet), inc (2 sc in one stitch), sl st (slip stitch), BLO (back loop only), FPdc/BPdc (front/back post double crochet, worked around the post of the stitch below)
Instructions

The Base (a flat circle, worked in joined rounds)
Round 1: 6 sc in a magic ring, sl st to join: 6 sts.
Round 2: Ch 1, inc in each st around, join: 12 sts.
Round 3: Ch 1, (sc 1, inc) around, join: 18 sts.
Round 4: Ch 1, (sc 2, inc) around, join: 24 sts.
Round 5: Ch 1, (sc 3, inc) around, join: 30 sts.
Round 6: Ch 1, (sc 4, inc) around, join: 36 sts. The circle should now match your pot’s base, about 10 cm. (Bigger pot? Keep increasing 6 sts per round until it matches, and carry the larger count up the sides.)
The Sides
Round 7: Ch 2, dc in the BLO of each st around, join: 36 dc. Working this one round in BLO turns the fabric upward at a clean right angle.
Round 8: Ch 2, *FPdc around the next st, BPdc around the next st; repeat from * around, join, ribbing made.
Rounds 9-13: Repeat Round 8, always working FPdc over FPdc and BPdc over BPdc. Stop one round above your pot’s rim.
Round 14: Ch 1, sc in each st around, join.
Finishing
Fasten off and weave in the ends. Slide the pot in and fold the top sc round outward over the rim. If your pot drains into a saucer, stop the cozy one round lower so it never wicks water. Natural fibers like cotton and jute tolerate the occasional splash; just let the cozy dry fully before returning the pot.
Made this? We’d love to show off your work, send a photo through our contact page and we’ll feature it here with credit to you.
Tip: Make the cozy 1 cm narrower than the pot and let it stretch on. A snug cozy looks tailored; a loose one slides down and bunches within a week.
A crochet plant pot cover is one of the most rewarding home decor projects, and it only takes a few hours start to finish. Hide a chipped terracotta pot, match your plant display to your room’s colors, or make a gift for a plant-loving friend, a cover adds warmth and texture a store-bought sleeve can’t match. This guide has seven patterns for every room, plus pot-size charts, drainage tips, and yarn recommendations.
Why Every Plant Parent Needs a Crochet Plant Pot Cover?
If you have ever moved a heavy ceramic pot across a wooden table and noticed scratches afterward, you already understand the practical value of a cover. These covers act as a protective barrier between rough pot surfaces and delicate furniture. But they do much more than that, they turn ordinary nursery pots into stylish decor pieces that complement your interior design beautifully.
Unlike plastic or glass pot sleeves, a handmade cover is breathable. This matters because plants release moisture through their pots, and trapped condensation can lead to root rot. Cotton and natural-fiber covers let air circulate, which keeps your plants healthier. Plus, you can customize every detail of your cover: the color, the stitch pattern, the height, and even add decorative elements like fringe, tassels, or pom-poms.
If you are brand new to crochet, our beginner crochet guide covers all the foundational skills you need. For yarn selection, check out our recommendations for the best yarn for beginner crochet projects.
Pot Size Chart for Crochet Plant Pot Covers
Getting the fit right is the most important step when making a cover. Use the chart below to match your pot to the correct base-chain count and estimated height. Always measure the top rim diameter and the height of your pot before you begin your cover.
Standard Pot Sizes and Chain Counts
- 2-inch mini pot (succulents): Base chain 24 stitches, height 2.5 inches, well suited to desk accents and windowsills.
- 4-inch small pot (herbs): Base chain 32 stitches, height 4 inches, great for kitchen herb gardens.
- 6-inch medium pot (pothos, ferns): Base chain 42 stitches, height 5.5 inches, ideal for shelves and side tables.
- 8-inch large pot (monstera, snake plant): Base chain 54 stitches, height 7 inches, a statement piece for the floor.
- 10-inch extra-large pot (fiddle leaf fig): Base chain 66 stitches, height 8.5 inches, bold and beautiful for corners.
Pro tip: crochet your base chain, wrap it around the pot, and check the fit before joining. It is much easier to adjust at this stage than after you have completed several rounds of your cover. For the most accurate gauge, review our single crochet stitch tutorial to ensure consistent tension throughout.
Best Yarn for a Crochet Plant Pot Cover
Not all yarns perform equally well around plants. Because pots can get damp from watering and condensation, you need a fiber that handles moisture without stretching, fading, or developing odors. Here are the top choices for your next crochet plant pot cover project.
Cotton yarn is the gold standard for plant cozies. It absorbs moisture without losing its shape, it is machine washable, and it comes in every color imaginable. Worsted-weight cotton (like Lion Brand 24/7 Cotton or Bernat Handicrafter) works up quickly and creates a sturdy fabric that stands up on its own. According to the Craft Yarn Council, cotton is also one of the most hypoallergenic fibers available, which is great if you have pets or allergies.
Cotton-blend yarns (cotton-acrylic or cotton-bamboo mixes) offer a softer feel while maintaining decent moisture resistance. They are a good choice if you want a slightly draped look for larger crochet plant pot cover designs.
T-shirt yarn works well for oversized pots. It creates chunky, modern covers that work up fast and give a boho aesthetic to any room. Because it is made from recycled cotton jersey, it is also an eco-friendly choice for your crochet plant pot cover collection.
Avoid 100% acrylic yarn for pot covers. Acrylic stretches when wet, holds moisture against the pot, and can mildew over time. Save your acrylic stash for amigurumi, blankets, and wearables instead of using it for a design.
7 Stunning Crochet Plant Pot Cover Patterns
Now that you know the basics, here are seven beautiful patterns for every room in your home. Each cover uses a different stitch combination so you can build your skills while creating something useful and gorgeous.
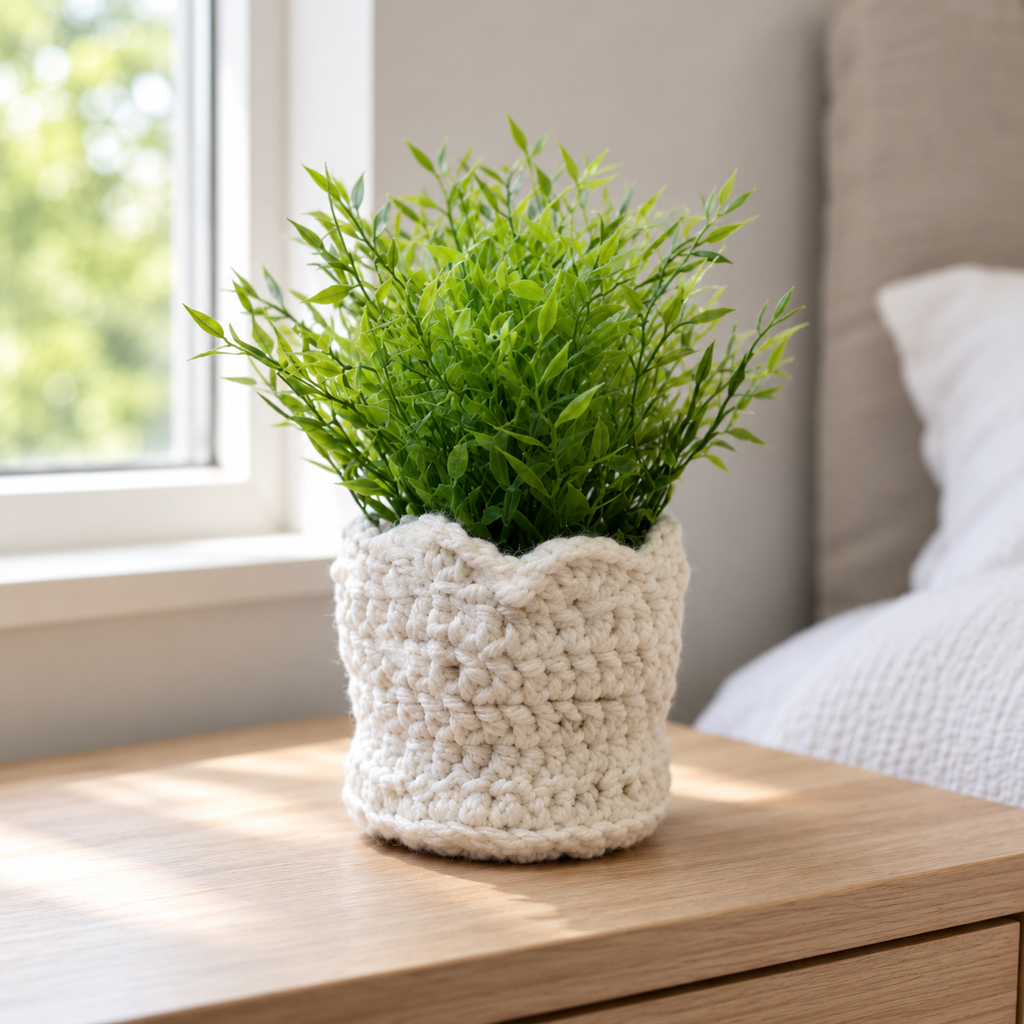
1. Simple SC Cozy: Beginner-Friendly Kitchen Herb Cover
This pattern uses nothing but single crochet (SC) stitches worked in the round, making it the perfect first project. The dense, even fabric provides excellent pot coverage, and you can finish a 4-inch cover in about an hour. Simply chain 32, join with a slip stitch, and work continuous SC rounds until you reach the desired height. Add a scalloped edge at the rim by working 3 DC into every other stitch of the final round of your cover.
This pattern looks especially charming in earthy greens, warm terracotta, or creamy white, colors that echo a natural garden aesthetic. If you need a refresher on the foundational stitch, our single crochet stitch guide walks you through every step with clear instructions.
2. Textured HDC Basket Weave Cover: Living Room Statement
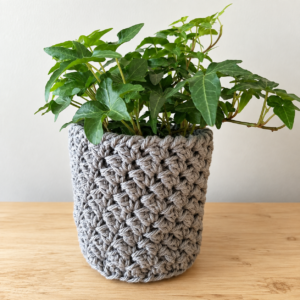
The half double crochet (HDC) stitch creates a slightly taller, more textured fabric than SC, and it works beautifully for basket-weave patterns. Alternate front-post and back-post HDC stitches across every round to produce a rich, ribbed texture that looks like woven wicker. This design works best on 6-inch to 8-inch pots, and the thick walls make it stiff enough to stand on its own even without a pot inside.
Try neutral tones like beige, charcoal, or sage green for a modern living room display. The basket weave texture adds depth and visual interest to your cover without overwhelming your existing decor.
3. Granny Square Join Cover: Boho Bedroom Accent
If you already love making granny squares, this pattern is a natural next project. Crochet a long strip of joined granny squares (enough to wrap around your pot circumference), then seam the edges together. Leave the bottom open for drainage. The colorful, geometric look suits a bohemian-style bedroom or a creative studio space.
Use 2 to 3 rounds per square for smaller pots, and 4 to 5 rounds for larger ones. Choose a cohesive color palette, earthy tones, ocean blues, or sunset pastels, so the finished crochet plant pot cover looks intentional rather than chaotic.
4. Ribbed Cabled Cover: Office Desk Upgrade
Crochet cables are easier than they look and they add an elegant, professional touch to any cover. Work this pattern in the round using a combination of front-post double crochet (FPDC) stitches to create vertical cables that travel down the sides. A 4-inch succulent pot in a cabled cover instantly improves your desk or bookshelf styling.
Stick to a single color, navy, charcoal, or forest green, so the cable texture really pops. This intermediate crochet plant pot cover pattern takes about 2 to 3 hours to complete and makes a wonderful handmade gift for coworkers.
5. Lacey Shell Cover: Bathroom Humidity Hero
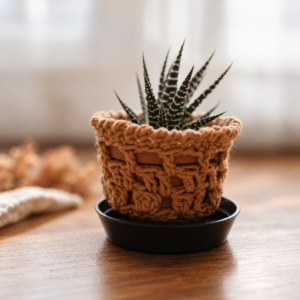
Bathrooms are humid environments, so your design needs to be both moisture-resistant and visually light. A shell stitch pattern (work 5 DC into one stitch, skip 2, repeat) creates an open, airy lace that dries quickly after shower steam. Cotton yarn in soft blues, whites, or lavenders complements spa-like bathroom decor.
This cover is best for plants that thrive in humidity, like ferns, pothos, or air plants. The open stitch pattern also helps with airflow around the pot, reducing the risk of mold or mildew.
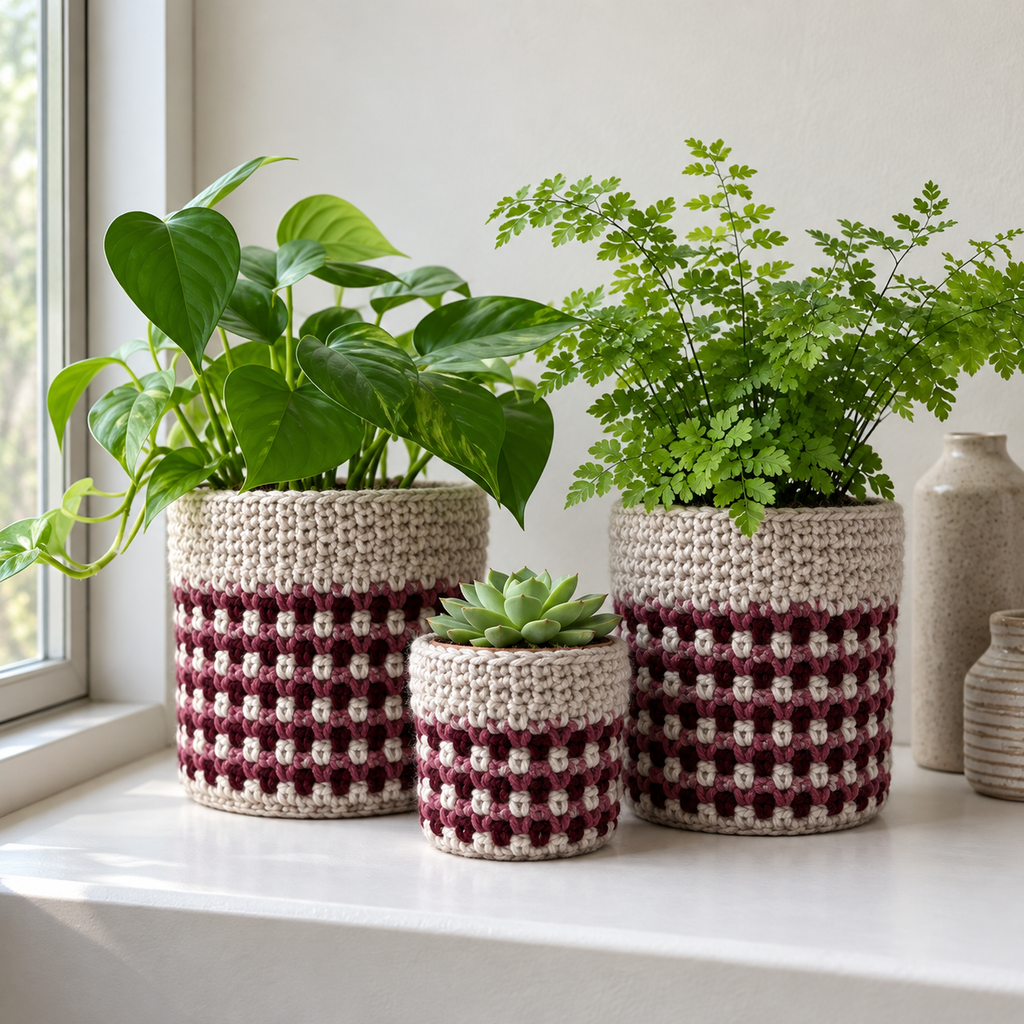
6. Two-Tone Color Block Cover: Kids’ Room Playful Pop
Add a playful splash of color to a child’s room with a two-tone color-block cover. Work the bottom half in one color and switch to a contrasting color for the top half. Use bright, cheerful combinations like coral and mint, yellow and teal, or pink and lavender.
This is a great stash-busting project because each half of the cover only requires about one skein of worsted-weight cotton. Keep the stitch simple, even SC rows look fantastic when the color blocking does the talking.
7. Pocket Planter Cover: Outdoor Patio Charm
For covered patios or sunrooms, try a pocket-style cover with an attached front pocket. The pocket can hold small gardening tools, plant markers, or a mini succulent. Work the main tube in HDC for durability, then create the pocket by chaining a rectangle and sewing it to the front panel.
Outdoor crochet plant pot cover designs benefit from UV-resistant or fade-resistant cotton yarn. Choose colors that complement your patio furniture, terracotta, olive, or charcoal grey are universally flattering outdoors. You can find more inspiration for creative projects on platforms like Ravelry, which hosts thousands of free plant cozy patterns from designers worldwide.
Drainage-Friendly Design Tips for Your Crochet Plant Pot Cover
One of the biggest concerns when placing a cover around a living plant is drainage. If water cannot escape, roots sit in standing moisture and eventually rot. Here is how to design covers that look beautiful without compromising plant health.
First, always leave the bottom open. A closed-bottom cover traps water and creates a swamp-like environment for roots. Your pattern should be a tube or sleeve, not a closed basket. Second, choose cotton or natural fibers that wick moisture away from the pot surface instead of trapping it. Third, consider adding small ventilation holes or an openwork stitch pattern (like shells or mesh) in the lower portion of the cover.
If you are covering a pot that already has a saucer underneath, you can extend the cover to sit just above the saucer line. This prevents the yarn from wicking water out of the saucer and onto your furniture.
How to Care for Your Crochet Plant Pot Cover?
With proper care, a well-made cover lasts for years. Hand wash cotton covers in cool water with mild soap, reshape them while damp, and lay them flat to dry. Avoid wringing or twisting, which can distort the stitches. If your cover gets stained from soil, a gentle scrub with a soft toothbrush and baking soda paste usually does the trick.
For covers displayed in sunny windows, rotate them occasionally to prevent uneven fading. If you notice your cover loosening over time, you can tighten it by gently felting the cotton, wash it in hot water and dry it on high heat (cotton shrinks slightly). Just be sure to test a small swatch first.
Frequently Asked Questions
How do I measure my pot for a crochet plant pot cover?
Use a flexible measuring tape to find the circumference around the top rim of the pot, then divide that number by your stitch gauge (how many stitches per inch you typically crochet) to determine your starting chain count. Also measure the height from the rim to the base so you know how many rounds to work. If your pot tapers toward the bottom, you may need to add a few decrease rounds in the lower section of your pattern so it fits snugly without bunching.
Can I use acrylic yarn for a plant pot cozy?
While you technically can, acrylic yarn is not recommended for a cover because it absorbs and holds moisture against the pot surface, which can lead to mold, mildew, and weakened yarn fibers over time. Cotton, bamboo, or cotton-blend yarns are much better choices because they dry quickly, resist odors, and maintain their shape even in humid environments. If you only have acrylic on hand, consider lining the inside of the cover with a waterproof fabric or using it for artificial plants only.
How do I keep my crochet plant pot cover from stretching?
Stretching usually happens when the yarn gets wet or when the cover is too loose around the pot. To prevent this, use cotton yarn instead of acrylic, work with a slightly tighter gauge than normal, and make sure the design fits snugly around the pot without gaps. If your cover does stretch after watering, hand wash it in warm water and lay it flat to dry, cotton fibers contract slightly when they dry, restoring the original shape.
Do I need to make a base for my crochet plant pot cover?
No, in most cases you should leave the bottom of your cover completely open. An open bottom ensures that water can drain freely from the pot drainage holes, which is essential for healthy root growth. Closed-bottom covers trap moisture and can cause root rot. The cover is designed to slip over the pot like a sleeve, sitting securely around the sides and top rim while leaving the base exposed to the saucer or surface below.
What stitch is best for a beginner-friendly crochet plant pot cover?
The single crochet stitch worked in continuous rounds is the best choice for beginners making their first cover. It produces a dense, sturdy fabric that holds its shape well, and the repeat is simple enough to memorize after just one or two rounds. Once you are comfortable with single crochet, you can try the half double crochet for a slightly taller stitch that works up faster, or experiment with front-post and back-post stitches for added texture without much added complexity.