Crochet Foundation Chain: 7 Easy Steps for Beginners
A crochet foundation chain is the row of linked chain stitches that starts nearly every crochet project. You make a slip knot on the hook, then yarn over and pull through, again and again, to build a strand of connected loops. It’s the first thing to learn before moving on to other stitches and patterns.
Tip: keep your chains a little loose, tight ones are hard to get your hook into on the next row and leave the edge uneven.
What Is a Crochet Foundation Chain?
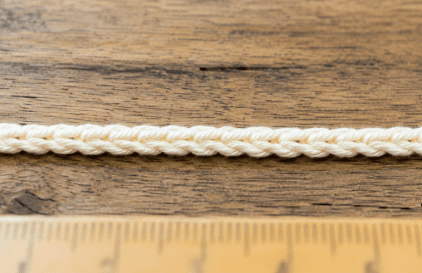
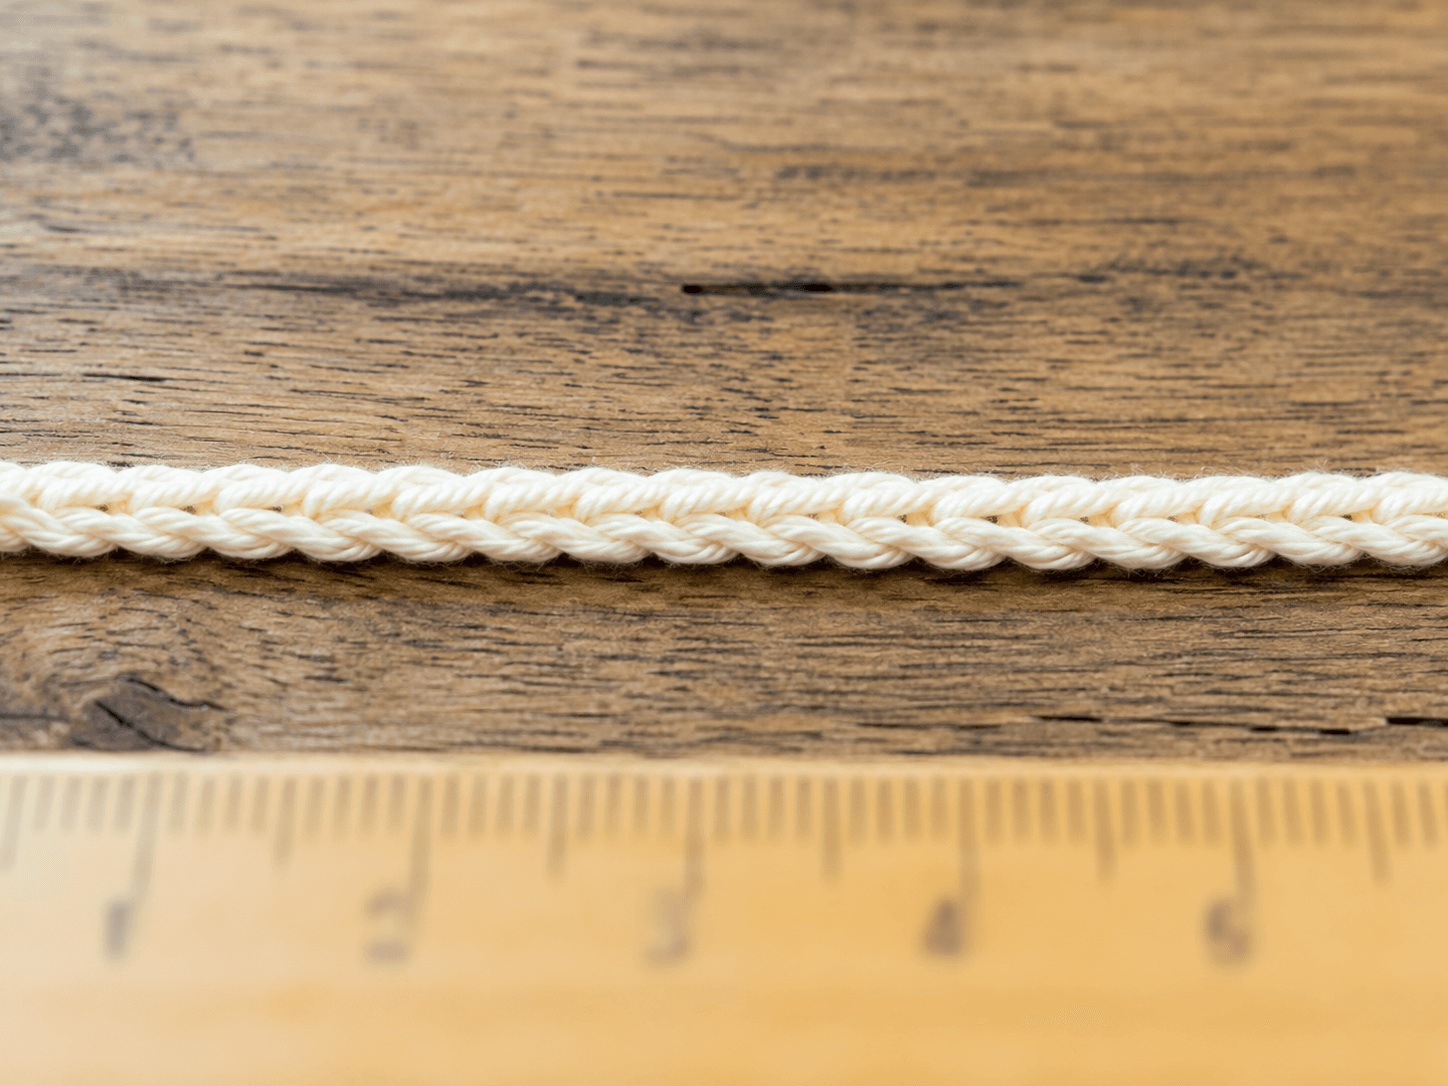
The chain is a row of linked loops that looks a bit like a real chain, each loop counting as one stitch. Lay it out straight for projects worked back and forth, or join it into a ring for working in the round, like granny squares and amigurumi.
It’s one of the very first skills you learn, because it’s the starting edge for blankets, scarves, hats, garments, and most other patterns. Brand new? Our how to crochet for beginners guide covers the basics first.
Unlike knitting, where you cast on, crochet starts with this chain. It feels awkward the first few times, but the repetition builds muscle memory fast, most people are making smooth, even chains within one practice session.
What You Need to Get Started
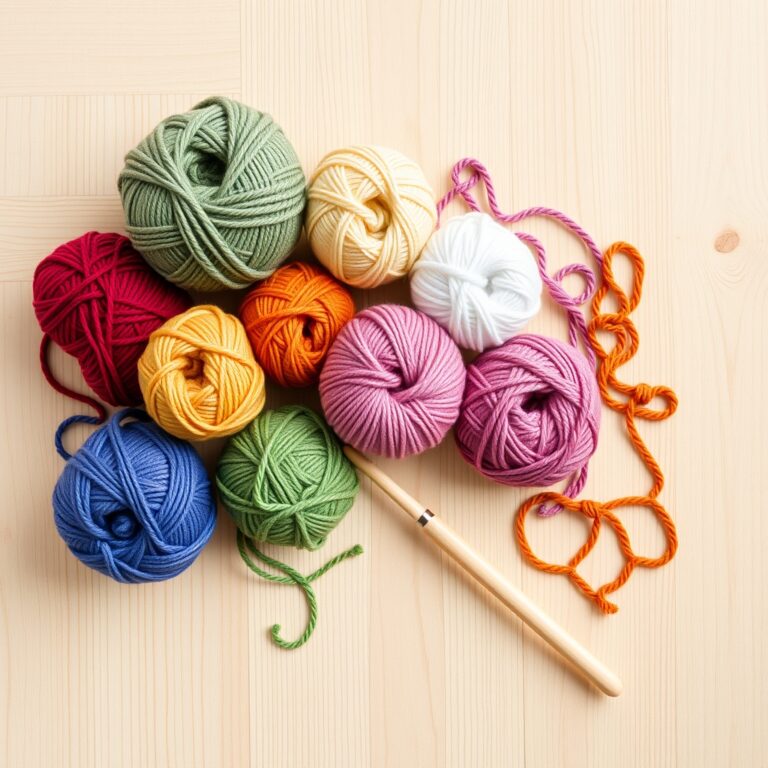
Before you start, grab a few basics: a ball of worsted-weight (size 4) yarn in a light color so you can see the stitches, and a matching hook, usually 5.0 mm (H/8) for worsted. The hook size chart helps if you’re unsure.
If you are just starting out, our guide to the best crochet hooks for beginners covers comfortable ergonomic options that reduce hand fatigue during practice. You may also want to read about choosing the best yarn for beginner crochet to avoid frustrating tangles and splitting while you learn.
Step 1: Make a Slip Knot
Every crochet foundation chain begins with a slip knot. The part of the yarn closest to the ball is called the working yarn, and the short loose end is the tail end. To create the slip knot, wrap the yarn around your hook once, yarn over from back to front, pull the yarn through the loop, and tighten gently. The knot should be able to slide looser and tighter as needed, but not so loose that it slips off the hook.
Practice making slip knots a few times until the motion feels natural. Many beginners struggle with this step at first, but it quickly becomes second nature. If your slip knot keeps falling apart, try holding the tail end more firmly between your thumb and finger while you adjust the loop with your hook hand.
Step 2: Create the First Chain Stitch
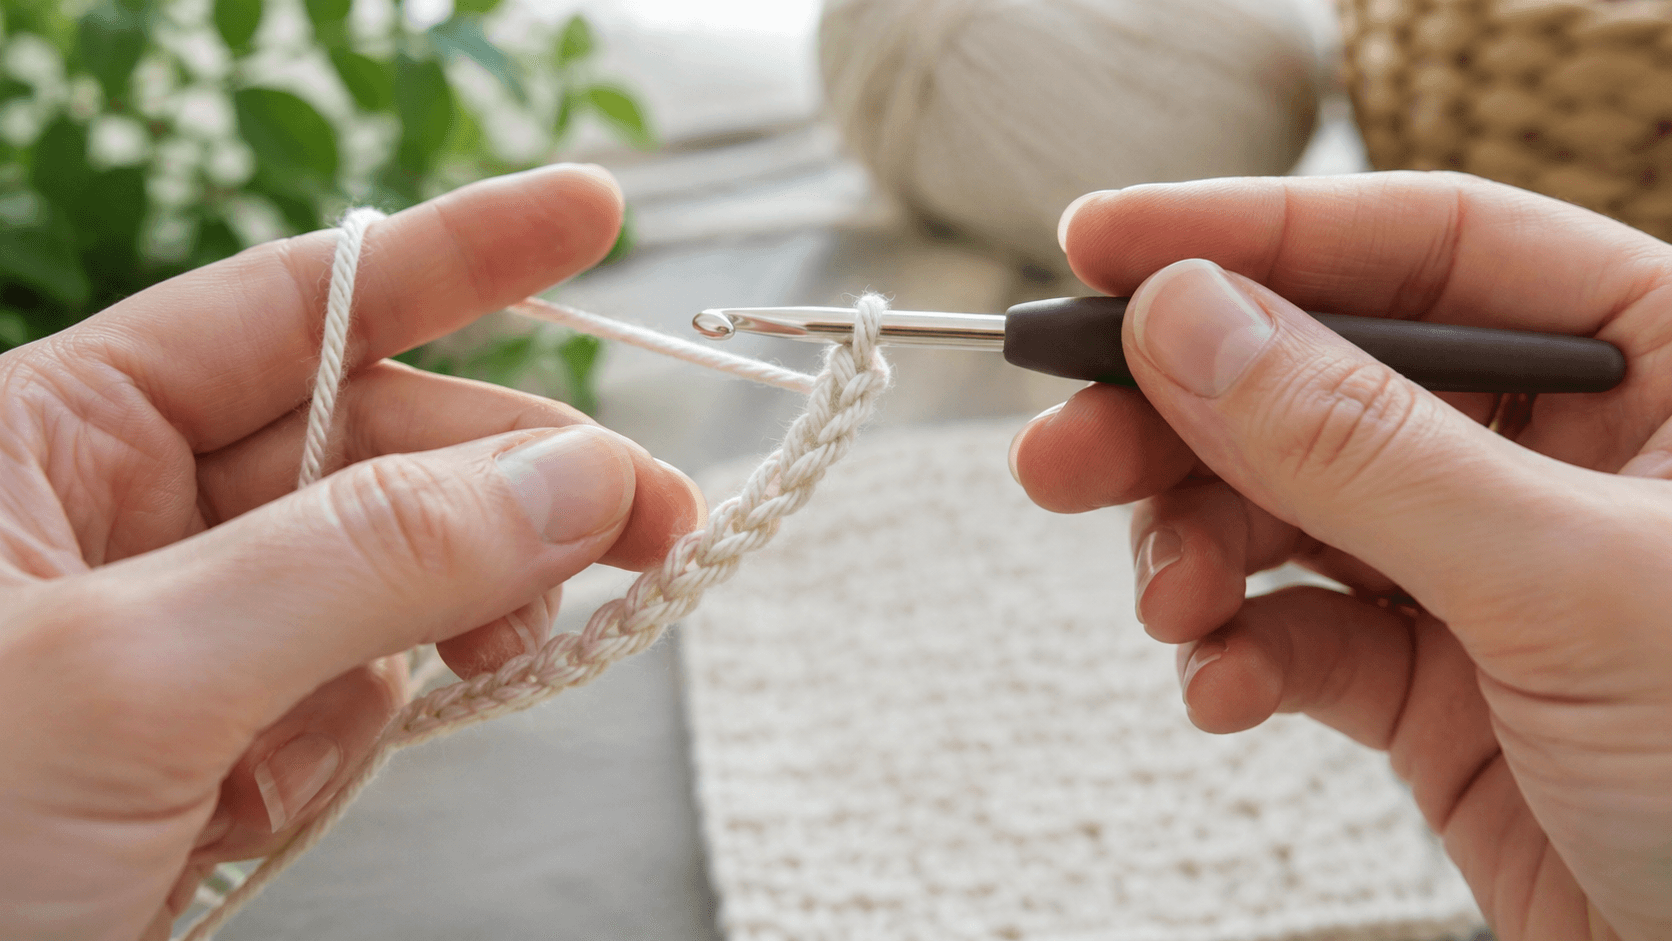
Now wrap the working yarn around the hook from back to front, so the yarn sits to the left of the slip knot (if you are right-handed). Hold the tail end between the thumb and finger of your non-dominant hand to keep things steady. Pull that loop of yarn through the slip knot, and tighten gently by giving the working yarn a slight tug.
That’s your first chain stitch, the loop on the hook should look like a small oval. Don’t pull it too tight; you’ll need to get your hook into these stitches on the next row, so keeping them a little loose makes everything easier.
Step 3: Repeat for More Chain Stitches
Continue the same motion: yarn over from back to front, pull the loop through. Each repetition creates one new chain stitch. Keep going until you have the number of chains your pattern calls for. If a pattern says “chain 30,” you should count exactly 30 loops in your strand, not including the slip knot or the loop on your hook.
As you work, use your non-dominant hand to gently hold the growing chain close to the hook. This helps regulate tension and prevents the chain from becoming too tight or too loose. Consistent tension is one of the most important skills in crochet, so take your time with this step. For more help, read our detailed guide on how to fix crochet tension.
Step 4: Work Into the Foundation Chain
Once the chain’s done, turn your work and start the first row of real stitches. Your pattern says which to use, usually single crochet, double crochet, or half double crochet. You can insert your hook under one strand or both; both give an even edge, but two strands is more secure.
Some crocheters prefer working into the back bump of the chain (the raised strand at the back of each loop) because it creates a very neat and tidy bottom edge. This technique is especially useful for projects where the bottom edge will be visible, such as scarves and blankets. Try both methods with a small swatch to see which you prefer.
Step 5: Count Your Chain Stitches
Counting your chain stitches accurately is essential for every pattern. The most common mistake beginners make is counting the slip knot or the loop on the hook, which throws off the entire stitch count. To count correctly, start with the first chain stitch you made after the slip knot and end with the last chain stitch before the hook. Place a stitch marker every 10 or 20 chains if you are working a long chain, this makes it easy to recount without starting from scratch.
If you lose count, do not panic. Simply lay the chain flat and count the V-shaped loops one by one. With practice, you will be able to chain dozens of stitches while maintaining an even rhythm and perfect count. This skill becomes especially important when you start making larger projects like crochet blankets or scarves.
Step 6: Fix Tight Foundation Chains
A common beginner problem is a chain that comes out too tight, people grip the hook harder on the chain row than they do later. A tight chain pulls the bottom edge in, so the finished piece looks narrowed or curved.
The simplest fix is to use a crochet hook one size larger for the foundation chain, then switch back to your regular hook size for the rest of the project. This creates a slightly looser chain that is much easier to work into. Another approach is to consciously relax your grip while chaining and check the chain periodically by stretching it gently between your hands.
Step 7: Try Foundation Single Crochet
Once the basic chain feels comfortable, try foundation single crochet (FSC). It combines the starting chain and the first row of single crochet into one step, giving a stretchier, more flexible edge, great for garments, blankets, or anything that needs some give. A lot of experienced crocheters prefer it.
FSC takes some practice, but it’s worth it for bigger projects. If your chain always comes out tighter than the rest of your work, FSC fixes that. Pair it with steady tension and your finished pieces look noticeably cleaner.
Tips for Perfect Crochet Foundation Chains
Keep your chains slightly loose. Even, gentle tension matters more than making every stitch identical. If yours come out tight, try a different grip, some people use a pencil hold, others a knife hold. Use whatever feels natural.
It also helps to make a small tension swatch before a new project: chain 20, work a few rows, and measure. If the chain edge is narrower than the rest, use a bigger hook for the chain row, that little check can save you from frogging hours of work. More help in our guides on uneven edges and curling.
The crochet abbreviations for beginners guide is another essential reference that will help you read any pattern with confidence. Understanding common abbreviations like CH, SC, DC, and HDC makes it much easier to follow written instructions and create beautiful projects from day one.
For standards on yarn weights, hooks, and terms, the Craft Yarn Council is the go-to reference. And you can practice on more beginner patterns right here.
Once you master the chain, learn the differences in our single crochet vs double crochet guide. The foundation chain is essential for textured stitches like those in our bobble stitch crochet tutorial.