How to Weave in Ends in Crochet: 7 Essential Proven Tips
How to Weave in Ends in Crochet at a Glance
- Topic: how to weave in ends in crochet
- Skill level: beginner to intermediate
- Main goal: help the reader secure loose yarn tails neatly and permanently in their crochet projects
- Related topics: crochet tension, finishing techniques, yarn needle, invisible join, blocking crochet
Quick Answer
Learning how to weave in ends in crochet means threading each yarn tail through nearby stitches with a yarn needle so it blends invisibly into the fabric and won’t unravel over time. The best method is to follow the path of the stitches for at least 2 inches, then change direction slightly before trimming.
Tip: Always weave in the direction OPPOSITE to the natural pull of the fabric — this prevents the tail from working its way out.
At a Glance
- Skill level: beginner
- Time needed: 5-10 minutes per project
- Best tool: blunt-tipped yarn needle (tapestry needle)
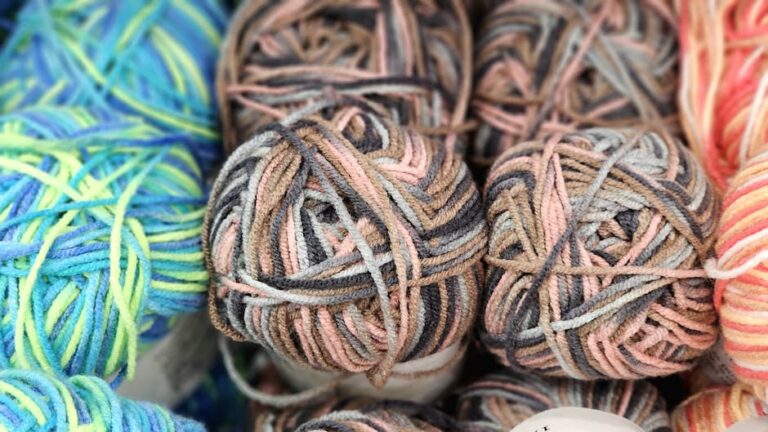
- Yarn types: works with all weights and fiber types
Common Mistakes → Quick Fixes
- Not weaving far enough: Always go at least 1.5-2 inches along the stitch path
- Cutting too close: Leave a tiny tail (1/8 inch) after trimming so it doesn’t pop out
- Weaving in a straight line: Change direction once to lock the tail in place
Mini Glossary
Yarn needle (tapestry needle) — blunt needle with large eye for threading yarn; FO (fasten off) — finishing the last stitch; tail — the loose end of yarn left after cutting; weave — pass yarn through stitches to hide and secure
There comes a moment in every crochet project when you have to face the task that almost every crocheter dreads — dealing with all those loose yarn tails. If you have ever wondered how to weave in ends in crochet without your work unraveling in the wash, you are absolutely not alone. Figuring out how to weave in ends in crochet is one of the most important finishing techniques you will ever learn, and mastering it will take your projects from “homemade” to “handmade” in a matter of minutes. Whether you are a complete beginner or have been crocheting for years, knowing how to weave in ends in crochet properly can make a huge difference in the durability and appearance of your finished pieces. If you are just getting started, be sure to check out our guide on how to crochet for beginners for a solid foundation.
 KnotToYarn
Subscribe to KnotToYarn!
Get the best free crochet patterns, tutorials & tips delivered straight to your inbox. Join our growing community!
Why Weaving in Ends Matters So Much
You might be tempted to just knot your tails and snip them short, but that shortcut almost always leads to problems down the road. When you properly learn For more techniques, also explore Ravelry beginner patterns and Spruce Crafts crochet basics.how to weave in ends in crochet, you are essentially locking the yarn into the fabric so that it cannot escape, even after years of wear and washing. A well-finished piece looks clean and professional on both sides, which matters whether you are gifting a blanket, selling at a craft fair, or keeping it for yourself. Loose tails can snag, pull, and eventually cause your stitches to come undone — and nobody wants that after spending hours on a beautiful project.
According to the Craft Yarn Council, proper finishing is one of the hallmarks of quality needlework. Many crocheters who skip this step later come back asking how to weave in ends in crochet because their finished items started falling apart. Investing a few extra minutes in this step truly pays off in the long run.
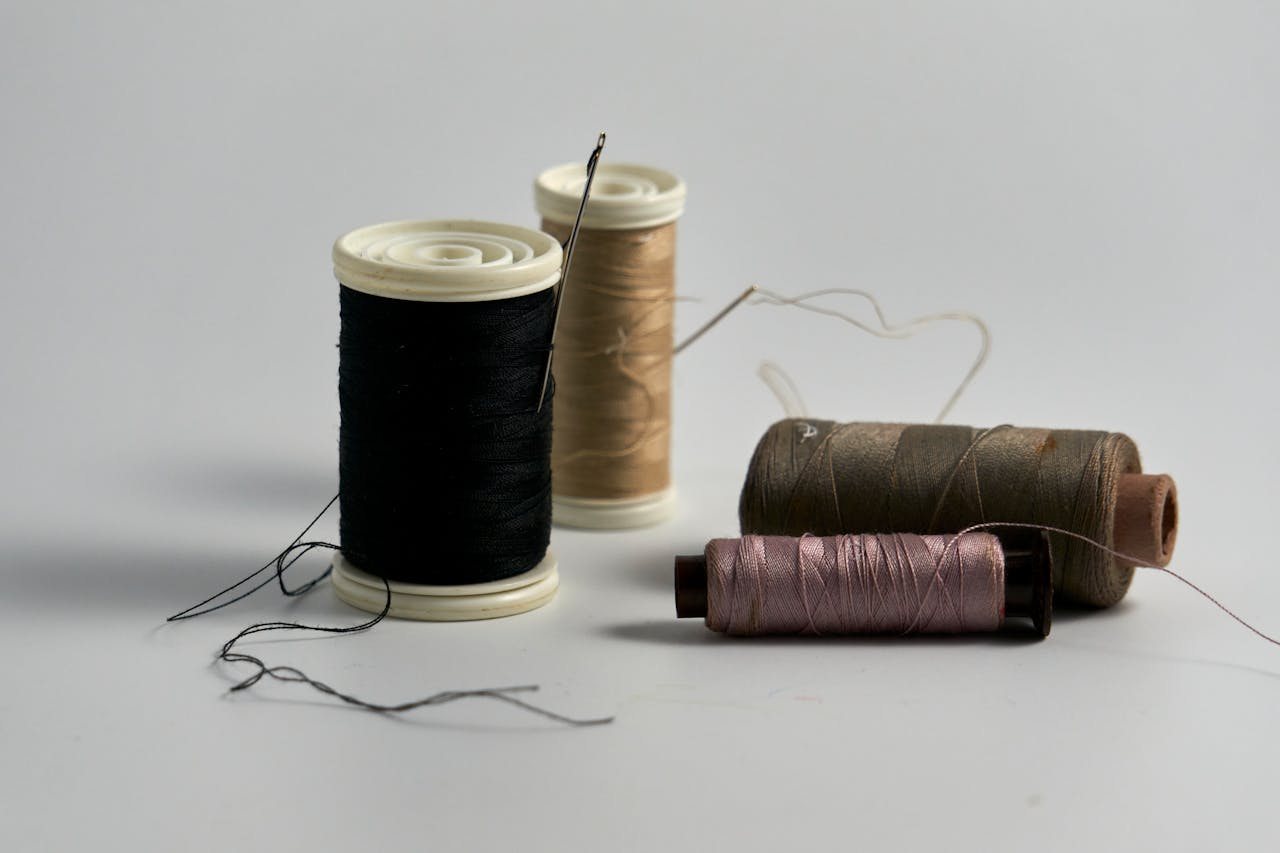
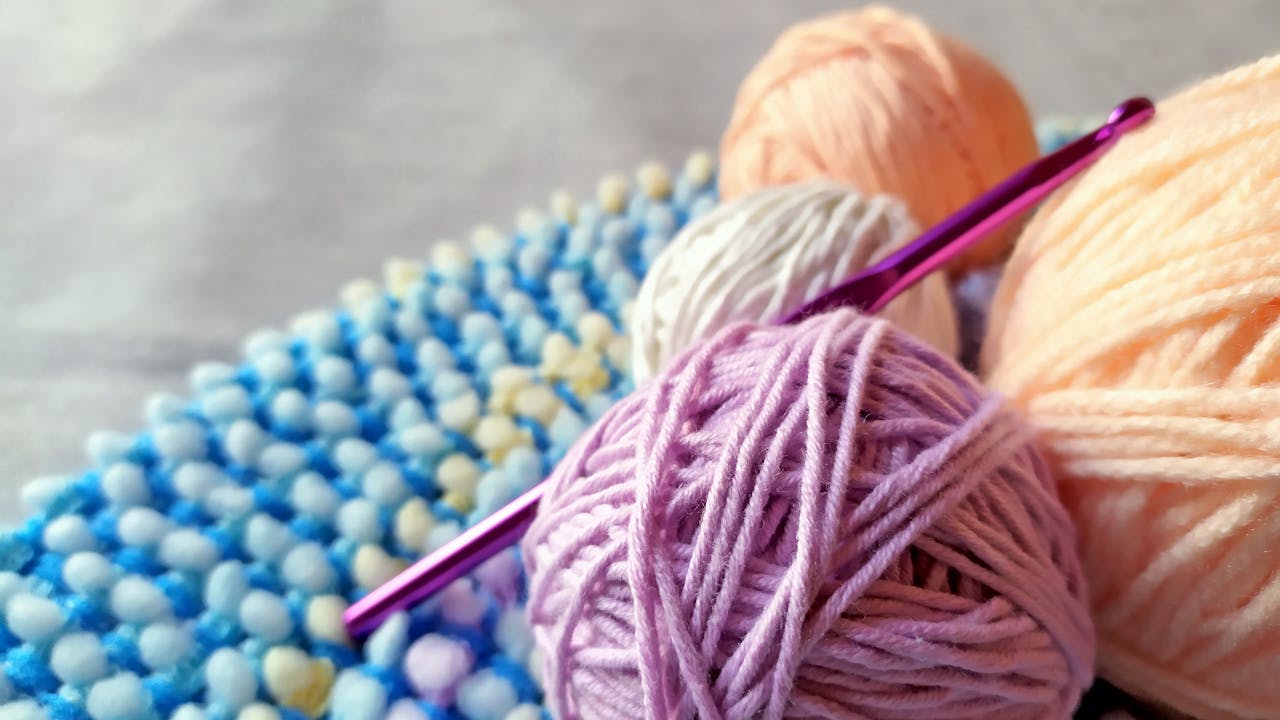
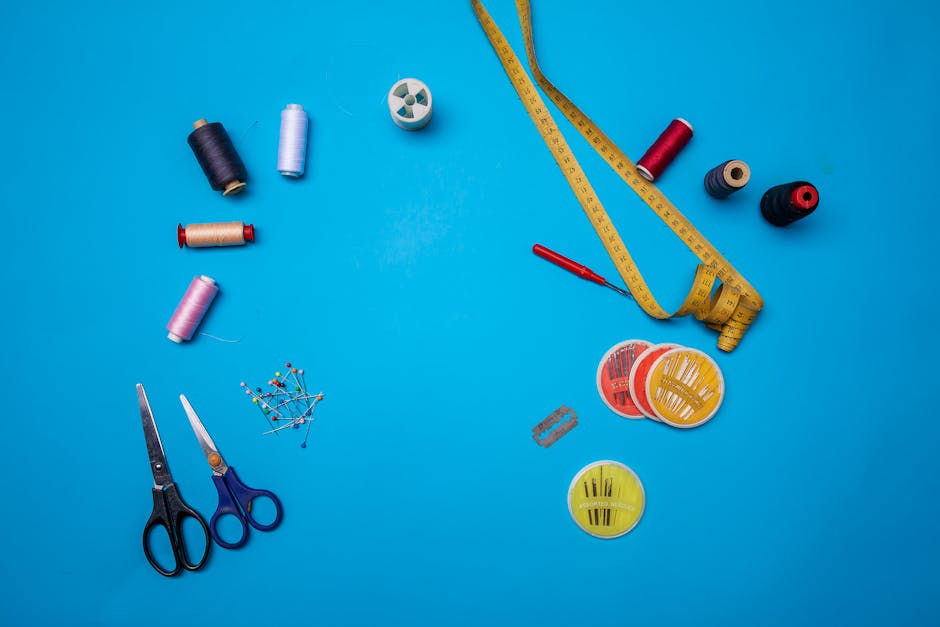
Essential Tools You Need
Before you dive into the technique, it helps to gather the right supplies. Having the correct tools makes the process of learning how to weave in ends in crochet much smoother and more enjoyable. Here is what you need:
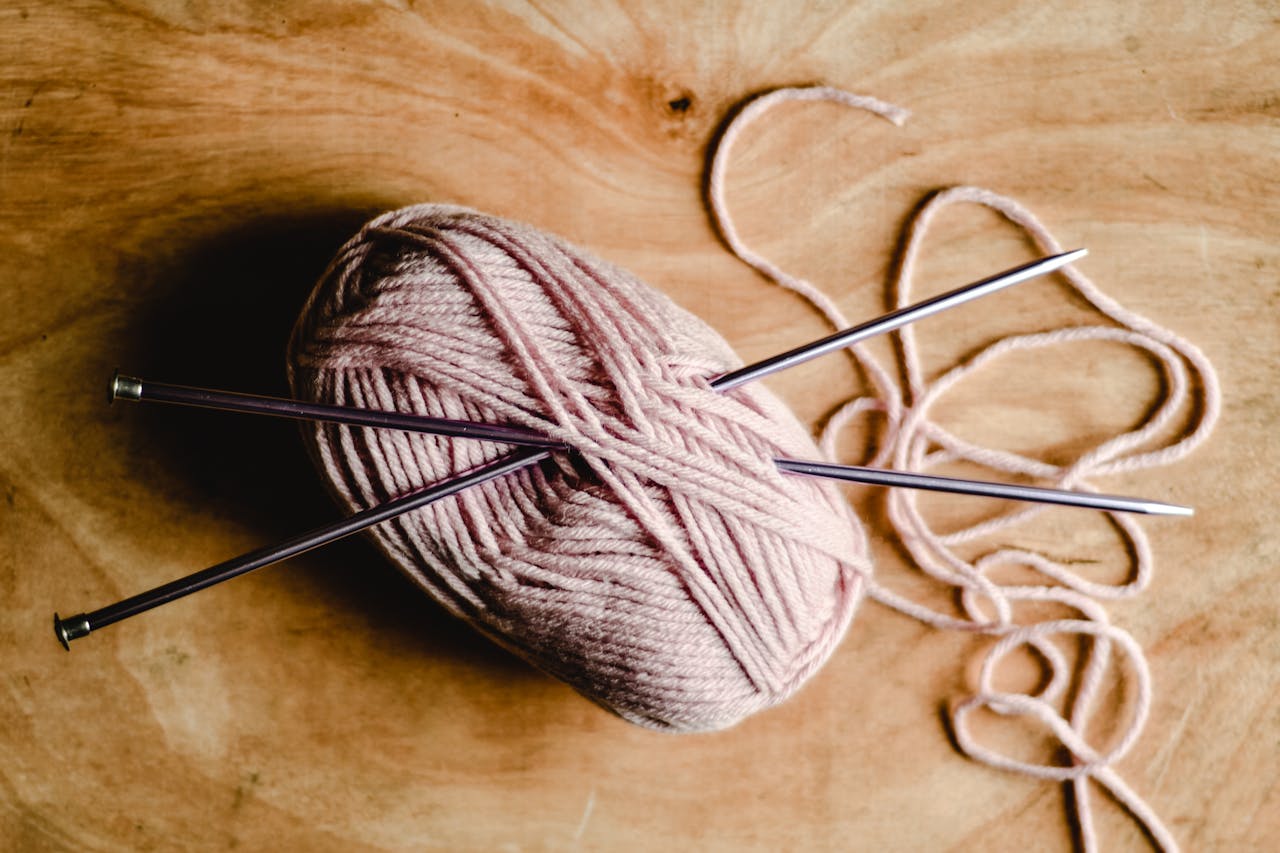
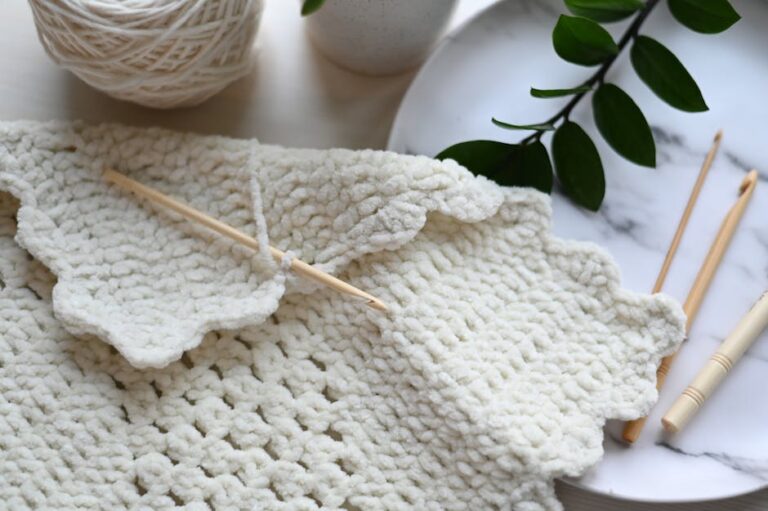
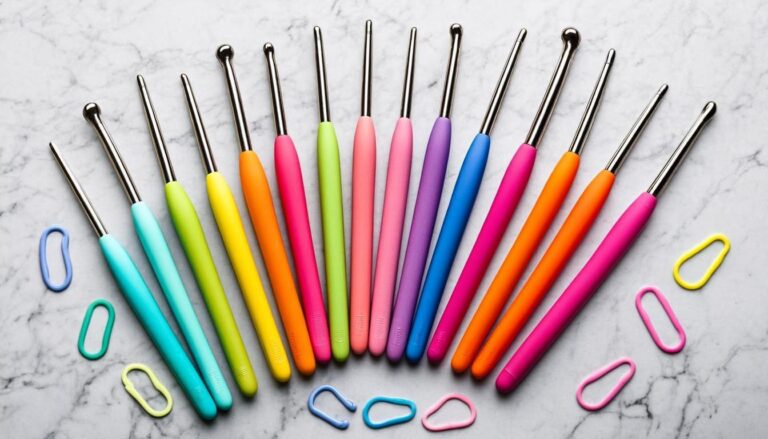
The Yarn Needle (Tapestry Needle)
A blunt-tipped yarn needle is the single most important tool for anyone learning how to weave in ends in crochet. Unlike sharp sewing needles, tapestry needles have a rounded tip that slides between your crochet stitches without splitting the yarn. Choose a needle with an eye large enough to thread your yarn through comfortably. If you work with multiple yarn weights, consider getting a set of needles in different sizes — thinner needles work better with lace and fingering weight yarns, while larger needles handle bulky and super bulky yarns with ease.
Scissors
A sharp pair of small scissors or snips is essential for trimming your tails close to the fabric once you have finished weaving. Embroidery scissors work wonderfully because they are precise and easy to control in tight spaces.
Good Lighting
This might sound obvious, but weaving in ends is detailed work that requires you to see your stitches clearly. Natural daylight or a bright craft lamp makes it much easier to follow the stitch path accurately. If you are working with dark-colored yarn, good lighting is absolutely essential.
How to Weave in Ends in Crochet: Step-by-Step Method
Now let us walk through the most reliable and widely-used method for securing yarn tails. This technique for how to weave in ends in crochet works for virtually any project, from amigurumi to blankets to garments.
Step 1: Thread Your Yarn Needle
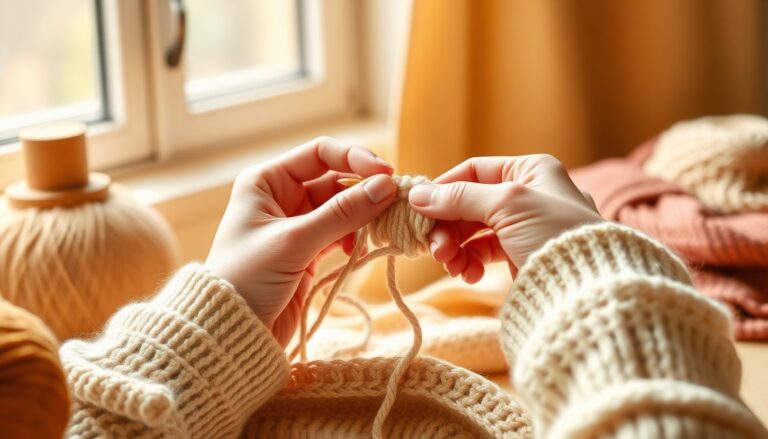
Cut your yarn tail to a length of about 6 inches after fastening off. Thread the tail through the eye of your yarn needle. If you are having trouble threading, try folding the end of the yarn over the needle eye and pinching it tightly, then sliding the folded part through. Some crocheters also find it helpful to use a needle threader. This first step is crucial when you are learning how to weave in ends in crochet.
Step 2: Follow the Stitch Path
Insert your needle into the base of a stitch right next to where your tail emerges. Then, follow the path of the yarn through 3 to 5 stitches, going in the same direction that the stitch naturally flows. This is the key to making your weaving invisible — the tail essentially travels along the same route as the existing yarn. When people ask how to weave in ends in crochet, following the stitch path is always the number one piece of advice.
Step 3: Change Direction
After weaving through several stitches, reverse your direction and go back through a few stitches at a slight angle. This creates a “lock” that prevents the tail from sliding out. When mastering how to weave in ends in crochet, this direction change is the secret ingredient that keeps everything secure. Every tutorial on how to weave in ends in crochet will emphasize this important step.
Step 4: Trim the Tail
Once you have woven the tail through at least 1.5 to 2 inches of fabric with a direction change, snip the yarn close to the surface, leaving about 1/8 of an inch. The tiny remaining tail will tuck inside the stitches as the fabric relaxes. This final trim is the last step in the process of how to weave in ends in crochet successfully.
Alternative Methods Worth Trying
While the yarn needle method is the gold standard, there are a few other approaches worth having in your toolkit for when you want to explore different ways to handle how to weave in ends in crochet.
Crochet Hook Method
If you do not have a yarn needle handy, you can use your crochet hook to pull the tail through several stitches. Simply insert your hook under the loops of nearby stitches, catch the tail, and pull it through. Repeat this for several stitches, then change direction. This method is not quite as neat as the needle method, but it works in a pinch. If you need a refresher on basic stitches, our single crochet stitch tutorial is a great resource.
Spit Splicing (for Wool Yarn)
If you are working with 100% wool or other feltable animal fibers, you can use a technique called spit splicing to join yarn ends without any tails at all. Simply overlap the old and new ends by about 2 inches, dampen them slightly, and rub them together vigorously between your palms. The fibers will felt together into a seamless join. This only works with animal fibers — acrylic and cotton will not splice this way. For those who find traditional methods tedious, exploring how to weave in ends in crochet with spit splicing can be a real game-changer for wool projects.
Invisible Join
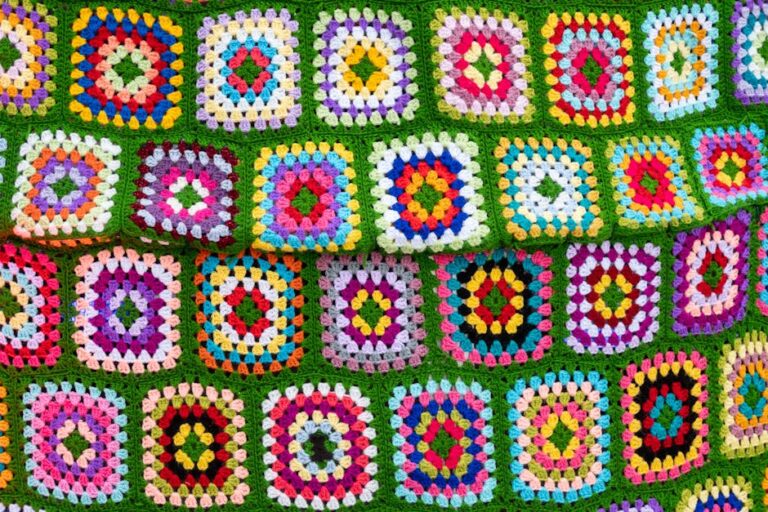
The invisible join is an elegant technique that eliminates the need to weave in one tail at the end of a round. It is particularly useful for projects like amigurumi and granny squares where you want a perfectly smooth finish. The invisible join creates a stitch that looks identical to the surrounding stitches, making it nearly impossible to tell where the round ended.
How to Weave in Ends in Crochet for Different Projects
Different types of projects call for slightly different approaches to finishing. Here is how to adapt your technique based on what you are making.
Blankets and Afghans
Large projects like crochet blankets tend to have many color changes and therefore many tails. For blankets, it is especially important to understand how to weave in ends in crochet securely because the item will be washed frequently. Weave each tail through at least 2 inches of stitches, change direction, and consider going back a second time for extra security. Blankets also benefit from blocking after you finish weaving in all the ends, as this helps set the stitches and further locks the tails in place.
Wearables and Garments
For sweaters, hats, scarves, and other wearables, you want your woven-in ends to be completely invisible since the public side of the fabric will be seen up close. Take extra care to follow the exact stitch path and weave on the wrong side of the fabric. If your project is reversible, weave the tails along a row of stitches where they will blend in on both sides.
Amigurumi and Small Projects
When making amigurumi and small stuffed toys, you will often be working in continuous rounds with frequent color changes. The tails here are typically shorter, and the fabric is denser, which helps hold them in place. Weave each tail through the stuffing area if possible, as the stuffing adds an extra layer of security. You can find more creative ideas for small projects in our easy crochet flower pattern guide.
Common Mistakes to Avoid
Even experienced crocheters make mistakes when finishing their work. Here are the most common pitfalls and how to avoid them when you are figuring out how to weave in ends in crochet.
Not weaving far enough: This is the number one mistake people make when learning how to weave in ends in crochet. If you only weave through one or two stitches, the tail will almost certainly work its way out over time. Always weave through at least 1.5 to 2 inches of fabric. For items that will be washed or worn frequently, go even longer.
Cutting the tail too short immediately: One of the key lessons in how to weave in ends in crochet is patience. Give your woven-in tails some time to settle before trimming. The yarn needs to relax into the fabric. If you cut immediately after weaving, the tail may pop back out as the stitches shift. Wait a few hours or overnight, then trim.
Weaving in the same direction as the fabric pulls: If your fabric naturally stretches in a certain direction (like the vertical stretch of a hat), weave your tails perpendicular to that pull. This prevents the tail from gradually sliding out with repeated stretching.
Using a sharp needle: When researching how to weave in ends in crochet, you will find that sharp needles split your crochet yarn, weakening the stitches and creating a messy look. Always use a blunt-tipped tapestry needle for the cleanest results.
Ignoring the wrong side: Always try to do your weaving on the wrong side (inside) of the fabric. This keeps the front looking clean and professional. If your project is reversible, choose the side that will be less visible.
Tips for Working with Tricky Yarns
Not all yarn behaves the same way when you are practicing how to weave in ends in crochet. Here are some tips for handling challenging fibers.
KnotToYarn
Subscribe to KnotToYarn!
Get the best free crochet patterns, tutorials & tips delivered straight to your inbox. Join our growing community!
Slick yarns (acrylic, silk, bamboo): These fibers are prone to sliding out because they have very little grip. Weave through extra stitches (at least 2.5 to 3 inches) and change direction at least twice. Some crocheters also add a tiny dot of fabric glue at the end for high-stress areas. When you are first learning how to weave in ends in crochet with slippery yarns, it helps to weave back and forth multiple times.
Fuzzy yarns (mohair, angora, eyelash): The fuzziness that makes these yarns so appealing also makes it harder to see where you are weaving. Work slowly and carefully, and use a needle with a slightly larger eye so the yarn does not get damaged during threading.
Dark-colored yarns: It can be extremely difficult to see your stitches in dark yarns like navy, black, and dark brown. Use a bright light source and consider placing a light-colored cloth behind your work for contrast. If you are still choosing yarn for your projects, our guide on the best yarn for beginner crochet can help you pick fibers that are easier to work with.
Blocking and Final Touches
After you have woven in all your ends, blocking is the final step that elevates your project. Blocking involves wetting or steaming your finished piece and pinning it into shape to even out your stitches and set the dimensions. This process also helps your woven-in tails settle firmly into the fabric, making them even more secure. For more on this topic, check out our guide on how to fix crochet tension, which covers blocking in detail.
Once your project is blocked and dry, give it one final inspection. Gently tug on any areas where you wove in tails to make sure nothing is loose. If everything feels secure, congratulations — you have successfully finished your crochet project like a pro. Knowing how to weave in ends in crochet is truly a skill that will serve you for a lifetime of crafting. Every time you complete a new piece and practice how to weave in ends in crochet, you will get a little bit faster and a little bit neater. So grab your yarn needle and get started — your future projects will thank you.
Frequently Asked Questions
What is the best way to weave in ends in crochet?
The best way is to use a blunt-tipped yarn needle to thread each tail through the path of nearby stitches for at least 1.5 to 2 inches, then reverse direction before trimming. This creates a lock that prevents the tail from slipping out over time.
Can I use a crochet hook instead of a yarn needle?
Yes, you can use your crochet hook to pull tails through stitches when you do not have a yarn needle available. However, a yarn needle gives you more control and creates a neater, more invisible finish. It is worth keeping a set of tapestry needles in your crochet bag.
How long should I weave in my ends?
You should weave each tail through at least 1.5 to 2 inches (about 4 to 5 cm) of stitching. For items that will be washed frequently, like blankets and baby items, consider weaving 2.5 to 3 inches for extra security.
Should I weave in ends before or after blocking?
It is generally best to weave in ends before blocking. Blocking helps set the stitches and locks the tails in place more firmly. However, some crocheters prefer to block first so they can see the final stitch placement more clearly. Either order works, but weaving first is more common.
Do I need to weave in ends for every color change?
Yes, every time you fasten off, join a new color, or start a new skein, you will have at least one tail that needs to be secured. Some advanced techniques like spit splicing or the Russian join can reduce the number of tails, but most projects require at least some weaving.
Taking the time to properly weave in your ends ensures your crochet projects look neat and last for years.


