Crochet Gauge: 7 Essential Tips Every Beginner Needs
Crochet Gauge at a Glance
- Topic: crochet gauge
- Skill level: beginner
- Main goal: help crocheters understand and achieve correct gauge for perfectly sized projects
- Related topics: crochet tension, hook sizes, yarn weight, reading patterns
Quick Answer
Crochet gauge is the number of stitches and rows per inch (or 4 inches/10cm) in a crochet swatch. It determines whether your finished project will match the pattern’s intended size. Without matching gauge, a sweater that should fit an adult might end up child-sized, or a blanket meant for a bed could become a throw pillow. At KnotToYarn.com, we always recommend making a gauge swatch before starting any wearable or fitted project.
Tip: Spend 15 minutes on a gauge swatch now to save hours of frustration later.
At a Glance
- Skill level: beginner to intermediate
- Time needed: 15-20 minutes for a swatch
- Best yarn: the same yarn you plan to use for your project
- Hook size: the hook recommended in your pattern
Common Mistakes → Quick Fixes
- Skip the swatch: Always make a 4-inch swatch before starting your project
- Measure too small: Measure at least 4 inches (10cm) for accuracy
- Count stitches wrong: Use stitch markers to mark exactly where to measure
Mini Glossary
gauge (also called tension), swatch, stitch marker, blocking, YPP (yards per pound), WPI (wraps per inch)
Understanding crochet gauge is one of the most important skills you can develop as a beginner, yet it is also one of the most commonly skipped steps. Whether you are making your first scarf or tackling a complex garment, getting your crochet gauge right means the difference between a project that fits beautifully and one that leaves you frustrated. In this guide, we will walk you through everything you need to know about crochet gauge, from making your first swatch to troubleshooting when things do not line up.
 KnotToYarn
Subscribe to KnotToYarn!
Get the best free crochet patterns, tutorials & tips delivered straight to your inbox. Join our growing community!
What Is Crochet Gauge and Why Does It Matter?
Every crochet pattern is designed with a specific crochet gauge in mind. Gauge refers to the number of stitches and rows that fit within a defined measurement, usually a 4-inch (10 cm) square. When a pattern states a gauge of “14 single crochet stitches and 16 rows = 4 inches,” it means that if you work 14 single crochet stitches across and 16 rows tall, your piece should measure exactly 4 inches in both directions.
Why does this matter so much? Because every crocheter works slightly differently. Some people naturally crochet with tight tension, producing smaller stitches. Others work more loosely, creating larger stitches. If your crochet gauge does not match the pattern, your finished project will end up a different size than intended. A hat meant for an adult could turn out child-sized, or a sweater could end up baggy and shapeless.
Gauge is especially critical for wearable items like sweaters, cardigans, hats, and socks. However, it also matters for blankets, amigurumi, and any project where the final dimensions are important. If you want your projects to turn out the right size every time, learning to check and adjust your crochet gauge is non-negotiable.
The Craft Yarn Council provides industry-standard gauge guidelines that most pattern designers follow. These standards help ensure consistency across patterns and make it easier for crocheters to match gauge regardless of which designer wrote the pattern.
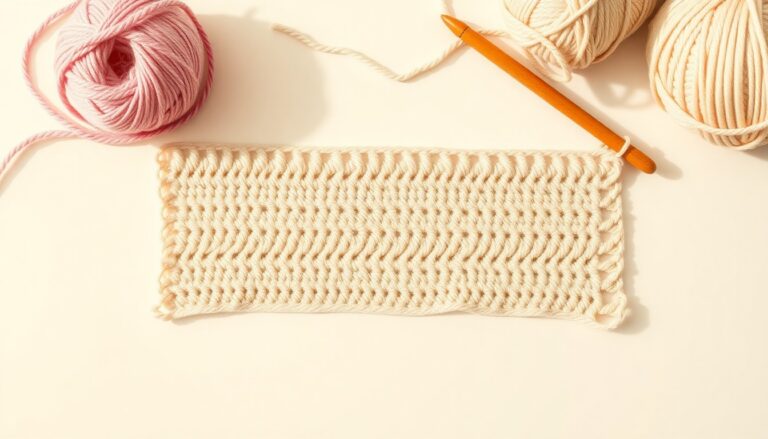
How to Make a Crochet Gauge Swatch Step by Step
Making a crochet gauge swatch is a straightforward process, but it requires attention to detail. Follow these steps to create an accurate swatch every time.
Step 1: Gather Your Materials
Use the exact same yarn and crochet hook sizes that the pattern calls for. Switching to a different yarn or hook for your swatch will give you inaccurate results. Make sure you have chosen the best yarn for beginners if you are just starting out, since smooth, light-colored yarns make it easier to see your stitches and count accurately.
Step 2: Chain More Than You Need
Most patterns specify a 4-inch gauge square. To make sure you have enough room to measure accurately, chain enough stitches for a 6-inch swatch. For example, if the pattern calls for 14 single crochet stitches per 4 inches, you would chain about 21 stitches (14 divided by 4, multiplied by 6). This gives you extra stitches on each side so you can measure the center portion without the edges distorting your measurement.
Step 3: Work in the Same Pattern Stitch
Crochet your swatch using the exact same stitch pattern specified in the project. If the pattern uses half double crochet in the round, your swatch should be worked in half double crochet in the round, not flat single crochet. Different stitches produce different gauges, even with the same hook and yarn.
Step 4: Make It Large Enough
Work your swatch until it is at least 4 inches tall. For the most accurate results, aim for a swatch that is at least 5 by 5 inches. Larger swatches give you more room to measure in the center, away from the starting chain and the final row where tension tends to be different.
Step 5: Block Your Swatch (Optional but Recommended)


If your finished project will be blocked, you should also block your gauge swatch. Blocking can change the size of your work, sometimes significantly. Wet-block or steam-block your swatch just as you would the final piece, and let it dry completely before measuring.
How to Measure Crochet Gauge Correctly
Measuring your crochet gauge properly is just as important as making a good swatch. Here is the correct way to do it.
Lay your swatch flat on a hard surface. Do not stretch it or let it hang. Place a ruler or measuring tape horizontally across the center of the swatch, avoiding the edges. Count the number of complete stitches within a 4-inch span. Then place the ruler vertically and count the number of complete rows within a 4-inch span.
For greater accuracy, use stitch markers. Place a marker in the first stitch and the last stitch of your 4-inch measurement, then count the stitches between them. This prevents you from accidentally counting half stitches at the edges or misaligning your ruler.
If your stitch count is higher than the pattern requires (for example, you get 16 stitches per 4 inches instead of 14), your stitches are too small and your crochet tension is too tight. If your stitch count is lower (say, 12 stitches per 4 inches), your stitches are too large and your tension is too loose.
What to Do If Your Crochet Gauge Does Not Match
Do not panic if your first crochet gauge swatch does not match the pattern. This is completely normal, and fixing it is usually straightforward.
If Your Stitches Are Too Small (Too Many Stitches per 4 Inches)
Your tension is too tight. Try going up one hook size and make another swatch. For example, if the pattern calls for a 5.0mm hook and you have too many stitches, try a 5.5mm hook. Keep increasing the hook size until your stitch count matches the pattern. Many crocheters consistently need to go up or down one or two hook sizes to match gauge, and that is perfectly fine.
If Your Stitches Are Too Large (Too Few Stitches per 4 Inches)
Your tension is too loose. Try going down one hook size and make a new swatch. If the pattern calls for a 5.0mm hook, try a 4.5mm or 4.0mm hook. Continue adjusting until you reach the correct gauge.
If Your Row Gauge Is Off but Stitch Gauge Is Correct
This is a common situation. If your stitch count matches but your row count is too high or too low, you have a few options. First, try relaxing or tightening your tension slightly. If that does not work, you can often adjust the pattern by working fewer or more rows than specified. Many garment patterns give a total length measurement, so you can simply work rows until you reach the correct length rather than counting rows.
Gauge vs. Tension: Understanding the Difference
Many crocheters use the terms “gauge” and “tension” interchangeably, but there is a subtle distinction worth understanding. Gauge refers to the measured result, the number of stitches and rows per inch. Tension refers to how tightly or loosely you hold the yarn and manipulate the hook as you work.
Your tension directly affects your gauge. If you hold the yarn very tightly, your stitches will be smaller, resulting in a higher stitch count per inch. If you hold the yarn loosely, your stitches will be larger, resulting in a lower stitch count. Both terms are important in crochet, and understanding the relationship between them helps you troubleshoot gauge problems more effectively.
Some crocheters naturally have tight tension, while others work more loosely. Neither is wrong, but knowing your natural tendency helps you anticipate whether you will likely need to adjust your hook size for most patterns. Over time, you may also find that your tension changes as you gain more experience and develop better muscle control.
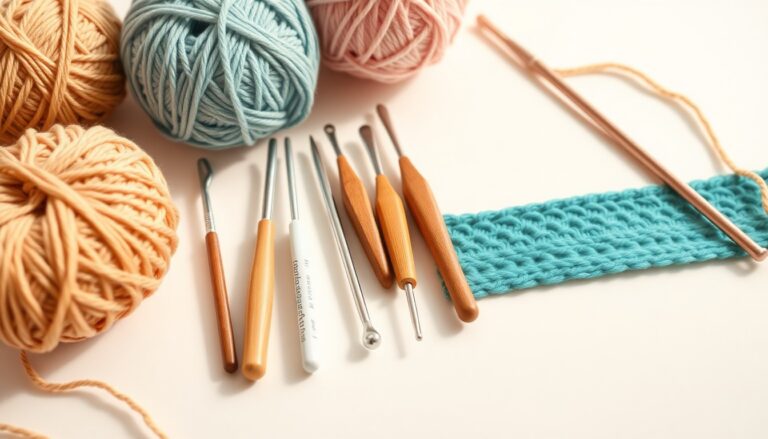
Essential Tools for Measuring Crochet Gauge
Having the right tools makes measuring crochet gauge much easier and more accurate. Here are the items every beginner should have in their toolkit.
- Ruler or tape measure: A rigid ruler is best because it will not bend or shift while you are counting stitches. A transparent quilting ruler is ideal because you can see the stitches through it.
- Stitch markers: Use stitch markers to pin the exact starting and ending points of your 4-inch measurement. This eliminates guesswork and ensures you count the same area every time.
- Gauge ruler: A specialized gauge ruler has a cutout window that lets you isolate a 2-inch or 4-inch section of your swatch for easy counting. These are inexpensive and extremely helpful.
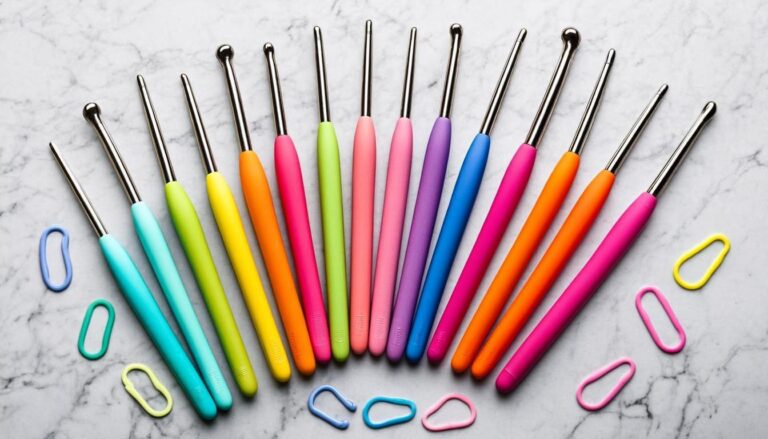
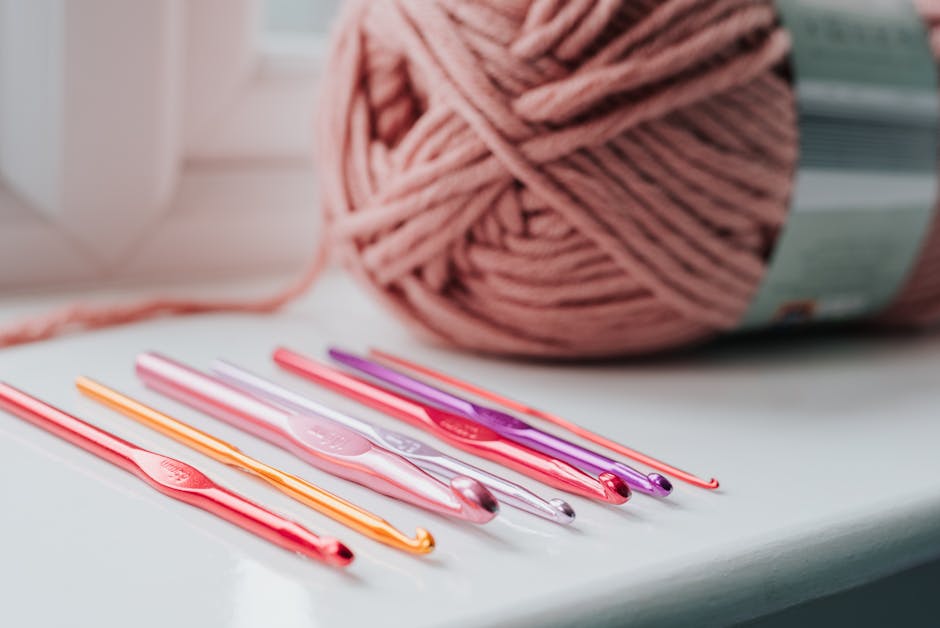
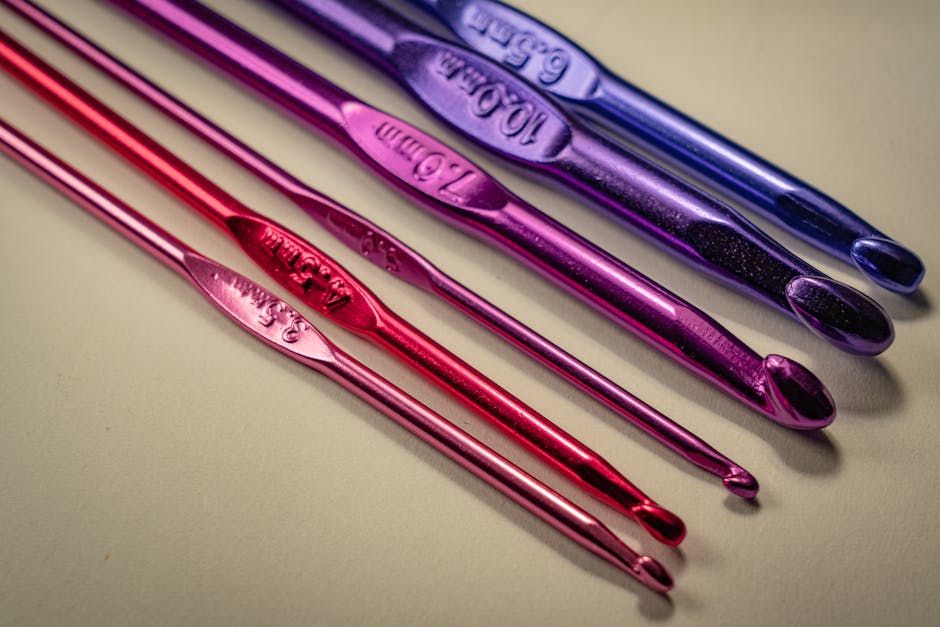
- Crochet hook set: Since you may need to size up or down, having a full set of crochet hook sizes ensures you can always find the right hook to match gauge.
- Row counter: A digital or manual row counter helps you keep track of how many rows you have worked in your swatch, which is especially useful for longer swatches.
7 Essential Tips for Consistent Crochet Gauge
Maintaining consistent crochet gauge throughout a project is just as important as matching the crochet gauge in the first place. Here are our top tips for keeping your gauge steady from start to finish.
1. Relax Your Hands and Shoulders
Tension in your body translates directly to tension in your yarn. If you are stressed, tired, or holding your hook in a death grip, your stitches will be tighter. Take breaks, stretch your hands, and consciously relax your grip. Many crocheters notice that their gauge changes throughout the day as they get tired or stressed.
2. Use the Same Yarn Throughout
Even within the same yarn brand and weight, different dye lots can have slightly different thicknesses. Buy all your yarn from the same dye lot at the start of your project to avoid subtle gauge shifts between skeins. If you must mix dye lots, alternate between the two every few rows to blend the transition.
3. Check Your Gauge Periodically
Do not assume your crochet gauge stays the same throughout an entire project. Check your stitch count every few inches, especially for larger projects like sweaters and blankets. If you notice your gauge starting to drift, you can catch it early and adjust before it becomes a significant problem.
4. Work in a Comfortable Environment
Temperature and humidity can affect both your yarn and your hands. Yarn can expand in humid conditions and contract in dry ones. Crochet in a comfortable, consistent environment whenever possible. If you notice your stitches looking different on hot days versus cold days, this could be why.
KnotToYarn
Subscribe to KnotToYarn!
Get the best free crochet patterns, tutorials & tips delivered straight to your inbox. Join our growing community!
5. Pay Attention When Switching Techniques
Your crochet gauge may change when you switch between different stitch patterns, even if you use the same hook and yarn. For example, your single crochet gauge might differ from your double crochet gauge. Always make a new swatch whenever the stitch pattern changes significantly in a project.
6. Practice Mindful Crocheting
Watch TV or listen to podcasts while you crochet if you enjoy that, but be aware that divided attention can affect your tension. When working on a gauge-sensitive section of a project, focus on your stitching and make sure each loop is pulled to a consistent height and snugness.
7. Do Not Force Yourself to Match Gauge by Changing How You Crochet
If your natural tension does not match the pattern, change your hook size rather than trying to crochet tighter or looser than is comfortable. Crocheting in an unnatural way will tire your hands quickly and lead to inconsistent results. The whole point of a gauge swatch is to find the right tool, not to change who you are as a crocheter.
When Can You Skip the Gauge Swatch?
While we strongly recommend always checking your crochet gauge, there are a few situations where you might safely skip the crochet gauge swatch. Projects that do not have specific size requirements, such as scarves, dishcloths, and some blankets, are more forgiving of gauge differences. Amigurumi patterns often provide exact stitch counts rather than gauge measurements, so matching gauge is less critical as long as you can read a crochet pattern and follow the stitch instructions precisely.
That said, even for these more forgiving projects, checking your gauge helps you estimate how much yarn you will need. If your gauge is significantly different from the pattern, you may run out of yarn or have a lot left over. For expensive or hard-to-find yarns, a quick gauge check can save you money.
You can find thousands of free patterns to practice your gauge skills on Ravelry, which is the largest online community for knitters and crocheters.
Frequently Asked Questions About Crochet Gauge
What Is a Good Crochet Gauge?
There is no single “good” crochet gauge because the correct gauge depends entirely on the pattern you are following. A good gauge is simply one that matches the gauge specified in your pattern. For reference, the Craft Yarn Council provides standard guidelines that suggest typical stitch counts for each yarn weight category. For example, worsted weight yarn with a 5.0mm hook typically produces a gauge of about 11 to 14 single crochet stitches per 4 inches. However, always defer to your specific pattern rather than general standards.
How Do I Measure Crochet Gauge?
To measure crochet gauge, first create a swatch that is at least 4 by 4 inches using the same yarn, hook, and stitch pattern as your project. Lay the swatch flat on a hard surface without stretching it. Place a ruler horizontally across the center of the swatch and count the number of complete stitches within 4 inches. Then place the ruler vertically and count the number of complete rows within 4 inches. Compare your counts to the gauge specified in your pattern. Using stitch markers to define the 4-inch section can significantly improve accuracy.
Why Is My Crochet Gauge Always Off?
If your crochet gauge is consistently off, it usually comes down to natural tension. Some crocheters naturally work tighter, while others work looser. This is normal and not something to worry about. The solution is simple: change your hook size until your gauge matches the pattern. If you always have too many stitches, go up a hook size. If you always have too few, go down a hook size. Other factors that can throw off your gauge include using a different yarn than the pattern recommends, working in a different stitch pattern, or crocheting while distracted or stressed.
Does Gauge Matter for Blankets?
For most blankets, gauge is less critical than for garments, but it still matters. If your gauge is significantly off, your blanket will end up a different size than planned, which may mean you need more or less yarn than the pattern suggests. A blanket that should be 50 by 60 inches could end up 40 by 48 inches or 60 by 72 inches if your gauge is off by just a few stitches per inch. That said, blankets are generally more forgiving than sweaters because an extra few inches in either direction will not ruin the project. If you are happy with the size you are getting, you can proceed without worrying about exact gauge matching.
What Happens If I Don’t Check Gauge?
Skip checking your crochet gauge and you risk spending hours or even weeks on a project that does not turn out the right size. A sweater that should fit you perfectly could end up two sizes too small or one size too big. A hat might be too tight to wear or so loose it falls off. Beyond fit issues, incorrect gauge can affect the drape and texture of your fabric. Too-tight gauge creates stiff, dense fabric, while too-loose gauge produces floppy, holey fabric. In either case, the finished piece may not look or feel the way the designer intended. Checking gauge takes just 15 to 20 minutes and is one of the simplest ways to ensure your projects turn out beautifully every time.