7 Easy Crochet Bucket Hat Tips for a Perfect Fit
Crochet Bucket Hat at a Glance
- Topic: crochet bucket hat
- Skill level: beginner to intermediate
- Main goal: help the reader crochet a beautiful, adjustable granny stitch bucket hat from start to finish
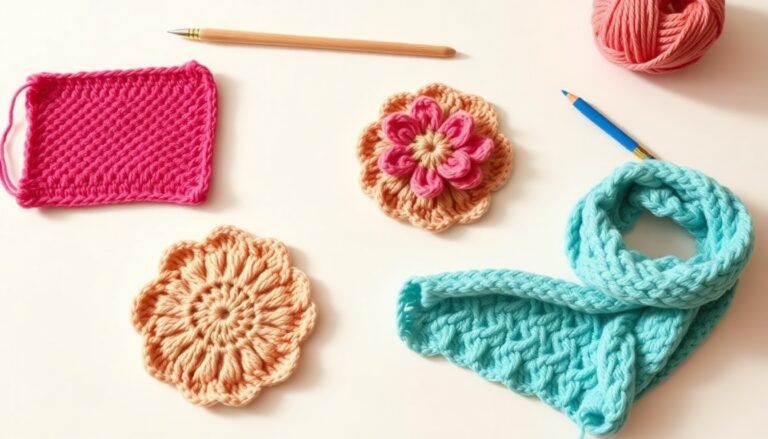
- Related topics: granny stitch, crochet hats, magic ring, increasing in the round, color changing in crochet
Quick Answer
A crochet bucket hat is worked from the top down in the round, starting with a flat circle crown that naturally curves into a hat shape once you stop increasing. The granny stitch clusters create a gorgeous textured body, and a simple brim finishes the look. KnotToYarn has designed this pattern to be fully adjustable — just add or remove crown rounds to fit any head size.
Tip: Always finish your crown increase rounds with an increase stitch — if your last stitch is a regular dc, you have miscounted.
At a Glance
- Skill level: beginner to intermediate
- Time needed: 4-6 hours for experienced crocheters, 1 day for beginners
- Best yarn: DK weight merino wool + lace mohair held double (or worsted weight alone)
- Hook size: 4.0 mm (US G-6)
Common Mistakes to Quick Fixes
- Crown curling inward: Add more increase stitches — you do not have enough for a flat circle
- Crown rippling or waving: Remove an increase — you have too many stitches for the round
- Uneven stripes: Always change color at the same point in the round and maintain consistent tension between color changes
Mini Glossary
dc (double crochet), sl st (slip stitch), ch (chain), inc (increase — 2 dc in one stitch), cluster (3 dc worked in the same stitch or space), rnd (round), MC (main color), CC (contrast color)
If you have been wanting to try a crochet bucket hat, you are in the right place. The granny stitch bucket hat is one of the most satisfying crochet projects you can make — it works up quickly, looks incredibly stylish, and the repetitive stitch pattern makes it a wonderful project for beginners. Whether you are crafting your first crochet bucket hat or adding another to your collection, this KnotToYarn pattern walks you through every single step.
Why You’ll Love This Crochet Bucket Hat Pattern
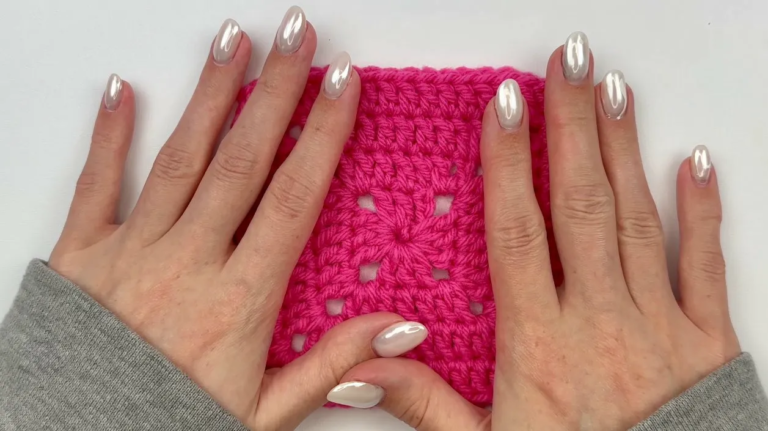
There are so many reasons to fall in love with making your own crochet bucket hat. First, the granny stitch is one of the easiest and most relaxing stitch patterns in crochet. If you already know how to work a granny square pattern, then you already have the core skill needed for this project. The clusters of three double crochets create a beautiful textured fabric that looks far more complex than it actually is.
Second, every crochet bucket hat made with this pattern is fully adjustable. The crown is worked as a flat circle with strategic increases, and you simply keep adding rounds until the circle measures the right diameter for your head. From there, the body and brim build straight down without any shaping — making it almost effortless to customize the size. This is one of the most beginner-friendly how to crochet a hat methods available.
Third, a handmade crochet bucket hat makes a fantastic gift. The granny stitch works beautifully with color changes, so you can personalize each hat with the recipient’s favorite colors. Plus, since the pattern is quick to work up, you can easily make several in a weekend.
What You Need to Make a Crochet Bucket Hat
Before you start your crochet bucket hat, gather these supplies:
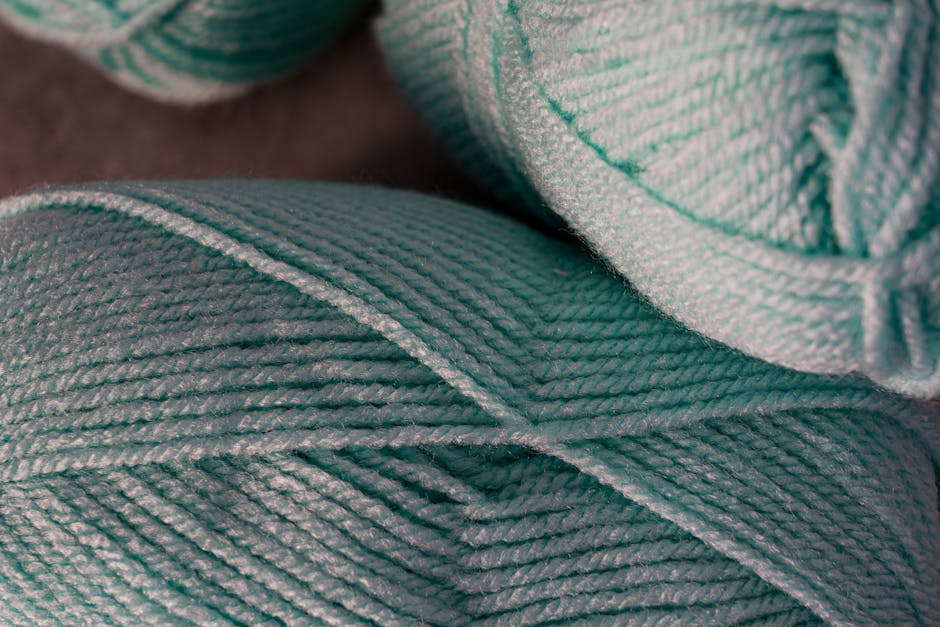
- Yarn: DK weight merino wool (approximately 150 yards) paired with lace mohair held double for a fuzzy, luxurious finish. You can also substitute with a single strand of worsted weight yarn if you prefer a crisper stitch definition.
- Crochet Hook: 4.0 mm (US G-6) — check out the best crochet hooks for beginners if you need a recommendation.
- Stitch markers: At least 2 to mark the beginning of each round and your last increase stitch.
- Scissors and a yarn needle for weaving in ends.
- Tape measure for checking your crown diameter and head circumference.
How to Crochet the Crown (Flat Circle)
The crown is the foundation of every crochet bucket hat. It begins with a magic circle technique, which gives you a perfectly closed center with no hole. If you have never used the magic circle before, it is well worth practicing — it produces a much neater result than chaining and joining for projects worked in the round.
Once your magic circle is established, the crown grows through a series of increase rounds. Each round adds a set number of stitches distributed evenly around the circle. The key to a flat crown for your crochet bucket hat is getting these increases exactly right. Too few increases and the crown will bowl inward; too many and it will ripple like a wave.
For a standard adult-sized crochet bucket hat, you will typically work 6 to 8 increase rounds before stopping. Place a stitch marker in the very first stitch of every round so you always know where each round begins. Place a second marker in the last increase stitch of the round — this helps you verify that you ended on an increase, not a regular stitch. If you are newer to pattern reading, our guide on how to read crochet patterns will help you follow the written instructions with confidence.
How to Crochet the Granny Stitch Body
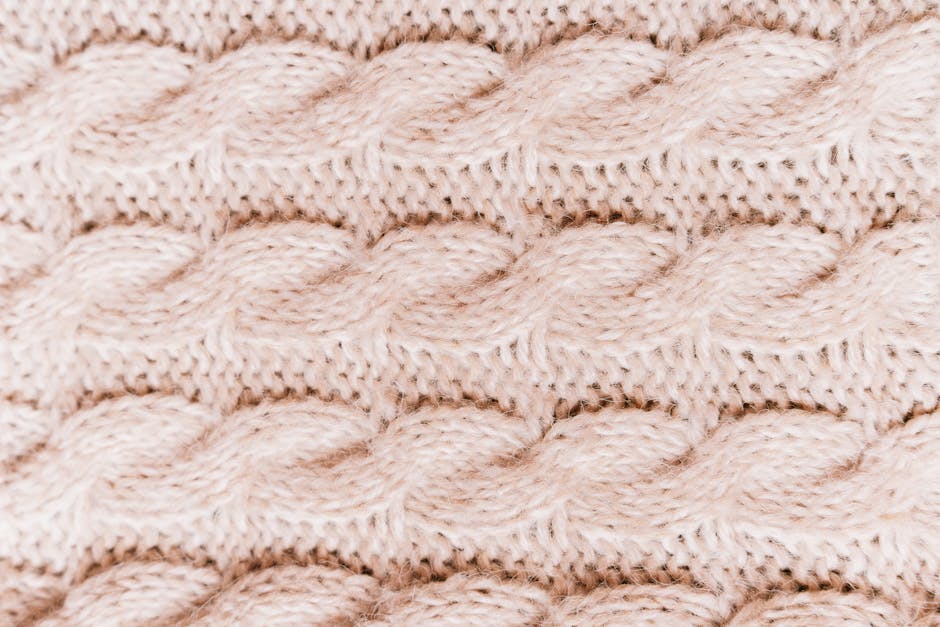
Once your crown measures the correct diameter for your head size, you stop increasing and begin the granny stitch body of the crochet bucket hat. This is where the fun really begins. The body uses the classic granny cluster stitch: groups of three double crochets separated by chain spaces. These clusters create the signature open-and-closed texture that makes a granny stitch bucket hat so distinctive and beautiful.
Each round of the body starts with a chain-3 turning chain (which counts as the first double crochet of the first cluster) and ends with a slip stitch to close the round. You work the body in continuous rounds without turning, which creates a seamless spiral effect. If you want to add colorful stripes to your crochet bucket hat, simply change yarns at the start of any round. For the cleanest color transitions, always change color on the last yarn over of the final slip stitch of the previous round.
The body typically takes 4 to 6 rounds for an adult size, depending on how deep you want the hat to sit on your head. Try it on periodically as you work to check the fit. If you have learned the half double crochet stitch, you will find the double crochet clusters in this pattern feel very similar but create a taller, more open stitch.
How to Crochet the Brim
The brim is the final shaping element of your crochet bucket hat. After the body reaches the desired depth, you work 2 to 3 additional rounds without any increases. Because there are no increases, these rounds will naturally start to angle outward, creating the characteristic bucket hat brim shape.
For a wider brim on your crochet bucket hat, simply add more rounds. For a narrower, more subtle brim, work fewer rounds. You can also switch to a slightly larger hook size for the brim rounds only — this loosens the tension and encourages the brim to flare outward more dramatically. Finish the brim with a round of single crochet stitches for a clean, polished edge, then fasten off and weave in all your ends.
5 Pro Tips for Your Crochet Bucket Hat
Follow these five expert tips to make your crochet bucket hat turn out perfectly every time:
- Check your gauge before starting. Make a small swatch in the round and measure your stitch count per inch. If your stitches are too loose, go down a hook size; if they are too tight, go up. Matching gauge ensures your hat will fit the intended head size.
- Count your stitches after every increase round. It is easy to accidentally skip an increase or add an extra one. Taking ten seconds to count after each crown round will save you from having to rip back later.
- Use stitch markers religiously. Mark your first stitch and your last increase in every round. This is especially important in the crown, where one missed increase will cause the entire hat to misshape.
- Block your finished hat. Wet blocking or steam blocking your crochet bucket hat evens out your stitches, relaxes the fabric, and helps the brim lay flat. Simply soak the hat in cool water, gently squeeze out excess moisture, shape it over a bowl or hat form, and let it air dry completely.
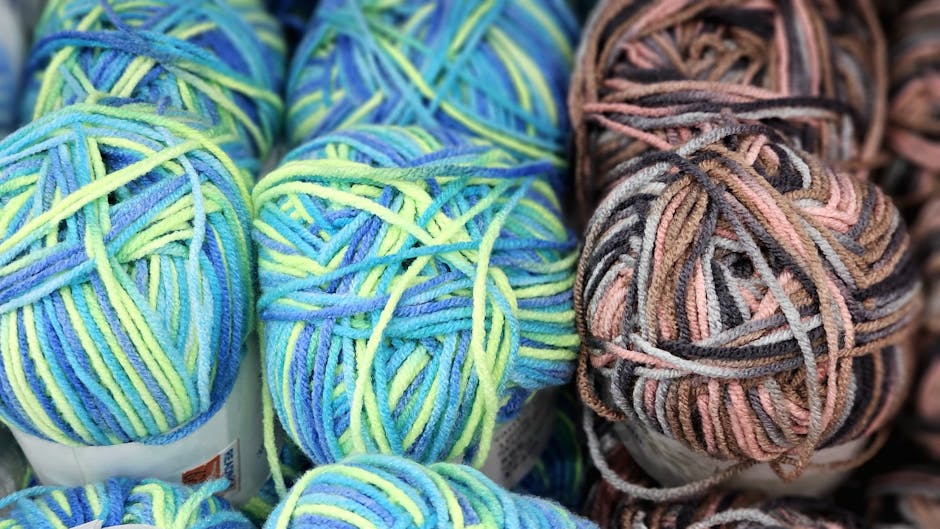
- Experiment with yarn pairings. The pattern is designed for DK weight merino and mohair held double, but you can use any yarn combination that gives you the correct gauge. Cotton blends are great for summer, while chunky wool makes a cozy winter crochet bucket hat. For standard abbreviations, the Craft Yarn Council is an excellent reference. You can also explore more hat pattern inspiration at The Spruce Crafts.
Download the Free Crochet Bucket Hat Pattern PDF
Ready to start crocheting? Download the complete, printable crochet bucket hat pattern PDF from KnotToYarn. This fifteen-page PDF includes the full written pattern, detailed stitch diagrams, step-by-step photos, a sizing chart for children through large adults, and a yarn substitution guide. It is everything you need to make a beautiful granny stitch crochet bucket hat from start to finish.
15-page printable pattern with step-by-step photos by KnotToYarn
We hope you enjoy making this crochet bucket hat as much as we loved designing it. If you share your finished project on social media, tag KnotToYarn so we can admire your work. Happy crocheting!
For more project inspiration and variations, browse projects on Ravelry.