Crochet Chokers: 4 Easy DIY Styles with Patterns
Whether you are just starting out or looking to try something new, this tutorial covers everything you need — from materials to the final stitch.
\nCrochet Chokers at a Glance
- Topic: crochet chokers
- Skill level: beginner to intermediate
- Main goal: help the reader crochet 4 different choker styles from scratch
- Related topics: chain stitch, jewelry crochet, boho accessories, crochet bracelets
Quick Answer
Crochet chokers are quick, stylish neck accessories you can make with just yarn and a hook. The most basic style uses a simple chain stitch cord, while more elaborate designs incorporate lace patterns, fringe, beads, and charms. A typical choker takes under 30 minutes to complete, making it one of the fastest easy crochet projects for beginners and experienced crafters alike.
\nTip: Always measure your neck before starting — chain about 15-16 inches for a snug fit, and add a few extra chains if you prefer a looser style.
At a Glance
- Skill level: beginner to intermediate
- Time needed: 20–45 minutes per choker
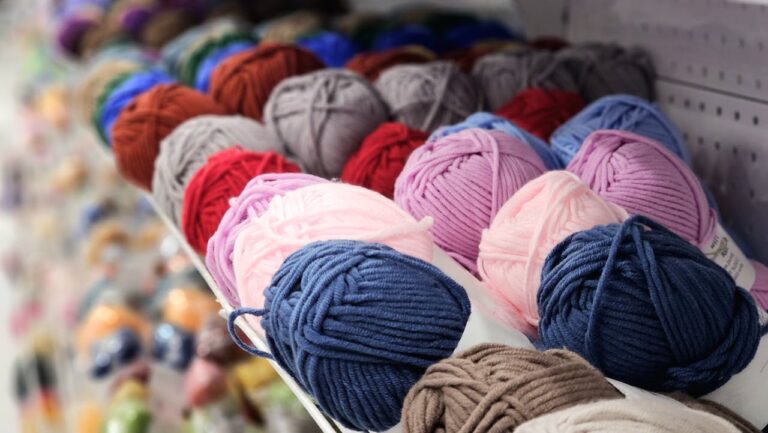
- Best yarn: cotton thread (size 3) or lightweight acrylic
- Hook size: 2.0–3.5 mm (B/1–E/4)
Common Mistakes → Quick Fixes
- Choker too tight: add 3-5 more chains or attach a chain extender at the clasp
- Stiff and uncomfortable: use softer yarn or blend in a thin elastic thread
- Uneven stitches: maintain consistent tension — check our tension guide
Mini Glossary
CH (chain), SC (single crochet), DC (double crochet), SL ST (slip stitch), TR (treble crochet), FSC (foundation single crochet)
 KnotToYarn
Subscribe to KnotToYarn!
Get the best free crochet patterns, tutorials & tips delivered straight to your inbox. Join our growing community!
Why Crochet Chokers Are the Perfect Quick Project
Crochet chokers are one of the most satisfying accessories to make because they work up fast, use very little yarn, and can be customized in endless ways. Whether you are heading to a festival, a casual brunch, or just want a handmade touch to your everyday outfit, a crochet choker adds personality without requiring hours of work. They make wonderful gifts too — you can easily whip up several in a single afternoon.
The beauty of crochet chokers lies in their versatility. A simple chain stitch design looks minimalist and modern, while a lacy pattern with beads feels romantic and delicate. Add fringe for a bohemian vibe or metallic charms for a touch of glamour. Because they use such small amounts of yarn, chokers are the perfect project for using up leftover scraps from larger free crochet patterns like blankets and scarves.
If you are new to crochet, making a choker is an excellent way to practice the easiest crochet stitches for beginners while producing something wearable and beautiful. Even if you have only mastered the chain stitch, you can already create a gorgeous accessory.
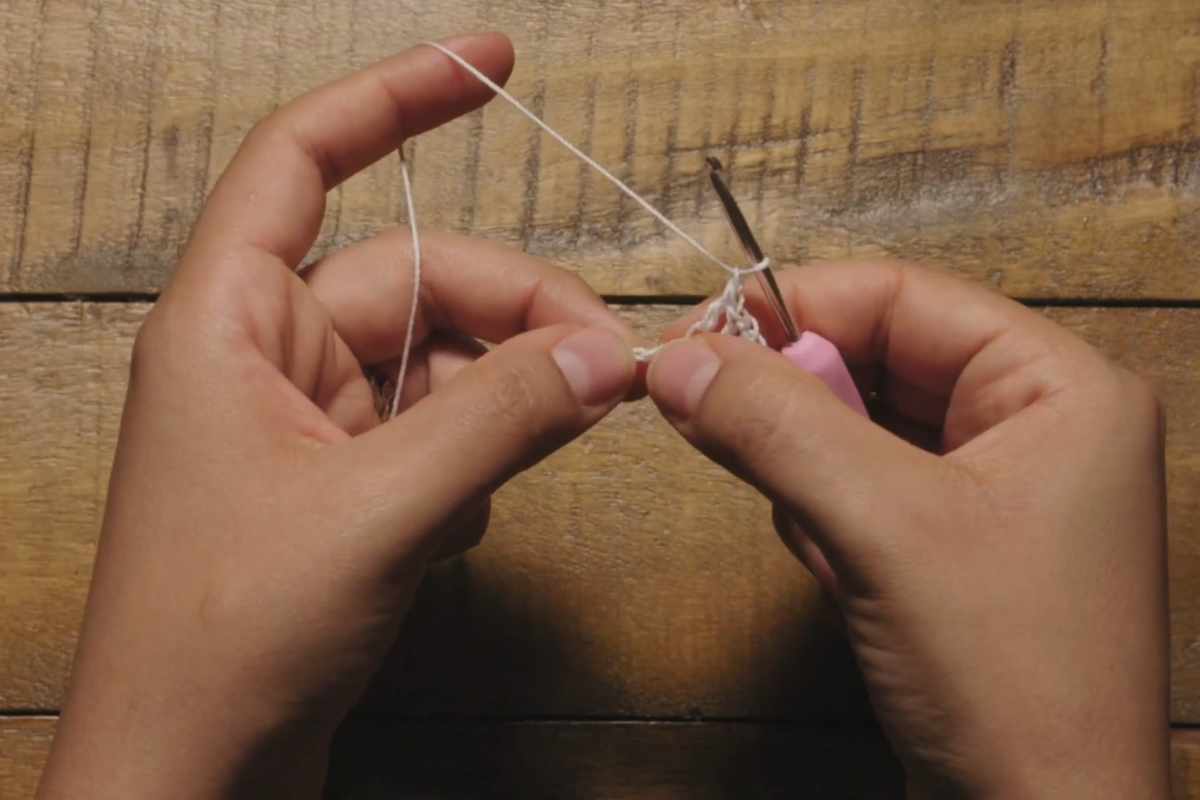
1. Classic Chain Stitch Choker
The classic chain stitch choker is the simplest of all four styles and the best starting point for beginners. All you need is your yarn, a hook, and about 15 to 20 minutes. Chain approximately 48 stitches for a standard snug fit around a 14-inch neck, adjusting the count based on your own measurement. As a general rule, three chains equal roughly half an inch, so measure accordingly.
This minimalist design pairs well with any outfit, from casual tees to dressy blouses. You can make it bolder by adding a second row of chains in a contrasting color, or by working a row of single crochet along the chain for added texture. The classic style also serves as a great base for attaching pendants, charms, or buttons if you want to personalize it further.
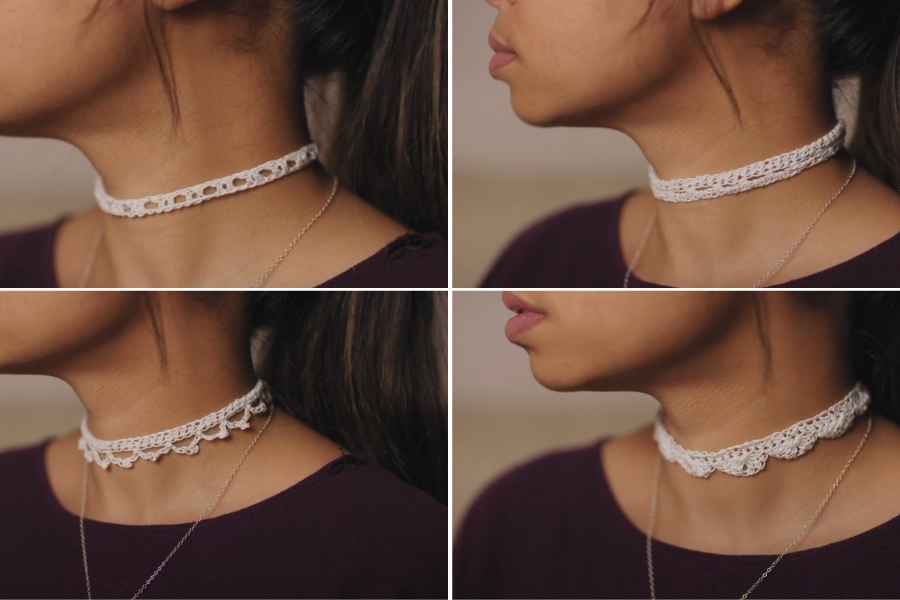
2. Lacy Choker with Delicate Stitches
For a more feminine and elegant look, the lacy choker uses a combination of chains, single crochet, and slip stitches to create an open, airy pattern that resembles lace. This design is perfect for special occasions like weddings, date nights, or any time you want a soft, romantic accessory. You can work the lacy pattern in rows or in the round, making it adjustable in both length and width.
The lacy style is also a great opportunity to incorporate small beads or sequins between stitches for a hint of sparkle. Thread the beads onto your yarn before you begin, then slide them into position as you work each stitch. This technique creates a delicate beaded edge that catches the light beautifully. If you enjoy making easy crochet flower patterns, you can even attach tiny crocheted flowers at the center or along the sides of the lacy choker.
3. Bohemian Fringe Choker
The bohemian fringe choker is bold, playful, and incredibly fun to wear. Start by crocheting a simple base chain in your desired length, then attach fringe along the bottom edge by cutting short pieces of yarn and lark-heading them through the chain stitches. The fringe can be any length you like — longer pieces create a dramatic festival look, while shorter fringe gives a subtle textured effect.
This style is perfect for using multiple yarn colors. Try a solid base with multicolored fringe for a vibrant, eye-catching design. You can also experiment with different yarn textures — mixing cotton thread with fuzzy novelty yarns creates an interesting contrast. The boho choker pairs especially well with casual summer outfits, layered jewelry, and flowy tops. If you love bohemian crochet projects, this choker is a must-try.
4. Embellished Choker with Beads and Charms
Adding beads or charms to your crochet chokers transforms a simple accessory into a statement piece. You have two main options: weave beads directly into the stitches as you crochet, or sew them onto the finished piece for more precise placement. Both methods produce beautiful results, so choose whichever feels more comfortable for your skill level.
Charms can be attached at the center of the choker as a focal point, or spaced evenly along the length for a decorative border. Small metal pendants, sea shells, crocheted motifs, or even tiny crochet flowers make wonderful embellishments. This style is ideal for personalized gifts — choose beads or charms that match the recipient’s favorite colors or interests for a truly unique handmade present.
Tips for Customizing Your Crochet Chokers
The initial chain length determines the overall fit, so always measure your neck before starting. For a snug fit, chain enough stitches to match your neck measurement minus half an inch. For a looser style, match your neck measurement exactly or add one to two extra inches. If you are unsure, attach a chain extender at the closure so you can adjust the fit after finishing.
Do not be afraid to mix colors or use gradient yarn for a dynamic look. Working with two or three colors in alternating rows creates a striped effect that adds visual interest to even the simplest crochet chokers. You can also experiment with different stitch patterns — try using double crochet or even puff stitches for added texture and dimension.
KnotToYarn
Subscribe to KnotToYarn!
Get the best free crochet patterns, tutorials & tips delivered straight to your inbox. Join our growing community!
For a stretchier choker that is more comfortable to wear, consider weaving a thin elastic thread through your stitches as you crochet. This gives the choker flexibility without sacrificing its structure. It is a simple technique that makes a big difference in comfort, especially if you plan to wear the choker for extended periods.
Crochet chokers are just the beginning of the beautiful accessories you can create. Explore more crochet patterns for beginners to expand your skills and build an impressive handmade wardrobe. For authoritative yarn weight references and hook recommendations, visit the Craft Yarn Council standards page, and find additional inspiration at Yarnspirations.
Frequently Asked Questions
How many chains do I need for a crochet choker?
For a standard snug choker on a 14-inch neck, chain approximately 48 stitches using a 2.5 mm hook with cotton thread. Measure your own neck and add or subtract chains as needed. Three chains equal roughly half an inch.
What yarn is best for crochet chokers?
Cotton thread (size 3) is the best choice because it holds its shape, feels smooth against the skin, and shows stitch definition clearly. Lightweight acrylic blends also work well and come in a wide variety of colors.
Can beginners make crochet chokers?
Absolutely. The simplest choker style uses only chain stitches, which is the very first technique beginners learn. Even if you have just started learning to crochet, you can complete a classic chain choker in under 30 minutes.
How do you make a crochet choker stretchy?
Weave a thin elastic thread through your stitches as you crochet. This gives the choker flexibility so it stretches comfortably over your head without needing a clasp. You can also add a chain extender at the closure for adjustable sizing.
How do you add beads to a crochet choker?
Thread beads onto your yarn before you begin crocheting, then slide each bead into position as you work the stitch. Alternatively, sew beads onto the finished choker using a yarn needle for more precise placement.