Crocheted Dish Towel With Hanging Loop: 7 Easy Free Patterns
Crocheted Dish Towel With Hanging Loop at a Glance
- Topic: crocheted dish towel with hanging loop
- Skill level: beginner
- Main goal: help the reader crochet a functional dish towel with a hanging loop for their kitchen
- Related topics: crochet dishcloth patterns, kitchen crochet, cotton crochet projects, crochet home decor
Quick Answer
Crocheted dish towel with hanging loop is a practical beginner project — crochet a flat rectangle in cotton yarn, then add a button or chain-loop closure at the top so it hangs from an oven handle or hook. The loop makes it easy to hang dry between uses. At KnotToYarn.com, we have free patterns that work up in just 1-2 hours.
Tip: Use 100% cotton yarn for absorbency — acrylic yarn does not absorb water well for kitchen use.
At a Glance
- Skill level: beginner
- Time needed: 1-2 hours
- Best yarn: 100% cotton (worsted weight)
- Hook size: 5.0mm (H/8)
Common Mistakes → Quick Fixes
- Using acrylic yarn: switch to cotton — acrylic repels water and melts near heat
- Loop too small: measure against your oven handle before finishing
- Towel too stretchy: use a tighter tension or go down one hook size for a denser fabric
Mini Glossary
SC (single crochet), DC (double crochet), ch (chain), sl st (slip stitch), hdc (half double crochet), FO (fasten off), worsted weight, cotton yarn
Making a crocheted dish towel with hanging loop is one of the most satisfying beginner crochet projects you can try. These towels are functional, beautiful, and make wonderful handmade gifts for any kitchen. In this guide, you will find seven free patterns that are perfect for your skill level.
 KnotToYarn
Subscribe to KnotToYarn!
Get the best free crochet patterns, tutorials & tips delivered straight to your inbox. Join our growing community!
Whether you are brand new to the craft or looking for a quick weekend project, a crocheted dish towel with hanging loop is an ideal choice. You only need basic stitches, a skein of cotton yarn, and a crochet hook to get started.
Why Make a Crocheted Dish Towel With Hanging Loop?
A crocheted dish towel with hanging loop combines practicality with handmade charm. Unlike flat store-bought towels, a handmade version lets you customize the colors, stitch patterns, and size to match your kitchen decor perfectly.
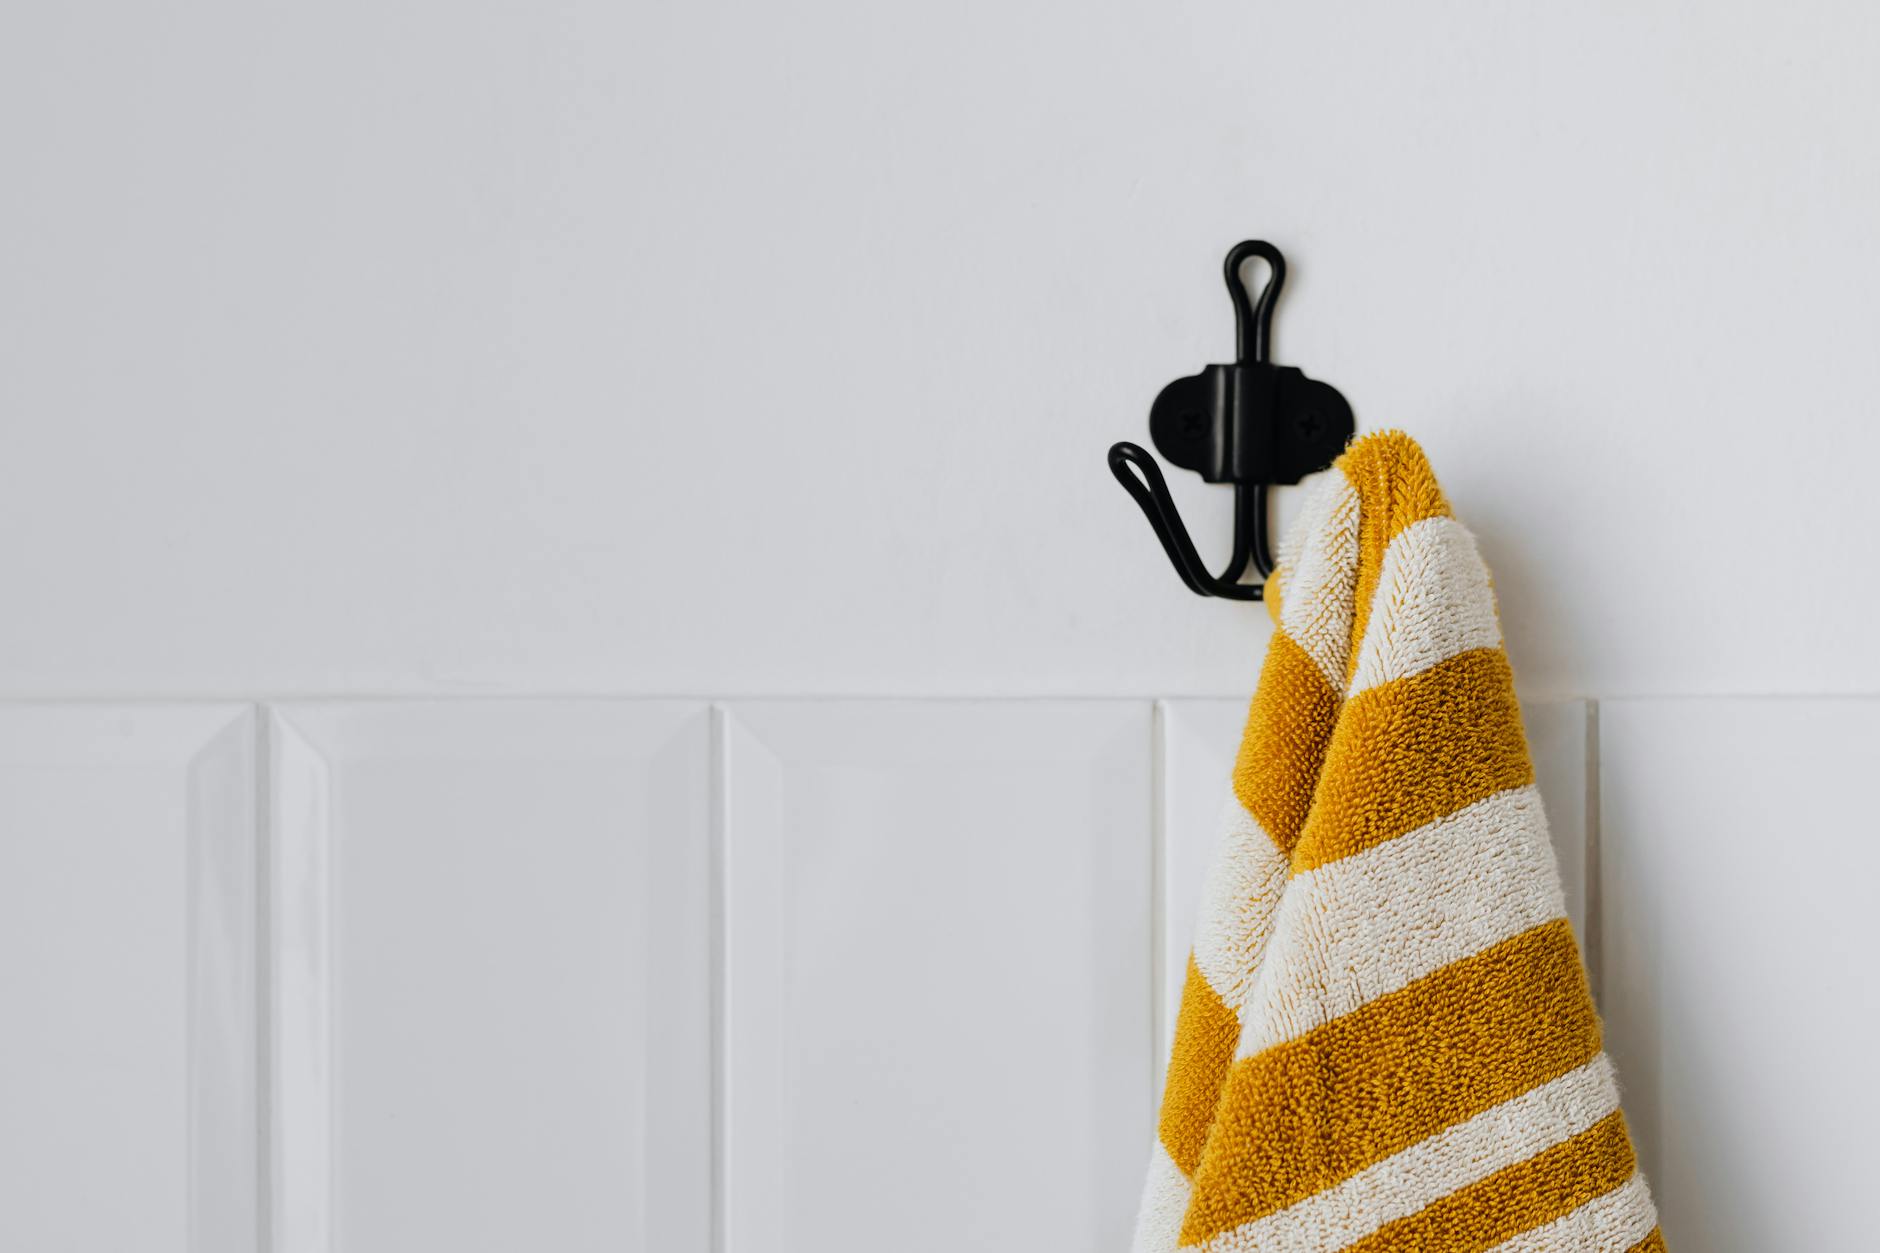
The hanging loop is the key feature that sets these towels apart. It allows the towel to hang from an oven handle, a drawer pull, or a wall hook so it dries quickly between uses. This prevents mildew and keeps your kitchen tidy.
If you are just getting started, check out our guide on how to crochet for beginners to brush up on the basic stitches. Most patterns for a crocheted dish towel with hanging loop only require the single crochet stitch and chain stitch.
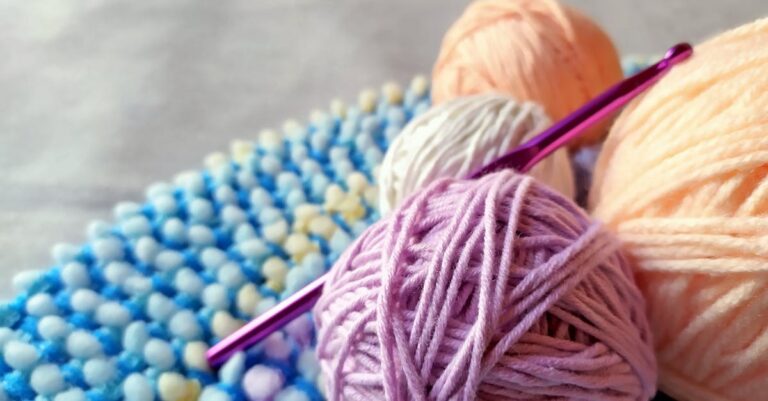
Best Yarn for Your Crocheted Dish Towel With Hanging Loop
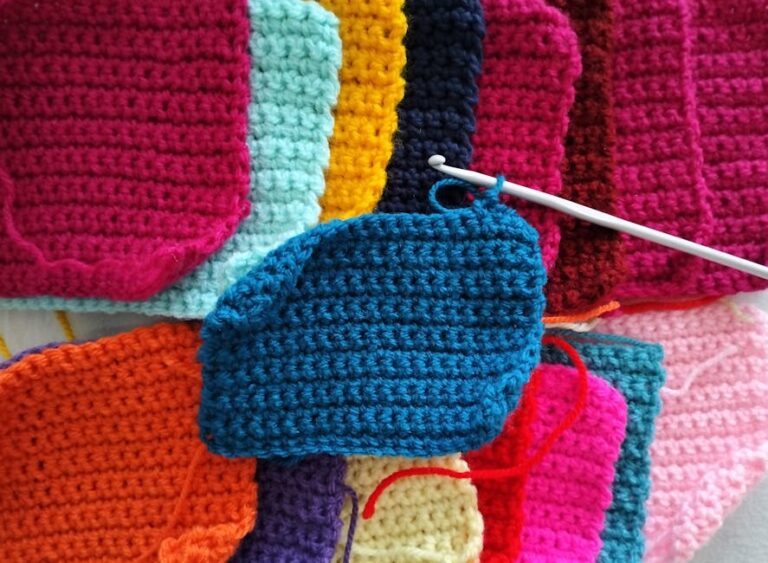
Choosing the right yarn is crucial for a functional kitchen towel. Cotton yarn is the gold standard because it is absorbent, durable, and machine washable. Acrylic yarn may look pretty, but it repels water and can melt if it touches a hot pan.
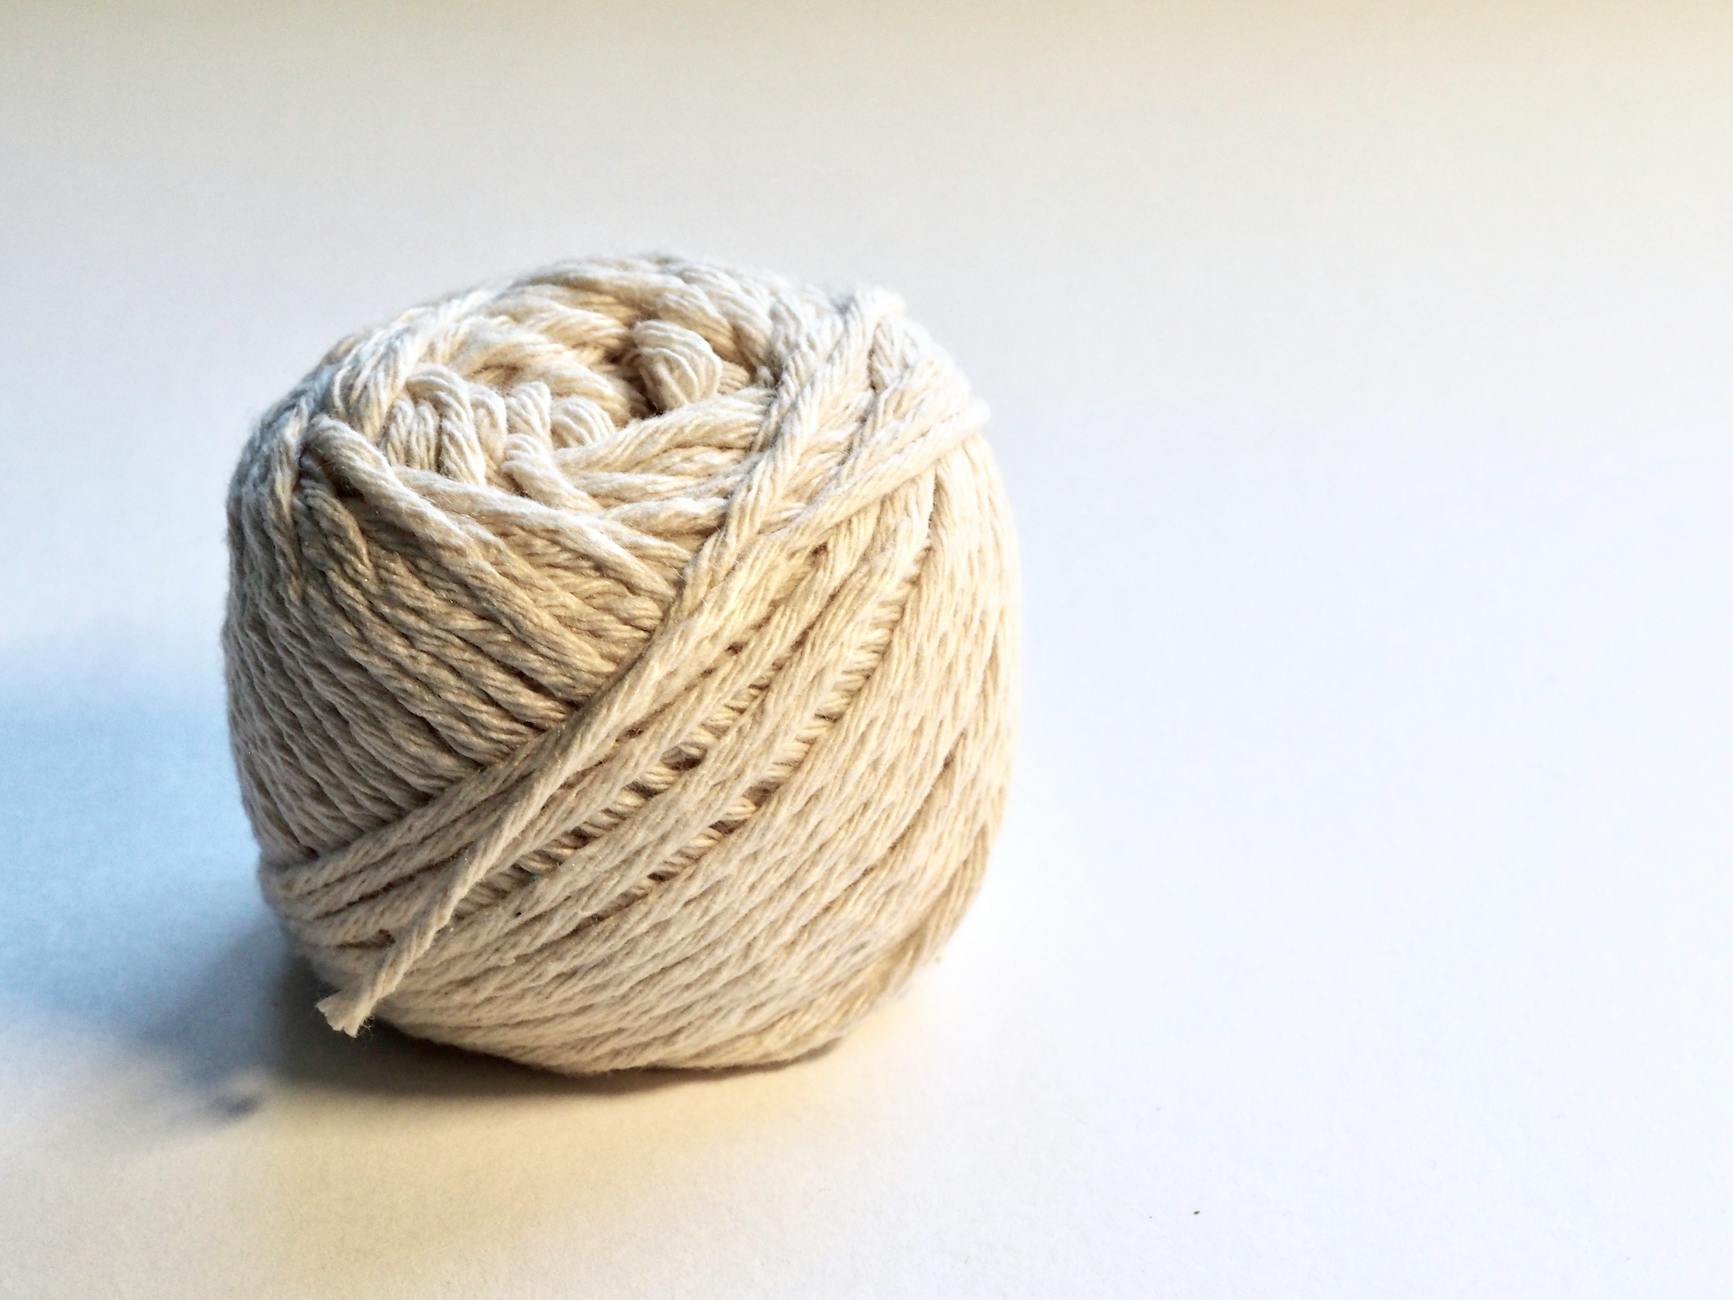
For your first crocheted dish towel with hanging loop, we recommend worsted weight 100% cotton yarn. Popular brands include Lily Sugar’n Cream, Bernat Handicrafter, and Peaches & Creme. A single skein is usually enough for one towel.
If you need help selecting materials, our guide on the best yarn for beginner crochet covers everything about fiber types, weights, and budgets.
Pro Tip
Prewash your cotton yarn before starting your project. Cotton shrinks slightly after the first wash, and prewashing ensures your finished towel keeps its shape.
7 Free Crocheted Dish Towel With Hanging Loop Patterns
1. Simple Single Crochet Towel
This is the easiest crocheted dish towel with hanging loop pattern available. Chain 35, then work rows of single crochet until the towel measures about 12 inches long. Add a chain loop at one corner and attach a button for the closure.
Stitches used: chain, single crochet, slip stitch
2. Double Crochet Striped Towel
Try this striped pattern using double crochet for a textured look. Alternate two colors every few rows for a classic kitchen style. Attach a hanging loop by chaining 15 stitches and connecting it to the top edge.
Stitches used: chain, double crochet, slip stitch
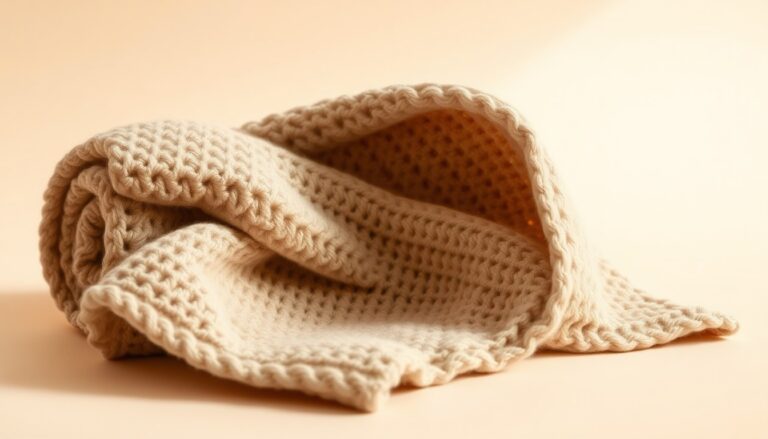
3. Half Double Crochet Ribbed Towel
This pattern creates a subtle ribbed texture by working half double crochet stitches in the back loop only. The result is a thicker, more absorbent towel. The hanging loop is worked directly into the top row.
Stitches used: chain, half double crochet, slip stitch
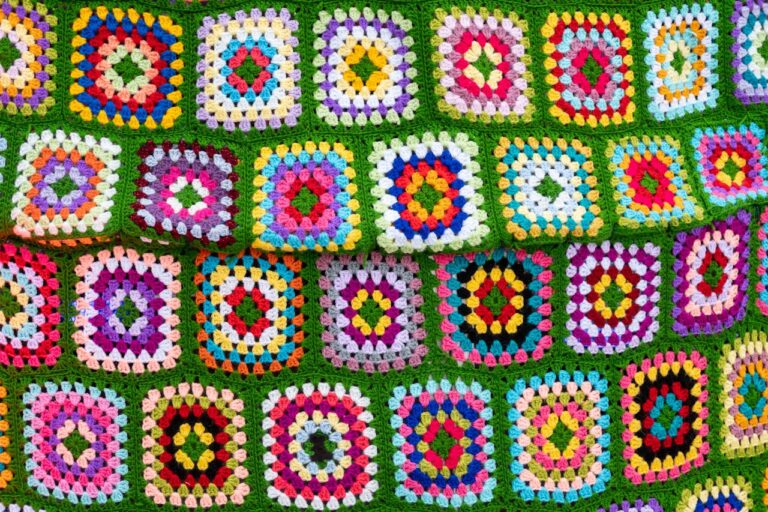
4. Granny Stitch Kitchen Towel
Use the familiar granny stitch cluster (3 double crochets together) to create a charming vintage-style towel. This pattern works up quickly and is a great scrap-buster. Add a buttonhole loop at the center top for hanging.
Stitches used: chain, double crochet, slip stitch
5. Shell Stitch Border Towel
This elegant crocheted dish towel with hanging loop features a beautiful shell stitch border along the bottom edge. The body uses simple single crochet rows, and the shell trim adds a decorative touch that makes this towel perfect for gifting.
Stitches used: chain, single crochet, double crochet, slip stitch
6. Basketweave Pattern Towel
The basketweave stitch gives this towel a rich, textured appearance that looks impressive but is surprisingly simple. Front and back post double crochets create the woven look. Finish with a sturdy chain loop for hanging.
Stitches used: chain, front post double crochet, back post double crochet, slip stitch
7. Crocheter-on-a-Store-Bought Towel
Buy a plain kitchen towel and crochet a decorative topper with a hanging loop directly onto it. This is called a “refresher towel” and makes an excellent last-minute gift. Poke holes along the top edge, then work single crochet into each hole.
Stitches used: chain, single crochet, slip stitch
How to Add a Hanging Loop to Your Crocheted Dish Towel
The hanging loop is what makes a crocheted dish towel with hanging loop truly practical. There are three common methods:
Chain Loop Method: At the top corner of your towel, chain 15-20 stitches depending on your handle size, then slip stitch back into the same corner. This creates a simple loop that slides over an oven handle.
Buttonhole Loop Method: Chain 15 stitches, skip 3 stitches along the top edge, then continue your row. This creates a gap where you can thread a button through. Sew a button to the opposite side.
KnotToYarn
Subscribe to KnotToYarn!
Get the best free crochet patterns, tutorials & tips delivered straight to your inbox. Join our growing community!
Ring Method: Attach a wooden or metal craft ring to the top corner using a few single crochet stitches. This is the most durable option and gives a polished look.
Sizing Tip
Before fastening off your hanging loop, hold it up to your oven handle or drawer pull to check the fit. The loop should slip on easily but not be so loose that it slides off during use. A chain of 15-18 stitches works for most standard oven handles.
Crocheted Dish Towel With Hanging Loop — Tips for Success
Here are expert tips to make your crocheted dish towel with hanging loop look professional and last for years:
- Use a smaller hook than usual — going down one hook size creates a tighter, denser fabric that absorbs water better.
- Block your finished towel — wet it, shape it, and lay it flat to dry to even out your stitches.
- Weave in ends securely — kitchen towels get washed frequently, so make sure tails are woven in well.
- Wash in cold water — cotton can shrink in hot water. Tumble dry on low for the best results.
For more stitch ideas, explore our collection of crochet dishcloth patterns. Many stitch patterns work beautifully for dish towels too — just make the rectangle larger and add a hanging loop.
Where to Find More Patterns
The Craft Yarn Council is a fantastic resource for learning about yarn weights, hook sizes, and standard crochet abbreviations. They offer free educational materials that pair perfectly with your kitchen projects.
If you want to browse thousands of free patterns from designers around the world, check out the Ravelry pattern database. You can filter by yarn weight, difficulty level, and project type to find the perfect crocheted dish towel with hanging loop pattern for your next make.
Frequently Asked Questions
How do you crochet a dish towel with a hanging loop?
Start by chaining your desired width (usually 30-40 stitches), then work rows of single crochet or double crochet until the towel reaches about 12 inches in length. At the top corner, chain 15-18 stitches and slip stitch back to form the hanging loop. Fasten off, weave in ends, and your towel is ready to hang.
What yarn is best for crocheted dish towels?
One hundred percent cotton yarn in worsted weight is the best choice. Cotton is highly absorbent, durable, and withstands frequent washing. Avoid acrylic yarn because it does not absorb water and can melt near heat sources.
How long does it take to crochet a dish towel?
Most beginners can complete a simple dish towel in one to two hours. More complex stitch patterns or larger towels may take three to four hours. The hanging loop itself only adds about five to ten minutes to the total project time.
Can you crochet directly onto a kitchen towel?
Yes, this is a popular technique called a “crocheter-on-a-towel” or “refresher towel.” You can poke holes along the top edge of a store-bought towel and crochet into them, or sew a crocheted topper onto the towel using a yarn needle.
How do you make a hanging loop for a crochet towel?
The simplest method is the chain loop: at the top corner of your finished towel, chain 15-18 stitches, then slip stitch back into the same corner. You can also use a buttonhole loop or attach a metal or wooden craft ring for extra durability.